Send SMS Order Confirmations Using moltin and Twilio
Time to read: 5 minutes
January 19, 2018
Written by

‘Reach your customers wherever they are’ – it’s an common turn of phrase, but without the right APIs it’s much easier said than done. With modern APIs you can cross previously fragmented channels and talk to your customers where it makes the most sense… including via text messages on their mobile phones.
Friction-reducing in mind, today we’re going to build a Node.js and Express application which uses moltin’s eCommerce API and Twilio’s SMS API to send order confirmations via text message. Customers will then have their order numbers at hand without any log-in requirement, and SMS-delivered details will ease communications if customers later need to talk to support.
Sound great? We completely agree – let’s dive in.
Create – or Log in to – a moltin Account
Sign up for a new moltin account if you haven’t yet, or log in to your account.
Once you are logged in, take note our your API credentials, you’ll need those later.
Log in to Twilio and Purchase a Twilio Phone Number
First, either sign into Twilio or sign up for a new account (you can sign up for a trial account here).
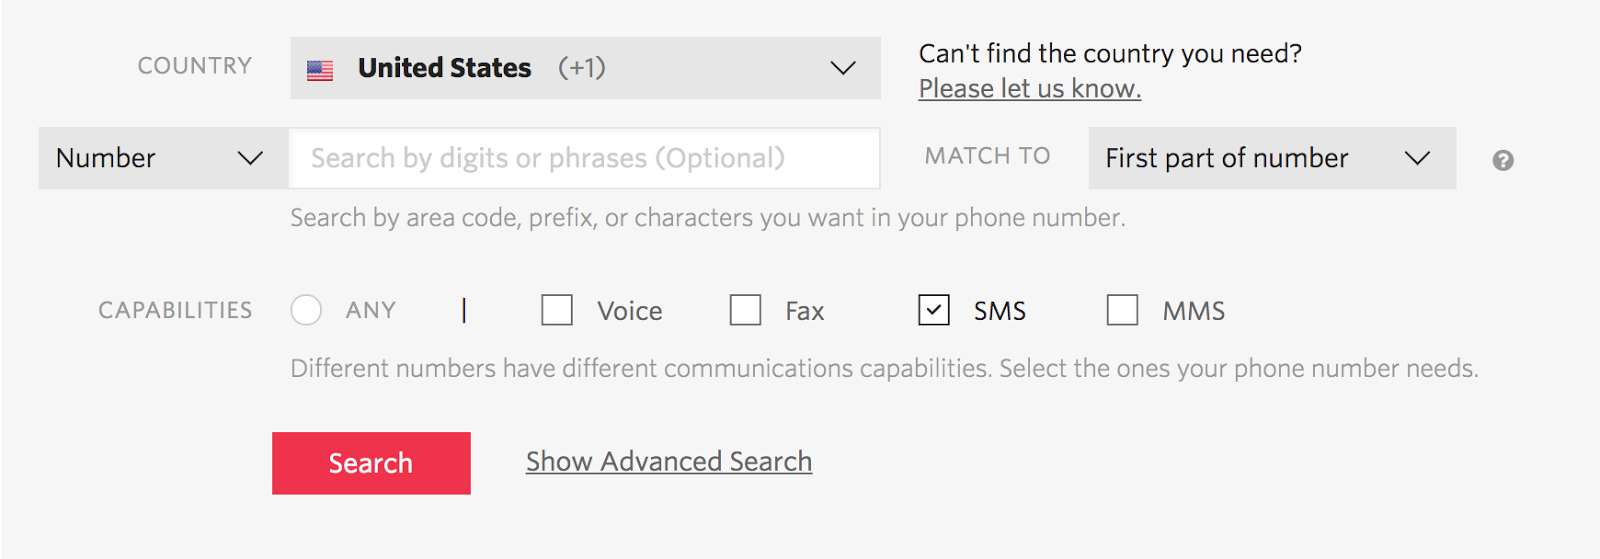
You’ll need a phone number to send your order confirmation SMS. If you haven’t yet purchased an sms capable number, head over to the Buy a Phone Number section of the console.
Check the ‘SMS’ box in the capabilities section and purchase a phone number of your choice:
Take note of the phone number, you’ll use it later in the post. At this stage, if your store is international, you’ll also want to ensure that your number is globally enabled for SMS.
Create and Test a moltin Webhook
We’re going to add an integration to our moltin store, which will fire every time a transaction associated with an order is updated. We will specify a RequestBin URL for the webhook to hit, so that we may inspect the payload easily.
- Go to RequestBin and create a new Bin – copy the URL it generates.
- Using the moltin Postman collection authenticate using your API credentials then create a new integration. (You can find the reference for an integration here). We want to observe transaction.updated, and in the configuration pass an object with the RequestBin URL.Here is an example of a payload:
- Now let’s test the integration and see the payload we’re working with. Create an order in moltin and pay for it using your Stripe test details. For step by step details on how to do this, we have a post which shows how to take an order and payment with Stripe.
Inside the RequestBin, notice that upon receipt the payload has a resources object which holds the details we need.
The transaction-type is purchase, and the status is complete. This means that the order is paid and now we want to trigger an order notification.
Create a New moltin Customer
Next, we’ll add a moltin customer to use for our orders. We’ll also attach a phone number Flow field to the customer’s entity. This will let us pass a phone number through for the app to address a text message later.
Note: In a production application, these steps would be done as part of the checkout flow or earlier on in the process (for example, a dedicated ‘create an account’ step).
Diving in, first we need to enable the inbuilt customers Flow, which will allow us to extend the customers entity. Replace the bearer token in the following cURL snippet which will do what we need:
In the response you receive note the Flow ID. We then create a Flow field to hold a phone number and relate it with our Flow:
Finally, we create a customer. Be sure to substitute your SMS-capable phone number in the following snippet!
When you check out a moltin cart, specify the customer ID as the customer. moltin’s syntax is found inside the API reference documentation.
Create an Express Application to Take Online Orders
You’ve now worked through all of the setup steps – it’s time to get down to the code! We’re going to spin up an Express application with an /orders route. Our moltin webhook will hit that path, and (based on the above RequestBin payload), we will parse the payload details and send out an SMS with Twilio.
For this part, you should clone our repository which has everything you need to get started.
In the root of the project, open the file called .example.env. Rename that file to .env and fill in these values with your own unique variables:
- The Account Sid and Auth Token can be found in the Twilio console.
- The Client Secret can be found in your moltin dashboard.
- The From Number is the purchased SMS number from above.
Test the eCommerce Application
Ngrok is an excellent tool which allows you to easily expose a local development server to the public – exactly what we need to test a webhook. For testing, we will point our webhook at an ngrok URL and ngrok will do the work to tunnel the requests to the locally running server. If you don’t yet have it, download and install ngrok for your platform.
To begin, start by running npm install, and npm start in your chosen shell in the root directory of the application.
In a new window (or tab, if your shell supports it) run ngrok http 3000.
Update our previous moltin webhook (PUT) to show the configuration URL of the exposed ngrok URL with /orders on the end.
You’re ready – pay for a newly created moltin order!
Deploy the Node.js Application to Heroku
Ready to show your app to the world? Let’s deploy the app to Heroku and point our moltin webhook at the live, deployed endpoint.
You can deploy your app manually via the Heroku CLI, which utilizes Git.
After your app is deployed on Heroku, update the webhook once more pointing at the new URL. (And don’t forget the /orders part of the URL…).
Push through another new order and payment and watch the magic happen.
Wrapping Up: Easy SMS Order Confirmations with moltin and Twilio
And that’s all you need – you now have a working Node.js and Express toy eCommerce application which sends out SMS order confirmations upon payment. Your customers have never been happier – no longer will they have to log in to grab order numbers or other details they need for reference.
You’re really only just scraping the surface on the features of moltin and Twilio. Check out the moltin developer portal for examples and tutorials in many web languages, and the Twilio documentation for other integrations you can try.
Matt Foyle is your standard grade, regular human (don’t listen to the CAPCHAs). The classic homo sapien model, he features everything you’d expect from a quality product including eyes, ears and cup holders. Easy to fuel using any form of caffeine, Matt is an excellent addition to any tribe and can be reached at matt@moltin.com
Related Resources
Twilio Docs
From APIs to SDKs to sample apps
API reference documentation, SDKs, helper libraries, quickstarts, and tutorials for your language and platform.
Resource Center
The latest ebooks, industry reports, and webinars
Learn from customer engagement experts to improve your own communication.
Ahoy
Twilio's developer community hub
Best practices, code samples, and inspiration to build communications and digital engagement experiences.