Make a Spooky Phone Call using Twilio Voice and Amazon Polly
Time to read: 6 minutes
October 27, 2022
Written by
Reviewed by

Technology provides us with countless benefits, and as programmers, we should better ourselves to produce more value all the time. But then again, there are certain seasons in a year when you should just relax and have fun with your skills. In this tutorial, you will use Amazon Polly to create audio files from text, add some optional (ideally spooky) sound effects and play that file to your friends using Twilio Voice and .NET.
Prerequisites
You'll need the following things in this tutorial:
- A free Twilio account
- A Twilio Phone Number
- An OS that supports .NET (Windows/macOS/Linux)
- .NET 6.0 SDK (newer and older versions may work too)
- A code editor or IDE (Recommended: Visual Studio Code with the C# plugin, Visual Studio, or JetBrains Rider)
- An AWS account
- AWS CLI
- ffmpeg (Optional but recommended)
Project Overview
Let's take a look at how the application will work.
- You come up with a message that will sound scary/ominous. You can personalize it by adding your friend’s name or something private in the message to increase the impact.
- You create an audio file using Amazon Polly based on your crafted text.
- Optional (but recommended as it makes the experience more fun), you use ffmpeg to add some effects to your audio to add more spookiness.
- You upload the final audio to Amazon S3.
- You call your friend and play the audio by using Twilio Voice.
Now that you understand how the application will work let’s get started.
Set up AWS IAM User
You will need credentials to deploy your application to AWS from the command line. To create the credentials, follow the steps below:
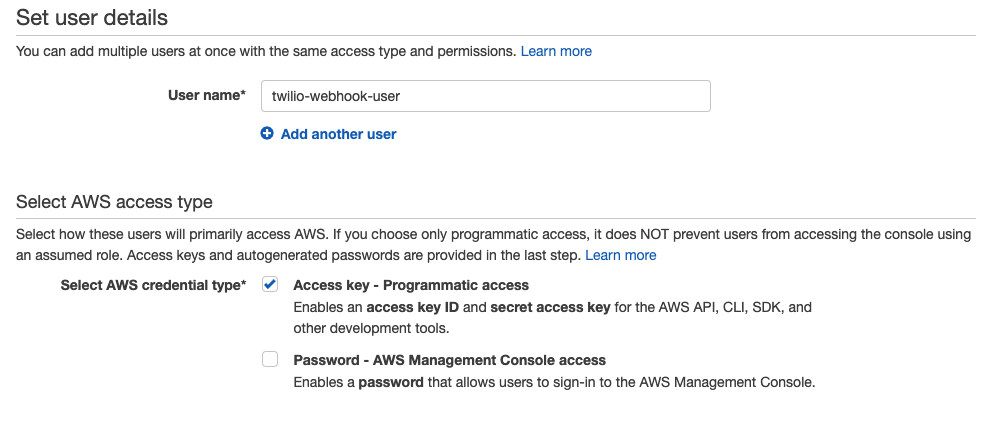
First, go to the AWS IAM Users Dashboard and click the Add users button.
Enter the user name, such as twilio-webhook-user and tick the Access key - Programmatic access checkbox:
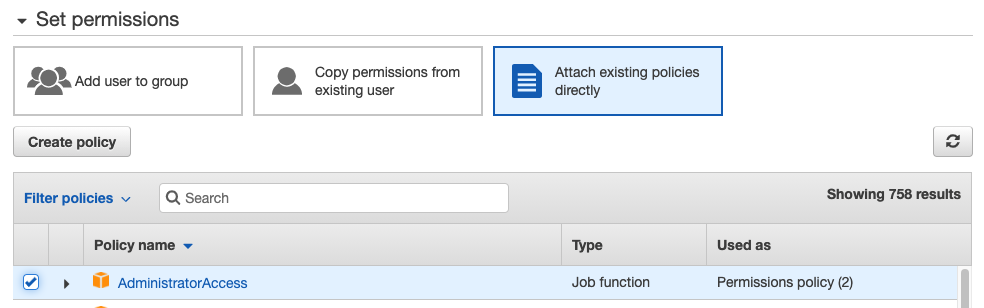
Click the Next: Permissions button at the bottom right.
Then, select Attach existing policies directly and select AdministratorAccess:
Click the Next: Tags button at the bottom right. Tags are optional (and quite valuable information), and it’s a good practice to add descriptive tags to the resources you create. Since this is a demo project, you can skip this step and click the Next: Review button at the bottom.
Confirm your selection on the review page. It should look like this:
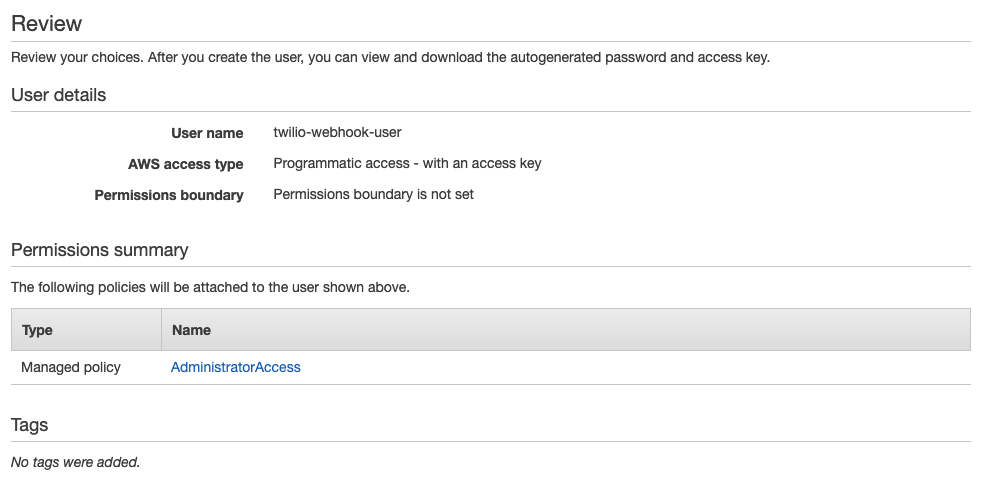
Then, click the Create user button.
In the final step of the user creation process, you should see your credentials for the first and the last time.
Now, open a terminal window and run the following command:
You should see a prompt for AWS Access Key ID. Copy and paste your access key ID and press enter.
Then, copy and paste your secret access key and press enter.

When prompted, type us-east-1 as the default region name and press enter.
As the default output format, type json and press enter.
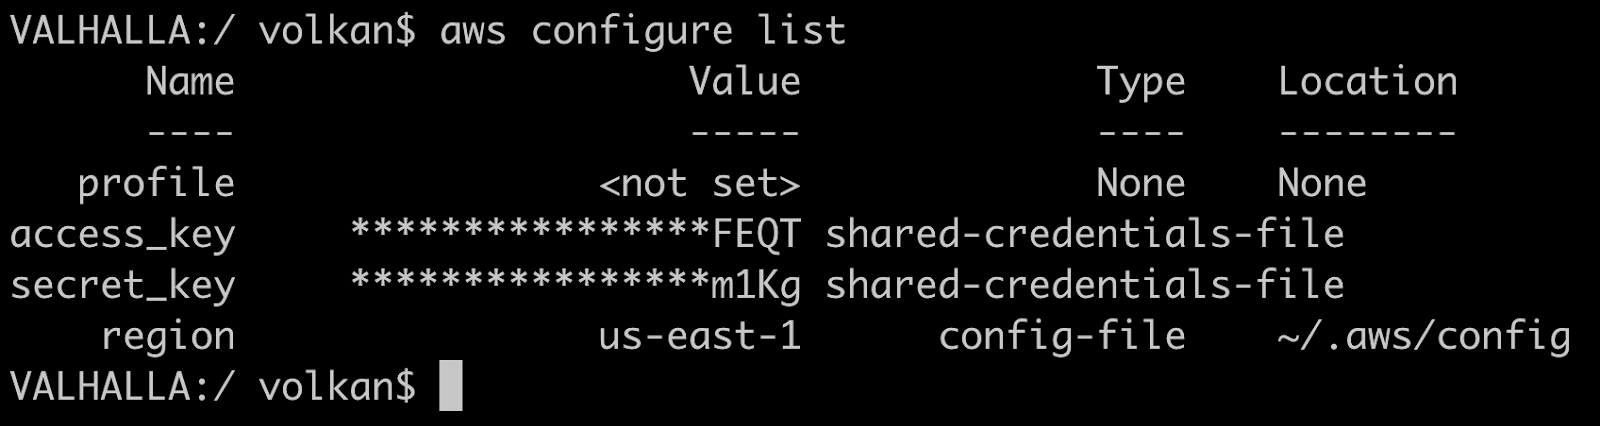
To confirm you have configured your AWS profile correctly, run the following command:
The output should look like this:
Now that you have set up your AWS credentials, you can move on to setting up the code.
Create S3 Bucket to Store MP3 Files
The audio files you create and modify locally won’t be accessible for Twilio to play. To fix that issue, you will need a public storage area. In this tutorial, you will use an Amazon S3 bucket for storage.
In a terminal window, run the following command to create a new bucket:
This bucket will be used by Amazon Polly to store text-to-speech outputs. Also, you’re going to upload modified audio files to this bucket as well.
For Polly to store outputs in this bucket, you need to give write permissions to it. This can be achieved by setting the bucket policy as below:
Store the above JSON in a file such as policy.json and replace {Your bucket name} with the actual name of your S3 bucket.
Then, run the following command to update permissions on the bucket:
Create Audio Messages with Amazon Polly
First, let’s focus on preparing the audio message. At this point, you should have an idea of your message to convert to audio.
Start by creating a console application:
The easiest way to use AWS APIs with C# is to use their .NET SDK. They have a modular structure so you can only include the libraries for the services you will use. In this section, you will use Amazon Polly so go ahead and run the following command to include that package only:
Open the project in your IDE and replace the contents of Program.cs with the code below:
This message is crafted for my imaginary friend James. I don’t know anybody named James, so it’s just a test name that I used. Tailor your spooky message to achieve your own “evil” goal! 🎃
You can also change the voice that Amazon Polly is going to use. Again, there are no right or wrong answers here. Just play around with the options and use the ones you like.
Run the application using dotnet run.
Now open Amazon Polly dashboard, and you should see your synthesis task:
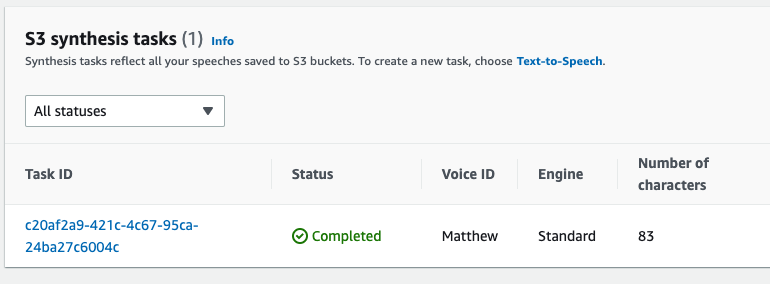
It also shows the URL of the output file. Download the file by using AWS CLI:
Replace the placeholders for the bucket name and task ID. You can use any name for the local file name.
You can find the MP3 files on the project’s GitHub repository.
Now that you have a semi-spooky customized audio message, move on to the next section to add effects to spook it up a notch!
Audio Effects with ffmpeg
I’m by no means an expert in audio mixing and editing. So if you are blessed with those skills, feel free to do your thing and move on to the next section.
In this tutorial, you will add a rather spooky background to the previous audio generated by Amazon Polly.
One good resource for finding free assets is pixabay.com. The sound clip I used in this tutorial is called Halloween Impact 05 by Charlie Raven. Open the link in a new tab and the download should start automatically. Alternatively, you can go to pixabay.com directly, search for the name of the audio and click the Download button next to it.
Copy the downloaded file next to the Polly-generated file (polly-output-original.mp3) and run the following command in a terminal window in the same folder:
The command above merges both files and adds a 2-second delay to the background audio. This delay is to avoid the loud sound drowning out the name.
This is where you can get creative and experiment with various combinations to produce the scariest results. Once you’re happy with the result, upload it your S3 bucket by running the command below:
Create a Console Application to Use Twilio Voice
Now that you have your final audio ready, the last step is to call your “victim” and play it.
To achieve this, create a new console application.
Back in your terminal window, run the following commands:
Then, while still in the terminal, add Twilio .NET SDK via NuGet:
Twilio SDK makes it easy to generate TwiML and interact with Twilio API.
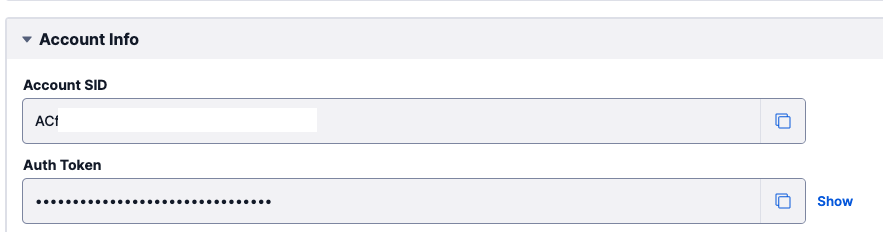
To make phone calls using Twilio API, you will need your Account Sid and Auth Token, which you can obtain from the Twilio Console.
Open the Twilio Console and log in to your account.
In the welcome screen, you should see your Account SID and Auth Token at the bottom in the Account Info section:
You can use environment variables or a vault service to store these values, but for local development, you can use dotnet user secrets by running the following command:
Then, add your Account SID and Auth Token by replacing the placeholders with actual values and running the commands below:
Storing them in user secrets would not help much if you didn’t have a way to retrieve them. To get the values back, you’re going to use the .NET configuration builder which is in Microsoft.Extensions.Configuration NuGet package.
In the terminal, add the following configuration extension libraries:
You can also add command line or environment variable providers, but you won’t use them in this example.
Open the project with your IDE and update Program.cs with the code below:
Replace {Your bucket name}, {Your victim’s phone number} and {Your Twilio Phone Number} with the actual values. You can obtain your Twilio phone number from Twilio Console (It should be shown right below your Account SID and Auth Token).
I’d recommend testing the application with your phone first. Once you’ve confirmed your message sounds as scary as you wanted to sound, you can replace your number with your victim’s phone number and execute your evil plan by running:
Happy Spooky Season!
Conclusion
I hope you enjoyed following this tutorial as much as I enjoyed writing it. Having programmatic access to phone calls and SMS messages opens many possibilities. Combined with other cloud services, you can quickly create a wide variety of projects. If you enjoy developing with Twilio and .NET, you might want to take a look at these articles too:
- How to better configure C# and .NET applications for SendGrid
- Respond to Twilio Webhooks using AWS Lambda and .NET
- Introducing 50+ additional Text-to-Speech voices with Amazon Polly Integration
Volkan Paksoy is a software developer with more than 15 years of experience, focusing mainly on C# and AWS. He’s a home lab and self-hosting fan who loves to spend his personal time developing hobby projects with Raspberry Pi, Arduino, LEGO and everything in-between. You can follow his personal blogs on software development at devpower.co.uk and cloudinternals.net.
Related Resources
Twilio Docs
From APIs to SDKs to sample apps
API reference documentation, SDKs, helper libraries, quickstarts, and tutorials for your language and platform.
Resource Center
The latest ebooks, industry reports, and webinars
Learn from customer engagement experts to improve your own communication.
Ahoy
Twilio's developer community hub
Best practices, code samples, and inspiration to build communications and digital engagement experiences.