Twilio on Rails – Integrating Twilio With Your Rails 4 App
Time to read: 9 minutes
February 26, 2014
Written by

In this blog post I’m going to walk you through the basics of integrating Twilio with your Rails 4 application. We’ll cover signing-up for Twilio, purchasing a phone number and connecting that phone number to your Rails app. But first I’d like to tell you a story.
Long before I joined Twilio and became a Developer Evangelist I was a small business owner who needed to build a reasonably complex web application and was running out of time. It was 2005 and I had recently left my job as a J2EE developer to start a recreational sports league. Why I would do such a thing is for another post, but I needed to build some software quickly that was going to allow people to sign-up for my new league, join a team and make a payment online. And those were just the initial requirements. I knew I could build this software using a Java stack (Struts, Hibernate, MySQL) but I was nervous about how fast I could pull it all together. I needed to launch and open registration in a matter of weeks in order to start my registration push for the upcoming Spring season.
Enter Ruby on Rails which went 1.0 on December 13th, 2005. With Rails, I was able to rapidly build the software that I needed and registration opened on-time. Following the launch I was able to continue to iterate rapidly, migrate database schema changes effortlessly and generally focus on my customers rather than minutiae. I think it’s fair to say that Rails was one of the most influential technologies to hit the web in the past decade and it’s been part of my toolbelt ever since.
Step 1: Create Twilio Account
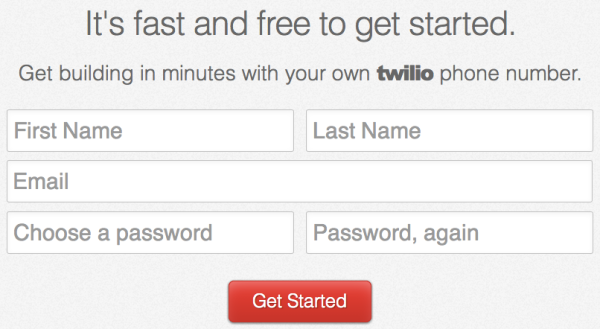
Now, back to our regularly scheduled program where we fast forward to 2014 and integrate Twilio with a Rails 4 web application. The first thing we need to do is sign-up for a free Twilio account.
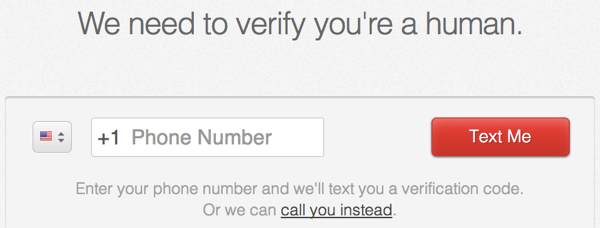
Once you sign-up, Twilio will need to either send you a text message or give you a quick call to verify that you’re a real person and not a malicious spam bot.
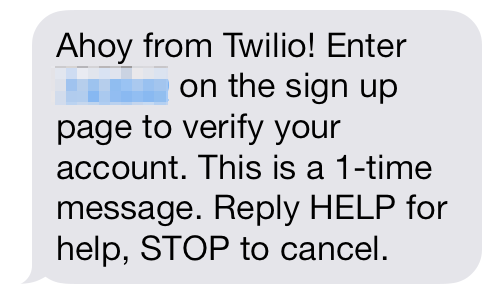
You’ll get either a text message or a phone call with a verification code. Enter that verification code and we can proceed to the fun part: getting a phone number.
Twilio will assign you a random phone number, but you can feel free to look around and see what other numbers are available. For the purposes of this tutorial, any number will do.
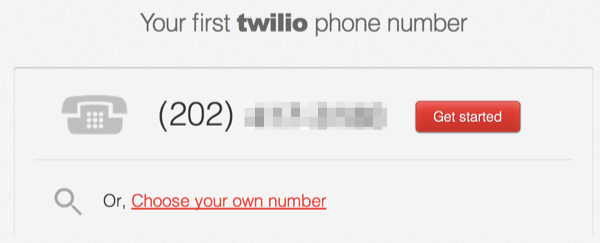
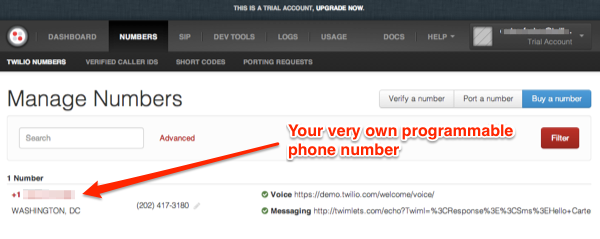
At this point you have now become the proud owner of a programmable phone number. Sweet! Go ahead and click on “Get started”. On the next page click on the red button to “Go To Your Account”.
Step 2: Configure Twilio Number
When you’re logged-in to the dashboard, you can click on the “numbers” tab to see all of the phone numbers you own.
Clicking on a number brings you to the number’s configuration page. When someone sends a message or makes a phone call to your number, Twilio needs to know what to do. In order to deal with these inbound events, Twilio makes use of a construct known as a webhook. A webhook is simply a URL that Twilio will call in to in order to retrieve instructions on how to handle the incoming message or phone call.
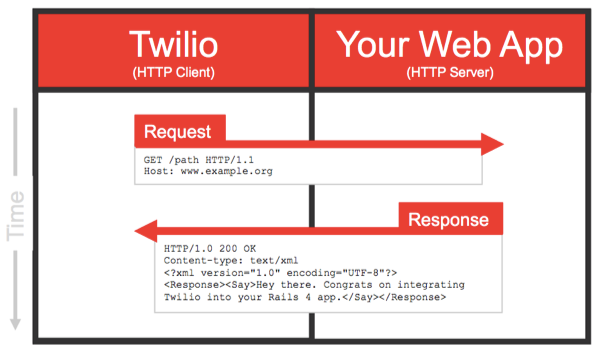
Each phone number has two configurable webhooks:
- Voice Request URL for incoming phone calls
- Messaging Request URL for incoming SMS or MMS messages
In this blog post we’re going to build a simple app that lets a person make a phone call to your Twilio number. Since that’s an inbound phone call, we’ll need to set the Voice Request URL to point to a route in our Rails app. Let’s dive into that.
Step 3: Create a Rails 4 App
If you already have an existing Rails 4 app, go ahead and skip to step 4. For those of you who are just getting started here are some simple steps for creating one. First you’ll need to install Rails on your system. Once you’ve done this, open up your terminal application and change to the directory where you keep your projects. Creating a new Rails web application is as simple as:
This will make a new directory and create all of the scaffolding for your application. In order to ease our integration with Twilio, we’re going to make use of the twilio-ruby gem. Open Gemfile and add the following line:
Then run bundle install.
Step 4: Add Endpoints for Twilio
In order to handle the inbound phone call, let’s create a new file called twilio_controller.rb and place it in the app/controllers directory:
You’ll see that this controller has an action called voice. The purpose of the voice action is to tell Twilio what to do when someone calls your Twilio number. In this case, we make use of the twilio-ruby helper library to build a response object and then render that response object as TwiML. There’s a lot of stuff going on here, so let’s unpack it.
Disabling CSRF Detection
Rails ships with a great feature that helps prevent CSRF attacks. This is accomplished by automatically embedding a randomly generated token in an app’s web forms and then checking to see that this token is present and correct when the form is submitted. This feature is typically enabled in the app/controllers/application.rb file with the line protect_from_forgery with: :exception. This line tells all controllers to enable CSRF detection and to throw an exception when they occur
However, if your app wants to provide a POST endpoint to external 3rd parties (like Twilio) you have to disable CSRF detection for these endpoints. Luckily Rails makes it easy to disable CSRF detection for a controller or even for specific actions in a controller. In our case, we use the following line in app/controllers/twilio_controller.rb to disable CSRF detection: skip_before_action :verify_authenticity_token
TwiML
I’ve mentioned several times that Twilio uses webhooks to figure out “what to do”. The instructions that your app sends Twilio are encoded in TwiML, which is what we call the Twilio XML vocabulary.
In the code above we are using the twilio-ruby helper library to programmatically generate TwiML. It’s very similar to how you might use Builder to generate XML. Please keep in mind that you aren’t required to use the helper library, it’s just a convenient way to generate some TwiML.
The Webhookable Concern
Rails introduced native support for Concerns in Rails 4. Concerns are a way to encourage code reuse in controllers and models, and you’ll see a concerns subdirectory in both the controllers and models directories.
Since Twilio webhooks all require similar functionality, it seemed like a great candidate for a Concern. Let’s create a file called webhookable.rb and place it in app/controllers/concerns:
This Concern provides two simple capabilities:
- Setting the HTTP response content type to “text/xml”
- Rendering the TwiML object to raw XML
Adding the Route
The last thing we need to do it edit config/routes.rb and wire up a URL path to our controller and action:
Step 5: Make it Live
Save all your files and head back to the terminal to fire up your local development server:
The server by default runs on localhost at port 3000. Open up your web browser and go to http://localhost:3000 and you should see this:

You can test the twilio_controller from the command line using cURL:
You should get back the following XML:
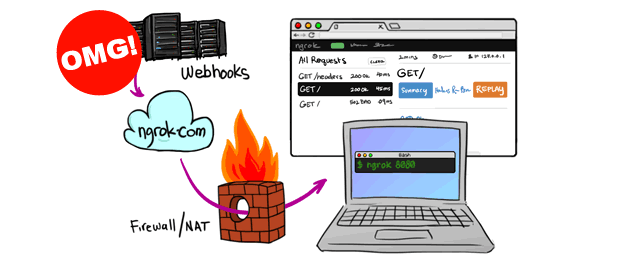
Now we just need to get our Rails app on the public internet. There are generally two options for this:
- Deploy your Rails app to your VPS or PaaS of choice.
- Use a tunnelling service to take the server running on your development machine and make it available at an address on the public internet.
For this purposes of this blog post I’m going to go with option 2 using an amazing tool called Ngrok. My colleague Kevin Whinnery wrote a great blog post on getting up and running with Ngrok.
Once you’ve installed Ngrok, you can get it running and connected to your Rails server like this:
Once Ngrok is running it will acquire a unique URL for your web application:
You can test to see that this is working by pasting that URL into your browser. If you see the “Welcome Aboard” message, it’s time for a fist pump! Your app is on the public internet and ready for the final step.
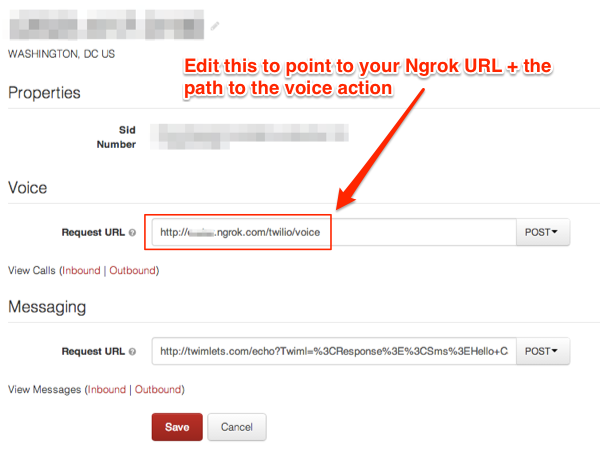
Step 6: Complete Configuration and Test
Head back to your Twilio dashboard, click on the “numbers” tab and click on your Twilo number. You’ll see a screen like the one below. In the field for Voice Request URL, please enter the URL to your Ngrok server plus the path to your voice action ( /twilio/voice).
Now, for the moment of truth: call your Twilio phone number. Keep an eye on Ngrok, you should see this happen when the call connects:
If you hear a message followed by some awesome music, you’re done! You have succeeded in integrating Twilio into your Rails 4 application.
[Credit to Michael Sallis for his Star Wars cantina remix which is shared under a CC 3.0 license]
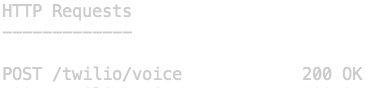
If you flip over to the terminal running your Rails app, you’ll also see this:

Not only is Twilio making a HTTP POST request to your app, it is passing a large number of parameters. These parameters are everything that Twilio knows about the number making the call (caller) and the number being called (callee) including geographic information like City. Your app can optionally use this information to be much smarter about how it responds to these requests.
Wrapping Up
And that’s it! You have now successfully:
- Signed-up for Twilio
- Acquired a phone number
- Set up a Rails 4 app
- Connected Twilio to your Rails app
- Processed an inbound phone call
All of the code I showed you today is hosted up on Github, feel free to fork away. In the next blog post, I’ll walk you through:
- Securing your webhooks so that only Twilio may access them
- Using Twilio’s REST API to do outbound SMS
Until then, happy hacking!
UPDATE: Check-out Part 2 of this blog post series.

Related Resources
Twilio Docs
From APIs to SDKs to sample apps
API reference documentation, SDKs, helper libraries, quickstarts, and tutorials for your language and platform.
Resource Center
The latest ebooks, industry reports, and webinars
Learn from customer engagement experts to improve your own communication.
Ahoy
Twilio's developer community hub
Best practices, code samples, and inspiration to build communications and digital engagement experiences.