Use Razor Layouts in FluentEmail to reuse Headers and Footers
Time to read: 6 minutes
June 14, 2022
Written by
Reviewed by

You can quickly and intuitively send emails using the FluentEmail library for .NET, but once you send many different emails in your project, you have to be able to organize your email templates in a good way to reuse content and enforce consistency in terms of format and design. Luckily, Razor Layouts can help you reuse parts of your templates like headers and footers.
Prerequisites
You will need the following for your development environment:
- Git CLI
- a .NET IDE (Visual Studio, VS Code with C# plugin, JetBrains Rider, or any editor of your choice)
- .NET 6 SDK (earlier and newer versions should work too)
You can find the source code of this tutorial in this GitHub repository.
Set up an SMTP server
To be able to send emails at scale, you'll need an email sending service like the SendGrid Email API, but for local development, you can use a fake SMTP server, or for this project, you will use smtp4dev, a powerful tool that allows you, through a local SMTP server, to send emails without actually sending emails to your clients.
Open your console and run this command to install smtp4dev as a global .NET tool:
And then run it with the following command:
In your console, you will see smtp4dev is running locally. The output will display the ports smtp4dev is using for the SMTP and IMAP protocols, and also what URL you can use to get to the web user interface, which in this case is https://localhost:5000 and https://localhost:5001. The interface will show the emails that would go out if hooked up to a real email service, so you can verify your emails were sent without actually sending them to end users.
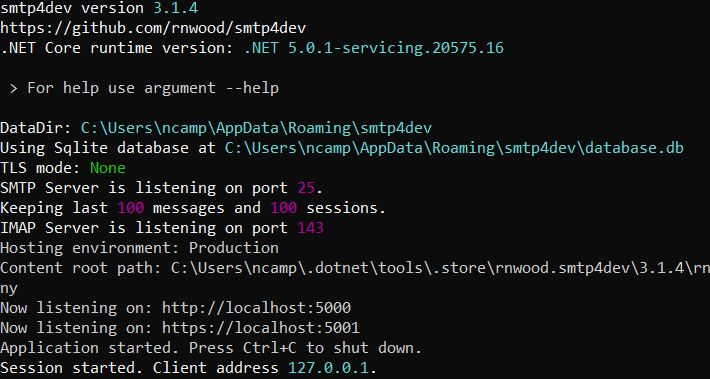
You'll also see the SMTP port used by default is port 25, and being on your own machine, the server hostname is localhost. You will need this port and hostname when configuring your mailing application.
If you want to learn more about smtp4dev, you can see this article with a more detailed example.
Why use Layouts?
Many projects will start with only one email template, but as the project grows and the number of templates increases, the templates will become harder to maintain. You will need to maintain a similar design between your templates, and specifically, you'll want to share a header and footer to maintain consistency in your communications with your users.
Maintaining that consistency by modifying each email template separately is a complicated task because you will need to repeat the same code in several templates. You could modify a header of a template and easily forget to modify the same header in your other templates.
Instead of duplicating your header and footer in each template, you can use Razor Layouts to simplify this process by creating a single layout with your header and footer, while still rendering the content that is unique to your template in between. For example, a template for a product promotion only needs to have the Razor and HTML to render the promotion but will be placed in between the header and the footer coming from the layout.
Before: Sending emails with duplicate header and footer
In a previous tutorial, I explained how you can install the FluentEmail library and use it to send emails. In this tutorial, you'll skip those steps and start from a sample where FluentEmail is already installed with code to send two emails. Clone the following project using git:
Next, open the project using the IDE of your choice. The default values should work fine for local development, however, feel free to change the highlighted values as you wish:
Run the application from the console:
Now, check the smtp4dev web portal (by default https://localhost:5001), which will show you the emails sent as if you received them in a real mailbox, with the corresponding design and texts:
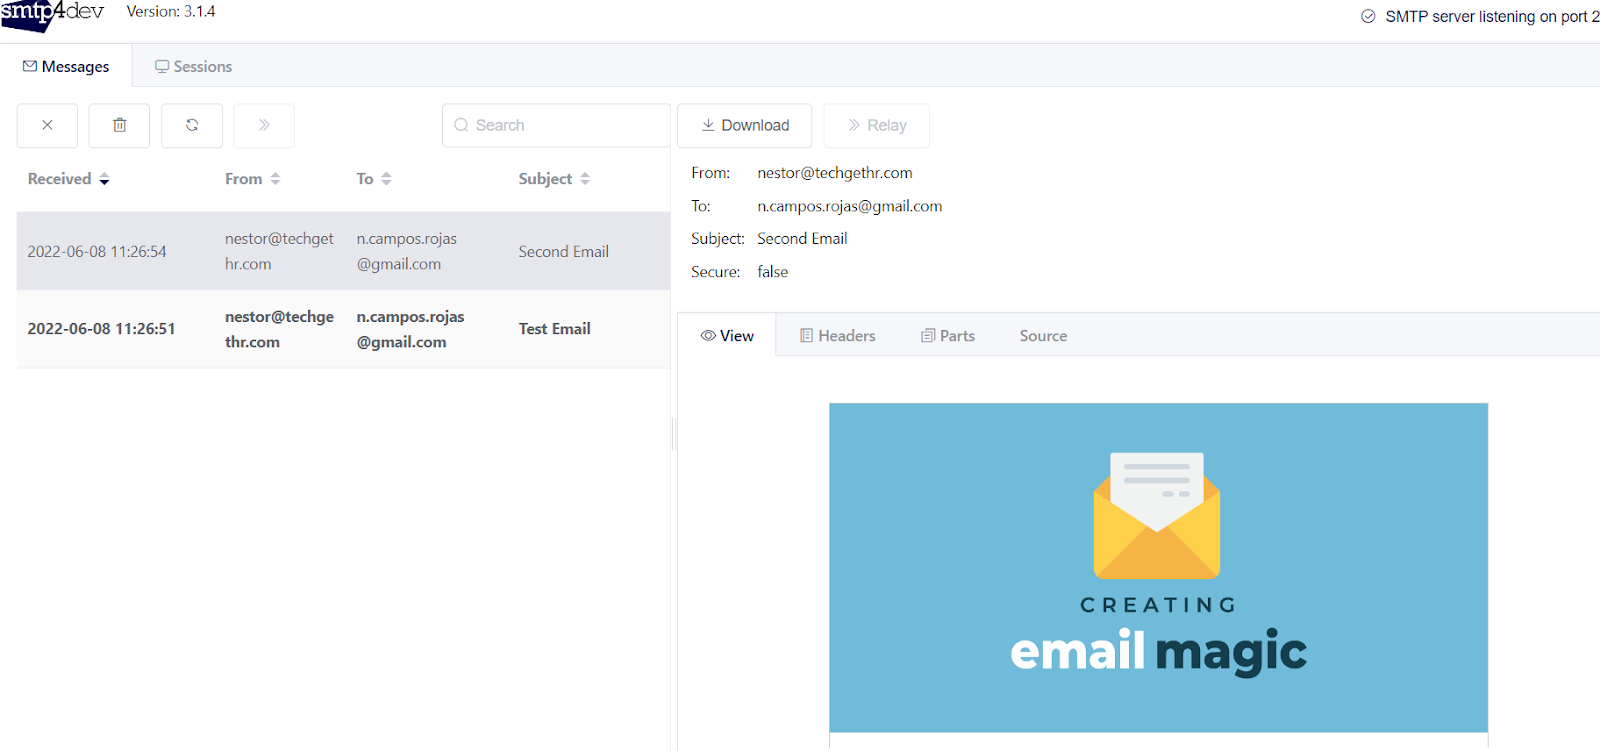
As you can see, the project works properly, but if you review the Razor files (.cshtml extension) in detail, you will realize that both files have a large part of the code duplicated, something that can be complicated to manage when there are already many templates that you have to code and maintain. At this point, it is that the Layouts can facilitate this process.
Create a Layout File
Now, create a file in the root called _DefaultEmailLayout.cshtml. Next, add the following code to the file:
As you can see, you are creating a generic view with a header and footer shared by all emails, where the RenderBody() method in the Layout code specifies the section that will be replaced by the specific template you decide to use when sending an email.
Update email templates
Modify the first template
Open the FirstTemplate.cshtml file and replace all the content with the following code:
What you have just done with this template is to specify the Layout that will be used for rendering all the code when generating and sending the email, and you adjusted the design of the specific content of this template.
Update the second template
Now, open the SecondTemplate.cshtml file, which will use the same Layout as the previous template. Updating with the following code in the file:
This template uses the same Layout but with different content, which now gives you the flexibility to adjust only what you need, either the content of this template or the header and footer if you want a change that for all your emails.
After: Send emails with Razor Layouts
You de-duplicated the header and footer HTML by moving the HTML out of the individual email templates, into a layout file, and then referenced the layout from those individual templates. With all that done, run your project again:
In a few seconds, two emails will arrive in the recipient's mailbox, similar to the following:
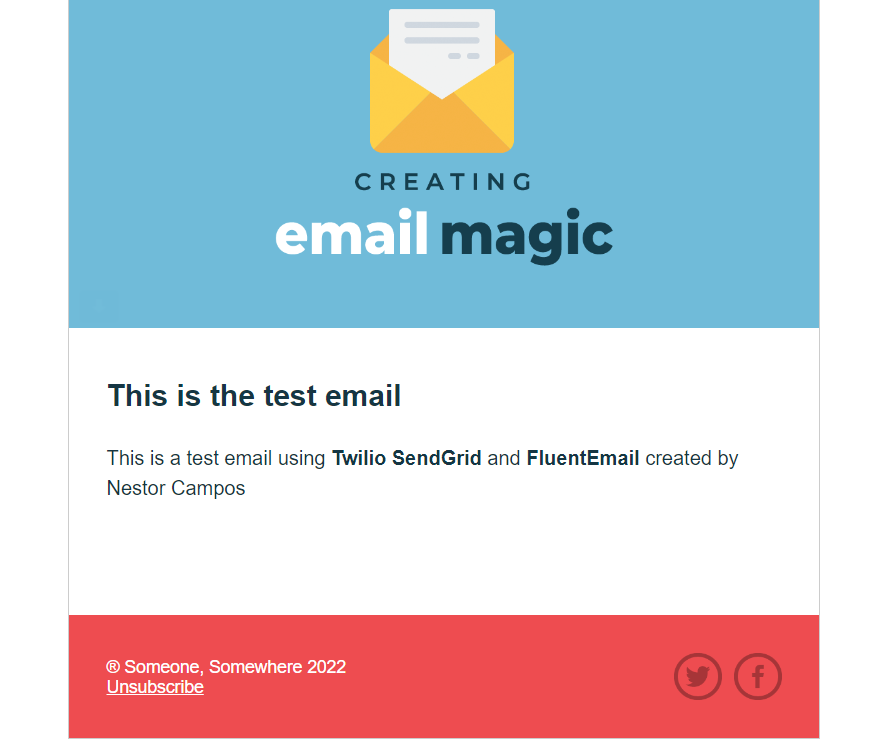
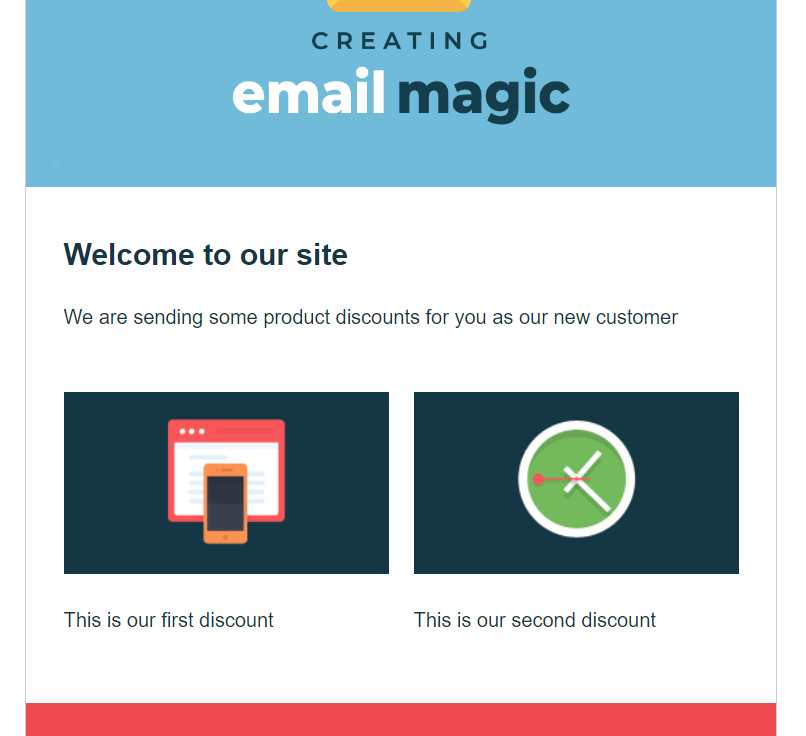
Actually, the resulting HTML is the same emails from the first execution, but now they will be easier for you to manage, focusing only on what is important in each template or adjusting the entire design of all of them from the _DefaultEmailLayout.cshtml view.
Using SendGrid with FluentEmail
While using smtp4dev locally is very useful, when you deploy your application to production, you'll need to use a real email server. One option is to use the SendGrid Email API, which lets you send emails at scale while maximizing deliverability. FluentEmail has built-in support for SendGrid. You can follow this tutorial to learn how to integrate SendGrid with FluentEmail.
Dynamic Email Templates from SendGrid
In addition to rendering email templates using Razor, an alternative solution is to use Dynamic Email Templates from SendGrid. Dynamic Email Templates will allow you to add your own designs or use designs available by default for your emails. You can create templates yourself through a graphical user interface or with code. These templates use the Handlebars templating language to create dynamic email templates and inject data into your emails. And just like the templates within the project, you can add your data to the template to customize the content delivered to each of your users.
Depending on your needs, storing the template in SendGrid instead of your source code could be beneficial, so you can update it at any time without having to redeploy your .NET application. Best of all, FluentEmail makes it easy to use these templates via the SendWithTemplateAsync() (source code) method.
Conclusion
Congratulations on making it to the end. 👏
You learned how to develop better Razor email templates by using Razor Layouts. I listed some additional resources below in case you want to learn more!
Additional resources
Check out the following resources for more information on the topics and tools presented in this tutorial:
FluentEmail repository – This repository contains all the information, classes, and methods to use FluentEmail.SendGrid library.
Layout in ASP.NET Core - More detailed explanation about Layouts in ASP.NET Core
Add FluentEmail to Dependency Injection – You can learn how to configure FluentEmail once into .NET's dependency injection container and use it throughout your apps.
How to send Emails in C# .NET with FluentEmail, Razor, and SendGrid
Handlebars at SendGrid - Learn how to use the Handlebars templating language for Dynamic Transactional Templates and Marketing Campaigns designs
Source Code to this tutorial on GitHub - You can find the source code for this project at this GitHub repository. Use it to compare solutions if you run into any issues.
Néstor Campos is a software engineer, tech founder, and Microsoft Most Valuable Professional (MVP), working on different types of projects, especially with Web applications.
Related Resources
Twilio Docs
From APIs to SDKs to sample apps
API reference documentation, SDKs, helper libraries, quickstarts, and tutorials for your language and platform.
Resource Center
The latest ebooks, industry reports, and webinars
Learn from customer engagement experts to improve your own communication.
Ahoy
Twilio's developer community hub
Best practices, code samples, and inspiration to build communications and digital engagement experiences.