Using SendGrid as Your SMTP Relay in Laravel PHP
Time to read: 4 minutes
April 11, 2019
Written by

Introduction
Laravel is one of the most famous PHP MVC frameworks with a great community. It provides all the features that are required to create your project, whether it is for personal or enterprise use. Laravel supports a wide range of SMTP providers by default, but at this time SendGrid is not available for us out-of-the-box.
This tutorial will help you to implement SendGrid to send emails over SMTP. After we’ve finished, you will have a running Laravel application that allows you to send emails to registered users using SendGrid. An added benefit is, we will be able to check out whether your email is read or opened by the user.
Requirements
Set Up a New Laravel Project
If you don’t have Laravel installed in your system, install it first from the Laravel Official Documentation. A guide to getting started from Laravel can be found in the laravel docs. Let’s start with setting up a new Laravel Project named “laravel-email”. Remember, you can give your project any name you want.
This will install Laravel v5.8 along with all the dependencies required by it. Composer post-create scripts automatically create the .env file for us and set the APP_KEY environment variable. Add the APP_KEY in the .env file by running this command if it is not configured automatically.
Next we need to add the database connection details to our .env file. We will use MySQL database for this project. After you have created your local database, add the DB_USERNAME, DB_PASSWORD and DB_DATABASE values in the .env file.
Create a SendGrid Account
Before going further, let’s set up a Twilio SendGrid account for emailing. Yes, SendGrid is now part of Twilio, powering the future of customer engagement on one platform.
Once we are done with account setup, let’s create a Mail driver for our Laravel application. Laravel supports both SMTP and PHP’s mail() function. By default, Laravel is set up for SMTP mail. Let’s create an SMTP Relay to get the configure SMTP and easily integrate email service within our Laravel application.
We will now create an API key to connect to our SendGrid account. Be sure to give your key a name. I have named my key laravel-email. Clicking on the “Create Key” button will generate the password for the associated username i.e apikey.
Once those steps are completed, please populate the .env file with your credentials as follows:
This will configure the Laravel mail driver for SendGrid configuration which we can cross check in the mail.php file under config directory. We have also added the MAIL_FROM_ADDRESS and MAIL_FROM_NAME env-keys in the .env file so we can read the name and address later on. We will verify the integration once we are done coding our app.
Create Auth Scaffolding for Login/Registration
Laravel makes implementing authentication very simple. In fact, almost everything is configured for you out of the box. If you’re unfamiliar, you can read more about Laravel Authentication from the documentation.
Run this command to add the Auth scaffolding to our Laravel project.
This will generate the Auth scaffolding for the project. Laravel 5.7+ comes with the email verification feature by default so we will use the default functionality first. Later on we will switch to Laravel queues so we can have an understanding of both implementations.
Use the Email Verification Feature
To use the Email verification feature we need to make sure that our App\User model implements the Illuminate\Contracts\Auth\MustVerifyEmail contract. Open App\User model file and make the following changes:
Our user migration table is already configured with the email_verified_at column and is set to nullable by default. It stores the date and time when the email address is verified. Run our database migration by running this command.
Email verification is an optional feature that comes with Laravel. We just need to enable routes to send verification links and verify emails. This can be done simply by passing the verify option to the Auth:routes() method. Open the web.php file under the routes folder to enable this option.
Laravel comes with a verified route middleware to allow access only to the verified users. So let's add this route to the home route like this:
Now that we have enabled the email verification feature, run this command to run the Laravel application.
Our Laravel App is running at localhost:8000. Let’s test it out.
Testing
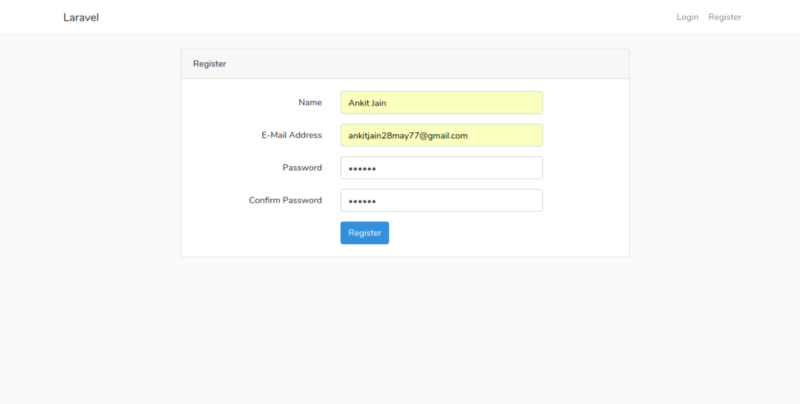
http://localhost:8000/register
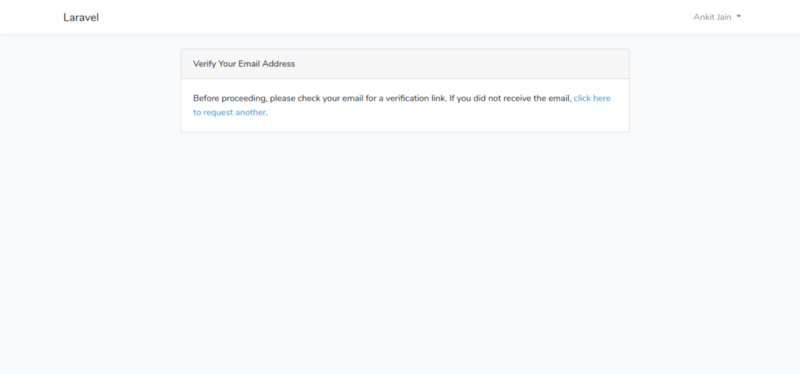
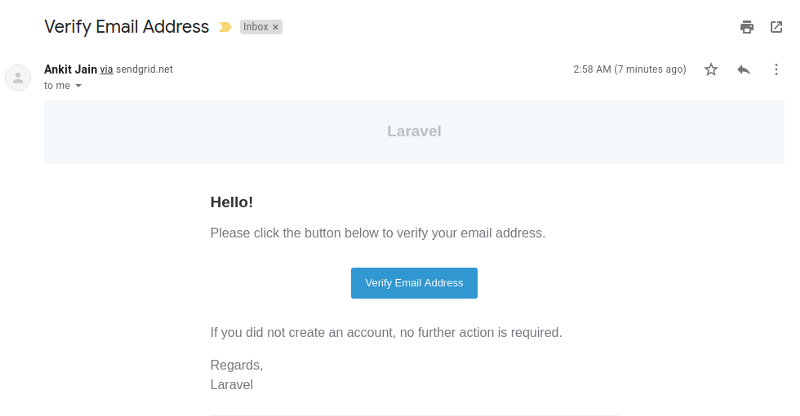
After registration, we will get this page which shows that our Laravel application is working as expected. Let’s check out an email which was sent by our application.
Notice, if we try to access the /home route, our application will redirect us back to the /email/verify route as we have added the verified middleware. If you’re curious, try to login with or without the middleware.
Once we verified the email, we will automatically redirect to the /home route. Let’s check the activity on the SendGrid Dashboard to better understand how this process works.
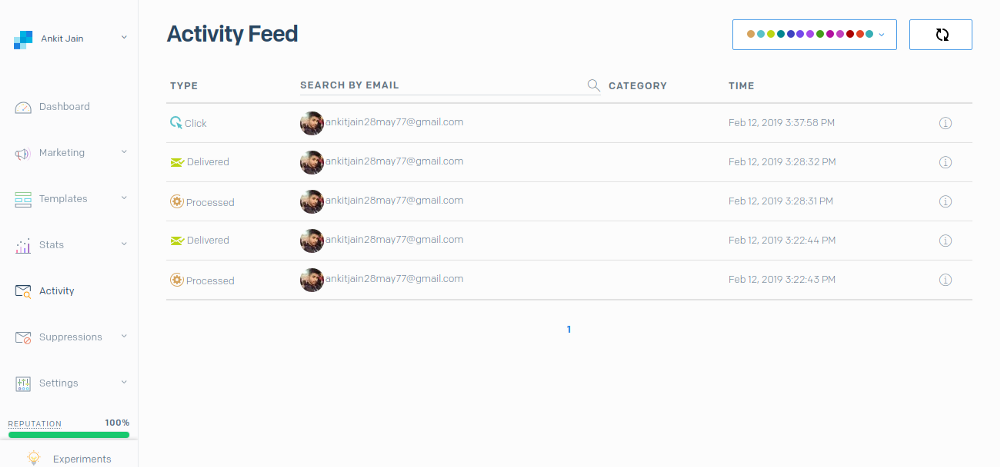
As we can see, the SendGrid Activity Feed shows us the completed status of our emails. I sent two emails and among them, I clicked only one so SendGrid shows the status of our email whether it is clicked or not. That’s the beauty of SendGrid!
Conclusion
In this article, we implemented the default way of sending emails in Laravel using SendGrid. In a follow-up post, we will extend that logic by implementing the Laravel Queue features and learn about listeners, jobs, mailable classes.
Feel free to comment and ask me anything. You can reach me at ankitjain28may77@gmail.com and follow me on Twitter @ankitjain28may. You can also read more of my articles on Medium @ankitjain28may.
Thanks for reading!
Related Resources
Twilio Docs
From APIs to SDKs to sample apps
API reference documentation, SDKs, helper libraries, quickstarts, and tutorials for your language and platform.
Resource Center
The latest ebooks, industry reports, and webinars
Learn from customer engagement experts to improve your own communication.
Ahoy
Twilio's developer community hub
Best practices, code samples, and inspiration to build communications and digital engagement experiences.