Implement Drag and Drop File Upload in CakePHP with Dropzone.js
Time to read:
November 30, 2023
Written by
Reviewed by
In the last article, you learned how to upload files in CakePHP. We'll take things further, in this tutorial, by creating a drag-and-drop file upload in CakePHP using Dropzone.js. Dropzone leverages AJAX to upload files without requiring a page refresh, making it an effective tool for developers and users.
Prerequisites
To follow this tutorial, make sure you have the following:
- Basic knowledge of PHP and web development concepts
- PHP 8.2 installed
- Access to a MySQL server
- Composer installed globally
Create a CakePHP project
To do this, navigate to the folder you want to install the project and run the following command:
When you're asked: Set Folder Permissions ? (Default to Y) [Y,n]?, answer with Y. This will install the latest version of CakePHP and give it the name drag_upload as the folder name for the project, and change into the newly created project directory.
Connect the database to the application
To connect the database to the application, open config\app_local.php in your preferred code editor or IDE. In the default section, inside the Datasource section, change the host, username, password, and database properties to match the credentials of your database, like so:
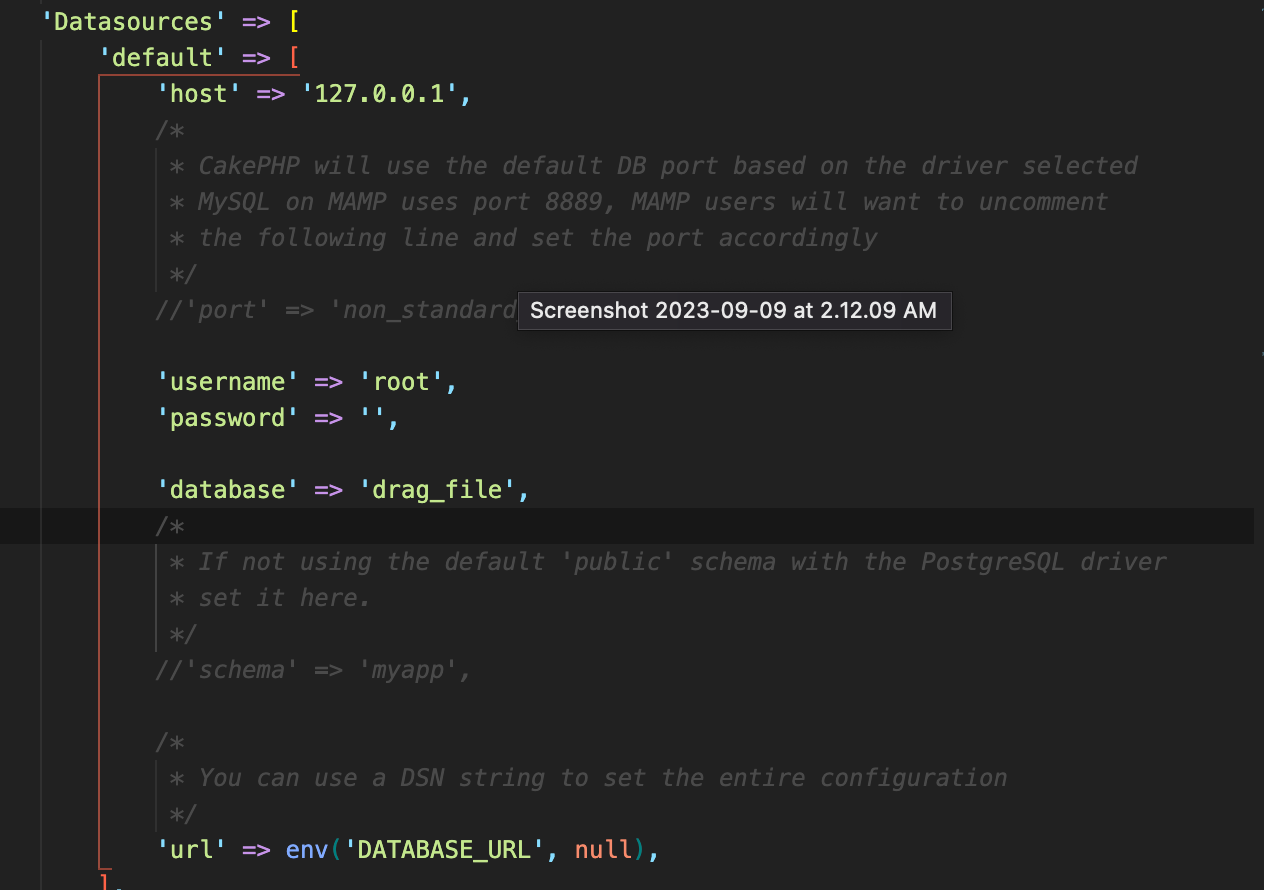
From the image above, the host was changed to 127.0.0.1, the username to root, the password was left blank, and the database was set to the one created earlier.
Create the database
To begin, we need a database to store information about uploaded files. Create one; I'll be naming mine drag_file. The next thing is to create a new table in your database called data_and_drop using the migrations feature in CakePHP. The table needs to contain the following fields:
- id: This field will serve as the unique identifier for each uploaded file. It should have a type of integer, be the table's primary index, with the not null and auto-increment attributes set.
- filename: This field will store the name of the data input. It should have a data type of varchar with a size of 255.
To do this, open up the terminal and run this command:
This will create a migrations file in config/Migrations/ ending with _CreateDragAndDrop.php. Open it, and replace the body of the change() function with the following code:
Next, run this command to run the migration:
This will create a table called drag_and_drop in the database. Our database should now look similar to:

Now, start the development server in your terminal, by running this command:
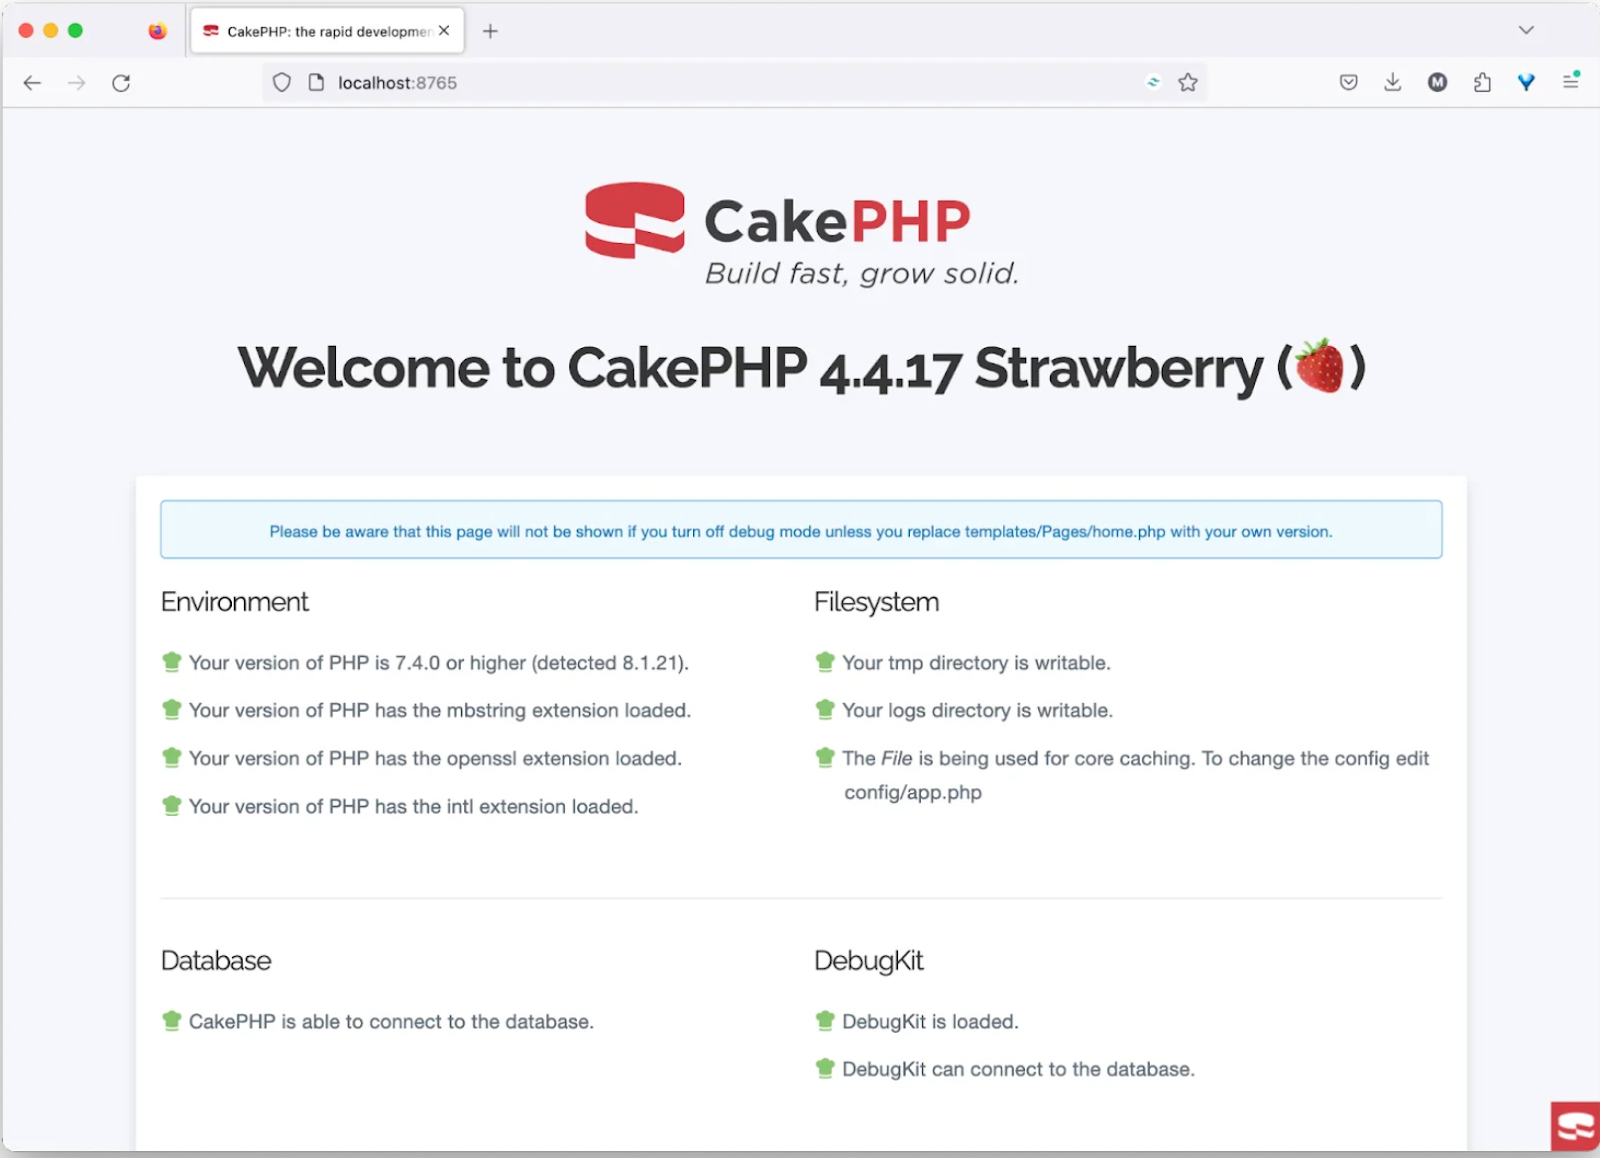
Now, if you open http://localhost:8675 in your browser of choice, it should look similar to the screenshot below.
Create a model and entity
To create a model and entity, open up a new terminal and run this command:
Running this command will create the model file DragAndDropTable.php inside the /src/Model/Table folder, and the entity file DragAndDrop.php inside the /src/Model/Entity folder.
Create a controller
To create a controller, open up the terminal once again and run this command:
Running this command will create a file called the DropzoneController.php file inside the src/Controller folder. Open the file, and inside it, paste this:
In the code above, DropzoneController manages the file uploads via Dropzone. It initializes the controller, loads the DragAndDrop model, and handles file uploads. It also validates uploaded files, processes valid image files, and saves them to a specific directory,
Create the template
To create a template, navigate to the templates folder and create a folder named Dropzone. Then, in the templates/Dropzone folder, create a file called dropzone.php and paste the following into it:
The code above creates a user interface that facilitates file uploads using Dropzone.js. It includes necessary styles and scripts, configures a form for file uploads, and defines settings for the Dropzone component to enable users to drag and drop multiple image files while restricting the file types and sizes.
Add a route
This will be the last thing that needs to be done. Navigate to config/routes.php and inside the call to $routes->scope(), paste this:
Restart and test the application
You can now check that the new functionality works as expected by opening http://localhost:8765/dropzone in your preferred browser. The page should look similar to the screenshot below.
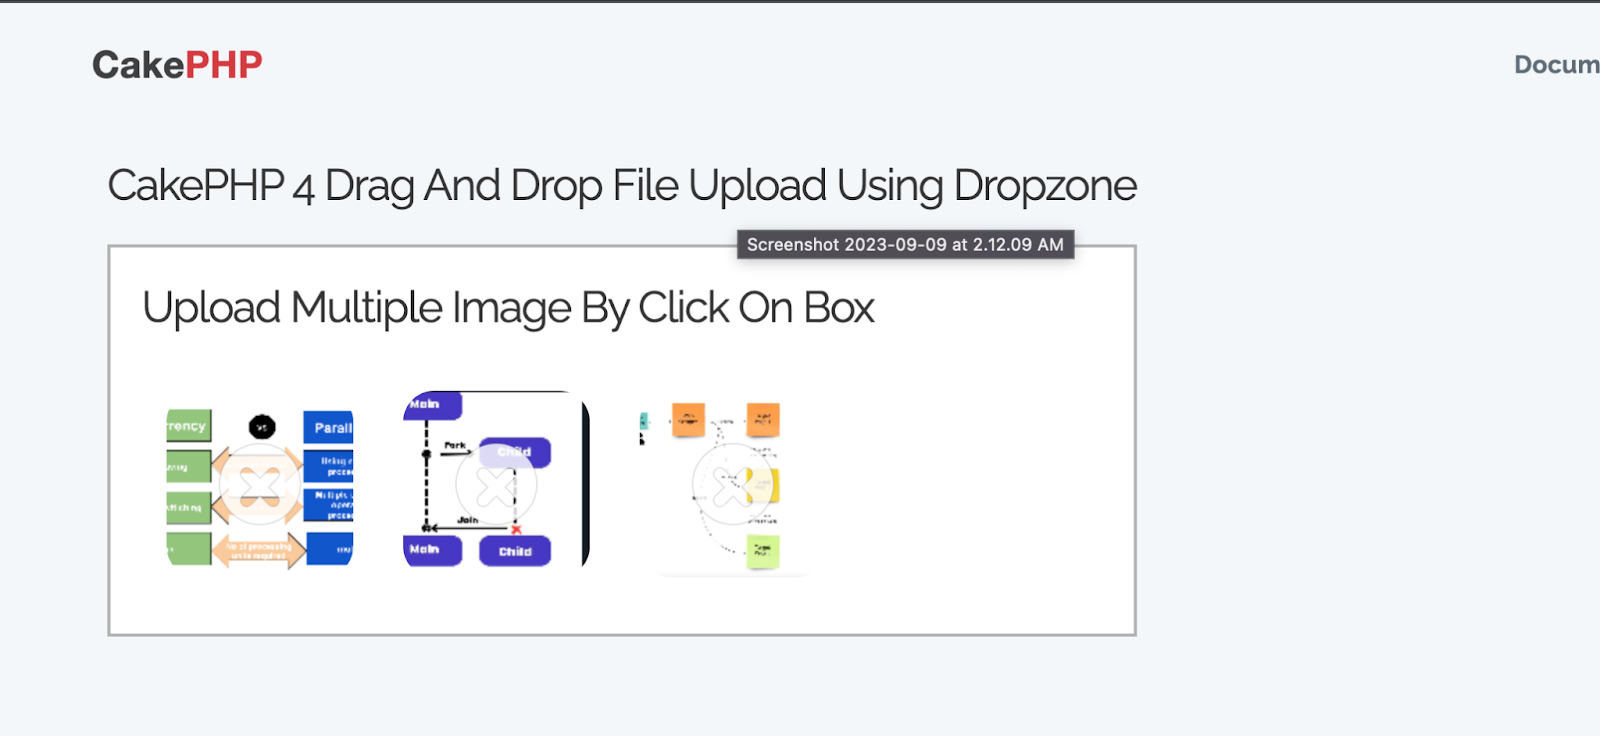
To upload an image, drag the desired image inside the box and it automatically uploads. You can upload as many as you want. When a file is successfully uploaded, it immediately provides a preview, which is helpful.
After uploading several images, the drag_and_drop table in your database should look like the screenshot below:

That's how to implement drag and drop file upload in CakePHP with Dropzone.js
In this article, we looked at another way to upload files in CakePHP, a drag-and-drop method using Dropzone.js. Dropzone helps by simplifying the management of file uploads in CakePHP Happy coding!
Temitope Taiwo Oyedele is a software engineer and technical writer. He likes to write about things he’s learned and experienced.


Related Resources
Twilio Docs
From APIs to SDKs to sample apps
API reference documentation, SDKs, helper libraries, quickstarts, and tutorials for your language and platform.
Resource Center
The latest ebooks, industry reports, and webinars
Learn from customer engagement experts to improve your own communication.
Ahoy
Twilio's developer community hub
Best practices, code samples, and inspiration to build communications and digital engagement experiences.