How to Send an SMS When Your Cron Job Fails
Time to read:
March 20, 2019
Written by

A modern-day business that relies heavily on tech to operate requires virtually no downtime at all. Case scenario would be an e-commerce business which needs to reconcile its sales every day through cron jobs that run at scheduled times of the day. Mitigating issues when the crons fail takes time since there is no way to alert the stakeholders. This may lead to huge losses or embarrassment to the company depending on the type of reports you are generating via cron.
In this tutorial, we are going to learn how to use the Twilio Programmable SMS API to send text messages when a cron job fails. We will create a simple cron job that sends weekly emails to users then integrate with Twilio Programmable SMS API to send an SMS when the cron fails.
Prerequisites
Ensure you have the following installed in your local development environment.
- PHP - Version 7.0 or higher.
- Composer
- Laravel
- Twilio SDK package to allow us send messages.
Also, head over to Twilio to create a Twilio account.
This tutorial assumes you have a basic understanding of PHP concepts. If not, you can follow this tutorial to get up to speed. Knowledge of Laravel is not required. I will explain what every function does in detail.
Getting Started
Follow the instructions below to get started:
Or
Then run:
The laravel new email-cron-scheduler creates a new Laravel application inside our demo-app folder and it also installs all the necessary dependencies Laravel needs to run our application. In case you are new to Laravel and would like to understand the purpose of each folder inside our new application, you may have a look here.
Creating Laravel Command To Send Emails
Laravel contains a number of drivers that allow us to send emails using many service providers including Mailgun, Mandrill and Mailtrap. For this tutorial, we are going to use Mailgun as our email service provider.
- Create a free account on Mailgun.
- Verify your phone number and email.
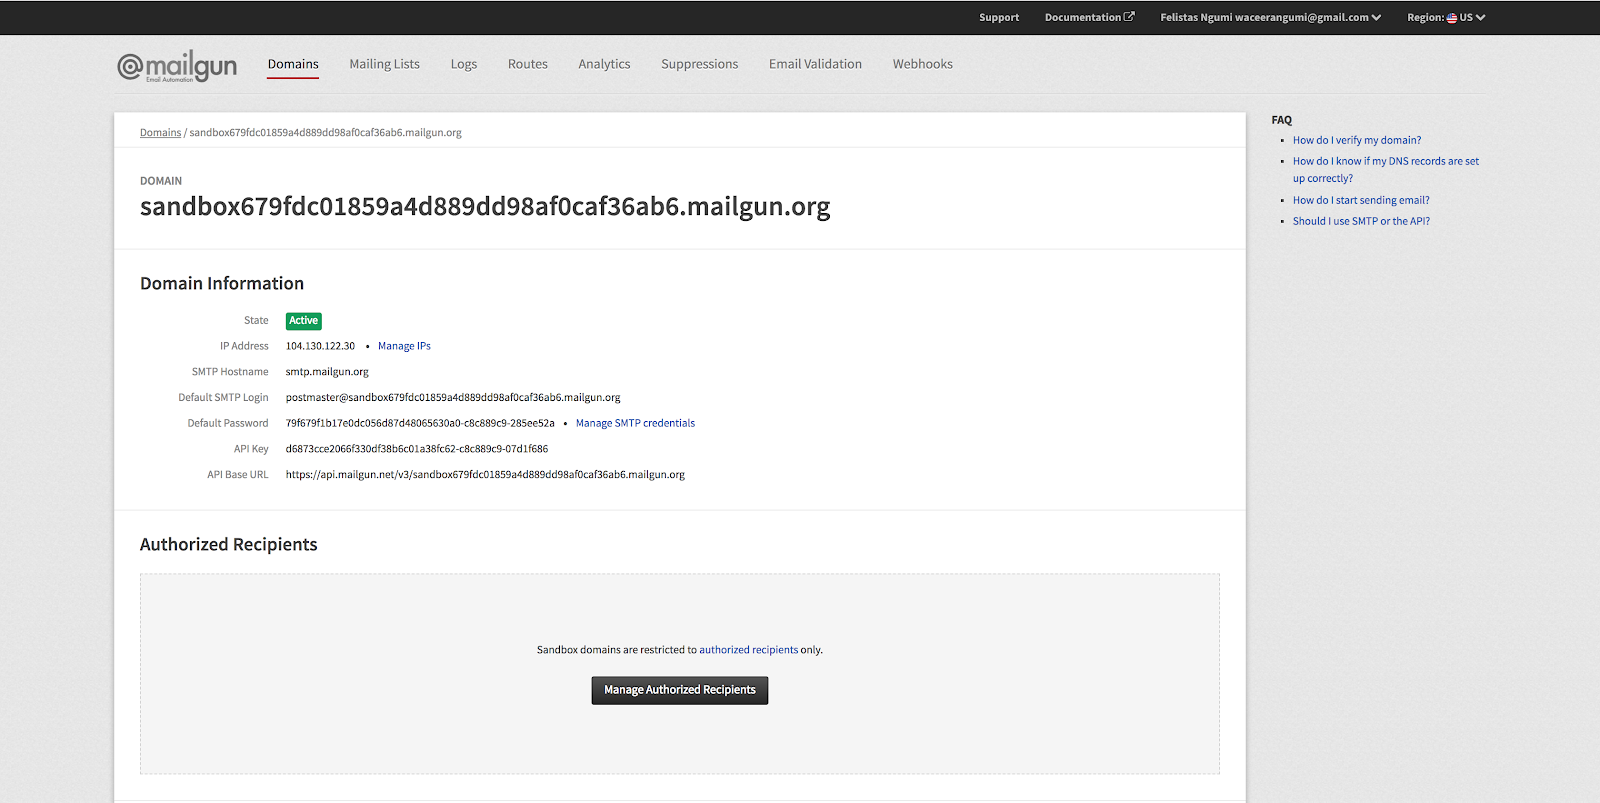
- Locate your API Key and Secret Key from your Mailgun active domains dashboard.
NOTE: For a test Mailgun account, you will need to add recipients in the active domain dashboard in order to successfully send emails.
By default, Laravel’s mail driver is set to SMTP. We need to change this value to Mailgun in our .env file and add some more configurations.
Navigate to config/mail.php and confirm the driver is set to pick from our .env or manually set it. The configuration should be: ‘driver’ => env(‘MAIL_DRIVER’, ‘smtp’). Ensure the Mailgun secret and domain are properly set in config\services.php. The email service provider ’mailgun’, should be an array containing the following key-value pairs.
If you are not using Mailgun in the US, you can specify an endpoint key in your config\services.php file. The final array will be similar to the one below:
We are now ready to create a command to send emails :-).
Create a Mailable Class To send Emails
From your terminal, run php artisan make:mail EmailScheduler. This command will create a file named EmailScheduler.php in the app/Mail directory. The file will create the emailScheduler class with boilerplate code. Since this is a beginner tutorial, I’d like to keep the code as simple as possible for easy understanding. Replace the boilerplate code with:
All the mailable class configuration is done inside the build method. Some of the common methods called within this function include attach, from and subject. Let’s customize the build class to send emails for us.
Inside the build function, we have defined and configured our address (the sender of the email), our subject on the email and the name of the sender. Our function then returns the view.body of the email which will be called when sending the email.
Next, we need to create our email template file under resources/views/emails/newThisWeek.blade.php:
This is just a simple template, you can customize it however you want it to appear :-).
Create a Custom Command To Send Our Email
Laravel provides an artisan command for creating commands that can be executed by the server. Run this command to create the scheduleEmail command that will be stored in the app/Console/Commands directory.
Replace the boilerplate code with:
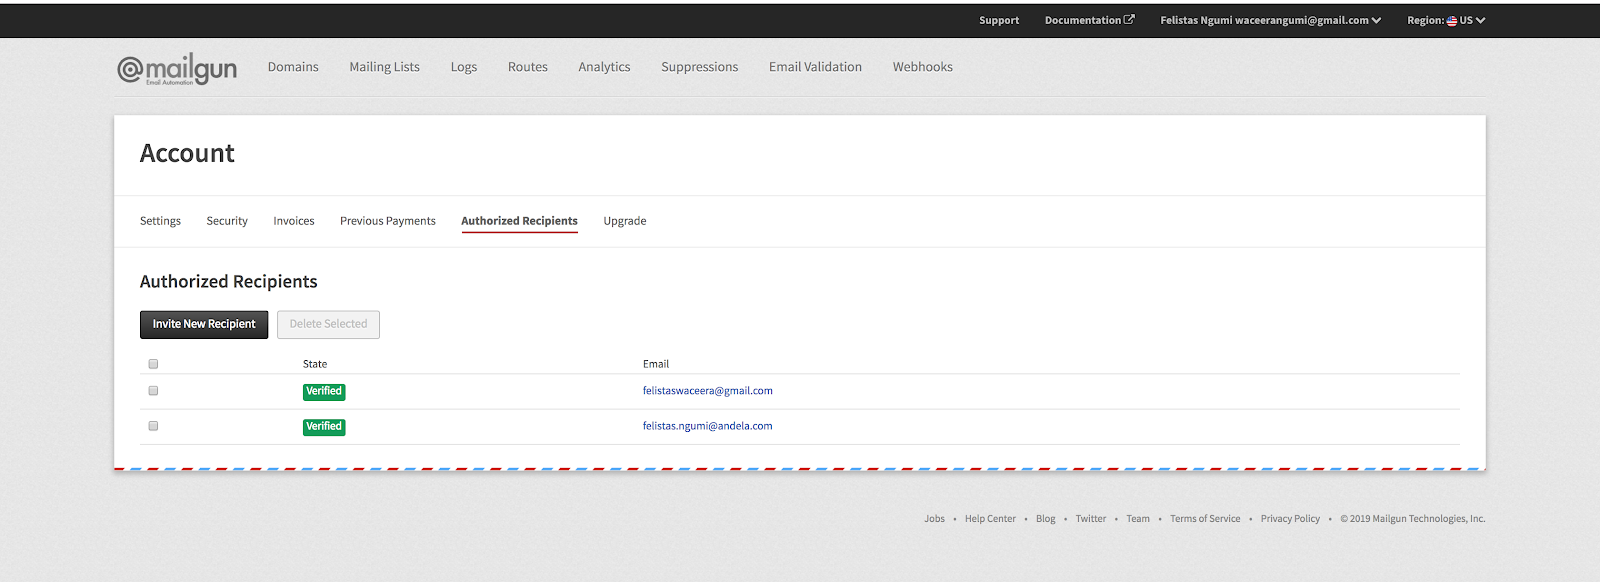
If you want to send the email to multiple people, you can do so by creating an array with the recipients. Otherwise, you can include the recipient in the to function i.e Mail::to(xyz@gmail.com’)->send(new EmailScheduler());. Since we are using a free Mailgun account, ensure to have added the recipients under the Authorized Recipientstab in the Mailgun dashboard.
Note: The recipients also need to accept receiving emails from Mailgun too.
Next, we need to schedule our command to run weekly. For demonstration purposes, we will schedule our command to run every minute. We will use our local development setup as a server. Navigate to app/Console/Kernel.php and add this code snippet under the schedule function.
Ensure to import your scheduleEmail class at the top of the file. Open a new tab in your terminal and navigate to the root of our project. Paste this command:
That will run the cron job for us. Viola! Our cron job is now running as expected.

Integrating Twilio Programmable SMS to send SMS Notifications once the cron job fails.
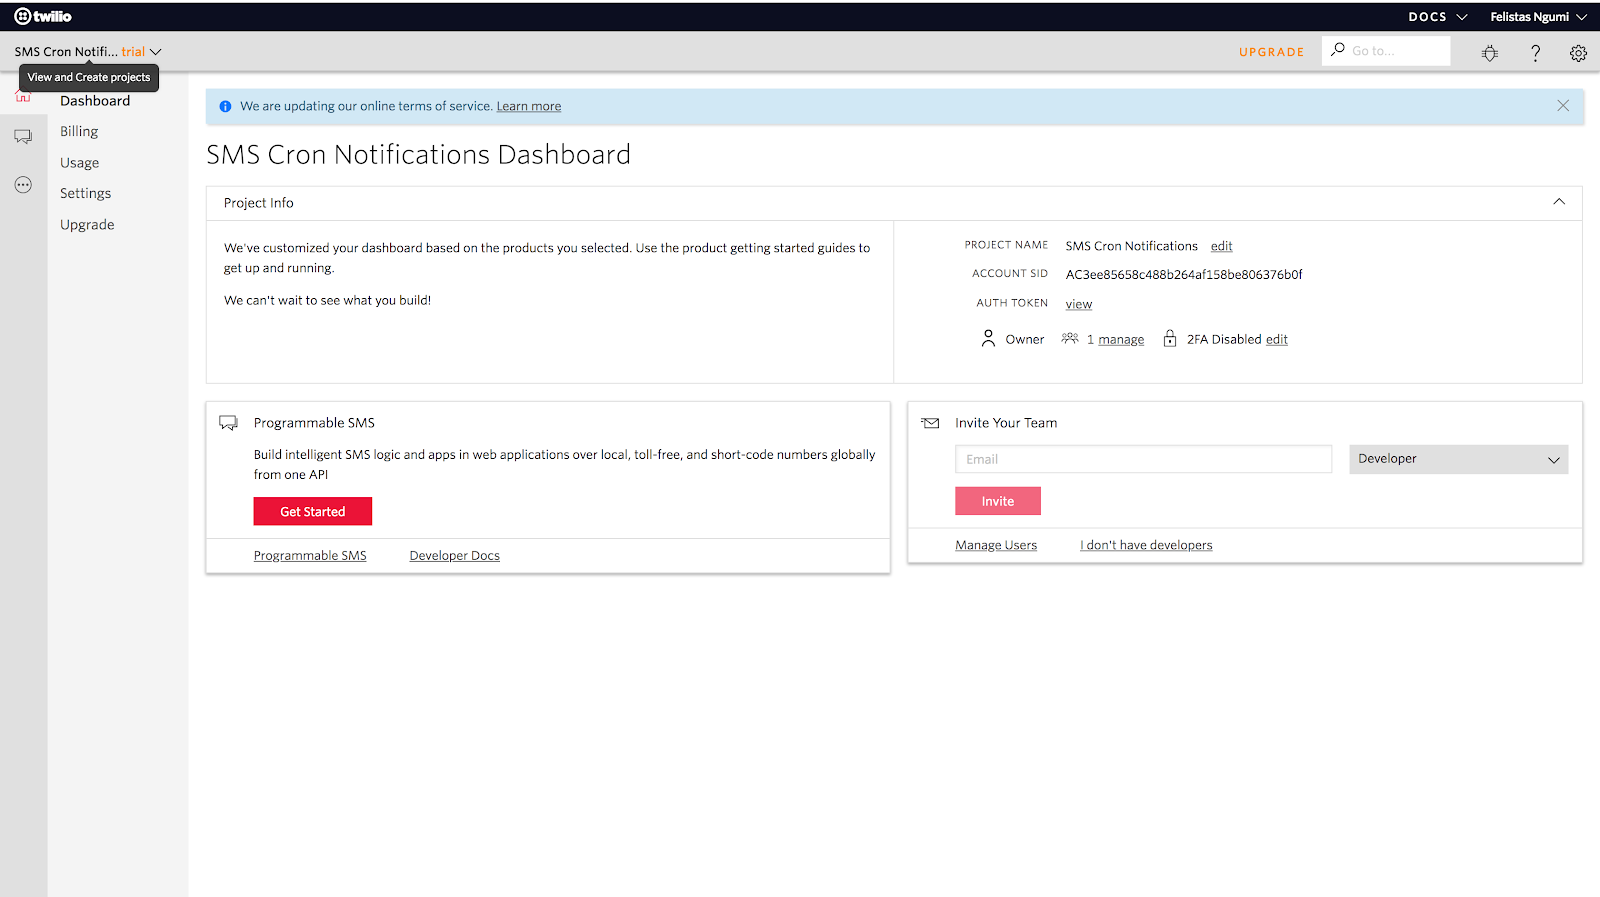
After you have created and verified your account on Twilio, you will be redirected to the dashboard where you need to create your project. Under the Products tab, select Programmable SMS then click Continue. Next, you are required to key in your project name. I have named mine SMS Cron Notifications. Twilio offers you a chance to invite teammates to collaborate on your projects too. If you have them, add their email addresses and Twilio will send an invite to them. If not, you can skip this step and you will be redirected to the Console dashboard.
Some few things to note about the free account would be:
- Twilio will only send SMS to verified numbers in certain countries. You can confirm if your country is listed.
- All messages sent from the trial account will begin with “Sent from a Twilio Trial Account”.
- You are limited to only one number and your account will have $15.50. You can use this cash to purchase Twilio numbers.
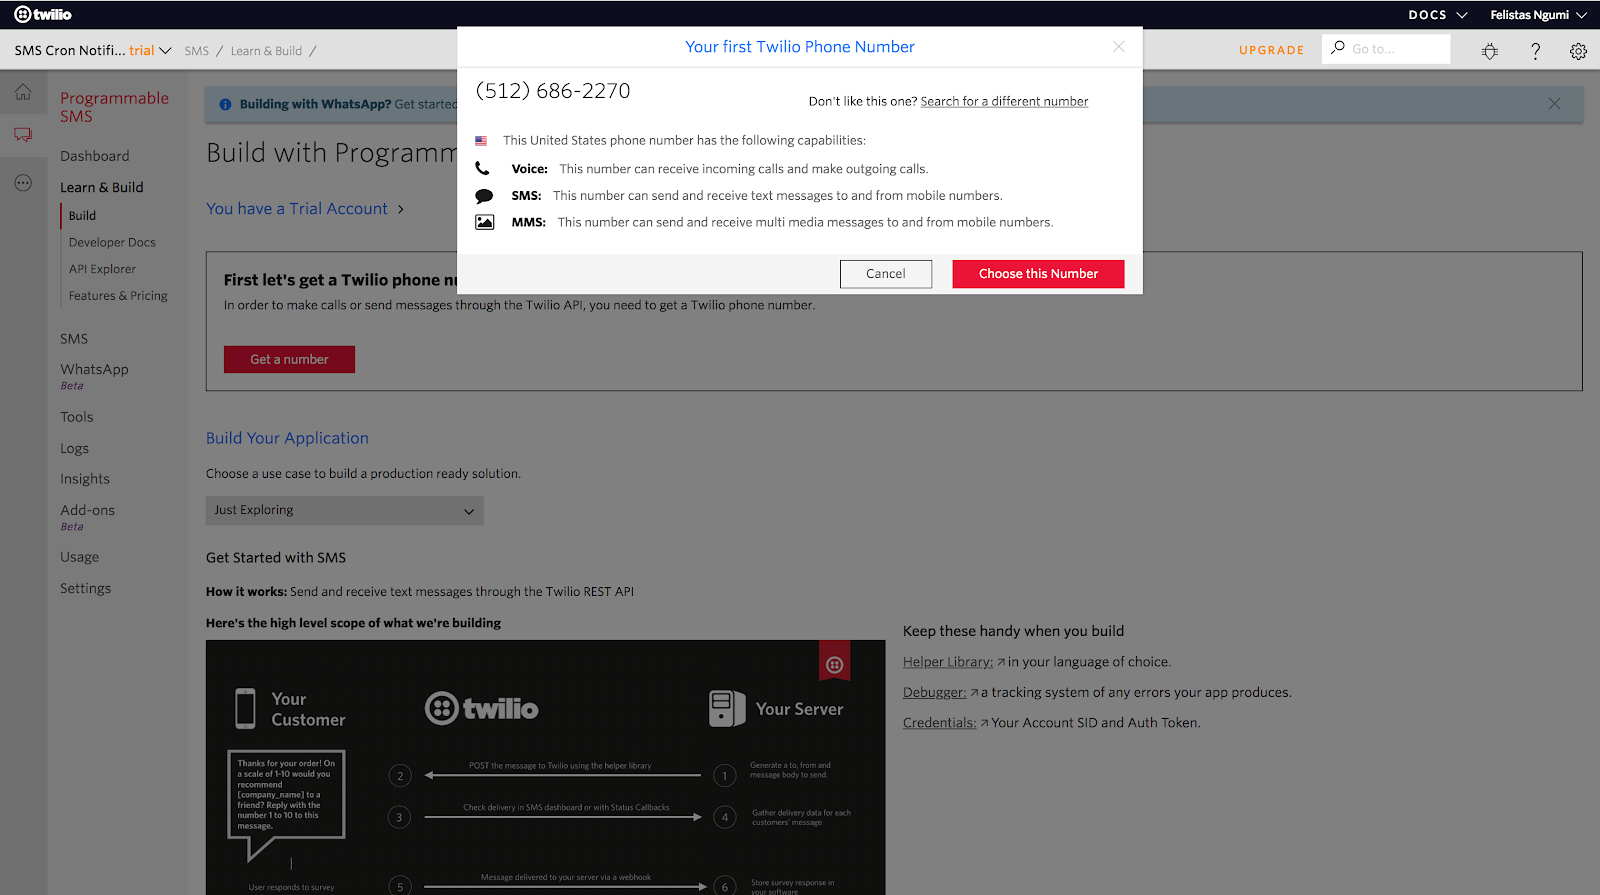
Click on the Get Started button in order to purchase a number. Next, click on Get a number button and the resulting pop up will be similar to the one below that will show you a list of options on how you can use the number.
Navigate to the console dashboard to obtain the Account SID and Auth Token that we will use to send the SMS.
In our .env file, add the following keys:
Next, replace the scheduleEmail command with:
Ensure the recipient in the to method has been verified by Twilio to receive SMS. I have added a try catch method that catches the exception thrown once the cron fails and sends an SMS to the recipient specified. Inside the catch method, I’m checking for the status code returned, then instantiating the client in line:
This gives us access to the various methods that will allow us to send messages.
Testing
From our instance, we access the messages method then call a series of methods including create where we specify our recipient, body and from. Ensure the value entered for the from key is the number you purchased from Twilio. Next, we need to intentionally make the cron fail by providing an invalid email.
Let's restart now the cron to test . Voila!, we get the SMS sent to us.

Conclusion
It’s been a long time coming! In this tutorial, we’ve learned how to use the Twilio Programmable SMS to send text messages when cron jobs fail. This can be applied in situations where your business heavily relies on certain crons to run and the response time during downtime needs to be fast enough. I would love to hear from you! Happy hacking!

Related Resources
Twilio Docs
From APIs to SDKs to sample apps
API reference documentation, SDKs, helper libraries, quickstarts, and tutorials for your language and platform.
Resource Center
The latest ebooks, industry reports, and webinars
Learn from customer engagement experts to improve your own communication.
Ahoy
Twilio's developer community hub
Best practices, code samples, and inspiration to build communications and digital engagement experiences.