Use Inky and Sendgrid to Send Beautiful Emails
Time to read:
June 21, 2023
Written by
Reviewed by

You cannot overemphasise the importance of emails in modern-day communication.
Software applications have latched on to this and integrated email for sending notifications. There's just one problem: designing beautiful, dynamic emails can be a pain due to the myriad of email clients, browsers, and mobile devices with which one can view emails.
The accepted best practice is to use tables and extensive inline styling to beautify the email, but this makes for complex templates which can be difficult to debug and modify.
But it doesn't have to be that way. In this article, using Symfony, Sengrid, and the Inky framework, I will show you how to design responsive email layouts without the complexity. I will also show you how to inline external CSS files to make your templates easier to work with.
To top it all off, I will show you how to implement asynchronous email dispatching. You will do this by building a simple application with only one page, a form which allows you to type in a message and the recipient(s).
Prerequisites
To follow this tutorial, you will need the following things:
- A basic understanding of and familiarity with PHP and Symfony
- A SendGrid account. If you are new to SendGrid, click here to create a free account
- PHP (minimum version 8.0)
- Composer globally installed
- The Symfony CLI
Set up the project
Create a new project folder named inky_demo and navigate into it using the following commands.
Create an email template with Inky
The first thing you’ll work on is the template for the email your application will send. As mentioned earlier, Inky allows you to include external CSS in your email template. These CSS files will be stored in the project's public folder. To create this directory structure, run the following command.
Skip the -p argument if you're using Microsoft Windows.
This command creates a new folder named css which holds all the CSS assets for the application, and in it another folder named email which holds all the CSS assets for email related functionality.
Next, download a compressed archived of the Foundation CSS files and uncompress it. Then, copy the two CSS files from the css folder in the uncompressed archive to public/css/email.
After doing so, the structure of the public folder should match the following.
Answer n when prompted with the following message
At this point a folder named templates will have been created for you. This folder will hold the Twig templates that will be used by your application. In this folder, create a new folder named email. Then, in the templates/email folder create a new file named inky.html.twig and add the following to it.
The inline_css filter allows you to include external stylesheets in your template while the inky_to_html filter is used by Twig to process your Inky template into regular html i.e., including the tables and rows, etc. These filters are chained and applied to the template via the apply tag.
You can also apply styles directly to HTML documents. This shows you how Inky doesn’t require you to learn anything new to use it. It’s only extracting tedious boilerplate code, allowing you to focus on the email content itself.
This template expects only one variable named paragraphs. This is an array and each element in the array will be rendered within a <p> tag.
When specifying the source for the foundation-emails.css file, note that instead of a full path, the file name was prepended with @styles. This refers to a template namespace. You will need to specify which folder this namespace is referring to.
To do this, open the Twig configuration located in config/packages/twig.yaml and update it to match the following.
In the paths declaration, the location of the email CSS files is specified as a key, while the namespace is specified as a value.
Now you have a beautiful template, but you still need a way of sending the emails. The next step is to create a form which can be used to send emails to one or more people with any message you want.
Set up Sendgrid and Mailer
Before you can send emails via SendGrid you need to log in to your account and set up a Sender Identity. If you already have one, however, you can skip to the next section where you will use your SendGrid credentials in your application.
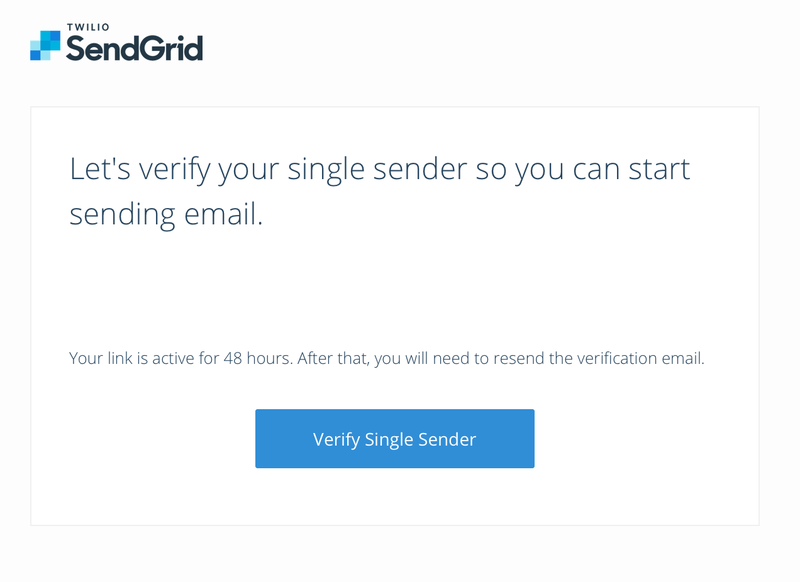
For this tutorial, you will take the Single Sender Verification approach in setting up a Sender Identity. Log in to the SendGrid console. Then, under Settings > Sender Authentication click Verify a Single Sender to start the process. Fill the form displayed on the screen and click Create.

A verification email will be sent to the email address you provided in the form. Click on the verification link to complete the verification process.
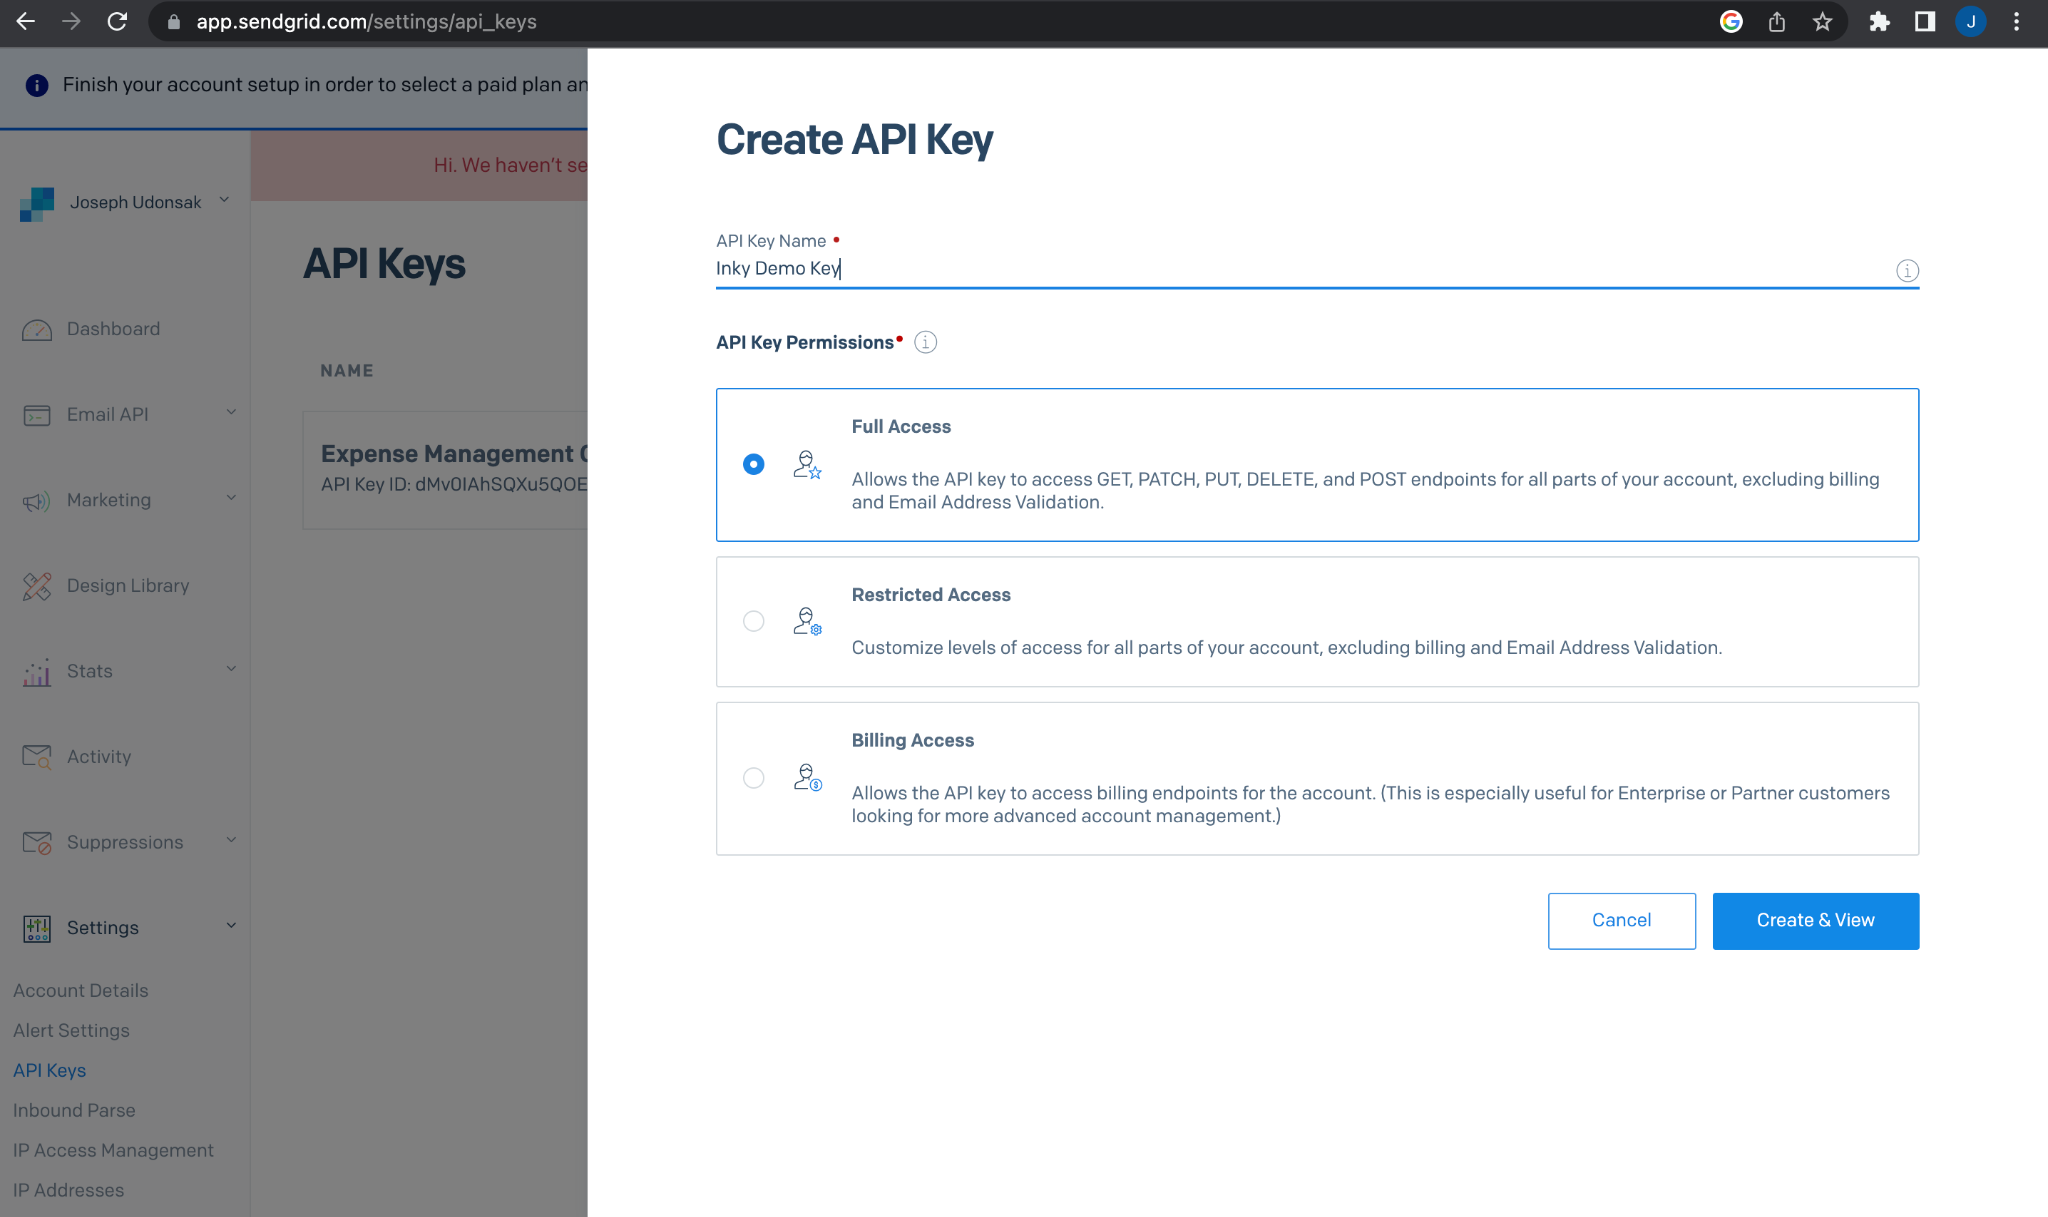
Once the verification process is completed, open Settings > API Keys and click the Create API Key button. Fill out the displayed form and click the Create & View button in order to view your API Key.
The next screen will show your API key.
Next, add the Symfony SendGrid Mailer Bridge component using the following command.
After that, add your Sendgrid API key to the application's environment variables. To do that, create a .env.local file from the .env file, which Symfony generated during creation of the project, by running the command below.
Then, update the relevant values in .env.local as shown below.
Bind the sender email and sender name to the service container by updating config/services.yaml to match the following.
Create the send email form
Create a new controller using the following command.
This creates a new file named IndexController in the src/controller folder. It also creates a new template located in templates/index/index.html.twig. With it created, update the base template in templates/base.html.twig to match the following.
This adds Bootstrap (via CDN) to your templates and adds aesthetic value to the form you’re about to create.
Next, update the newly created templates/index/index.html.twig to match the following.
The form consists of a text area where the user can type in the content of the email, and a text box for the email address of the recipient. This form is dynamic and allows for the addition of more than one email address.
At the bottom of the template, you will notice that two Javascript files are referenced in the javascripts block. The next step is to add them.
In the public folder, create a new folder named js which will hold all JavaScript-related code. Next, in the public/js folder, create two new files named recipient.js and formValidator.js. Add the following to recipient.js.
The handleAddRecipientButtonClick() and deleteRecipientField() functions respond to button clicks for adding and removing fields respectively. The HTML for the new input field is created via the getRecipientFieldJSX() function.
Next, add the following to public/js/formValidator.js.
This script is used to validate the form client side before sending the submitted data to the backend.
Next, update src/Controller/IndexController.php to match the following.
The index() function is responsible for rendering the form and handling the submitted response. When the form is submitted, the message parameter is retrieved and split into multiple paragraphs. The array of recipients is also retrieved, and for each recipient the injected mailer is used to send an email with the rendered Inky template as the email body.
To see this in action, run the application with the following command.
By default, the application is served on port 8000. Open it in your browser to test your application. Type in a message and then include one or two email addresses as recipients. Next submit the form and wait till you get the success message: Emails sent successfully.
Asynchronous messaging
At the moment, the emails have to be sent before the success message is rendered. This impacts the waiting time before the success message is displayed - the more recipients, the longer the waiting time.
Also, if there were to be some downtime with the email provider, the user would encounter an error page. Even worse, they would have to restart the process for something that wasn’t their fault. Needless to say, sending notifications this way could negatively impact user experience. This is why notifications are sent asynchronously.
Asynchronous messaging means that the emails are queued and handled separately while the application continues its execution process. This gives the user the impression that things are happening instantly. It also provides a failsafe in the event that something beyond the user’s control goes wrong.
For example, if there is a downtime with the service provider and the email cannot be sent, it is transferred to a failed queue where the support team can investigate and retry once the issue is resolved.
The Messenger component will be used to achieve this, in conjunction with Doctrine. This will allow you to use a database as the transport for asynchronous processing of your messages.
SQLite will be used for the database. In a new terminal session, create a new file named data.db in the var folder with the following command.
Next, in .env.local update the DATABASE_URL environment variable to match the following configuration.
Then, update config/packages/messenger.yaml to match the following.
Next, set up your transports using the following command.
This creates a new table named messenger_messages in the database.
Next, create a new message class named NotifyRecipients using the following command.
When prompted, route the message to the async transport by pressing 1 as shown below.
This command creates two new files: src/Message/NotifyRecipients.php which contains the message and src/MessageHandler/NotifyRecipientsHandler.php which handles the message. The message will contain the email content and an array of recipients, while the handler will contain the code to be executed in order to handle the message.
Update the code in src/Message/NotifyRecipients.php to match the following.
In general, messages don’t contain any logic. They are holders for the information the message handler requires to function appropriately.
Next, update src/MessageHandler/NotifyRecipientsHandler.php to match the following code.
The __invoke() function is called to handle the NotifyRecipients message. This function receives the message as a parameter. The body of this function looks similar to the body of the index() function in the controller. Instead of retrieving the email content and recipients from a request, they are retrieved from the message. Otherwise, the code is the same.
Next, update src/Controller/IndexController.php to dispatch a message and remove the code that has been moved to the message handler. It should match the code below.
With this in place, the email creation will be handled asynchronously, but not dispatch of the email. To fix this, route the SendEmailMessage to the async transport. In the config/packages/messenger.yaml file, update the routing configuration to match the following.
Now, both the creation and dispatch processes are handled asynchronously. The next thing to do is to consume the messages for the async transport. Do this by running the following command.
With your application running, try sending a few more emails out. Notice that, this time, regardless of how many recipients you type in the success message is displayed immediately, and the messages are queued and handled accordingly as shown in the terminal.
Conclusion
The main aim of this article was to show you an easier alternative to building email templates for Symfony applications by taking advantage of Inky. In conjunction with Twig filters that allow you to inline external CSS files, you were able to come up with a template that is simpler to manage. To top things off, you also saw how easy it is to integrate SendGrid into a Symfony application, and handle email generation and dispatch asynchronously.
In case you get stuck at any point, feel free to access the codebase here. I’m excited to see what more you come up with. Until next time ✌🏾
Joseph Udonsak is a software engineer with a passion for solving challenges – be it building applications, or conquering new frontiers on Candy Crush. When he’s not staring at his screens, he enjoys a cold beer and laughs with his family and friends.


Related Resources
Twilio Docs
From APIs to SDKs to sample apps
API reference documentation, SDKs, helper libraries, quickstarts, and tutorials for your language and platform.
Resource Center
The latest ebooks, industry reports, and webinars
Learn from customer engagement experts to improve your own communication.
Ahoy
Twilio's developer community hub
Best practices, code samples, and inspiration to build communications and digital engagement experiences.