Using Google Glass, Twilio, Ruby, and Sinatra to Send and Receive SMS Messages
Time to read: 6 minutes
May 09, 2013
Written by

Join the discussion on Hacker News!

Myself and other developers have been giddy with glee at the recent release of Google Glass, one of the first largely available wearable computing platforms. After the Glass Foundry hackathons in January, I couldn’t wait to start building awesome applications such as GlassTweet with the Mirror API and helping others do the same.
Today, I’d like to debut the first tutorial on building Twilio applications for Google Glass, where you will learn how to receive SMS messages via a Twilio phone number on your Google glass and how to respond to them using the Glass voice commands.
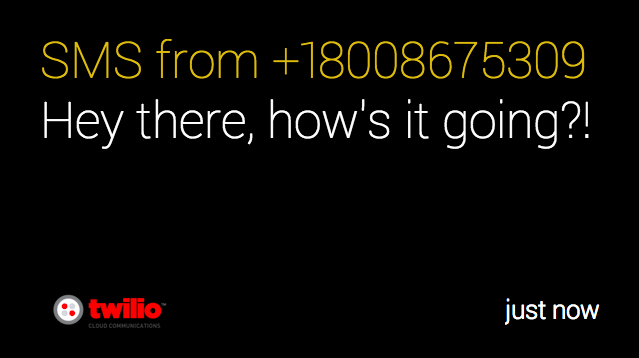
Glass can send and receive SMS by default via the MyGlass Android app. However, I often use Twilio phone numbers for people I would not be comfortable giving my real phone number to. I wanted to be able to receive SMS just through my Glass device, not my phone, and only receive SMS from certain people.
If you’d like to see the end result, check out the video below before getting started:
Let’s Get Started
The first step is to follow the Mirror API quickstart guide – while this guide is for Python, the steps for creating a new Mirror Application in Google’s API console are the same as for Ruby. Once you have your Client ID and Secret, we can move on.
A few more basics before we get started: If you haven’t used Sinatra before, I recommend giving a quick look at their README. For those of you coming from a Python background, it is a similar framework to Flask. If you are new to Twilio, make sure you have signed up for an account and have upgraded it so that you can send outgoing SMS to unverified numbers. I would also recommend reading some of our Quickstart tutorials.
Now let’s dive into some code! First off, lets set up our Gemfile and config.ru:
Next we have to set up our data store. We will need to store OAuth credentials and the user’s Twilio phone number. For this, I decided to use the awesome data_mapper gem. Let’s create a new file and set up our database schema:
All we are doing here is forcing the application into SSL mode, defining our schema, requiring the necessary gems for our application, and telling DataMapper to run an automatic migration whenever we deploy our application. This is a great feature and makes it really easy to add new fields to our table in the future. Now that our data store is all set up, we can start writing our before block, which is evaluated before any route is processed.
Our before block thus far is doing some basic configuration of the different Google and Twilio API libraries. We put in our Client ID and Secret from Google’s API console, and we put in our Account Sid and Auth Token from our Twilio Dashboard. We also need to put in the base_url of our application. In my case, I pushed my app to Heroku but you can host it on any server that can run Ruby. I would recommend using a host that supports SSL.
Note that we are authorizing our application with the glass.timeline and userinfo.profile scopes – this gives us access to a user’s basic Google account data as well as their Glass device. We won’t need more than that for this application but if you wanted to expand it in the future you could certainly add more Google services here such as GMail or G+. We also initialize our @glass and @oauth2 objects based on the Google gem’s discovery documents.
Now that all of this basic setup is complete, we can finish up our before block by adding the following code:
Here we are dealing with three different incoming hits to our application. The first is /subcallback, which is the route that Google will send user-initiated responses to – in this case we look up the user’s auth token based on data passed along from the Mirror API callback. The next is if session[:token_id] – this situation occurs when a user is already logged in to our service, so we look at their session cookie. And the last is if we are receiving an SMS – in this case we get the user’s auth token by looking up their phone number from Twilio’s POST parameters. We end this block by refreshing the token if needed and redirecting the user to the Google OAuth login screen if they have not yet authorized their account. Now we can go ahead and create the routes for OAuth authentication.
Our first route, /oauth2authorize, redirects the user to Google for authorization. Our second route, /oauth2callback, is where the user is redirected to after completing the authorization flow. First we create a new TokenPair database entry for the user to store their OAuth credentials and we also store it in the session cookie for when they return to the website.
Next we make a request to the Twilio API to search for available US phone numbers. We then purchase the first available number and assign it to the user to be saved with their TokenPair.
And lastly, we make a request to the Mirror API to subscribe to timeline card INSERT notifications. We will get an INSERT notification when the user clicks on the Reply button on their Glass in order to reply to an SMS. Once all of this is completed, we redirect them to the root route.
Here we verify that they have authenticated their account by querying the Google Userinfo API to retrieve the user’s name and provide them with a simple greeting and we inform them of their new Twilio phone number that we purchased earlier. Now that all of our authentication code is written, we can write the routes that handle incoming and outgoing SMS messages. The first of these two routes is /receivesms – Twilio will make a request to this route every time it receives an incoming SMS message to your phone number.
When we receive the incoming SMS, we create a new timeline card on the user’s Glass. This card is given the REPLY menu action, which allows them to speak a reply to the message. We also give it a READ_ALOUD menu action to have the Glass read the SMS message aloud to the user.
We then set an HTML block to be displayed as well as the text we want spoken to the user. Most importantly, we set the sourceItemId to our SmsSid – this allows us to pass along Twilio’s SMS message identifier so that we know who to reply to later. We finish by returning a blank response to Twilio, though you could add your own SMS auto-reply here if needed.
When the user “Replies” to the message on their Glass, Google will make a request to /subcallback. The first thing we need to do is pull up the timeline item that was created for the user’s new Reply. This timeline item contains the transcribed speech-to-text from Glass. We then look up the timeline card that the user was replying to, which represents our incoming message that we created in the previous method (/receivesms). This card contains the SmsSid so that we can look up the message and find out who the sender was. We then make a request to Twilio to send an SMS from our user’s Twilio phone number to the sender of the original message, with the text that they spoke to Glass.
Now our application is completed. You should be able to run a bundle install and push this straight to Heroku or to the host of your choice, navigate to the base URL, and then start sending and receiving Twilio SMS messages on your Glass device. You can see the full application on Github here.
To get started on a more complex application, I recommend my scaffold project GlassRails, which is a very basic setup to get you going with OAuth and the Mirror API with Ruby on Rails.
If you have any questions, feedback, or conspiracy theories about Skynet please feel free to Tweet @jonmarkgo or e-mail me at jonmarkgo@twilio.com

Related Resources
Twilio Docs
From APIs to SDKs to sample apps
API reference documentation, SDKs, helper libraries, quickstarts, and tutorials for your language and platform.
Resource Center
The latest ebooks, industry reports, and webinars
Learn from customer engagement experts to improve your own communication.
Ahoy
Twilio's developer community hub
Best practices, code samples, and inspiration to build communications and digital engagement experiences.