How to Add Keyframe Animations to iOS Apps in Swift 4
Time to read: 4 minutes
February 11, 2019
Written by

In the beautiful world of modern iOS applications, not much stands out more than well applied animations and transitions. They capture the user’s attention and set your app apart from the competition. If you’ve ever wished to add cool animations to your current or future projects but felt it was too challenging, this article is purposely meant to change your mind.
Tools You’ll Need
To be able to follow along with this tutorial, there are a couple of prerequisites before we start. You will need:
- A Mac running the latest point release of macOS X Sierra or later.
- Xcode 8 or later.
- Basic knowledge of the Swift 4 language and Auto Layout.
Getting Started
Now that we have all that we’ll need, let’s find out what we’re going to be working on.
I have already set up a small project for us to work on. You can download it here or if you prefer to check out the GitHub repo, you can do that as well.
Once you’ve downloaded or cloned it, go ahead and open the project file. You should find a file structure that looks like this:
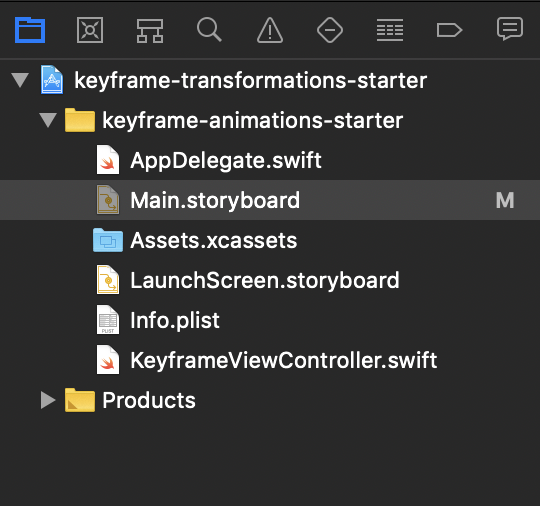
Open Main.storyboard and you’ll see a single view controller with a simple maroon background, a blue UIView at the centre of the scene and an Animate button at the bottom. We will be using this view controller to demonstrate animating views using keyframes.
The scene is connected to its respective custom class with the necessary outlets and action methods available.
Animating Keyframes
This is a very exciting part of iOS animations that I enjoy working with. If you’ve done video-editing or something similar, you might have an idea of what keyframe animations entail. However, if you have no idea of what to expect, don’t worry, I will explain the concept in a simple way.
You can think of keyframe animations as a sequence of subanimations that are combined to form one larger complex animation.
The timing of these subanimations is defined relative to the duration of the larger combined animation.
That’s all great but it’s always best to see it in action so we can dive straight in.
Open KeyframeViewController.swift and in the animate(sender:) action method, start typing UIView.animate and from the Xcode autocomplete, select the animateKeyframes(with duration: …) option.

Fill it in with the following parameters:
We’re going to be adding our subanimations or keyframes inside the animations: closure.
Start typing UIView.addKeyframe and select the option that the autocomplete provides. There are two parameters’ purposes that are not exactly obvious:
- withRelativeStartTime - The time at which to start the specified animations. This value must be in the range 0 to 1, where 0 represents the start of the overall animation and 1 represents the end of the overall animation. For example, for an animation that is two seconds in duration, specifying a start time of 0.5 causes the animations to begin executing one second after the start of the overall animation.
- relativeDuration - The length of time over which to animate to the specified value. This value must be in the range 0 to 1 and indicates the amount of time relative to the overall animation length. If you specify a value of 0, any properties you set in the animations block update immediately at the specified start time. If you specify a nonzero value, the properties animate over that amount of time. For example, for an animation that is two seconds in duration, specifying a duration of 0.5 results in an animation duration of one second.
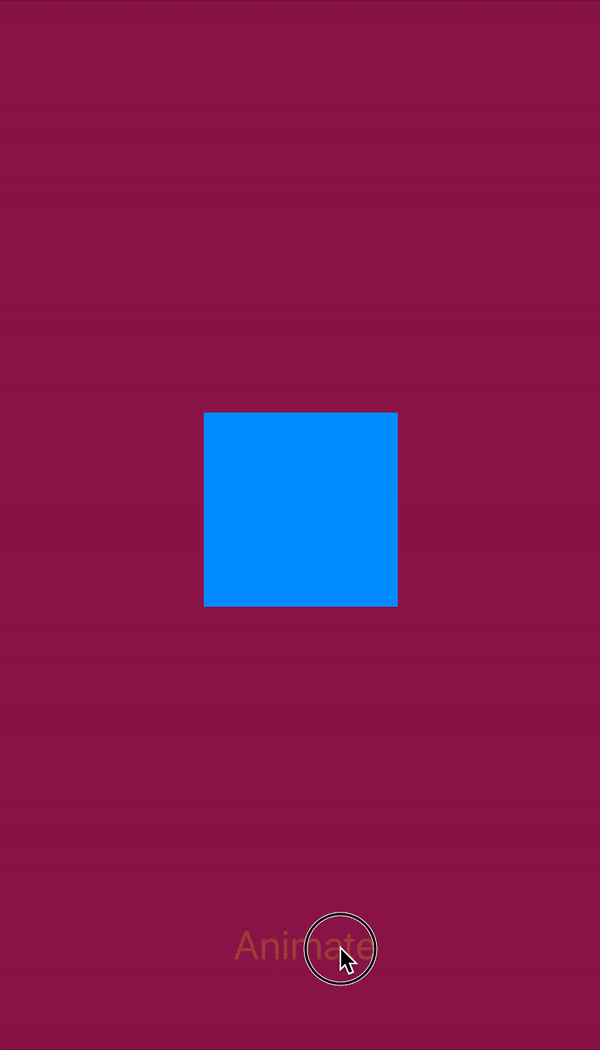
Now that we’re up to speed on the new parameters, let’s decide on what we want to make the blueView do. How about we make it move left, then up, then right, then down and finally back to its original position? Sounds great? Awesome, let’s do that.
The first movement will be towards the left. It will have a relative start time of 0 and let’s give it a relative duration of 0.125. Let’s also make the view a bit smaller as well while we’re at it.
In the animations' closure, add the following keyframe:
The good thing about keyframe animations is that each individual keyframe is independent so you can always run it at a specific point and see if you like the animation before adding another.
The next movement we want to achieve is upwards so add another keyframe, right after the closing parenthesis of the previous keyframe, to handle that.
Notice the relative start time of the second keyframe. It starts at the end of the first one and goes on for a quarter of the total animation duration.
Note: If you do not add keyframes, the animation will run over the specified duration like a standard animation method.
Quick Tip: You can overlap keyframes, if you so wish, however, do not animate changes to the same property on two overlapping keyframes.
The next movement will be towards the right side of the screen, so let’s add another keyframe for that.
Next, add another keyframe to move the blueView to the bottom right corner of the screen.
Lastly, add the final keyframe to return the view back to its original position and size.
The whole keyframe animation method should now look like this:
Build and run your project and marvel in the beauty of keyframe animations upon clicking the animate button.
That’s just the basics on keyframe animations. It barely scratches the surface of what you can do. You can combine keyframes animations to perform powerful and more complex animation curves.
Go ahead and experiment with keyframes, like adding an overlapping keyframe that changes the color or the alpha of the view or whatever you would like. You can also add animations options in the options: parameter.
If you type ‘.’(dot notation) in the empty set of the options: parameter, the Xcode autocomplete will hand you a couple of options from the UIViewAnimationOptions enumeration.
The most basic ones are:
- .curveEaseIn - The animation begins slowly and speeds up as it progresses.
- .curveEaseOut - The animation begins quickly and slows down as it completes.
- .curveEaseInOut - The animation begins slowly and accelerates in its mid-phase and slows down as it completes (a combination of the two above).
- .autoReverse - The animation runs backwards and forwards indefinitely (this has to be paired with the
.repeatoption).
You can find out more about the UIView Animation API and the animation curves in my other post regarding Constraint Animations
The overall animation should look something like this:
Conclusion
You can download the complete tutorial project here or check out the repo on GitHub and compare with your own.
If you would like to explore more about iOS animations, I would suggest you have a look at my other posts on Constraint Animations, View Animations and Animating View Properties.

Related Resources
Twilio Docs
From APIs to SDKs to sample apps
API reference documentation, SDKs, helper libraries, quickstarts, and tutorials for your language and platform.
Resource Center
The latest ebooks, industry reports, and webinars
Learn from customer engagement experts to improve your own communication.
Ahoy
Twilio's developer community hub
Best practices, code samples, and inspiration to build communications and digital engagement experiences.