Adding Twig as a View Renderer to Slim in PHP
Time to read: 5 minutes
December 04, 2019
Written by

Slim is an excellent PHP micro-framework. Out of the box it gives you compatibility with PHP standards (PSRs), PSR-11 for the container, PSR-7 for HTTP messages and PSR-15 for middleware. Its lightweight design gives you the bare minimum to get started with your web application; routing, a middleware dispatcher, error handling and a container. You need to wire up the additional services needed to handle requests and return responses.
But where do we start? Let's take a look at installing a clean installation of Slim from a community skeleton, and add our first component to it; the Twig templating engine.
Starting with Slim
Slim provides a skeleton application that lets you get started quickly, but it's designed more with an API in mind than a web application. I prefer to start with a more lightweight skeleton from Slim maintainer Rob Allen. Rob’s starter comes with PHP-DI dependency injection container, and a Monolog logger configured for us. It's pretty straightforward to use Composer to add Slim as a dependency and add your own index.php to start dispatching requests, it's covered in the documentation. Rob's already done this for us, so let's create a new project from their starting point:
twilio-slim is my project name, Composer creates the skeleton application in this directory and installs all the dependencies we need.
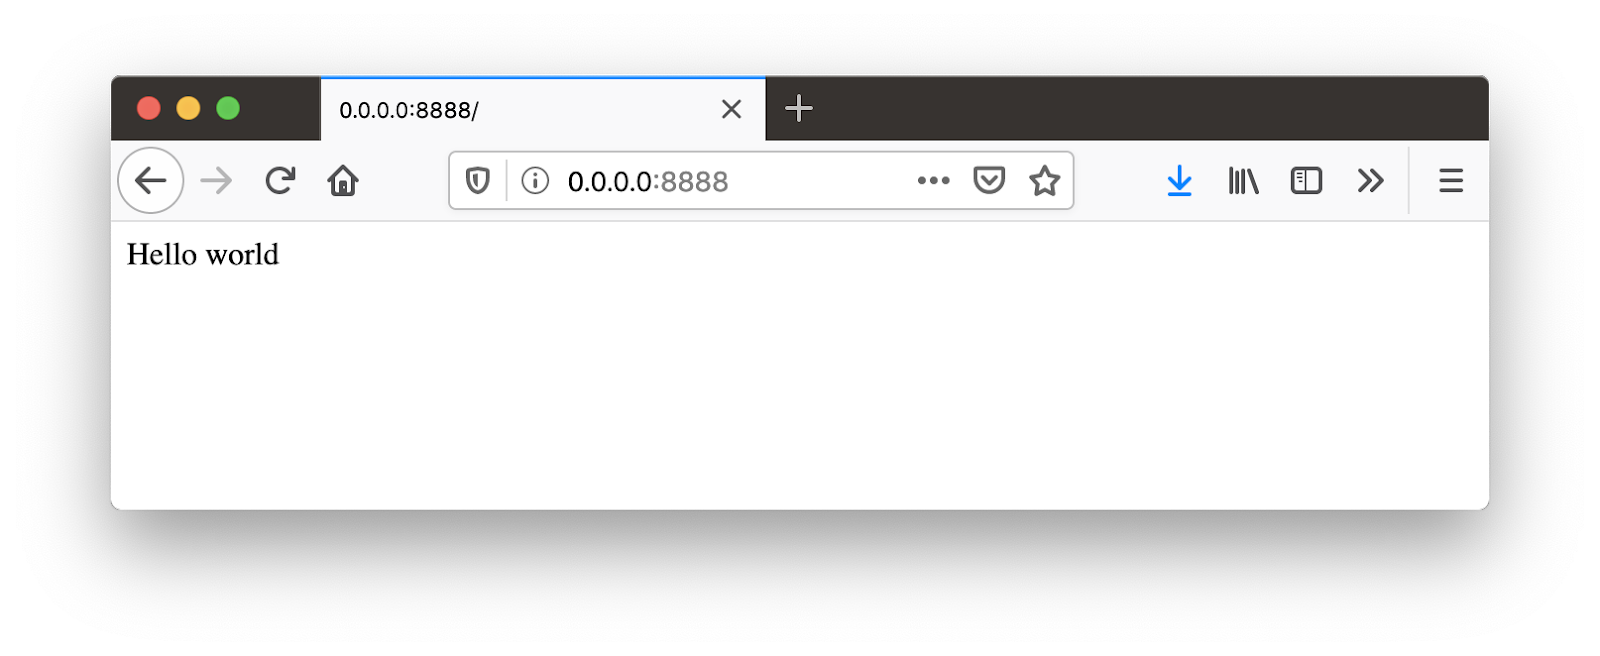
If we move to the twilio-slim directory, we can fire up a development server to see our website in all its glory using PHP's built-in webserver:
The -S argument tells PHP to start a server on port 8888, and the -t tells PHP to serve everything out of the public folder.
The bootstrapped application gives us a few things to get started with, let's take a look at each file in turn and see what it does:
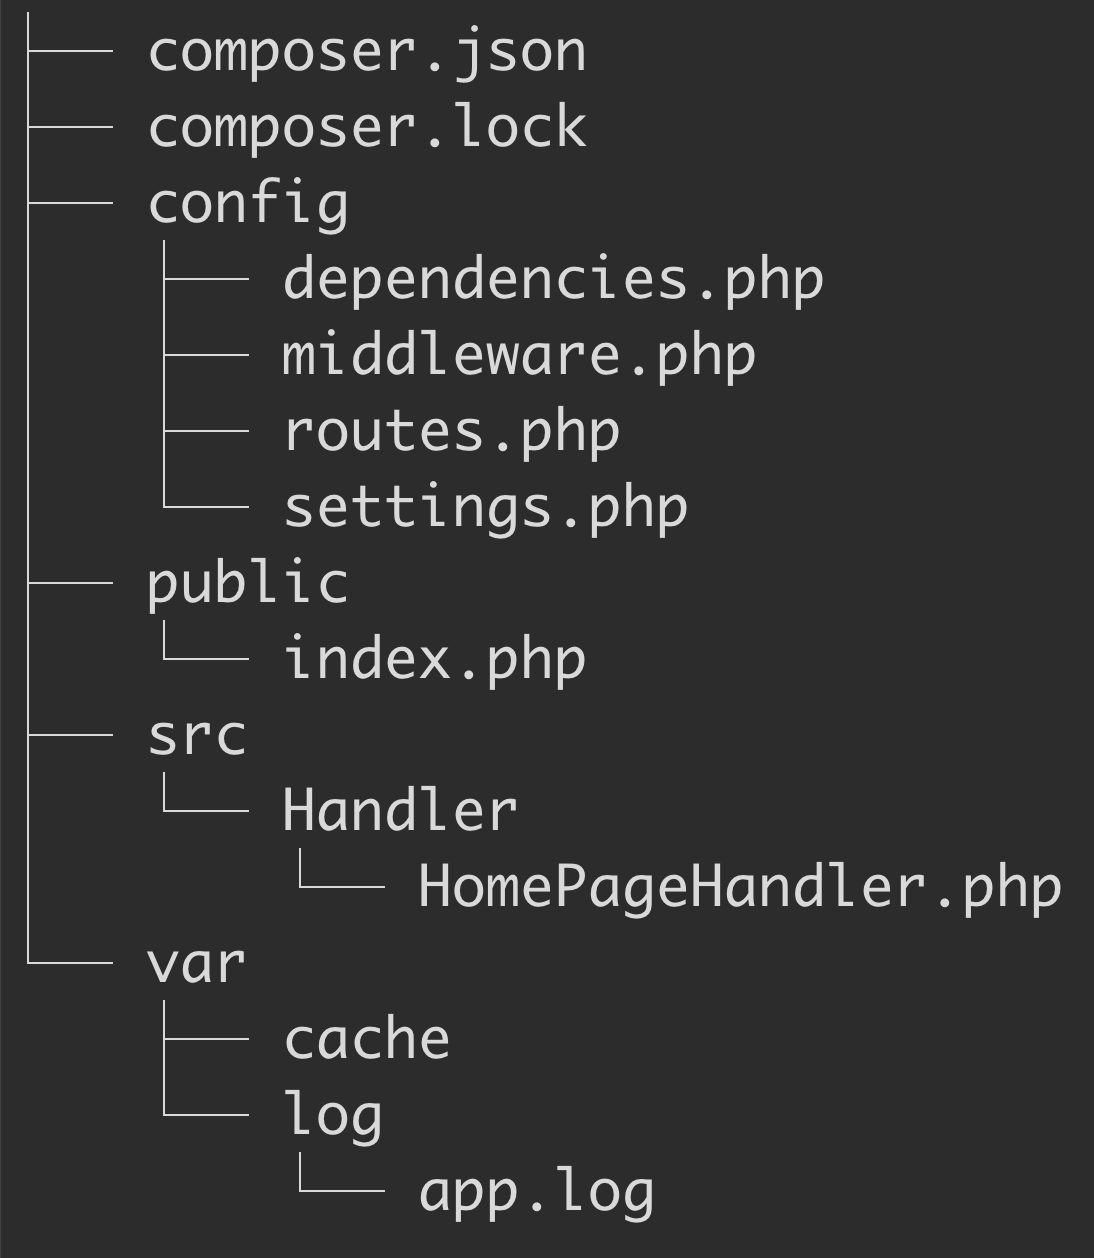
- The
composer.jsonandcomposer.lockfiles are standard Composer configuration files we see in every project - In the
configdirectory, we see 4 different config files for configuring our application, and we'll take a look at some of these in more detail soon - The
publicfolder holds our assets like images and CSS, while theindex.phpfile is the single PHP page we dispatch all requests through so that we route all requests through the Slim app srcholds all our custom application code in PSR-4 autoloading format. It currently only holds a singleHomePageHandlerin theHandlerfolder. Handlers are single-action controllers that only dispatch one route, it’s a pattern I like for light applicationsvarholds our temporary files like cache files and log files
The essential files for us to work with to add Twig to this application are the config files in the config folder and the HomePageHandler in the src folder. We already have a route set up in the config/routes.php file that dispatches any requests to the root of our application to the handler:
We're routing anything to the / URL with an optional name route parameter to the HomePageHandler, and setting a route name of home. The route parameter allows us to pass variables through the route without using a query string. It's a useful pattern, particularly for dynamic web applications where we want to include variables in a more friendly URL. We'll see how we can access this data next.
- I’ve removed the opening PHP tag and use statements from these examples to try and remove clutter. If you’re struggling to get the examples working you can find the full code on the GitHub repository.
Our handlers should implement the RequestHandlerInterface from the PSR-15 package, so we ensure the handle method accepts a ServerRequest and returns a Response.
We pass in a constructor argument as a dependency of the LoggerInterface to log things. This dependency is defined in the config/dependencies.php file. PHP-DI, the dependency injection container that is used in this skeleton automatically infers dependencies and fills them if it can. It's called "autowiring" and uses reflection. While it's useful in development, it should be cached in production to make sure our application is speedy.
In the handle method, we use the logger to log something to disk and grab the optional name of the person or use "world" if none exists. Finally, we create a new Response object and write our "hello" message to the body, then return that response. Whatever we set to the response body gets sent to the browser so for this app, we should be sending back HTML. Let’s do this using Twig!
Adding Twig to a Slim Application
Twig is a simple-to-use but powerful templating engine that lets us create a hierarchy of templates to generate our content without all the messing about with copying and pasting. Firstly, we use Composer to add Twig to our app:
To make Twig available for us to use, we need to tell PHP-DI how to create a new instance of the Twig environment when we ask for it in the handler. We can do this by adding it as a configuration in the config/dependencies.php file:
The logger was already setup in our container in this file which is why we can request it in the handler and the dependency is automatically fulfilled. To make the Twig environment available, we add a new element to the array we're returning using the fully qualified class name as the key, as this is what we'll be requesting in the handler. The value is an anonymous function that acts as a factory for returning the created class. We use the $settings array so that it's available in the function to turn on Twig's debug mode if we're in a development environment.
Additionally, we create a new file-system loader because our templates are on disk in our application, we store them in the view folder. Then we create a new environment telling Twig to use the var/cache directory to create it's cache files. Now we can return the created and configured environment ready for use in our handler.
We've added a new parameter to the constructor, and PHP-DI automatically creates it for us because we already configured it as a dependency. Then it's just a case of replacing the string we were writing directly to the response body with a call to the render method of Twig. The first parameter is the name of the template to use, and the second is an array of variables that are available in that template.
Finally, so that Twig can render the template, we need to create it. We told Twig to look in the views directory, so we create the template there:
The variables that output in the double curly braces match the keys in the array we passed into the render method in the handler. Twig also automatically escapes the variables for HTML for us so we can be sure we won't be vulnerable to XSS attacks.
Now, we can refresh our page and see our new, improved hello world, now with added Twig!

Hopefully, this is a good start understanding how to wire external libraries into Slim so we can choose our own framework. We can now pull in whatever we need relatively quickly.
You can find the repository with the finished code on GitHub. Maybe we want to wire up Eloquent as our ORM, or Zend\Form to handle our forms. Let me know how you get on and which libraries you're adding to Slim. I can't wait to see what you build.
- Email: ghockin@twilio.com
- Twitter: @GeeH
Related Resources
Twilio Docs
From APIs to SDKs to sample apps
API reference documentation, SDKs, helper libraries, quickstarts, and tutorials for your language and platform.
Resource Center
The latest ebooks, industry reports, and webinars
Learn from customer engagement experts to improve your own communication.
Ahoy
Twilio's developer community hub
Best practices, code samples, and inspiration to build communications and digital engagement experiences.