Beginner’s guide to Svelte - From basics to state management and animation
Time to read: 13 minutes
December 16, 2021
Written by
Reviewed by

Background
Svelte is a JavaScript front-end framework that has been getting a lot of attention in recent years. Svelte was chosen as the most loved tool by developers in the Stack OverFlow Developer Survey 2021. In this tutorial, we’ll introduce Svelte’s basic development methods, as well as advanced topics such as state management and animation.
Goal
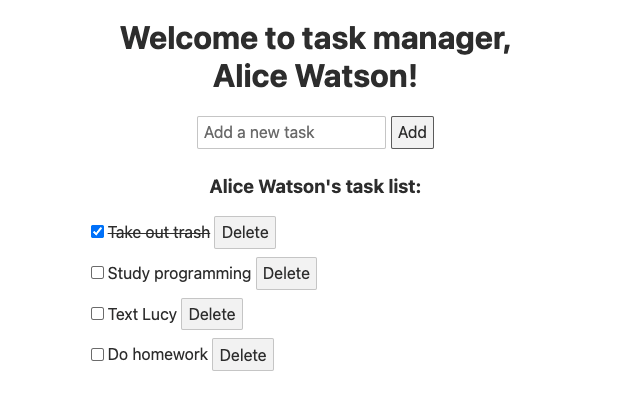
Learn the basics of Svelte, as well as some advanced development methods, by creating a task management application as shown below.
What’s Svelte?
Svelte is an open-source front-end framework for creating interactive user interfaces that run in a browser.
Differences with React and Vue.js
Svelte, like React and Vue.js, is a component-based JavaScript framework for creating user interfaces.
However, there is a crucial difference between Svelte and React or Vue.js. Svelte doesn’t use virtual DOM. Svelte is a compiler written in TypeScript that compiles JavaScript at build time, whereas React and Vue.js use virtual DOM to interpret the application code at runtime.
For more information on the differences between Svelte and other frameworks, see the blog post React vs. Svelte: Comparing the Basics.
Advantages of using Svelte
The advantages of using Svelte are as follows.
Svelte doesn’t use virtual DOM
The biggest advantage of Svelte is that it’s a compiler, and therefore it doesn’t use virtual DOM. In a nutshell, virtual DOM is a virtual representation of the DOM kept in memory, and synced with the actual DOM. Libraries and frameworks like React and Vue.js use an algorithm called DOM diffing to compare between the virual DOMs to detect the update needed in the UI. Algorithms for DOM diffing are efficient, but are expensive to run. Svelte compiles code into optimized vanilla JavaScript, which minimizes overhead at runtime. This speeds up applications and improves their performance.
Truly reactive
Svelte is made to be truly reactive. Svelte generates vanilla JavaScript that modifies the DOM directly without the need for an intermediary, such as virtual DOM. It also comes with a built-in reactive store, so there’s no need to use a dedicated library for state management. A change in a variable will immediately be reflected in the UI.
Less code to write
Svelte requires less code than other frameworks because there is no need to write boilerplates such as hooks, or install a dedicated library for state management. This increases the readability of the code, saves time and minimizes the risk of bugs.
Built-in animations
Svelte comes with built-in animations and effects, making it easy to implement sophisticated UI and interactive behavior.
Application structure
Now that you have an overview of Svelte, we’ll show you the structure of the application you’ll create.
App: The root component that serves as the execution entry point for the application.ToDoInputForm: The component for the input form to add a new task to the task list.ToDoList: The component to display the task list, checkboxes, and the task deletion function.
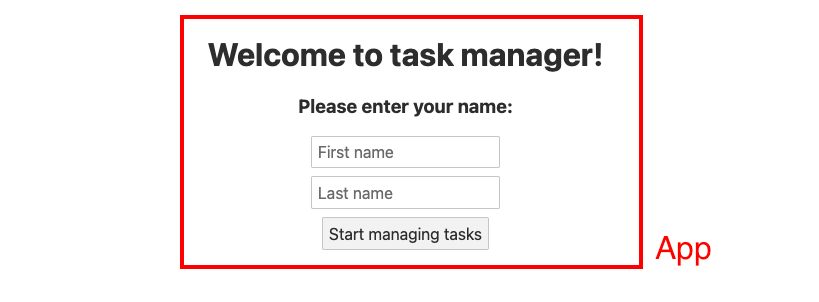
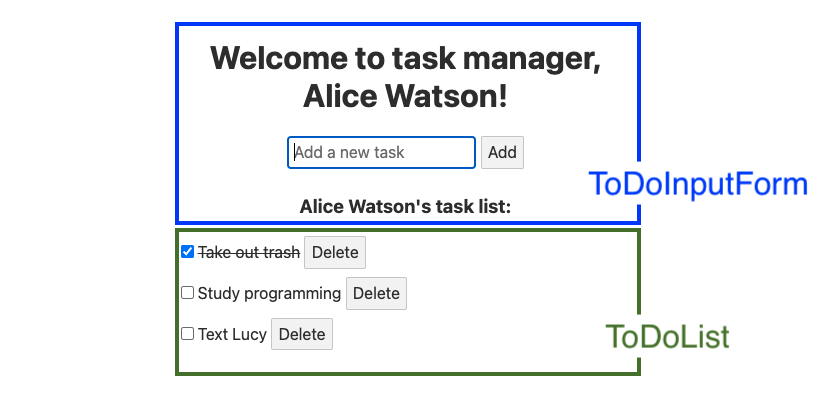
In general, a simple and small application like this doesn’t need multiple components, and often the App component covers all functions. However, in this tutorial, we have divided the app into 3 components to understand how data is shared between components.
Required tools
Creating a Svelte project
First, you’ll create a Svelte project using degit, a scaffolding tool that copies existing Git repositories.
Open a terminal and execute the following command in a directory of your choice:
This command will create a task-manager folder and download the default project template for Svelte into the folder. The cd command navigates to the newly created project.
Next, download the dependencies required for your project. Execute the following command:
This command will install the dependencies and devDependencies contained in package.json into the node_modules directory.
Open package.json and you will see the following packages.
Since Svelte is a compiler, the application code is converted to vanilla JavaScript at build time. For this reason, most of the packages are stored in devDependencies, which stores the packages used during development.
rollup is the module bundler used by Svelte. Rollup, like Webpack, combines modular code into a file that can be easily parsed by the browser and displayed in the UI. The bundler converts .svelte files, modules included in the files and props into HTML, CSS , and JavaScript files.
In degit, http://localhost:5000/ is used by default. If you are using macOS Monterey or later, this will cause an issue, as AirPlay Receiver also uses port 5000. To fix this issue, change the start script in package.json to use a different port. Change the start script in package.json as follows:
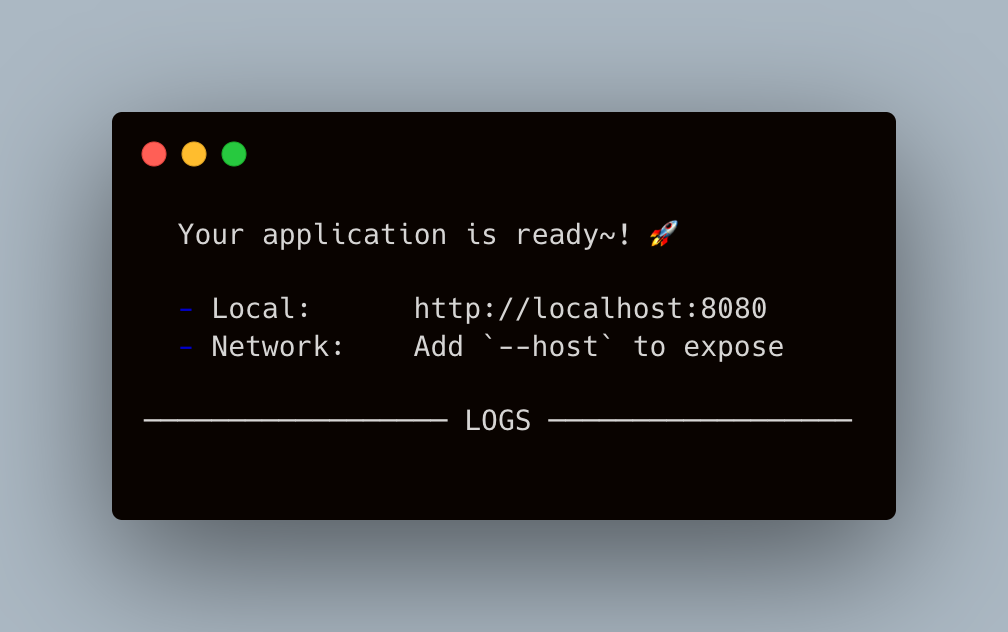
Change the port number after --port depending on your environment. In this example’s case, you’ll access the application in http://localhost:8080.
Run the following command in the terminal to start the development server:
The following output will be displayed in the terminal:
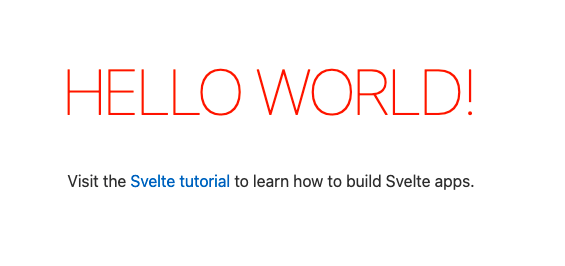
Browse http://localhost:8080. You will see the following start screen:
Quit the application for now in the terminal using the ctrl + c or command + c shortcut.
Folder structure
Take a look at the folder structure of the project you created.
node_modules contains devDependencies and dependencies in package.json. public contains the resources compiled and output by Svelte. build/bundle.js contains optimized JavaScript. Take a look at bundle.js, you’ll see that the markup has also been converted to JavaScript code:
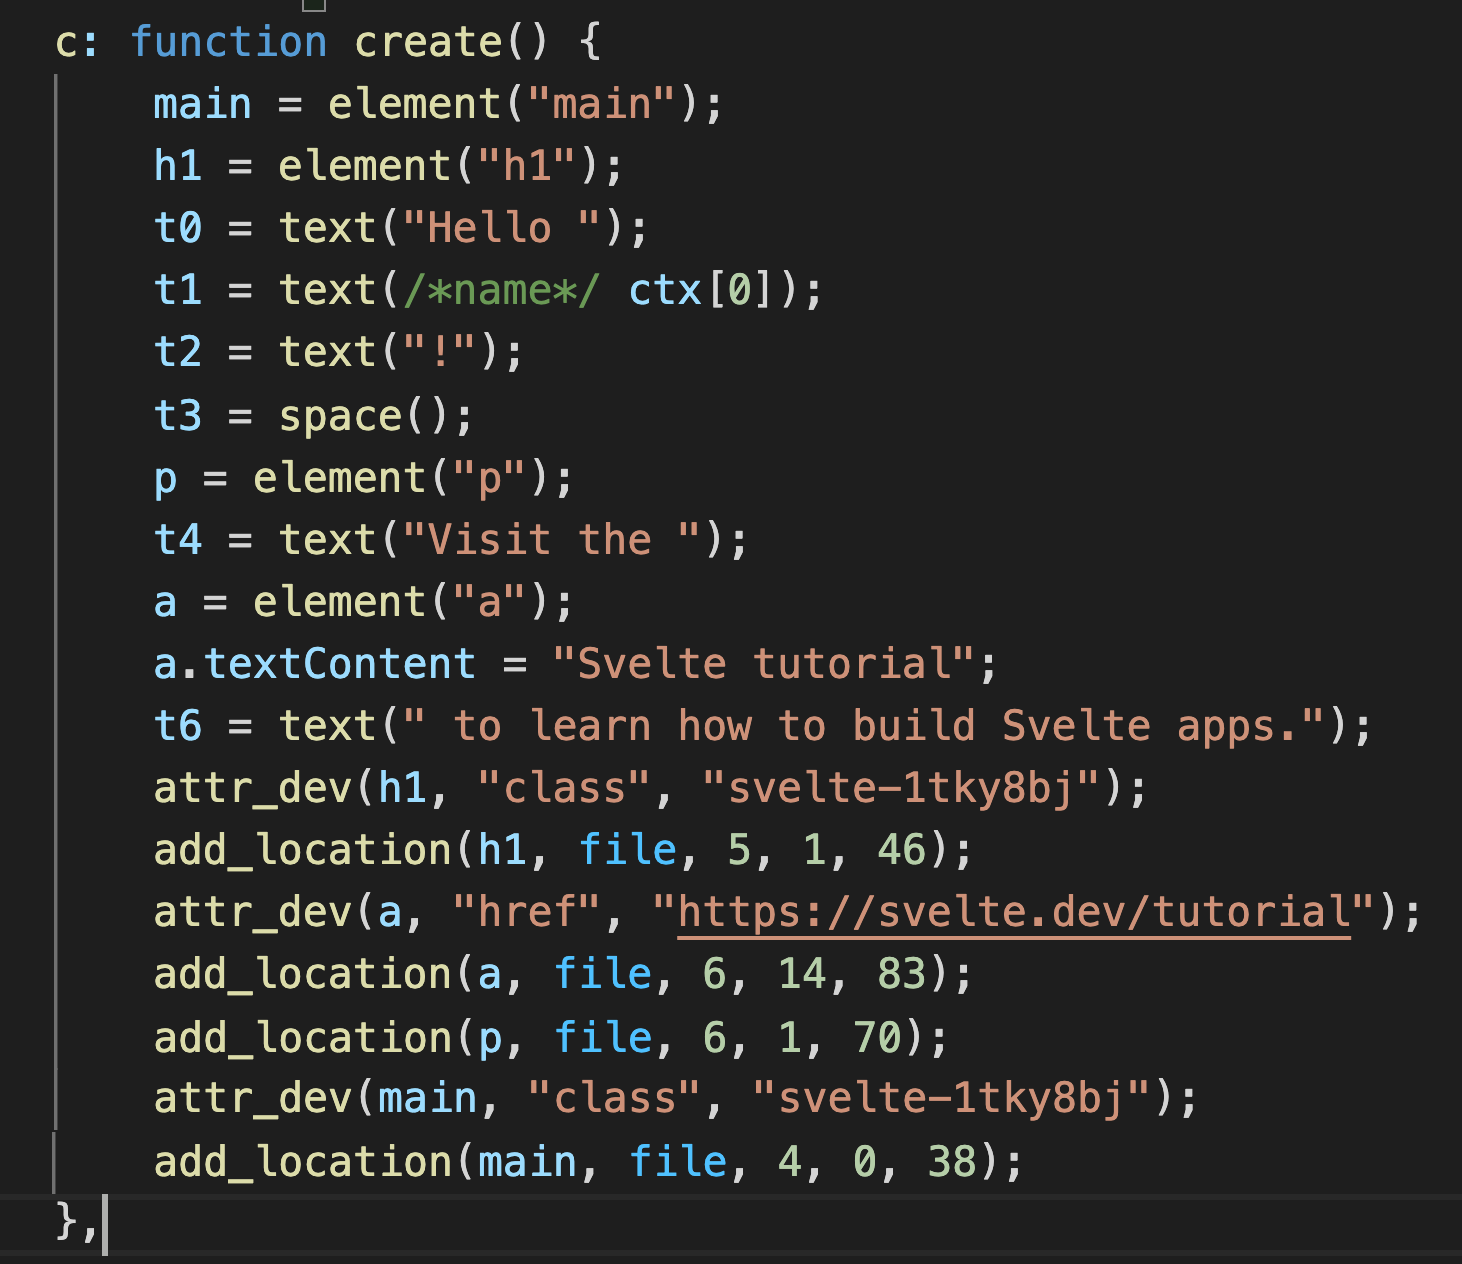
Note that attr_dev is bound to a class name with the syntax svelte-{hash}. This scopes the CSS to the component it is defined in.
bundle.css contains optimized CSS.
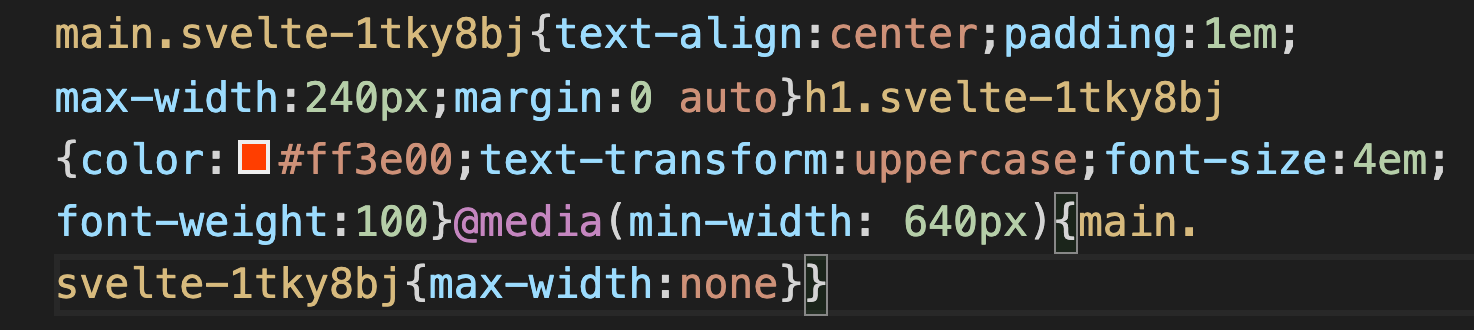
Notice that
svelte-{hash} appears here again, limiting the effect of CSS to the component.
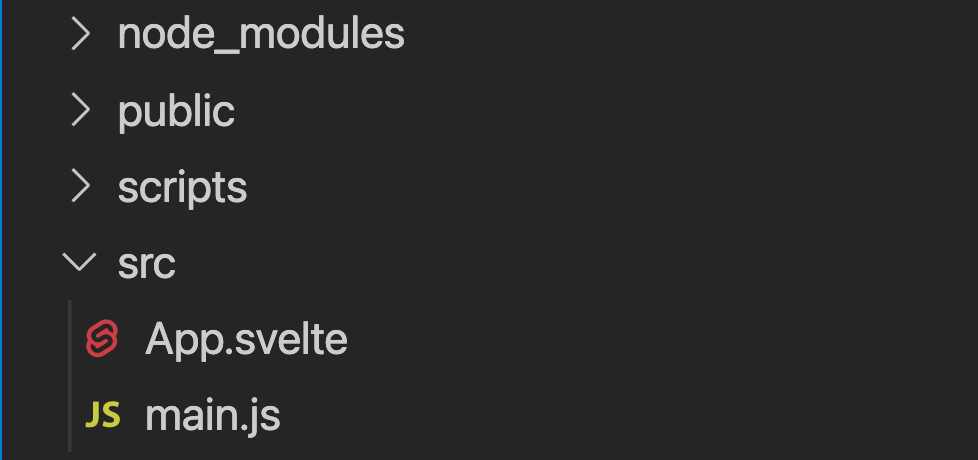
src is a folder to store components of the application. You’ll be adding new components to this folder. It contains App.svelte and main.js by default, which are the starting points of the application.
Let’s take a deeper look at how Svelte components work. Take a look at main.js:
main.js is the starting point of Svelte applications. App.svelte—the main component of the application—is imported and initialized in main.js. An object configuring the entire app is passed to the App constructor. This object contains target and props.
target is set to document.body, which inserts the HTML generated by the Appcomponent into document.body. props is assigned to an object which contains a prop to be passed to the App component. This allows components to pass data between each other. In main.js's case, name is passed as a prop.
You won’t be using this props: { name: 'world'} in this tutorial, so delete the props object.
Next, take a look at App.svelte:
As you can see, Svelte components consist of three parts: <script>, HTML template and <style>.
<script> includes the JavaScript logic of the component. In App.svelte, the name variable is exported as a property in <script>. <script> can import child components and export data and props.
The HTML template includes the markup, an enhanced version of HTML with extra features like variables, loops, conditionals, async-await, and so on. Note that in Svelte, the markup is not surrounded by the <template> tag, unlike other frameworks like Vue.js.
<style> includes CSS for the component. CSS is automatically scoped to the component.
Creating a new component
Now that you understand the structure of the application, let’s create a new component.
Create a ToDoInputForm.svelte file under the src folder.
Props
In SPA, when data is shared among multiple components, it’s common to pass data from the parent component to the child components. This flow is implemented by passing data as props (properties).
In Svelte, you can add props by declaring a variable in the <script> block using export . You will add a userName variable to the ToDoInputForm component so that the user name can be shared with other components.
Add the following code to ToDoInputForm.svelte.
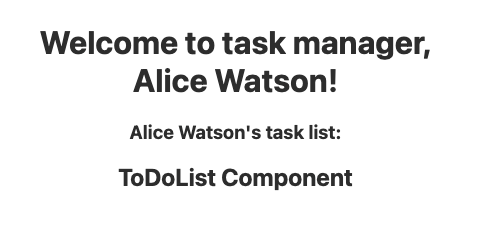
This code outputs the text “{userName}’s task list:” as a header.
To display this component in your application, you need to reference the ToDoInputForm.svelte component in the main component, App.svelte.
Update App.svelte to the following:
The <script> tag and the HTML template are referencing the ToDoInputForm component. By including the <ToDoInputForm /> tag in the App component, the HTML in the ToDoInputForm component is included in the App component’s HTML.
Reactivity
Svelte also supports reactivity.
Update the contents of the <script> block and the HTML template in the App component as follows:
A reactive variable will automatically update when the variables it depends on are changed. For example, the value of the reactive variable userName will automatically update when the lastName or firstName variables are changed.
Save the file and run the application again with npm run dev.
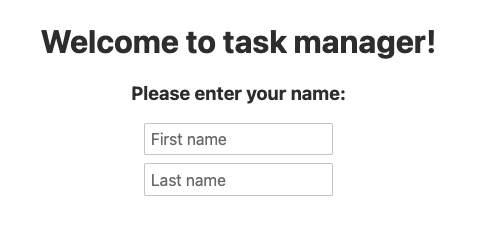
When you access http://localhost:8080 in a browser, you will see the following screen:

Update the values of firstName and lastName to the following and save the file.
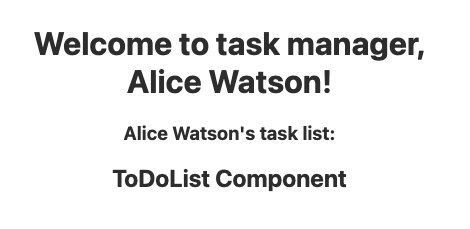
The computed property will detect the change in value and the screen will change as follows:

Conditional rendering
You’ll implement logic that displays a user name input form if the user has not entered their name, and otherwise displays the task list, using an If-else expression.
First, you’ll create a task list component that will be displayed after the user name is entered. Create a ToDoList.svelte file under the src folder.
Add the following HTML to ToDoList.svelte and save the file. For now, the HTML is kept simple so you can easily see the effect of the If-else logic. You’ll change this HTML later.
Update the contents of the <script> block and HTML template in App.svelte to the following:
Save the file.
In this code, the state of whether the user has entered a name or not is managed by nameEntered. Once the user has entered their name, nameEntered will become true. If nameEntered is true, the user name entry form will be displayed. If it’s false, the task list will be displayed. This responsive behavior is implemented with {#if [condition]} … {:else} … {/if}.
In addition to if..else, you can implement else if with the syntax {:else if [condition]}. For more information, see the Svelte official documentation.
When you open http://localhost:8080 in your browser, the condition of {:if} will be satisfied and the name input screen will be displayed.
The form for entering the user’s name is now displayed. You’ll add the actual form functionality later, but at this point, make sure that if…else is working.
Update the value of nameEntered to true and save the file. The condition of {:else} will be met and the task list screen will be displayed.
Update the value of nameEntered back to false and save the file.
Two-way data binding
Next, you’ll be introduced to data binding. Typically, Svelte applications take a top-down structure of passing data from parent to child. However, there are times when you want to update data from multiple directions, like when you want to implement a form. This is where data binding comes in handy. Using data binding, you can set the value of an attribute and configure a listener to detect and react to changes in that attribute.
You’ll use data binding for the name input form. Update the <input> form in the HTML template of App.svelte as follows:
The value entered into the input elements will now be bound to the {lastName} and {firstName} variables. This means that the data is synchronized in two directions.
Previously, the user name was hardcoded to be “Alice Watson”, but now you’ll set the initial value to an empty string and update the user name with the value entered into the form.
Update the values of firstName and lastName in the <script> block as follows:
Initially, the values of lastName and firstName are empty strings. When the user changes the value of the input element, it will be updated accordingly.
Event handling
Next, you’ll learn how to implement events in Svelte. You’ll implement a button to submit the input once the user enters their name in the form.
Update the content of the {:else} block in App.svelte as follows:
Here, the input is sent after the name is entered, and the click event is detected when the button to proceed to the task list screen is clicked.
on:click={handleSubmit} is used to link the click event with the handleSubmit event handler function, which you’ll add later in the tutorial. When the user clicks on the button, the handleSubmit function will be called to handle the event.
The on:submit|preventDefault={handleSubmit} modifier is used throughout the form block so that event.preventDefault() runs before the handleSubmit handler runs.
By default, forms submit the content to the current URL if no destination is specified in the form element. When a form is submitted to the current URL, the page will be automatically reloaded. event.preventDefault() is used to prevent this behavior.
Next, you’ll add the handleSubmit event handler.
Add the following code to the last line of the <script> block in App.svelte:
In this code, if the button is clicked and both the first and last names are entered, nameEntered will become true. This satisfies the condition of {#if nameEntered} and the task list will be displayed.
Save the file and open http://localhost:8080 in your browser. A screen similar to the following will appear:
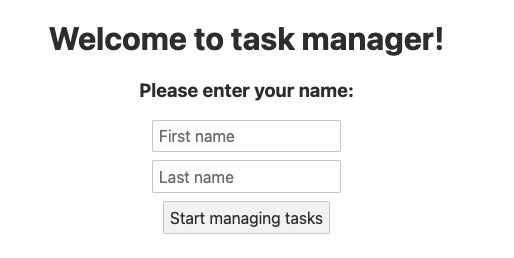
Enter your name and click “Start managing tasks”.
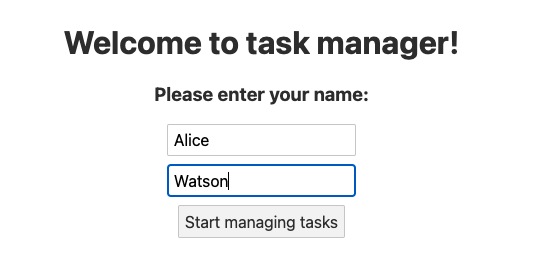
The screen will switch to the task management interface:
Loops
To loop through data and display it as a list, you can use {#each}.
You’ll display a task list in the ToDoList component. Update the contents of ToDoList.svelte to the following:
Here, the toDoItems array is declared and assigned an object containing the properties text and status. This data will be displayed as a list using the {#each}… {/each} block. Each element in {#each}…{/each} will be added to the HTML as a <li> element.
You’re using checkbox binding to toggle status every time the checkbox is clicked.
You’re also using an abbreviated version of the class directive, class:classname={condition}. Using this syntax, if the value of status is true, the <span> element’s class will be updated to checked and the strikethrough CSS will be applied to the tasks the user marks as done.
You’re binding on:click and the removeFromList function so that tasks can be removed.
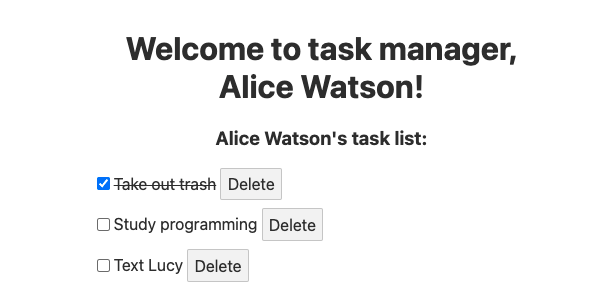
Save the file and open http://localhost:8080 in your browser. Enter your user name and proceed to the task list. You will see the following screen:
Stores
Currently, you can delete an item, but you can’t add a new one. You’ll add a new form to add a task to ToDoInputForm.svelte. To share the task data entered in the ToDoInputForm component to the task list in the ToDoList component, you can use props. You can share data among sibling components by passing data from child component A to the parent component, and passing it again from the parent component to child component B.
However, as the application grows, such an implementation tends to become more complex. To solve this problem, stores come handy.
Stores are objects that notify all subscribed components when the state changes. Components can subscribe to stores using the subscribe method.
First, you need to create a file to store the state. Create a store.js file under the /src directory.
Paste the following code into store.js.
Here you are importing the writable function from the svelte/store module, which represents a writable store.
Next, you’ll move toDoItems from ToDoList.svelte to store.js and configure components to subscribe to it.
Update store.js as follows:
Update ToDoInputForm.svelte as follows:
In this code, you are importing state data from store.js. You’re also defining a form and button to add a new task.
Now, notice $toDoItems = [… $toDoItems, {text: newItem, status: false}]}. In stores, the subscribe method is usually used to receive notifications of status changes.
In addition to this, you also need to add a process to stop receiving notifications when a component is destroyed. As the number of states increases, this syntax will be repeated many times, increasing the amount of code. This is where auto subscription comes in handy. With auto subscription, you can automatically receive notifications of state changes by simply prefixing the state variable with $, as in $toDoItems.
Finally, you’ll share the state with the ToDoList component.
Update ToDoList to the following:
The only changes you made here are to import store.js and change toDoList to $toDoList.
Save the file and open http://localhost:8080 in your browser. Enter your name and proceed to the task list. You’ll see the following screen:
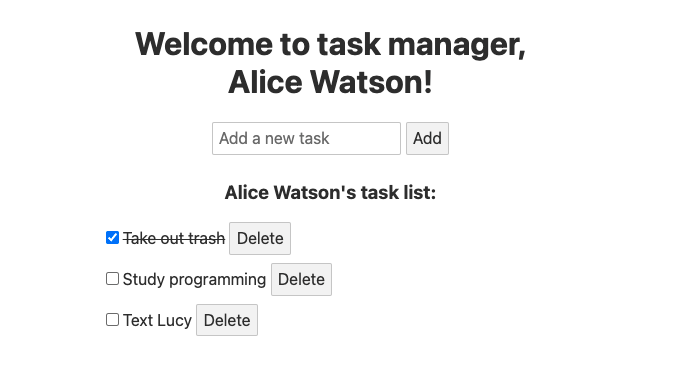
A new input form has been added.
Try adding a task to the input form:
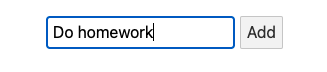
You'll see that the data is shared in the ToDoList.svelte component as shown below:
Lifecycle
Components of SPA frameworks, including Svelte, have a lifecycle that starts with created and ends with destroyed. You can attach logic to events that occur during this life cycle.
The most commonly used lifecycle event is onMount, which occurs immediately after the DOM has been rendered.
Using the onMount event, you'll add a functionality to automatically focus the task input form, which removes the need for the user to click on the form to add a new task. By using onMount, focus is automatically applied to the input form right after the component finished rendering.
Update ToDoInputForm.svelte to the following:
In order to use onMount in Svelte, you need to import the onMount function from the svelte module. This is done in import { onMount } from "svelte" in the <script> block.
You’re declaring the newItemInputForm variable and initializing it to null.
The bind:this directive sets the passed variable to a reference to the element’s DOM node. Using bind:this, you’re passing newItemInputForm to the <input> element. Since onMount is executed after the component has been rendered, the input form already exists when the onMount method is executed. Therefore, before rendering is complete, newItemInputForm will be set to the input form and you can execute the focus() method immediately.
Save the file and open http://localhost:8080 in your browser. Enter your user name and move to the task list screen, you will see the following screen:
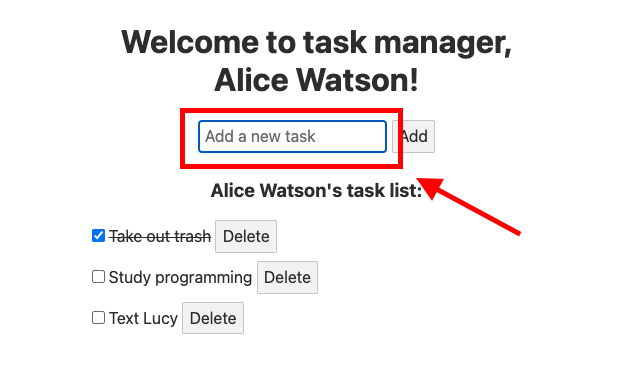
You can see that the input form has blue focus.
Animation
Finally, let’s take a look at the animation feature, which comes by default in Svelte. This makes it possible to implement beautiful animations without increasing the size of your application.
In this tutorial, you’ll focus on the “fade” effect, which moves elements in and out fluently, and the “scale” effect, which moves elements in and out horizontally.
For more information about other built-in animations in Svelte, see the Svelte official documentation.
You’ll add transitions to the action of adding and removing items from the task list using fade and scale effect.
Update the <script> block and HTML template of the ToDoList component:
Here, you’re importing the fade and scale functions from the Svelte module, which are contained in the transition folder.
You’re applying transitions to all items in the task list. Svelte uses the transition directive to add transitions, but here you use its shortened version, in and out. The scale transition specified using in will be performed when the element is added, and the fade transition specified using out will be performed when the element is removed.
You also set the speed of the transition to 500ms in duration.
Save the file and open http://localhost:8080 in your browser. Enter your name and proceed to the task list. You’ll see that transition effects are executed when you delete or add an item to the task list:
You have now completed the task list application! The code from this tutorial can be found in the following Github repository.
Conclusion
Svelte is possibly the easiest JavaScript framework to get started as a beginner. Svelte’s source code is written in such a way that it minimizes the amount of code to write, and allows developers to focus on building high quality applications.
While Svelte as a tool and its community are still developing, it’s equipped with all functionalities needed to build a performant application. We hope you’ll try developing more in-depth Svelte applications based on this tutorial. For example, why not try developing a chat app with Twilio Conversations with Svelte? We can’t wait to see what you’ll build with Svelte.
Stephenie is a JavaScript editor in the Twilio Voices team. She writes hands-on JavaScript tutorial articles in Japanese and English for Twilio Blog. Reach out to Stephenie at snakajima[at]twilio.com and see what she’s building on Github at smwilk.

Related Resources
Twilio Docs
From APIs to SDKs to sample apps
API reference documentation, SDKs, helper libraries, quickstarts, and tutorials for your language and platform.
Resource Center
The latest ebooks, industry reports, and webinars
Learn from customer engagement experts to improve your own communication.
Ahoy
Twilio's developer community hub
Best practices, code samples, and inspiration to build communications and digital engagement experiences.