Audio visualisation with the Web Audio API and React
Time to read: 6 minutes
September 21, 2018
Written by

The Web Audio API is a powerful browser API for creating, manipulating and analysing audio. I'm no musician, so I'll leave the creating and manipulating to the experts. Instead, in this post we're going look at analysing audio. To make things extra interesting, we're going to see how to visualise the audio in a React component with <canvas>.
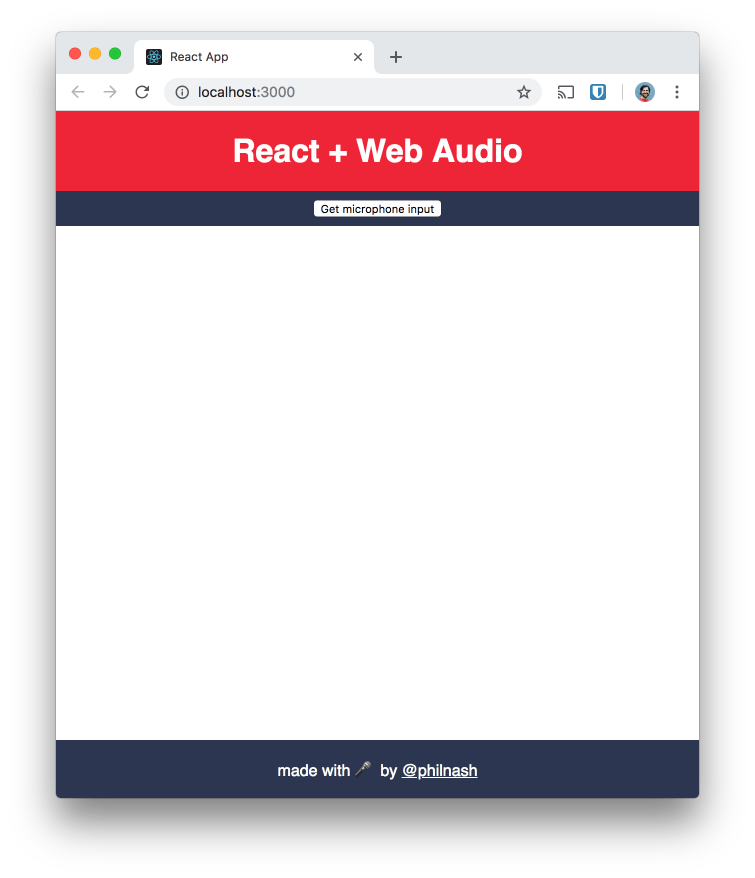
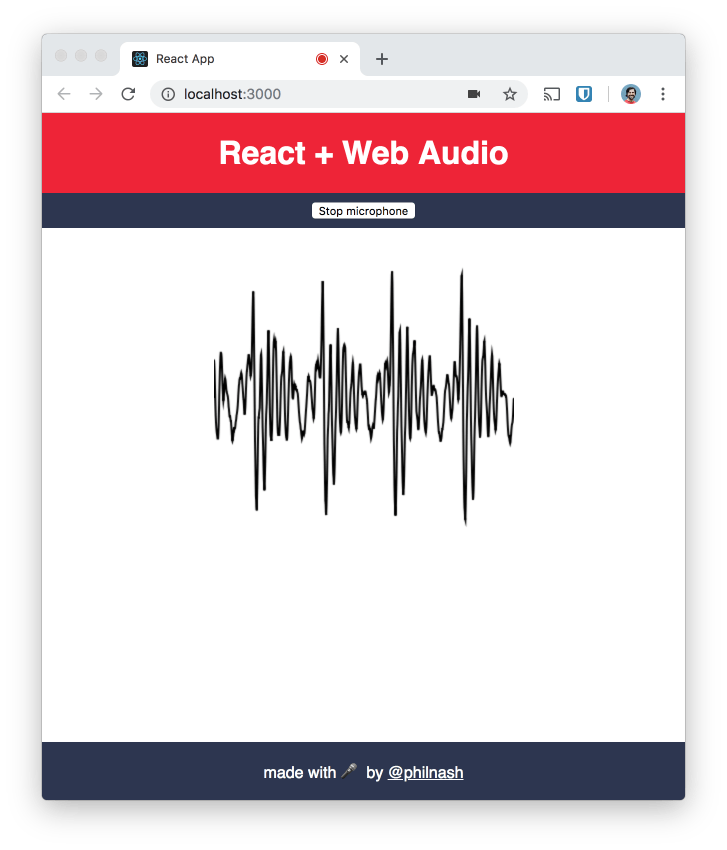
When we're done we'll have a React application that can listen to the microphone on your computer and show a waveform to visualise the data.
Getting started
We'll need Node.js to run the application, so make sure you have it installed. I've started the application for us, so follow these instructions to get it running:
- Clone or download the repo from GitHub
- Change into the directory and install the dependencies with npm
- Start the application
- Visit localhost:3000 to see the app running
We're ready to start building the application.
Microphone input
There is a button in the interface ready to grab the microphone input, but it's not hooked up to anything yet. We're going to create a function that the button will execute when clicked. Our function will ask for permission to access the user's microphone using the getUserMedia API. Then, once permission is granted, it will add the audio to the state of the application.
First, open src/App.js and setup the state object in the App component's constructor.
We need a method that will use getUserMedia to request access to the microphone and set audio stream in the state if it is successful. Add the following to the component:
Add a method to stop the audio capture too. This loops through each of the MediaTracks associated with the MediaStream that getUserMedia returns and stops them, finally removing the stream from the state.
Add a method to toggle the microphone on and off.
We're going to use this toggle method with the button in the interface. To do so, we'll need to bind its context to the component. Add the following to the constructor:
The application is already rendering a button, but we need to hook it up to these functions. Update the render function so that the button toggles between getting and stopping the microphone input.
Return to the browser and click the "Get microphone input" button. The browser will ask your permission to use the microphone and when you grant it … well, the button will change. Not super exciting, but now that we have an audio stream we're on our way to analysing it.
Audio Analysis
Create a new component in the src directory for the analysis; call it AudioAnalyser.js. We're going to pass the audio stream to this component via the props. This component is going to be responsible for using the Web Audio API to analyse the audio stream and store that analysis in the state.
We'll start with an empty component:
When the component mounts we're going to setup the Web Audio API objects. First we create a new AudioContext (Safari still only supports the webkit prefixed version of this, sadly). Then we'll create an AnalyserNode that will do the heavy lifting for us.
From the AnalyserNode we need to know the frequencyBinCount which, according to the documentation, generally equates to the number of data values that will be available to play with for a visualisation. We'll create an array of 8-bit unsigned integers, a Uint8Array, the length of the frequencyBinCount. This dataArray will be used to store the waveform data that the AnalyserNode will be creating.
We passed the media stream from the microphone into the component as a prop and we need to turn it into a source for the Web Audio API. To do this, call createMediaStreamSource on the AudioContext object, passing in the stream. Once we have the source we can then connect the analyser.
This still isn't doing any analysis for us yet. For that, we'll need to call upon the AnalyserNode's getByteTimeDomainData method every time we want to update the visualisation. Since we will be animating this visualisation, we'll call upon the browser's requestAnimationFrame API to pull the latest audio data from the AnalyserNode everytime we want to update the visualisation.
To do this, we'll create a method that will be called every time requestAnimationFrame runs. The function will copy the current waveform as an array of integers, from the AnalyserNode into the dataArray. It will then update the audioData property in the component's state with the dataArray. Finally, it will call on requestAnimationFrame again to request the next update.
We kick off the animation loop from the end of the componentDidMount method after we connect the source to the analyser.
We'll initialise the state of the component in the constructor, with an empty Uint8Array and also bind the scope of the tick function to the component.
One other thing we want to do is release all the resources if we remove the component. Create a componentWillUnmount method that cancels the animation frame and disconnects the audio nodes.
We haven't rendered anything from this component yet. We can take a look at the data that we're producing. Add a render method to the component with the following:
Open src/App.js and import the AudioAnalyser component:
In the render function include the <AudioAnalyser> component only if the state contains the audio stream.
Load up the page and press the button to give access to your microphone, you'll see the array of values being generated in a <textarea>. Looking at a bunch of numbers updating is no fun though, so let's add a new component to visualise this data.
Audio Visualisation
Create a component called AudioVisualiser.js and fill in the boilerplate we need.
Let's start this class with the render method. We want to draw onto a <canvas> so we'll render one to the page.
We need to get a reference to the <canvas> element so that we can draw on it later. In the constructor create the reference using React.createRef() and add the ref attribute to the <canvas> element.
Let's build a function that will draw a waveform on the canvas. This is similar to this MDN tutorial originally by Soledad Penadés, but adapted to work within out React component.
The idea is to take the audioData we created in the previous component and draw a line from left to right between each data point in the array.
Start with a new function called draw. This function will be called each time we get new data from the analyser. We start by setting up the variables we want to use:
- the
audioDatafrom thepropsand its length - the canvas from the
ref - the height and width of the canvas
- a 2d drawing context from the canvas
xwhich will be used to track across the canvassliceWidth, the amount we will move to the right every time we draw
Now we start to work to build up the picture we're going to draw on the canvas. First setting our drawing style, in this case setting a line width of 2 and stroke style to the colour black. Then we clear previous drawings from the canvas.
Next, begin the path we are going to draw and move the drawing position to halfway down the left side of the canvas.
Loop over the data in audioData. Each data point is between 0 and 255. To normalise this to our canvas we divide by 255 and then multiply by the height of the canvas. We then draw a line from the previous point to this one and increment x by the sliceWidth.
Finally we draw a line to the point halfway down the right side of the canvas and direct the canvas to colour the entire path.
The draw function needs to run every time the audioData is updated. Add the following function to the component:
Let's tie all the components up together and see the visualiser in action.
Bringing the components together
Open src/AudioAnalyser.js and import the AudioVisualiser component.
Define a render method that renders the <AudioVisualiser> and passes the audioData from the state as a property.
And we're done. Start the application with npm start, if it's not running anymore, and open the browser to localhost:3000 again. Click the button, make some noise, and watch the visualiser come to life.
Next steps
In this post we've seen how to get access to the microphone, setup the Web Audio API to analyse audio and visualise it on a canvas, splitting up the job between two React components.
We can use this as a basis to create more interesting and creative visualisations. Alternatively, if you're creating a video chat in React, you could add this visualisation to show who's making noise on the call, or even to check if your own microphone is working.
You can check out all the code to this application on GitHub. I recommend reading through the MDN article on visualisations with the Web Audio API to find out what else you could achieve with this. I'd love to see what other visualisations you can create, if you come up with something let me know in the comments or on Twitter at @philnash.

Related Resources
Twilio Docs
From APIs to SDKs to sample apps
API reference documentation, SDKs, helper libraries, quickstarts, and tutorials for your language and platform.
Resource Center
The latest ebooks, industry reports, and webinars
Learn from customer engagement experts to improve your own communication.
Ahoy
Twilio's developer community hub
Best practices, code samples, and inspiration to build communications and digital engagement experiences.