Build a Video Chat Application with Ruby, JavaScript, and Twilio Programmable Video
Time to read: 10 minutes
June 16, 2021
Written by
Reviewed by

Video chat is a great way to keep in touch with the people you care about or collaborate with others remotely. Perhaps you've always wanted to build your own video chat application but were unsure where to start. Well, you have come to the right place!
In this tutorial, you will learn how to build your own video chat application using Twilio Programmable Video, Ruby, and JavaScript. The server-side part of the project will be built using Ruby and the Sinatra microframework, while the client side is going to be built with vanilla JavaScript, HTML, and CSS. Sinatra is a lightweight, flexible framework for building Ruby applications. It is also a great place to get started if you are new to Ruby development.
Prerequisites
- A free Twilio account. (If you register here, you'll receive $10 in Twilio credit when you upgrade to a paid account!)
- Ruby version 3.0.0+
- Bundler for installing dependencies
Create the project directory and install dependencies
To get started, navigate to where you would like to set up your project. Create a new directory called sinatra-twilio-video and change into that directory by running the following commands in your terminal:
Next, use Bundler to initialize a new application in this directory by running the following command:
This will create a new Gemfile in your project directory.
For this project, you will need the following gems:
- Sinatra, the Ruby web framework you will use to build this project
- sinatra-contrib, for some helpful extensions
- Puma, a Ruby web server
- twilio-ruby helper library for interacting with the Twilio APIs
- dotenv, to load the environment variables from your .env file into your application
- rack-contrib, which includes a useful JSON body parser
Add these gems to your project by running the following command in your terminal window:
If you take a look at Gemfile now, you will see that the 6 gems have been added and installed.
Get your Twilio credentials
Next, create a new file named .env at the root of your project and open it in your code editor. The .env file is where you will keep your Twilio account credentials. Open the .env file in your text editor and add the following variables:
You’ll need to replace the placeholder text above with your actual Twilio credentials, which can be found in the Twilio Console. Log in to the Twilio Console and find your Account SID.

Copy and paste the value for Account SID to replace the placeholder text for TWILIO_ACCOUNT_SID.
Then, navigate to the API Keys section of the console and generate a new API Key. Copy the API Key's values for SID and Secret to replace the placeholder text for TWILIO_API_KEY_SID and TWILIO_API_KEY_SECRET.
It’s important to keep these private credentials secure and out of version control, so create a .gitignore file at the root of your project. Here you can list the files and directories that you want git to ignore from being tracked or committed. Open .gitignore in your code editor and add the .env file:
Create a Sinatra application
Now you're ready to create your Sinatra application. Create two new files in your project directory: one called server.rb and the other called config.ru. Open server.rb in your code editor and add the following code to load your requirements:
Next, create an application called VideoApp by adding the following code just below the configure line you added in the previous step:
Now you have a quick Hello World application to make sure everything is working properly. Before trying to run the application, open up config.ru and add the following code to the file:
This file will load the environment variables from your .env file as well as run the video application you just added to server.rb using the Puma server.
Now, to run the application on port 5000, head to your terminal window and run the following command:
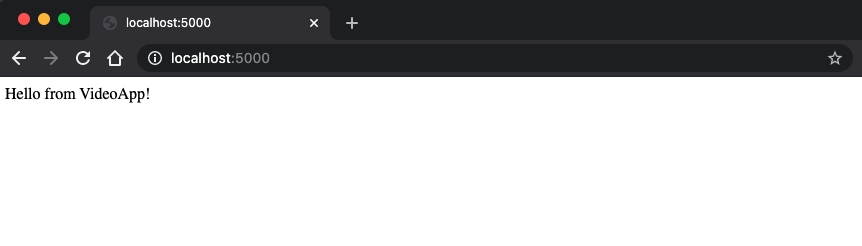
If you navigate to http://localhost:5000/, you should see the following message in your browser window:
Great, now it's time to build out the rest of the application.
Create the application layout
The next step is to create some views using ERB, which stands for "embedded Ruby". Keep the server running in your current terminal tab. From a new terminal tab, create a new directory at the root of your project called views:
Then, inside the views directory, create two new files: layout.erb and video.erb.
Open up views/layout.erb and add the following basic HTML structure to the file:
The <%= yield %> portion in the code above will be where other view templates will be inserted. In this project, you will only have one other view template, but in a more complex project, you could have many more than this.
Next, open views/video.erb in your code editor and add the following HTML template:
This creates the rest of the structure for your application as well as loads the Twilio Video library. There is a login form with an input field for a user to enter their name and a button to join the video call, and then there is a <div> element where the local and remote participants' video tracks will be added once they join the call.
Now that you have created views/video.erb, you'll want to update your application to show this view instead of the "Hello from VideoApp" text. In server.rb, update your application's entry endpoint to render views/video.erb instead:
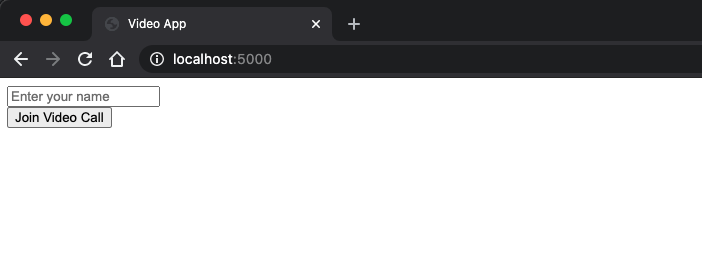
If you refresh your browser window at http://localhost:5000/, you should now see the following elements:
Let's add some CSS to make it a bit more interesting. In your terminal, at the root of your project, create a new directory called public which will hold your CSS and JavaScript files:
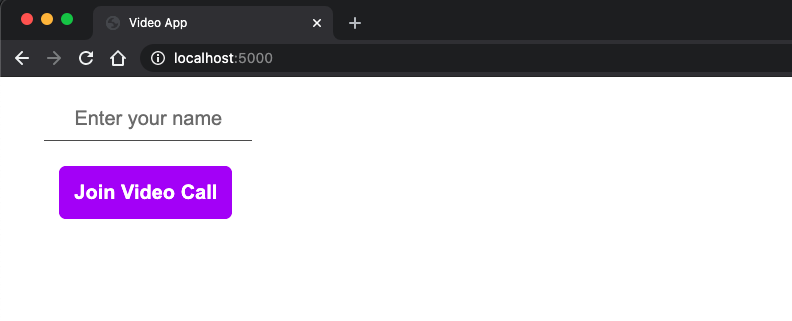
If you refresh your browser window at http://localhost:5000/ again, it should look more like this:
Awesome! Now you're ready to add some JavaScript to your project.
Display a preview of your video
Create a new file inside the public directory called app.js. Start off the JavaScript part of this project by adding a function that will let you see a preview of your own video feed before joining a video call.
Open up public/app.js in your code editor and add the following code to the file:
In the code above, you create a few variables that make it easier to refer to specific HTML elements in your UI. Then, you add a function called addLocalVideo, which uses the Twilio Programmable Video library to create a local video track which is added to the localVideoTrack div. Finally, you call the function addLocalVideo right away when the application loads in the browser window. This will allow a user to see their video preview when they navigate to your application.
Next, in order to use this JavaScript in your application, you will need to add the script to your views/video.erb file. Just below the code already in views/video.erb, add a new <script> tag that references your app.js file:
If you refresh your browser window at http://localhost:5000/, you will be able to see your video feed:
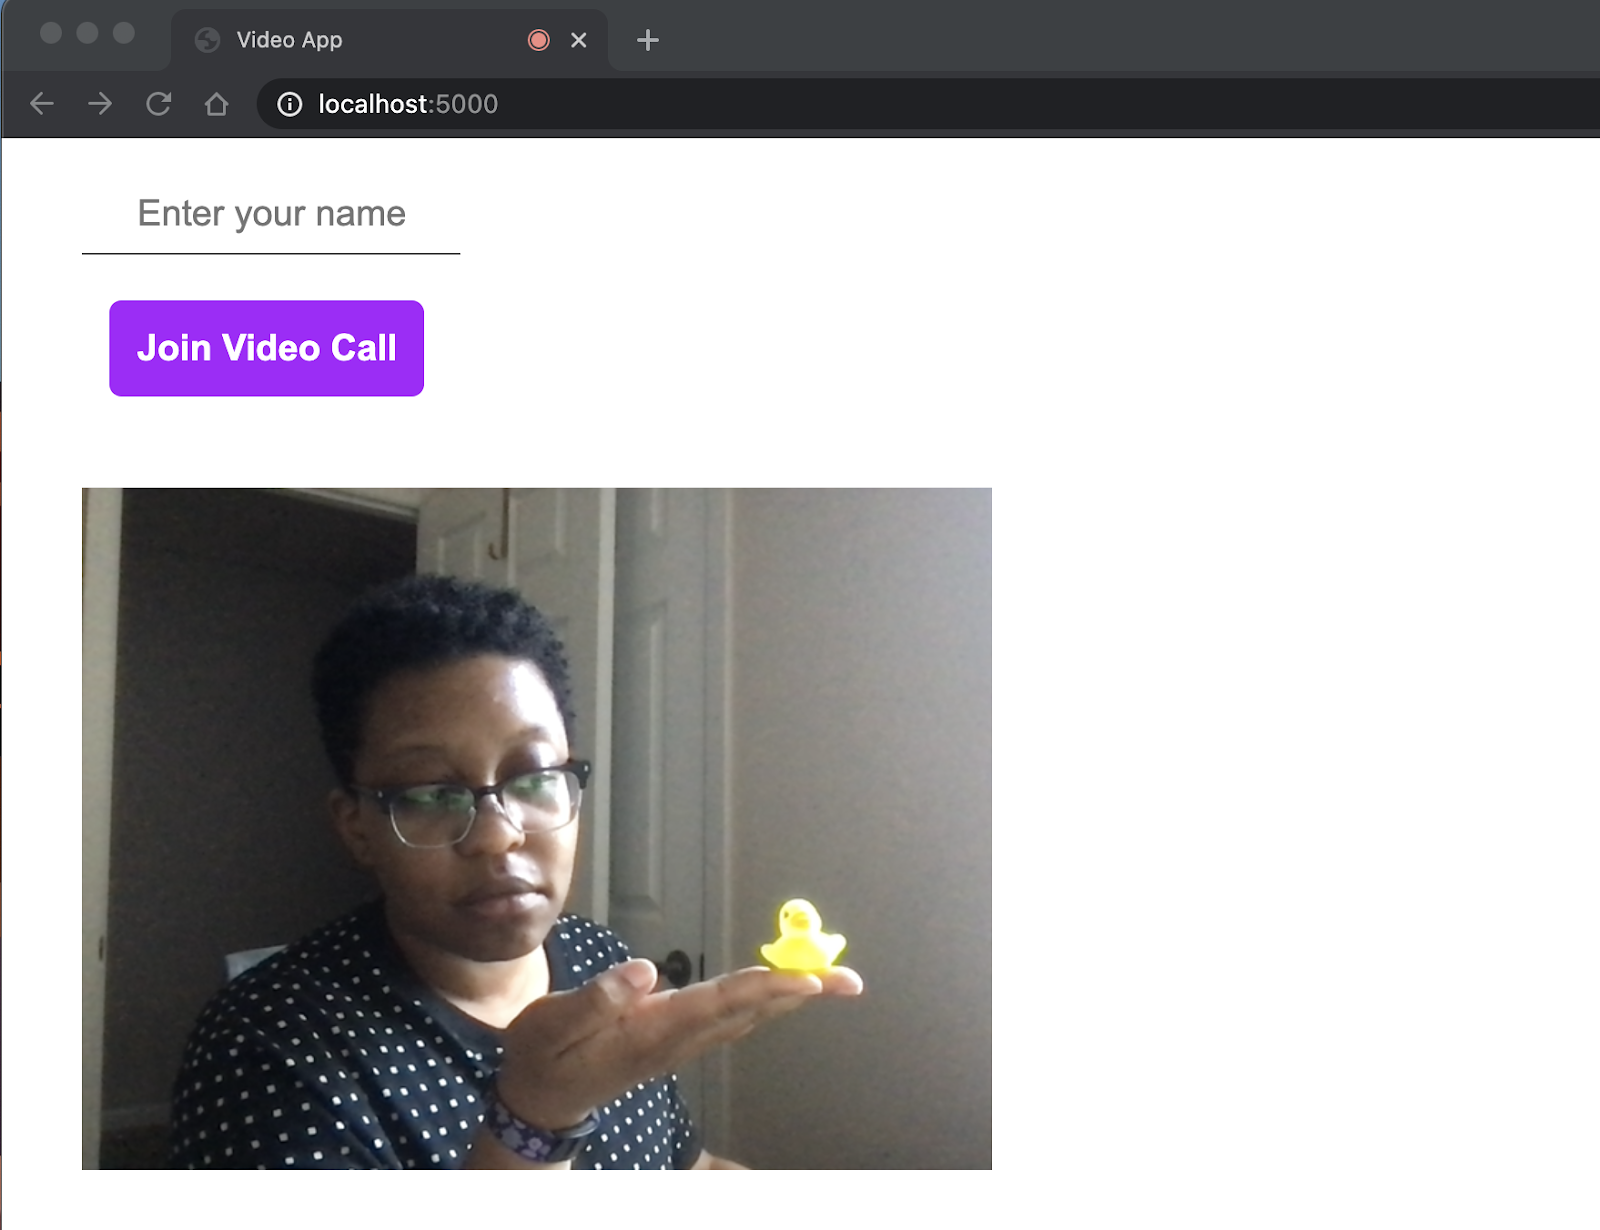
Have you ever seen a rubber duck this tiny?
Generate an access token
Okay, now that you can see your video feed, you're probably ready to join an actual video call. But before you do that, you will need to generate an access token. The access token is a short-lived credential that will grant a participant access to a video room.
When the participant enters their username in the input field and clicks Join Video Call, their username will be passed to a /token endpoint on the Ruby side of your application. This endpoint will get the user's username from the request, then use your Twilio credentials and the Twilio Ruby helper library to create an access token for this user for a video room called "My Video Room". Then this endpoint will return the token to the client side of your application. Your JavaScript code will then use this access token to connect to the video room.
Now that you know what the /token endpoint should accomplish, inside server.rb, add the following new /token endpoint inside the VideoApp class, just below your entry endpoint but before the final end statement:
Great! Now it's time to move on to the JavaScript step.
Connect to a video room as a local participant
Now, return to public/app.js in your code editor. It's time to add JavaScript code here to handle when the local participant interacts with your application in the browser.
At the top of the file, just below the variables you have already added, create a new variable called connected that describes whether the user is connected to the video room, and a variable room that refers to this video room:
Next, just below your addLocalVideo function, create a new function called connectOrDisconnect that will handle the event when a user clicks the Join Video Call button:
This function will check the connected variable to see whether the user is already connected to a video room. If the user is not already connected, this function will get the user's username from the input field in the UI and then try to connect to the video room. If the user did not enter a name in the input field, an alert message will pop up to let them know that they must complete this step before connecting.
If a user is already connected to a video room, the connected variable will already be set to true, which will trigger calling the disconnect function, disconnecting the participant from the video room and resetting the UI.
You may have noticed that the function described above references individual functions called connect and disconnect.
The connect function mentioned above will take the user's username from the input field and send it in a request to the /token endpoint you created earlier. Once the server side sends back an access token, this token is passed into another connect function from the twilio-video library. If the connection is successful, the participant will be connected to the video room and this video room will be assigned to the global variable for room. Then, the function sets up event listeners to listen for when other participants join the video call. Additionally, the text of the button changes from Join Video Call to Leave Video Call and the field for entering a username becomes hidden.
Add the following connect function to public/app.js just below the connectOrDisconnect function:
Next, add the disconnect function. This function will be the one that handles disconnecting a participant from the video room when they click the Leave Video Call button. It will also loop through the other participants in the video call and remove their video feeds from the UI for the disconnected participant. The state of connected is set back to false, the username input field appears again, and the Leave Video Call button is changed back to say Join Video Call.
Add the disconnect function just below the connect function in public/app/js:
Then, just below where you call the addLocalVideo function at the bottom of public/app.js, add add an event listener to the login form that will listen for the submit event and call connectOrDisconnect when this event occurs:
Now that you have taken care of when the local user connects to or disconnects from the video room, it's time to add some code to handle when other participants join and leave the room.
Handle the connection and disconnection of other participants
You might have noticed in the connect function you added above, that when a participantConnected event occurs in the video room, the function participantConnected gets called. A similar thing occurs for the participantDisconnected event.
Let's create the participantConnected and participantDisconnected functions now. These will be necessary in order to handle the connection and disconnection of remote participants.
Start by adding the participantConnected function. This function will create a new div for a connected participant, showing the participant's username as their identity and attaching their video and audio tracks to the div if the local participant is subscribed to them. The function also creates event handlers for responding to when a track is subscribed to or unsubscribed from; if a remote participant turns off their audio or video feed, you want to be able to respond to this event and attach or detach these tracks as needed.
Add the following participantConnected function just below your disconnect function in public/app.js:
Next, it's time to add the participantDisconnected function for when a remote participant leaves the video call. This is a function that finds the participant by their sid (unique identifier) and removes their div from the DOM.
Add the following participantDisconnected function just below your participantConnected function:
Next, it's time to add code for when the local participant subscribes or unsubscribes from a remote participant's audio or video tracks. Add the following trackSubscribed and trackUnsubscribed functions to public/app.js just below your code for participantDisconnected:
Now you have all the code you need for this project! It's time to test everything out.
Testing your video chat application
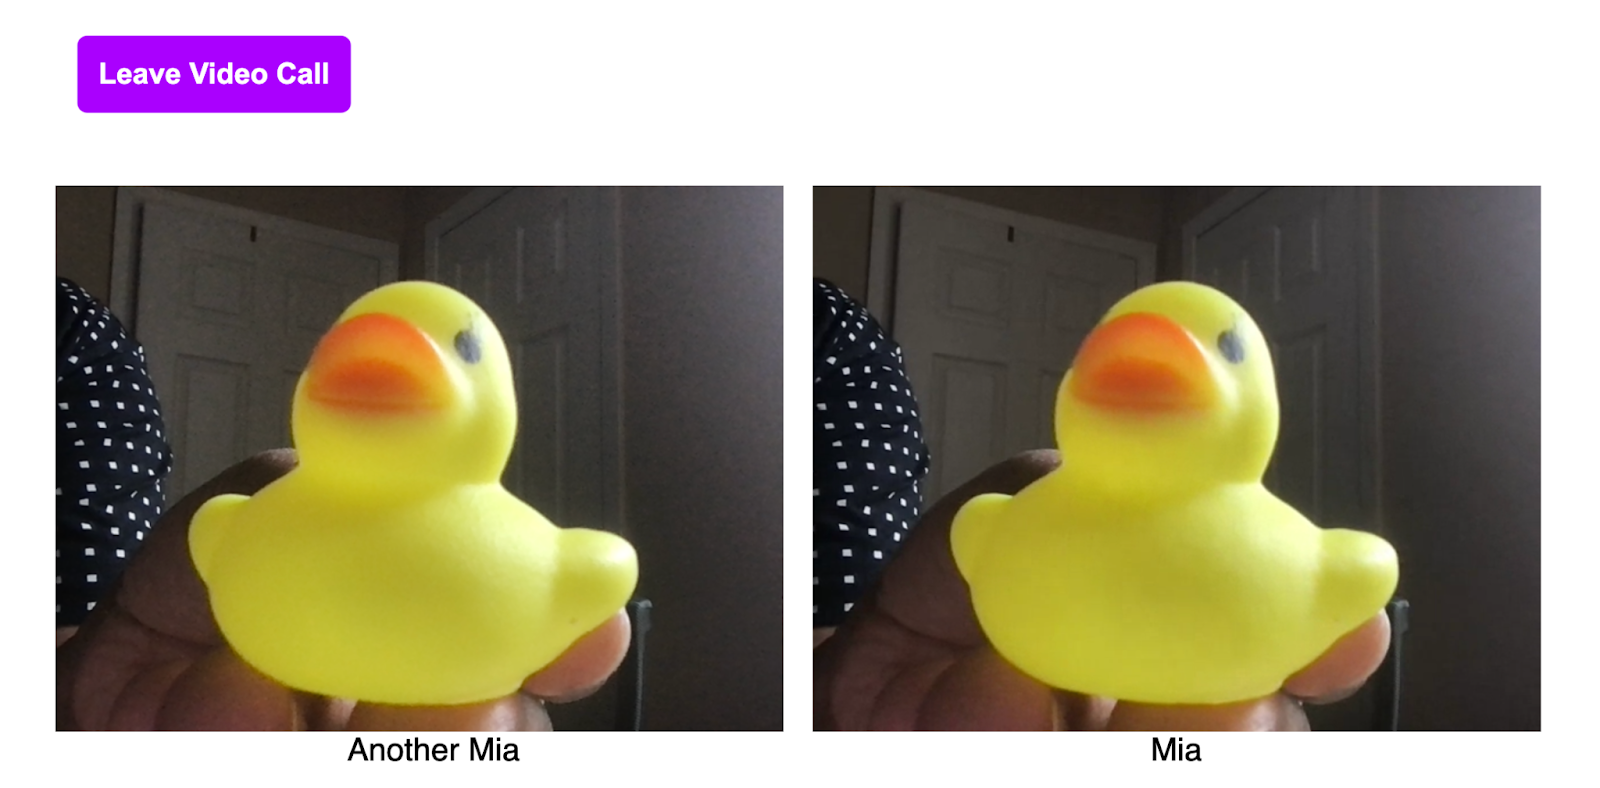
Return to your browser window at http://localhost:5000/ and refresh the page. You should see your own video feed preview there. Enter your name in the input field and click the Join Video Call button. You will see the input field disappear and the text of the button change to say Leave Video Call. You will also see your name just below your video feed!
Open up another browser tab pointing to http://localhost:5000/ if you want to see what the application looks like when chatting with another person. In this second tab, join the video chat with a different name. Once you click to join the call, you should see two of yourself in the video chat!
What's next for your video chat application with Ruby?
You've just built a cool video chat application! Hopefully you enjoyed this project and enjoyed working with Ruby and JavaScript. If you would like to see the code for this project in its entirety, check out the repository on GitHub here.
What would you like to build next? Perhaps you're interested in adding a feature to allow participants to mute and unmute their audio? Or maybe you're interested in learning how to build a video chat application with breakout rooms? Maybe you have your own exciting idea — the sky's the limit! ⭐️ I can't wait to see what you build!
Mia Adjei is a Software Developer on the Developer Voices team. They love to help developers build out new project ideas and discover aha moments. Mia can be reached at madjei [at] twilio.com.


Related Resources
Twilio Docs
From APIs to SDKs to sample apps
API reference documentation, SDKs, helper libraries, quickstarts, and tutorials for your language and platform.
Resource Center
The latest ebooks, industry reports, and webinars
Learn from customer engagement experts to improve your own communication.
Ahoy
Twilio's developer community hub
Best practices, code samples, and inspiration to build communications and digital engagement experiences.