Building your own Twitch Plays Pokemon with JavaScript, Twilio Programmable Chat and Socket.io
Time to read: 8 minutes
December 10, 2015
Written by

In early 2014, a phenomenon called Twitch Plays Pokemon took over the Internet. It was a social experiment on Twitch.tv which allowed viewers to play Pokemon Red Version together using Twitch’s chat and it was awesome. We were all on the edge of our seat for several weeks as over 120,000 people around the world played together simultaneously to guide Red on his Pokemon quest. There is even still an active community for the channel despite the initial run of the game being completed.
With the new Twilio Programmable Chat API coming out, I knew I had to work on my own version of this in the browser with a custom chat app and no dependence on streaming software. I’ve had a ton of fun building this and now I’m going to show you how to as well. If you want to skip to just playing Pokemon with a bunch of people, you can check it out here.
Throughout the rest of this post, we will recreate this experience by building “Twilio Plays Pokemon” using the new Programmable Chat API for the in-browser chat and Socket.io to sync a server side gameboy emulator across multiple browser clients. Socket.io has an example of something like this up already called Weplay. We will be using some of their code for the gameboy emulation setup and then implementing the chat ourselves. You can get started with this repository.

Acquiring our starters
Instead of Bulbasaur, Squirtle and Charmander, we will need to set up several dependencies to begin this adventure:
- You’ll need to create a free Twilio account in order to run the code for the chat application we are building.
- You’ll need to have Node.js and npm installed. I currently have Node v4.0 and npm v2.14.2 on my machine.
- You’ll also need to install Redis if you don’t already have it.
node-canvas: Follow these directions for your operating system in order to install.
Run the Redis server now because we will be using it later. You can do this in the background on the default port with the following command:
To start off, grab the code from this repository. You can grab this from a ZIP file or using git with the following commands in your terminal. You might have to enter your GitHub credentials to do this:
Now you have the code you need to get the Gameboy emulator running. This is an updated version of the example Socket.io has on their website.
Get all of our dependencies installed by running this command from the root directory of the project:
If you are using OSX and had trouble with the npm install step for weplay-emulator due to problems with the dependencies on Cairo, you may need to update to Xcode 7 and have the new command line tools. Alternatively, entering cd /usr/local/lib && sudo ln -s ../../lib/libSystem.B.dylib libgcc_s.10.5.dylib may work as a temporary fix.
Leaving Pallet Town
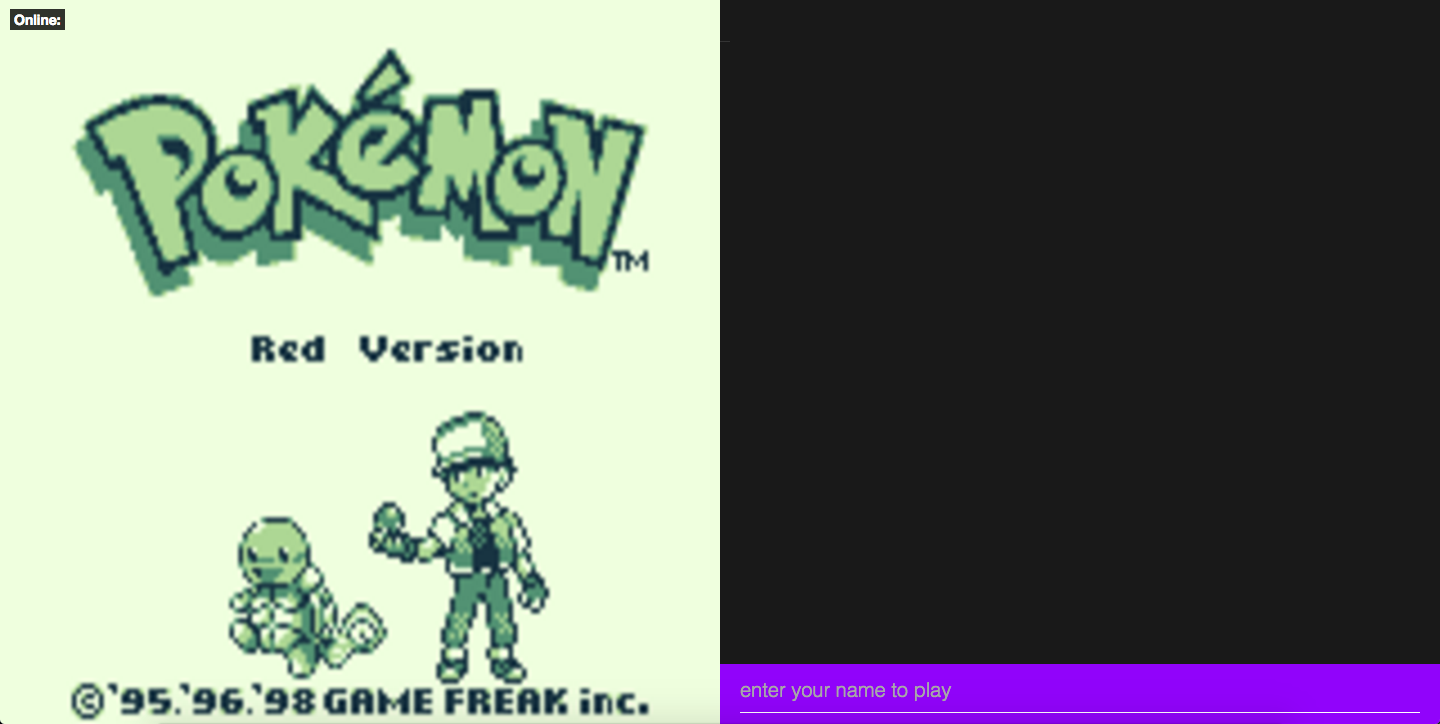
Now that everything is installed, let’s get it running to make sure it works. We should be able to run the emulator and see the title screen of the game in a web browser if everything is installed correctly.
There are 2 other important processes you’ll need to run and they all exist in different repositories. I compiled them together and updated the dependencies so that you can get everything running quickly.
Each directory contains the code for different processes that we will need to run together for everything to work:
weplay/– A directory containing the process that sets up the socket connections between the web app and the emulator.weplay-emulator/– A directory containing the process that will run the Game Boy emulator and paint every frame to a node-canvas. The raw data of each frame will be emitted as an image to the client. This is how we can have a client side Game Boy “emulator” that is actually just an
tag.
You’ll have to set an environment variable to have a path to a ROM of a Pokemon game before beginning everything:
If you don’t have access to a ROM of Red Version, you can test the same functionality with any other Game Boy game. I’d recommend this awesome open source game called Tuff that was made in 2014.
Now run the web app so you can see if everything works:
When you visit http://localhost:3000 you should see this:
Earning your first badge
So we have the game up and running in your browser, but you can’t play it yet because we haven’t written the code for receiving chat commands. In order to use Twilio Programmable Chat to implement the chat on the client side, we will need to have a server that generates tokens. Think of this portion as a battle with Brock in Pewter City to earn the Boulder Badge, but our reward will instead be an access token for the Programmable Chat API.
First, you’ll need to create an API key and a service SID. You can create an API key and a secret here. When you generate an API key pair at the URLs above, your API Secret will only be shown once – make sure to save this in a secure location, or possibly your ~/.bash_profile.
A service instance provides a shared scope for all the messages, users, and data in our Programmable Chat application. It’s like a new database for all your app’s data. You can create one here, which is also where you can grab the SID for it that we are about to use.
You’ll need to set the following environment variables as well:
Now it’s time to add some code to the server side Express app to generate a token that authenticates the client. From the root directory open up index.js and add the following imports to the beginning of the file:
And add this route to generate tokens to the end of the file:
On the client side, we will send an AJAX GET request to this route in order to receive a token to authenticate with the Programmable Chat API.
Facing the Elite Four with our client side code
Now that you can authenticate, let’s add chat functionality to our client side code using Twilio Programmable Chat. The client side JavaScript for our app is in the client/ directory, with most of the code residing in app.js.
Let’s create a module for functions specific to our chat app. We will use this code
in app.js. To start off, add a couple of global variables that will be used in several chat related functions with the IP Messaging API. In the client/ directory create a file called chat.js and add the following:
Now add a utility function for “printing” a message to the chat. This function will be called whenever a client receives a message and will display the message in the chat box using jQuery. Add this to the module.exports object right after line 10:
Next we want to grab a token from the server and initialize an Programmable Chat application. Let’s create a function called initializeChat that will request a token from our server, initialize our global variables and then call a utility function that we will write in the next step. Add this after printMessage:
Now let’s write the functions setupChannel and setListeners. setupChannel will retrieve the “general” channel or create on if it doesn’t exist and then call the setListeners function that will print new messages to the chat whenever a message is received in the channel. These will go right after the initializeChat function:
Now add a function called join that executes after a user enters their name. It will have a call to the new initializeChat function we just made. You can add this after the other functions we just wrote:
After all of that, your code in chat.js should look like this.
It’s time to navigate the code that already existed for the client side app so we can use these chat functions to hook into the game. In client/app.js, first add the following line to the top of the file with the other require statements so we can use our chat module:
Now we have to allow users to send messages to the chat and also check to see if a message that a user submits is a keyword for input to the game. If the message is a keyword, we’ll use Socket.io to emit which command was entered. This will access the process running the emulator to send that as button input to the game. At the end of app.js in the client directory, add the following code to send messages to the channel whenever the form is submitted:
Note that if a user has already joined, we send a message. If a user has not joined the channel yet, we call the join function.
Restart your server again by running npm start and you should now have a fully functional Twitch Plays Pokemon clone with Twilio IP Messaging.
Congratulate yourself for making it this far and making an awesome Twitch Plays Pokemon clone. You are now as rad as this “10 year old” kid who has 10 badges even though there are only 8 of them in Kanto.

Finishing your quest to catch ‘em all
We may be done with the basic functionality, but that’s no reason to end your adventure. If you want to keep playing around with this you can add onto the chat app in many different ways.
You could try:
- Filtering out the chat messages to not allow bad content to go through. You could have it stop users from saying “Gary Oak” or whatever you named your in-game rival because everyone knows he’s not a nice guy.
- Adding authentication to verify users’ identities. Right now our chat app works more like IRC in which anyone can use any screen name.

I can’t wait to see what amazing things you do with the new Programmable Chat API. You might even be able to make your Twitch Plays Pokemon clone go viral by adding some novel features. If you have any questions or want to show off what you built, feel free to reach out to me.
- Email: sagnew@twilio.com
- Twitter: @Sagnewshreds
- Github: Sagnew
- Twitch (streaming live code): Sagnewshreds

Related Resources
Twilio Docs
From APIs to SDKs to sample apps
API reference documentation, SDKs, helper libraries, quickstarts, and tutorials for your language and platform.
Resource Center
The latest ebooks, industry reports, and webinars
Learn from customer engagement experts to improve your own communication.
Ahoy
Twilio's developer community hub
Best practices, code samples, and inspiration to build communications and digital engagement experiences.