Create One-Time Passwords in PHP with Symfony and Twilio's Verify API
Time to read: 9 minutes
September 22, 2021
Written by
Reviewed by

As security threats continue to grow and their impacts become ever-more significant, Two-factor Authentication (2FA) is progressively becoming a de facto security standard. As an extra layer of security to the traditional username/email and password combination normally provided by the user(s) of an application, Two-factor authentication works and can be implemented by:
- Generating and sending a numeric code to the user's mobile device either via SMS, email, or phone call. This is popularly called One-Time Password (OTP) as it is a short-live password that can only be used once during authentication.
- Using an authenticator app to provide a constantly rotating set of codes that can be used for authentication when needed.
- Using push authentication where a user responds to a device push notification to either approve or reject an in-application event.
In this article, I will show you how to generate an OTP and send it to the user via an SMS in a Symfony application using the Twilio's Verify API. Twilio provides a robust infrastructure to simplify the process of generation, transmission (via various media), and verification of tokens thereby relieving us of the burden of having to implement it in our application.
Prerequisites
To get the most out of this tutorial, you will need the following:
- A basic understanding of PHP.
- Previous experience with developing applications using Symfony.
- PHP 7.4.
- Git.
- Composer installed globally.
- The Symfony CLI.
- A free or paid Twilio account. If you are new to Twilio, click here to create a free account now and receive a $10 credit when you upgrade to a paid account.
- A smartphone with an active phone number.
Create the base Symfony application
To begin, create a new Symfony project named sms_otp_generator and move into it, by running the commands below.
Install the required dependencies
For this project, we will use the following packages:
- Doctrine: The Doctrine ORM will help with managing the application's database.
- DoctrineFixturesBundle: This will help us load a user into the database.
- Maker: This will help us create controllers, entities, and the like, as well as to set up authentication.
- Symfony Security: This will help with authentication and access control in the application.
- Twig: Twig is a modern template engine for PHP. We will use it to render the views for our application.
- Twilio: The Twilio PHP SDK makes it easy to interact with Twilio APIs from your PHP application.
To install them all, run the two commands below.
Update the application's configuration
Next, create a .env.local file from the .env file, which Symfony generated during the creation of the project, by running the command below.
Next, update the DATABASE_URL parameter in .env.local so that the app uses an SQLite database instead of the PostgreSQL default. To do that, comment out the existing DATABASE_URL entry, and uncomment the SQLite option so that it matches the example below.
Now create the database using the following command:
NOTE: The database will be created in the var directory in the project's root directory and be named data.db.
With those changes made, to be sure everything is working properly, start the application by running the command below.
By default, Symfony projects listen on port 8000, so navigating to http://localhost:8000/ will show the default Symfony welcome page, similar to the image below.
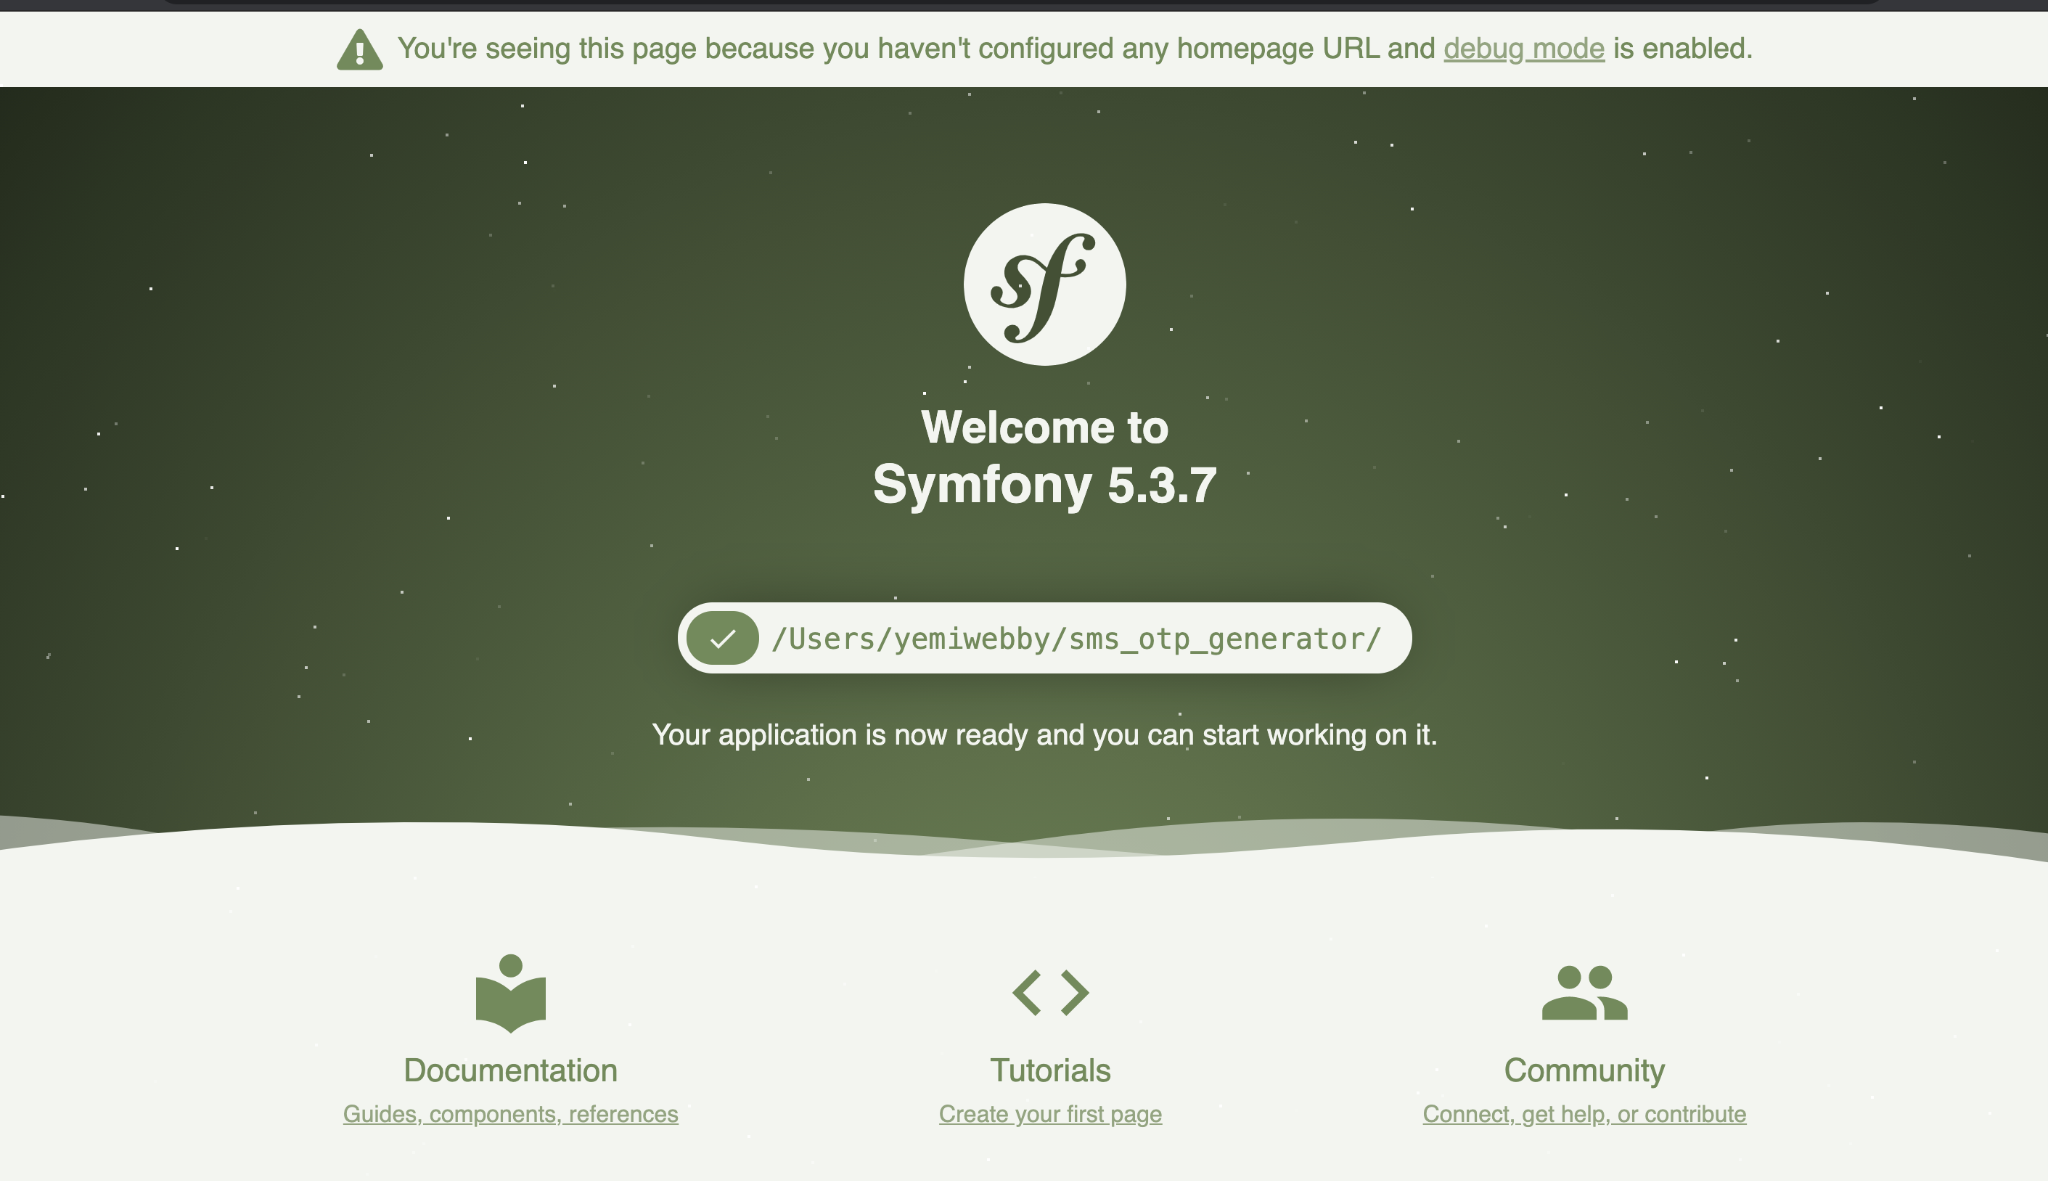
After confirming that the application works, stop it by pressing ctrl + c.
Create the User entity
Next, let's create an entity to store user-related data, such as a username, full name, and phone number. Create it by running the command below.
The CLI will ask some questions to help with setting up the user. Answer them as shown below.
Once you are done, you will see the following output:
We also need a field for the user's phone number which we will use to send the OTP. To do that, open src/Entity/User.php and add the code below.
First, we add a field for the phone number. To keep things simple, the phone number is stored in the E.164 format (without the + sign). Next, we add a constructor which allows us to create a new user by providing a username and phone number. The last thing we did was to add an accessor and mutator function for the phone number. We also defined a validation mechanism to ensure that the provided phone number matches the regex for our expected phone number format.
With this in place, we can run the necessary migrations to update the database schema by running the following commands.
Add login functionality
The first layer of authentication will be a traditional login form where the user provides a username and password. We can implement this with the Maker bundle by running the following command.
Answer the questions asked by the CLI as shown below.
With the questions answered, update the App\Security\LoginAuthenticator's onAuthenticationSuccess() method to match the following.
This function is called when the user provides a valid email address and password combination. When called, it checks if the user was redirected to the login page from another route. If so, the user is returned to that route. If not, they are redirected to the home page.
Next, let's update the access control configuration to ensure that the user is logged in before accessing any page (apart from the login page). To do that, update the access_control key in config/packages/security.yaml to match the following.
We also want the user to be redirected to the login page after logging out. To do this modify the main configuration, under firewalls, to match the following.
The last thing we need to do, with regards to authentication, is redirect the user to the home route if they are already logged in. To do this, update the login function in src/Controller/SecurityController.php to match the following code.
Implementing the home route
At the moment we don't have a route named "home", so on successful authentication the user will be greeted with a RouteNotFoundException. We don't want that. So let's create a controller to handle requests to that route. Create a new controller using the following command.
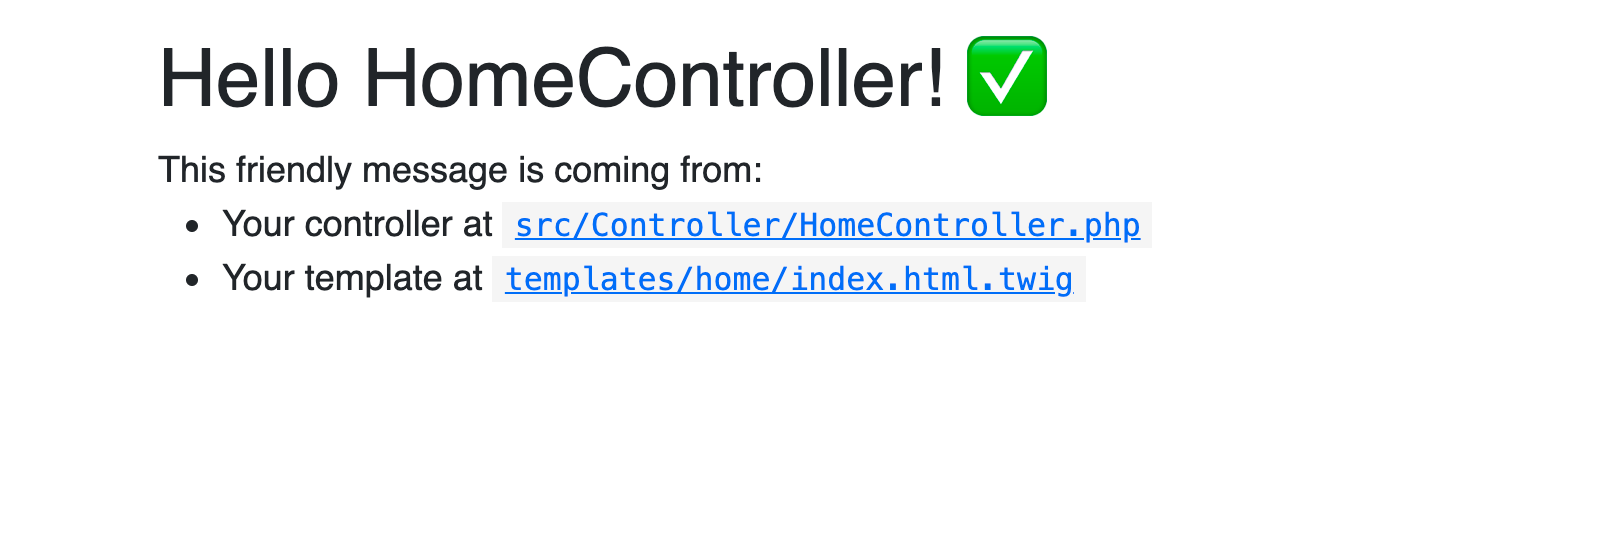
This will create two new files:
- A controller located in src/Controller/HomeController
- A view page in templates/home/index.html.twig
Load a default user into the database
Let's create a fixture that will add a user to the database, by running the following command to create a fixture.
Edit src/DataFixtures/UserFixtures.php to match the following.
With the fixture created, load it by running the following command.
Add the bootstrap theme
Let's use Bootstrap to style the views in our application. Open config/packages/twig.yaml and update it to match the following.
Next, add the Bootstrap CDN import in the base Twig template, by editing templates/base.html.twig to match the following.
Finally, update the templates/security/login.html.twig file to match the following.
With those changes made, run the application using the following command.
Then, navigate to the login page (https://127.0.0.1:8000/login) and provide the username and password for the user previously loaded into the database. You will be redirected to the home page which currently looks like the screenshot below.
Fix the home page
At the moment, we're seeing the default home page which the Maker bundle created for us earlier. Let's replace the "friendly message" being displayed with a button group which allows the user to either generate an OTP or to log out. We'll also replace the name "HomeController" with the username of the logged-in user.
Before we do that, let's create a stylesheet for the home page and add some styling for the content we will be adding. In the public folder, create a new folder called css. In the public/css folder, using your text editor or IDE, create a new file called home.css and add the following to it.
Next, edit the code in templates/home/index.html.twig to match the following.
Finally, modify the index function in src/Controller/HomeController.php to match the following.
Reload the index page to see the updated home page as shown in the screenshot below.
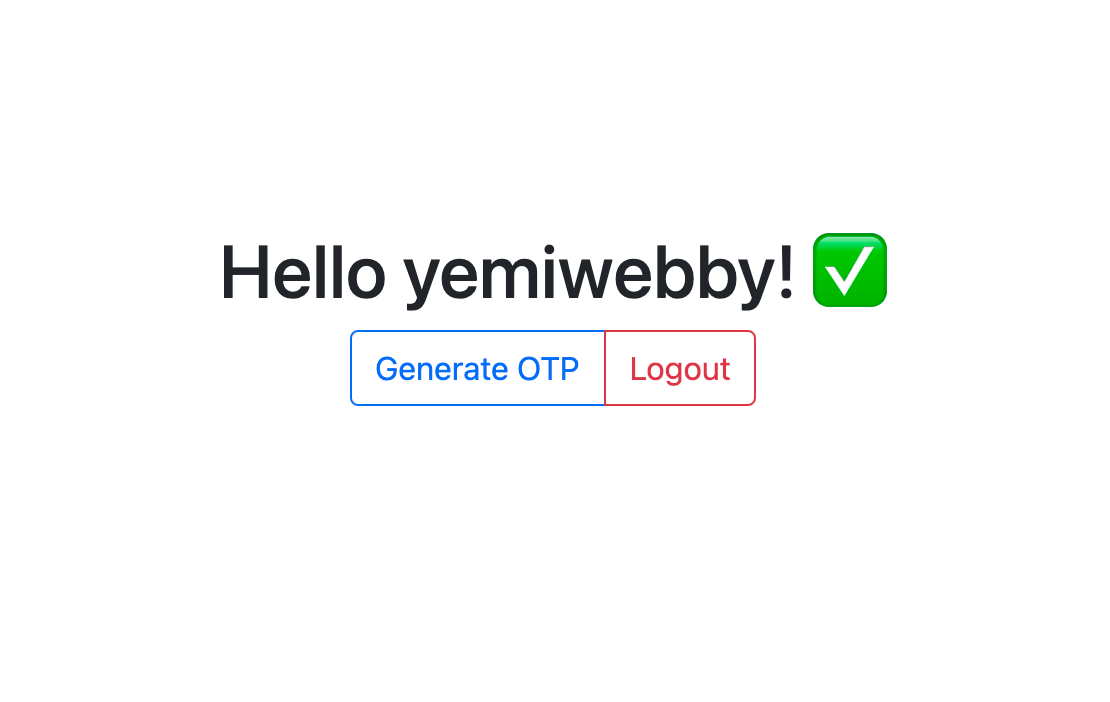
Clicking the "logout" button redirects the user to the login page as expected, however, we still have to implement the functionality for the Generate OTP button.
Set up Twilio
In order to connect our application with Twilio's verify API, so that our application can generate OTPs, we need three things: our Twilio Account SID and Auth Token, and a Verification Service ID.
Before we retrieve those, let's create environment variables to hold them by adding the following to your .env.local files.
Next, update the parameters key in config/services.yaml to match the following.
Next, from the Twilio Dashboard retrieve your "ACCOUNT SID", and "AUTH TOKEN". Replace each of the respective placeholder values in .env.local with these values.
Note: As a security precaution, your AUTH TOKEN will not be shown on screen. Click on the Copy icon to copy it.

To get a verification service ID, we need to create a verification service. Head to the Twilio Verify Console and click the "Create new service" button.
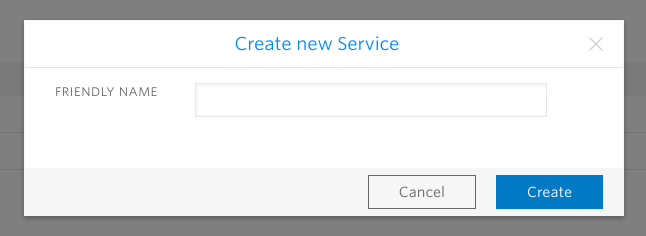
Set the friendly name to "sms_otp_generator" and click Create. You will be taken to the "General Settings" page which will show you the service ID for the verification service. Copy the Service SID value and use it to replace the final placeholder in .env.local.
Create a helper class for OTP generation and verification
In the src/Security folder, using your editor or IDE, create a new file called OTPService.php and update its content to match the following.
In this class, we define a constructor which takes the Account SID, Auth Token, and Verification Service ID as arguments and uses them to create a ServiceContext object, which will generate and verify OTPs.
We then declare a generateOTP function which takes a phone number in E.164 format and uses the ServiceContext to send a verification request to Twilio Verify API. It passes the phone number and specifies "sms" as the medium to send the OTP.
The last function we declare, isValidOTP, takes an OTP and phone number as arguments. Using these, it makes a verification check request to the Twilio Verify API, and returns a boolean based on whether or not the status in the response matches the expected status: approved.
With our service in place, we can wire the constructor arguments together in config/services.yaml by adding the following to the services configuration.
Create the OTPController
Let's now create a controller to handle requests related to OTP management, in this case generation and verification. Stop the application from running by pressing ctrl + c and proceed to create a new controller (without a template file) using the following command.
Open src/Controller/OTPController.php and edit it to match the following.
In this controller, we injected the OTPService via the controller's constructor. Next, we declared a route to generate an OTP for the logged-in user. Because the user has to be logged in fully, we can use the getUser() function provided by the AbstractController to get the logged-in user's phone number. We pass this phone number to the OTPService and generate an OTP for the user.
The endpoint that verifies an OTP retrieves the OTP from the POST request and passes that along with the logged-in user's phone number to the OTPService. If the OTP is valid, we return a success response, otherwise we return an error message along with an HTTP 400 response.
Make the Generate OTP button work
With the backend set up to generate and verify OTPs, let's update the template for the home page to make the necessary requests.
We'll use SweetAlert to display the OTP input popup and make an AJAX request to verify the input content.
Update the code in templates/home/index.html.twig to match the following.
Run the application again using:
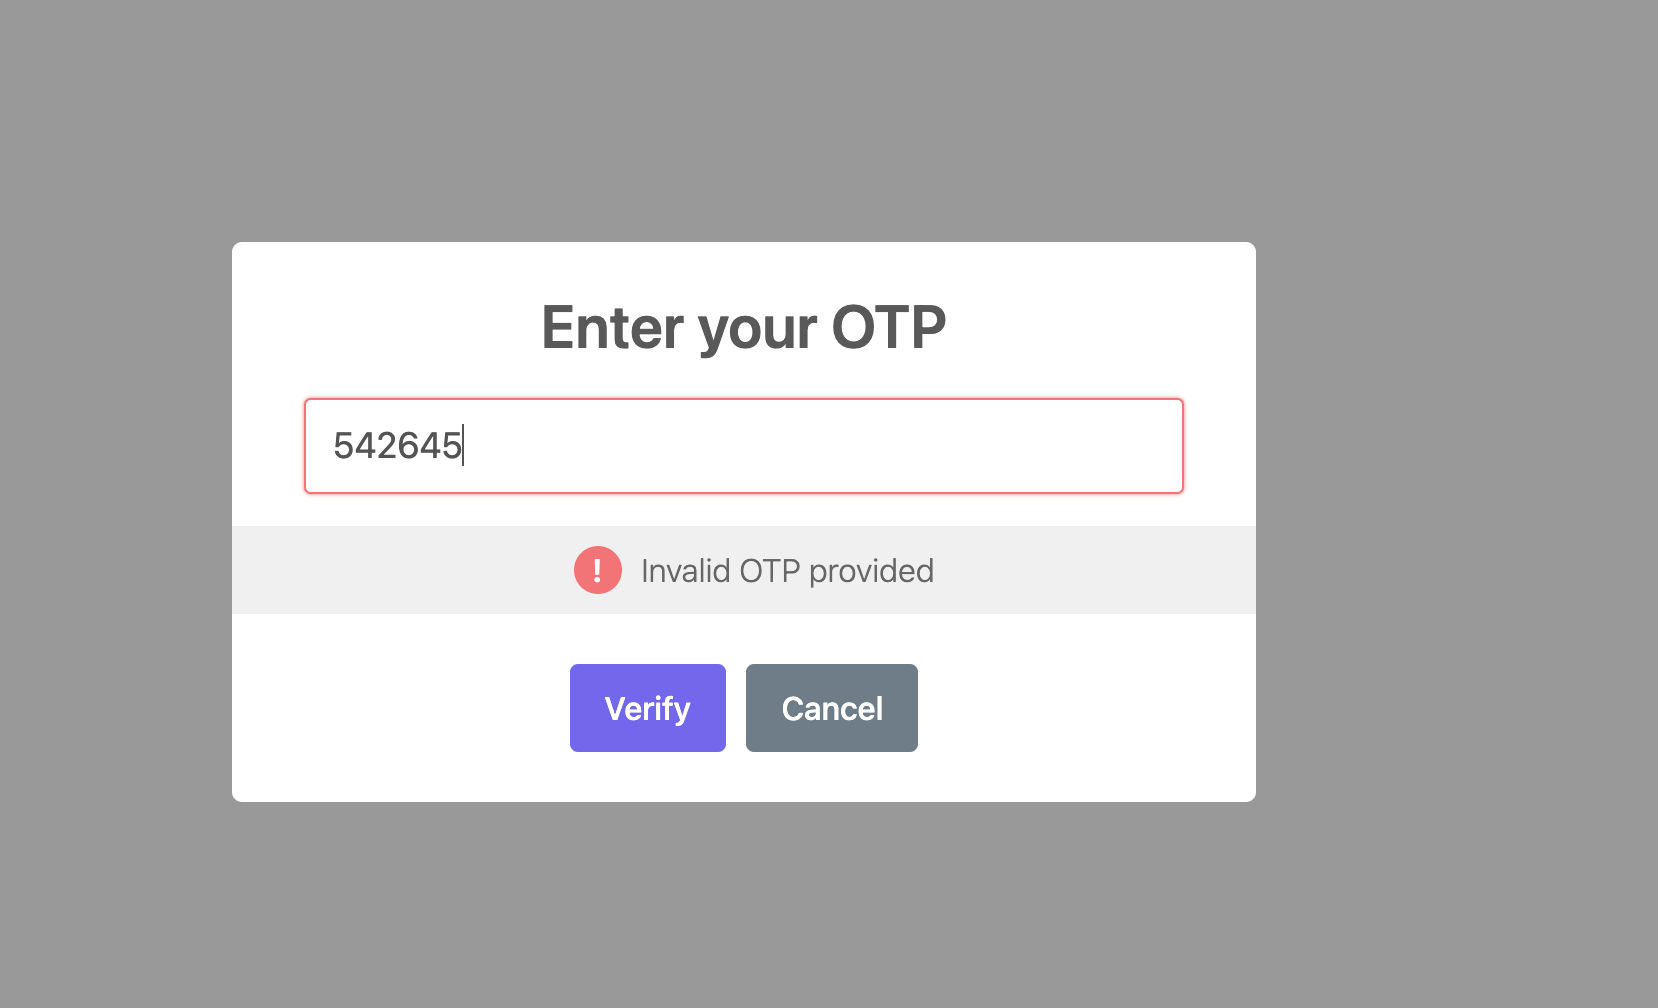
and click the “Generate OTP” button. You will see a pop-up asking for the OTP. If you provide the wrong OTP, you will see an error as shown in the screenshot below.
If you provide the correct OTP, a success response will be returned as shown below.

That's how to generate a One-Time Password via SMS
We have successfully built a feature to generate an OTP via SMS. This is an especially handy feature to have in terms of accessibility as visually impaired users are not left out.
We also saw a key benefit of leveraging the Twilio API. Using the Twilio SDK, we were able to generate an OTP via SMS in one line of code. We also did not have to worry about managing OTPs as the Twilio API took care of that as well.
The entire codebase for this tutorial is available on GitHub. Feel free to explore further. Happy coding!
Oluyemi is a tech enthusiast with a background in Telecommunication Engineering. With a keen interest to solve day-to-day problems encountered by users, he ventured into programming and has since directed his problem-solving skills at building software for both web and mobile.
A full-stack software engineer with a passion for sharing knowledge, Oluyemi has published a good number of technical articles and content on several blogs on the internet. Being tech-savvy, his hobbies include trying out new programming languages and frameworks.
- Twitter: https://twitter.com/yemiwebby
- GitHub: https://github.com/yemiwebby
- Website: https://yemiwebby.com.ng/
Related Resources
Twilio Docs
From APIs to SDKs to sample apps
API reference documentation, SDKs, helper libraries, quickstarts, and tutorials for your language and platform.
Resource Center
The latest ebooks, industry reports, and webinars
Learn from customer engagement experts to improve your own communication.
Ahoy
Twilio's developer community hub
Best practices, code samples, and inspiration to build communications and digital engagement experiences.