Faxing ASCII Images using Node and Twilio Programmable Fax
Time to read:
April 01, 2017
Written by
This post is part of Twilio’s archive and may contain outdated information. We’re always building something new, so be sure to check out our latest posts for the most up-to-date insights.

Fax is back baby! With the launch of Programmable Fax, I thought why not bring back something else from my past, ASCII art. In this post I’ll show you how to make a simple web app that converts uploaded images to ASCII art then sends that art as a fax.
Gearing Up
For this simple app I chose to use a JavaScript web stack: Node.js and Express. To build the hack yourself, make sure you have node and npm installed and use npm to initiate a new project:
npm init
Next add the express dependency:
npm install -s express
Now create and open the applications main file. I called mine app.js. In it require express, create a new express app and then tell that app to start listening on port 3000.
Tell express that we want to return static files from a folder named public:
Now create the public folder in your applications directory, add a file named index.html to it and drop in this HTML as its content:
This setups up a simple form that lets the user select a file and upload it.
To handle the form submission, back in app.js create a new post route and for now, just return the same index.html file. We’ll add some code in just a bit to process the uploaded image.
OK, let’s make sure the basics are in working order by firing up the node app
node .
and loading http://localhost:3000 in your browser
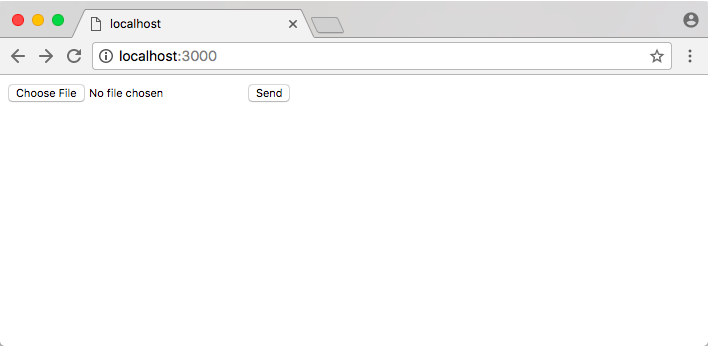
Click the Send button and the page should post back to itself.
With the basic app running we can start processing the file that the user uploads. First we need to get the file from the incoming HTTP request. To do that we’ll use the express-fileupload package.
npm install -s express-fileupload
Back in app.js require express-fileupload as a new dependency. Make sure you also tell the express app that you want to use the express-fileupload library:
In the POST route, first check to make sure that a file was uploaded and if not return a 400 response
If there is a file, grab it using the name of the input element and then move it to a location on your server
Now that we have a file saved on the server we can convert it to ASCII. For that we’ll use another package named image-to-ascii
npm install -s image-to-ascii
In app.js, require image-to-ascii as a dependency
var imageToAscii = require('image-to-ascii')
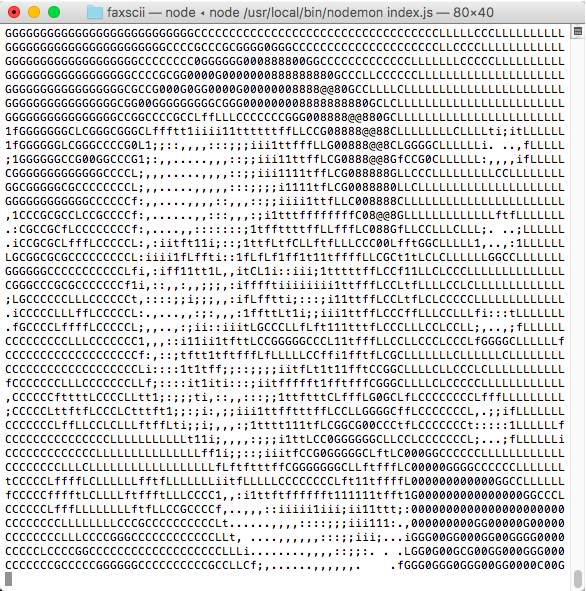
Then, in the post route, call the imageToAscii function, passing it the path to the image we saved, an options object with the single option telling the package not to colorize the result and a callback that gives us the conversion results. For now we’ll just print those results out to the console.
Awesome! Restart the node app and this time let’s try uploading a JPEG. You should see the ASCII-fied results in the terminal.
Beautiful! Now that we have an ASCII image let’s see if we can get Twilio to fax it for us. To do that we first have to convert the ASCII into a PDF because that’s what Twilio needs from us in order to send a fax.
To do that conversion we can again turn to a node package called PdfKit. Add the page pdfkit package to your app
npm install -s pdfkit
In app.js require the file system package and then require pdfkit
Back down in the ASCII conversion callback, create a new PDFDocument. Use the documents functions to set the font size, change the font face to the fixed width Courier font and then drop the ASCII text into the PDF.
Once we add the text we pipe the PDF out to two different places. First we pipe it to disk so that we can access via URL later and second we pipe it to the express response object so it gets returned to the browser. Once we’re done creating the PDF, we tell the document to end.
Finally, since we’re piping the PDF to the browser we don’t need to send back the index.html file anymore so we can remove this line of code from the post function
res.sendFile(path.join(__dirname '/index.html'))
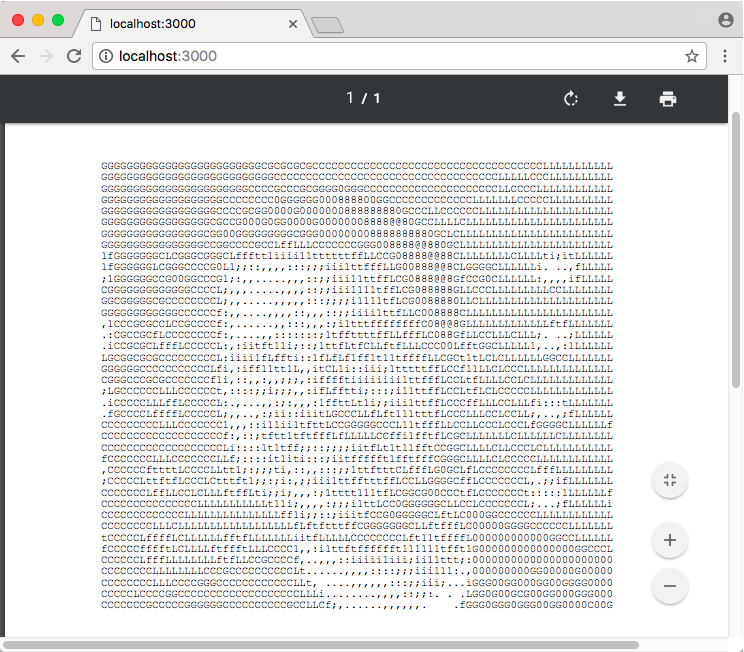
Restart your app again and upload an image. This time when you submit the image the app should return and display in your browser a generated PDF containing the ASCII image.
Now that we’re generating a PDF we’re ready to have Twilio fax it for us. You’ll need a Twilio phone number for this so head over to the Phone Numbers section in the console and grab a fax-enabled number. If you’ve new to Twilio fax, I’d suggest checking out the Programmable Fax docs to get up to speed with it.
With phone number in hand we can write the HTTP request we need to ask Twilio’s REST API to send a fax for us. Start by adding the request package as a dependency. We’ll use this to make the HTTP request to Twilio.
npm install -s request
Require the request library and then make the HTTP POST request to the Twilio REST API after the call to imageToAscii:
The REST request requires three parameters: To, From and MediaUrl. The last parameter takes a URL that points at the PDF that we want to send. In our case that URL points to the PDF that we saved to disk earlier. Since my application only runs on my local machine, I’ve exposed it out to the internet using ngrok so that Twilio can reach the MediaUrl.
Finally, we also pass our Twilio credentials with the request, which I’ve saved as environment variables.
That’s it. Restart the app and upload a file again. Not only will you see the image in your browser, you can run over and check your fax for it.
Wrapup
There you go. Two fantastic, well worn technologies of days past mixed with some more recent tech gives us a fun app, the chance to play with some great node packages and the new Twilio Programmable Fax API.
What tried and true technologies are you mixing with modern ideas? Let me know by sending me an Twitter.


Related Resources
Twilio Docs
From APIs to SDKs to sample apps
API reference documentation, SDKs, helper libraries, quickstarts, and tutorials for your language and platform.
Resource Center
The latest ebooks, industry reports, and webinars
Learn from customer engagement experts to improve your own communication.
Ahoy
Twilio's developer community hub
Best practices, code samples, and inspiration to build communications and digital engagement experiences.