Getting Started With Vapor: A Swift Web Framework
Time to read:
October 31, 2016
Written by
This post is part of Twilio’s archive and may contain outdated information. We’re always building something new, so be sure to check out our latest posts for the most up-to-date insights.

Web frameworks for Swift started popping up almost as soon as Swift went open source at the end of 2015. Vapor quickly became one of the most used libraries for Swift on the web. In this quick tutorial you’ll learn the basics of using Vapor to build web applications using Swift.
What You’ll Need
Before we take a look at how Vapor works we need to get a few tools.
The first thing we need is Swift 3 with Swift Package Manager. Follow this guide to get Swift running on your system. If you’re on Linux you may find this guide easier to digest than Apple’s site.
You can verify that you have Swift 3.0 or greater by running this command:
We also need Vapor. Vapor comes with a command-line interface that simplifies many of the tasks associated with building, running and deploying Swift web apps. Install Vapor by running the following in the terminal:
Verify it is working by running:
Is This Thing On?
Let’s turn on the fog machine and make sure Vapor works on our machine. We’ll also browse around the sample project it generates. Create a Vapor project by using Vapor CLI’s vapor new command:
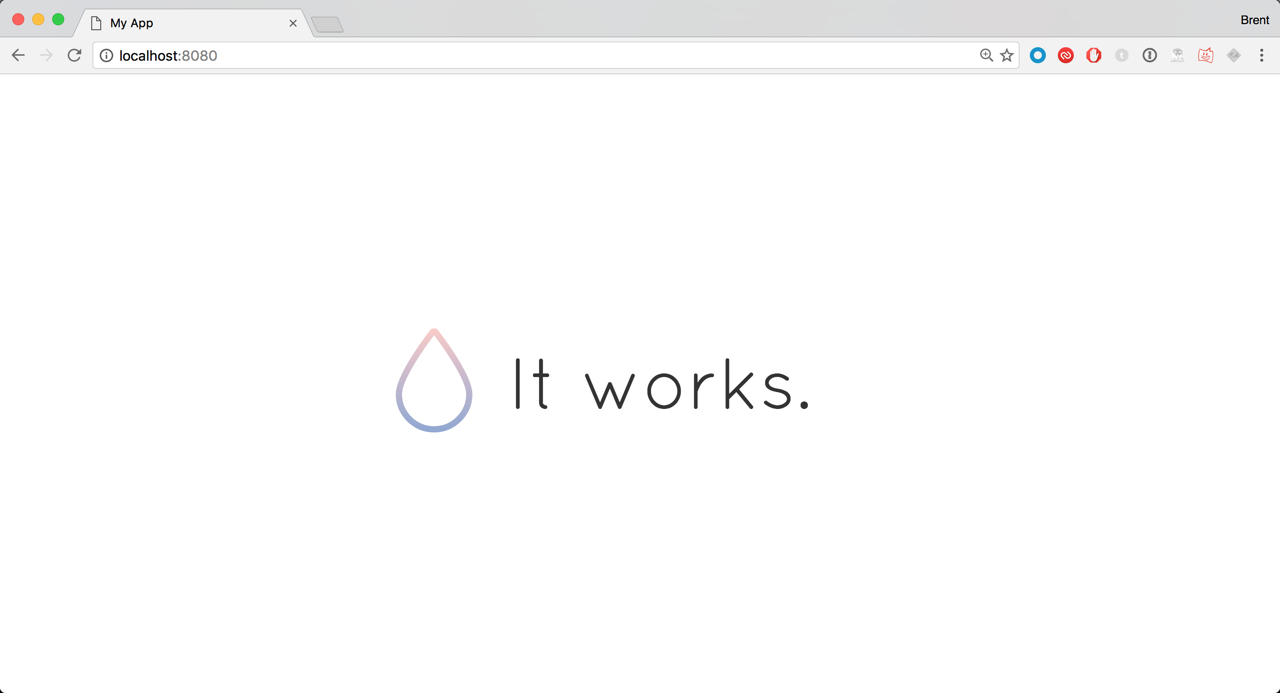
Make sure everything is working correctly by building and running the sample project:
Visit http://localhost:8080 and you should see that “it works”:
Now that we know everything is working, let’s dig into how it what makes Vapor tick.
How Did It Do That?
A web app in Vapor is called a Droplet. Open VaporSample/Sources/App/main.swift to see where our Droplet is defined. It should look like this:
Vapor uses the Droplet to create routes using Vapor’s Router. For example, a GET request to /hello would look like this:
In main.swift, the default route on lines 5-9 makes use of the welcome.leaf view that is located at VaporSample/Resources/Views/welcome.leaf Since it doesn’t contain a route name it operates at the base URL. This route uses a templating language built into Vapor called Leaf. We will use Leaf when we build our first sample.
Line 11 defines a RESTful resource named posts to represent blog posts. It creates several routes in VaporSample/Sources/App/Controllers/PostController.swift.This sample uses features that are outside the scope of this post but you can read this for more information on Vapor Controllers.
The drop.run() at line 13 starts the server.
Now that we know the basics of how Vapor works, we can use the router and the Leaf templating language to render a Hello World example that greets the visitor by name.
Hello Vapor
The first thing we need to do is define a route for a GET request to /hello. We’ll also remove the existing examples so that they don’t distract us as we learn. Replace the contents of main.swift with the following code:
We want to greet the visitor by their name so we’ll have them pass it in as a parameter, e.g. http://localhost:8080/hello?name=Brent. Let’s update the hello route to access the name query parameter passed into the request:
In the highlighted line, we check if there’s a name value in the request.data dictionary provided by Vapor’s Request object. If there is, we store a string representation of it in a local name constant. If not, we store “stranger” as their name.
Next we’ll use a Vapor View to render an
tag that says hello to our visitor. Start by creating a hello.leaf file in VaporSample/Resources/Views:
We’ll set up our hello.leaf markup to extend the base.leaf layout provided in the sample. It has head and body placeholder regions defined using #import that we can put our view content into. Here’s what base.leaf should look like:
Add the following code to hello.leaf:
On line 1 we state that we’re using the base.leaf layout. We then use #export to declare markup to be placed into the #import placeholders in the base layout. Line 8 uses a name property that we’ll pass into the view from our route.
Head back to main.swift and add the highlighted code to the hello route to create and return the hello view:
We use drop.view.make to create a view named hello that passes in a name parameter to be used by the view. That’s everything we need to render this web page passing in a name so let’s test it.
Head back to the terminal and build the app using Vapor CLI:
Once successful, use the Vapor CLI to fire up the Vapor server:
Head to http://localhost:8080/hello?name=Brent to see the greeting from Vapor.
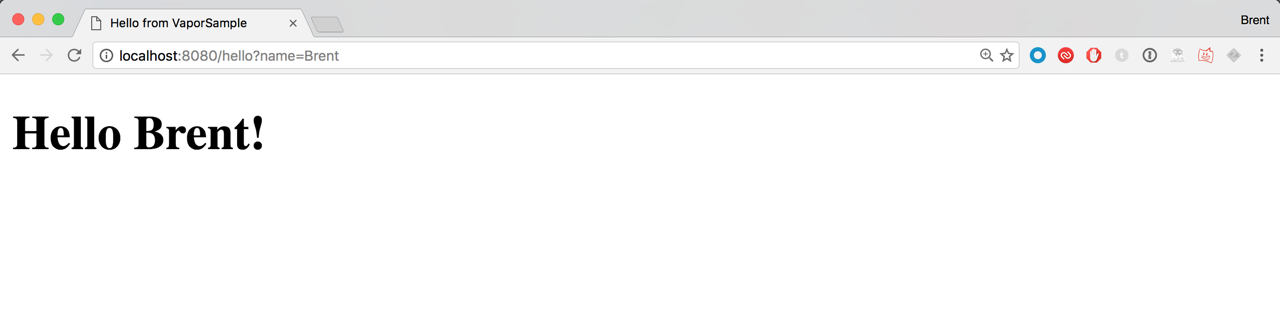
Now try it with your own name.
Using JSON in Vapor
What if you wanted to build an API for your mobile app using Vapor? Chances are you’ll want to work with JSON. Thankfully JSON support is built-in. Make a route for a POST request to /person that takes a x-www-form-urlencoded body containing name and city values. We’re going to need to work with Vapor’s HTTP module so add the following import statement to the top of main.swift:
Add the highlighted code directly after the closing brace of the hello route in main.swift:
The first thing we need to do is make sure that both name and city are passed in since they’re required for our route. Use Swift’s guard statement to abort and return a Bad Request if we’re missing either of these parameters while also conveniently setting them to local constants:
Note we use the same request.data dictionary we used for query parameters to access x-www-urlencoded values.
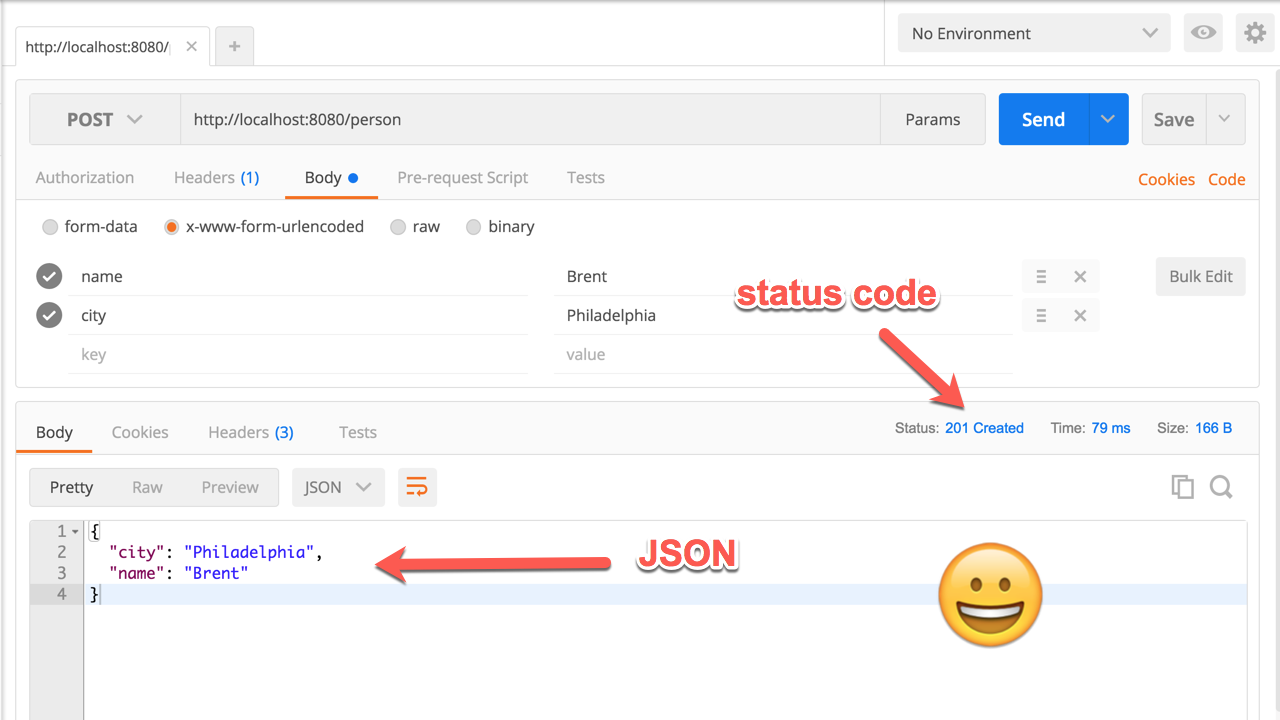
Now that we have the request values let’s generate a response. Since we want to simulate creating a person in our backend we’ll need to send a 201 Created status code in our response. We’ll also send back a JSON version of the created object. Add the highlighted code to generate the response:
Build and run the application:
Send a POST request using cURL or Postman containing name and city and you should get back JSON with a 201 response:
Here’s the cURL request if you prefer the terminal:
You should see this at the end of the response:
It’s super simple to work with JSON in Vapor. What’s really clever is that the JSON data passed into a route is accessible the same way as query parameters and x-www-urlencoded body values. For more information on this, check out Vapor’s docs.
If you want to learn about deploying your app to Heroku follow this tutorial.
If you’re more of a visual learner, here’s a video tutorial that covers most of what’s covered in this blog post:
That’s a Wrap
Being able to use Swift on the web is super exciting. Vapor’s built-in JSON support, ease of use and painless deployment make it an excellent candidate for building APIs and web applications using Swift. Here are some things to try next:
- Look into Router Grouping for creating different versions of an API.
- Add custom commands to the Vapor CLI.
- Check out some of the other Swift Web Frameworks such as Kitura or Perfect
I’m excited to see what you build with Swift on the web. You can find me on Twitter @brentschooley or send me an email at brent@twilio.com.


Related Resources
Twilio Docs
From APIs to SDKs to sample apps
API reference documentation, SDKs, helper libraries, quickstarts, and tutorials for your language and platform.
Resource Center
The latest ebooks, industry reports, and webinars
Learn from customer engagement experts to improve your own communication.
Ahoy
Twilio's developer community hub
Best practices, code samples, and inspiration to build communications and digital engagement experiences.