Integrate Two-Factor Authentication into a Laravel Application with Laravel Breeze, Livewire, Alpine.js, and Twilio Verify
Time to read: 6 minutes
May 12, 2023
Written by
Reviewed by

Real world applications require authentication, such as passwords, to secure them and restrict access to authenticated users only. Two Factor Authentication (2FA) goes even further by adding an extra layer of security to your regular authentication system, such as a code generated by an application or physical token such as a Yubikey.
In this article we will implement Two Factor Authentication in a Laravel application, by modifying the Laravel Breeze scaffolded authentication system to use Twilio Verify. We will also create middleware to enforce 2FA.
Prerequisites
To follow along with this tutorial you will need:
- Experience with the Tall Stack
- PHP 8
- A Twilio account (free or paid). If you are new to Twilio, click here to create a free account
- One of Laravel's supported databases, such as MySQL, PostgreSQL, or SQLite
- Composer installed globally
- Prior knowledge of Laravel and Laravel Breeze would come in handy but is not required
Create a Laravel project
Let's get started by creating a new Laravel project using Composer and changing into the newly generated project by running the commands below.
Install Laravel Breeze
Next, install Laravel Breeze using the command below.
Once the Breeze installation is complete, scaffold the authentication for the application using the following commands.
When prompted, answer the questions as follows:
Now, in a separate terminal, launch your project using the following command.
With the application running, in your preferred browser, open http://localhost:8000, where it will look like the screenshot below.

Configure the required environment variables
The application needs access to the database. To set that up, in your .env file add a database name, username, and password by setting values for DB_DATABASE, DB_USERNAME and DB_PASSWORD, like in the following example.
Now, run your migration to complete the authentication scaffolding.
Edit the user registration form
The registration flow needs to include a phone number field. So let's modify the current Laravel Breeze scaffolded user registration form that already contains fields for a username, email, and password, to include it.
In resources/views/register.blade.php, add the following code after the email field.
We also need to modify the existing migration file to save the user phone number. Open database/migrations/2014_10_12_000000_create_users_table.php and update the up() function to match the following code:
The changes add two new columns, phone_number which is nullable ($table->string('phone_number')->nullable();) and phone_verified ($table->boolean('phone_verified')->default(false);). The phone_number field saves the provided phone number, while the phone_verified will be used later to implement our middleware to enforce the phone verification.
Now, we need to do some refactoring to validate and save the phone number. Modify app/Http/Controllers/Auth/RegisteredUserController.php file to match the code below. These changes add a validation for the phone field and a redirection to the phone validation screen.
Next, edit the store() method in app/Http/Controllers/AuthenticatedSessionController.php to redirect users to the phone verification screen after login, like so.
We also need to add the phone_number to the mass assignable properties in the User model, like so.
After a successful registration or login, the user will now be redirected to the verify.phone route. So let's create that. Since we will be using Laravel Livewire for verification, let's first install it, by running the following command:
Next, we need to add the Livewire Blade directives to our layout file resources/views/guest.blade.php and resources/views/app.blade.php like so.
Next, create a Livewire controller and view using the Artisan command below.
The command will generate two files, app\livewire\PhoneNumberVerify.php and view\livewire\phone-number-verify.blade.php. The PhoneNumberVerify.php file contains a render() method that returns the view phone-number-verify.blade.
Create a route for the phone number verification in routes/web.php route file like so.
Install the Twilio PHP Helper Library
We need to install the Twilio PHP Helper Library that lets us interact with Twilio's Verify API. We can install it using the following command.
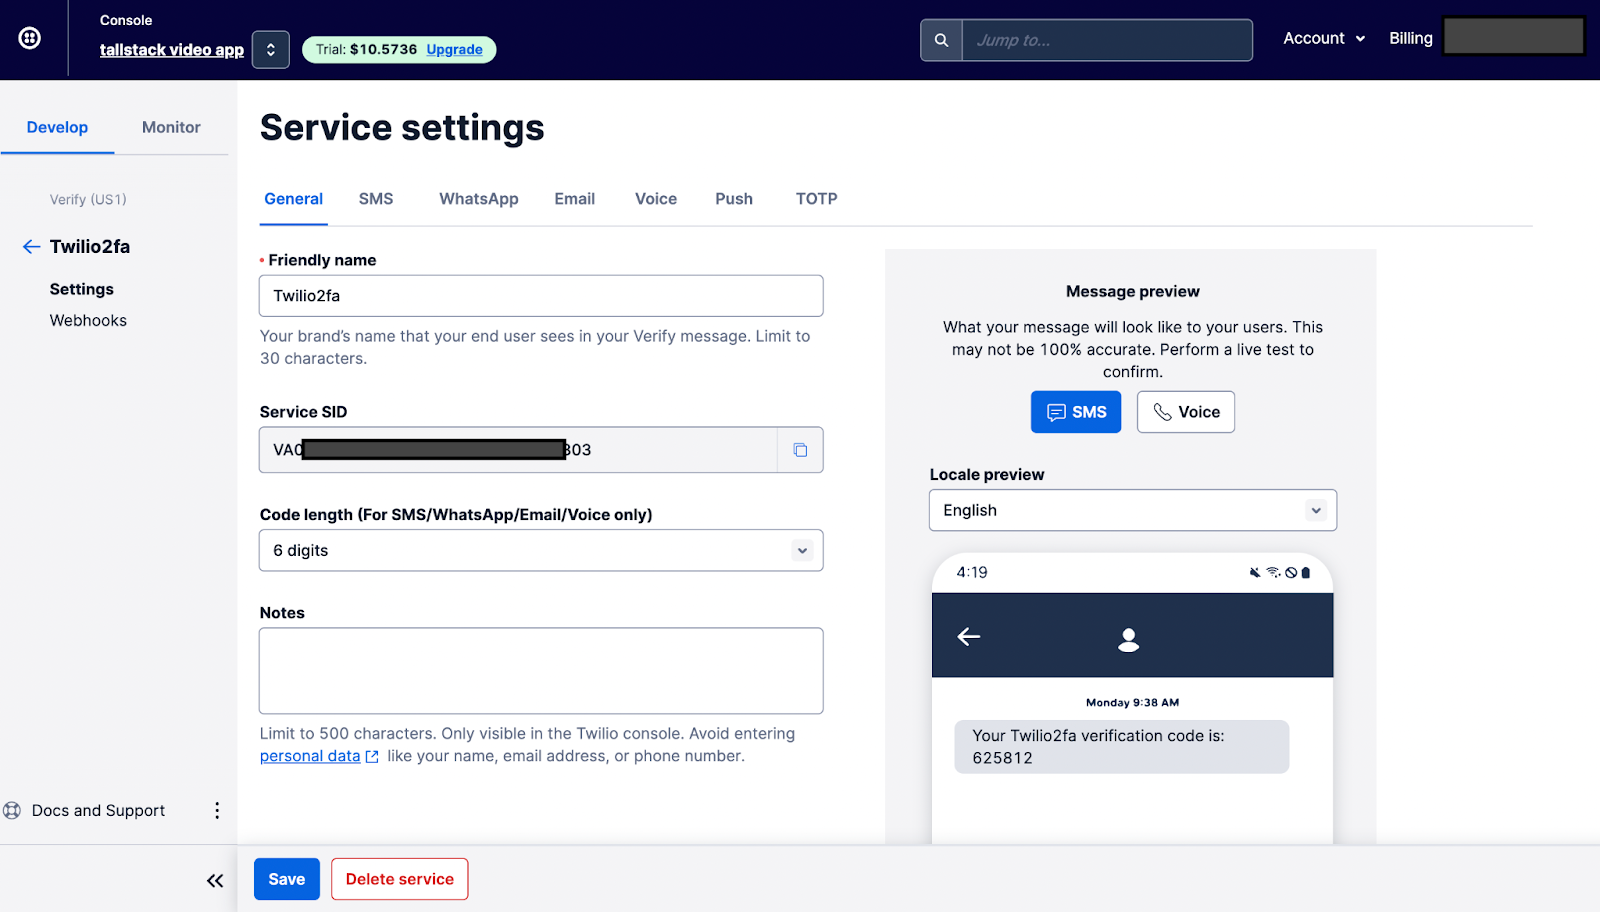
One more thing. You need to create a Twilio Verify service and retrieve its service SID.
To create a Twilio Verify service, you first need to sign up for a Twilio account if you haven't already. After signing in to your account, navigate to the Twilio Verify Console and click on the "Create Service" button.
From there, you can configure your service by giving it a name, choosing the verification methods you want to use (such as SMS, voice, or email), and setting the duration for which verification codes will remain valid.
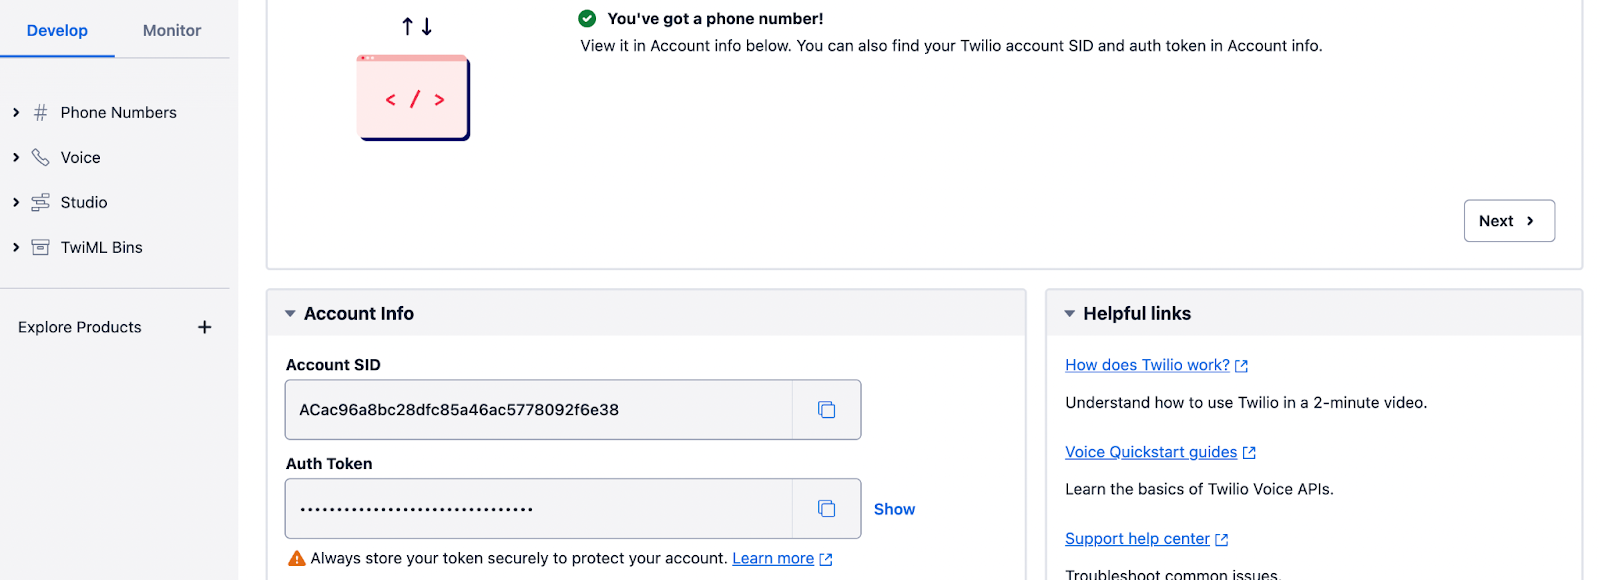
The Twilio PHP Helper Library will need three credentials to work successfully, your Twilio Account SID and Auth Token, as well as the Verify SID which you just created.
You can find your Twilio Account SID and Auth Token in your Twilio Console once you login.
Add the following to .env file. Then, replace the placeholders with the respective values.
Next, let’s create two methods in our Livewire controller. One for sending the OTP (One Time Password) and the other for verification. Add the following to our Livewire controller views\livewire\PhoneNumberVerify.php.
We created two methods: sendCode() and verifyCode(). As the names suggest, they send and verify the code generated by Twilio Verify. We also created a connect() method. This method instantiates the Twilio client and returns the connection.
In the mount() Livewire hook, we called the sendCode() method. This fires the method and sends the SMS once the page is ready. The phone number is retrieved from the user supplied phone number.
In the verifyCode() function, we verified the phone number by passing the verification code and the user phone number to the Twilio Verify endpoint. We also updated the phone_verified column in the User table which has a default value of false to true once verification is successful. Our middleware will check this value to enforce 2FA.
Next, let's flesh out our verification Blade file by adding the following to resources/views\livewire\phone-number-verify.blade.php.
We created a form that calls the verifyCode() method on submit and binds the phone number to the Livewire public $code value. This verifies and redirects the user to the dashboard.
Migration
Next, let's run a fresh migration and test our code like so.
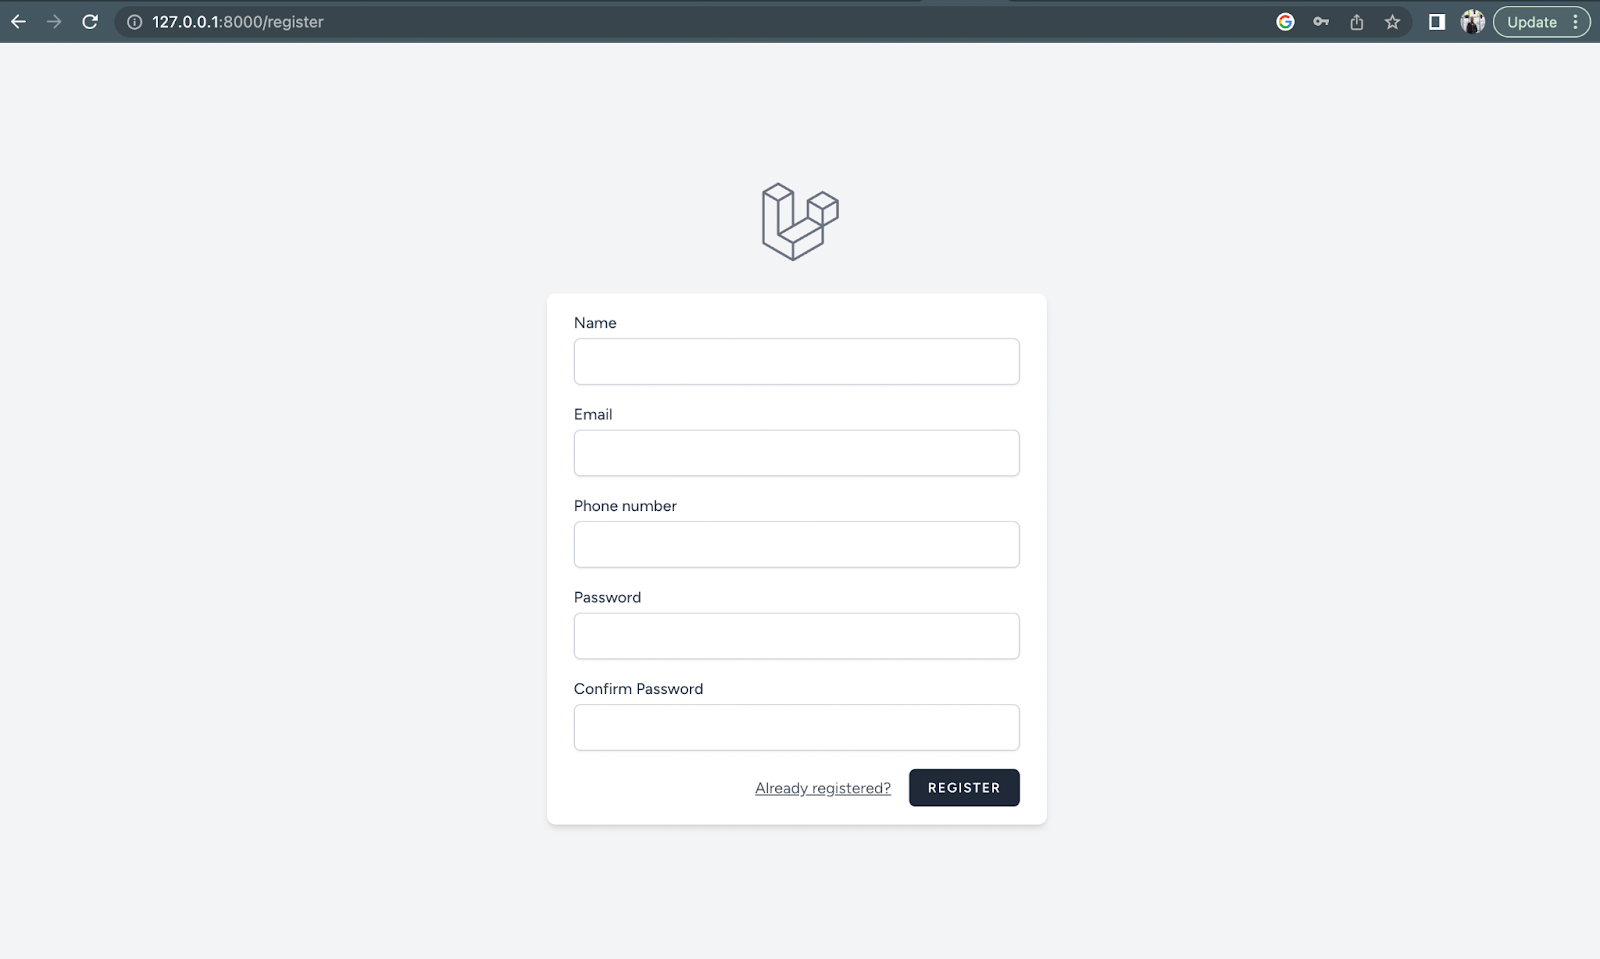
At this point, your registration form (http://localhost:8000/register) should look like the image below.
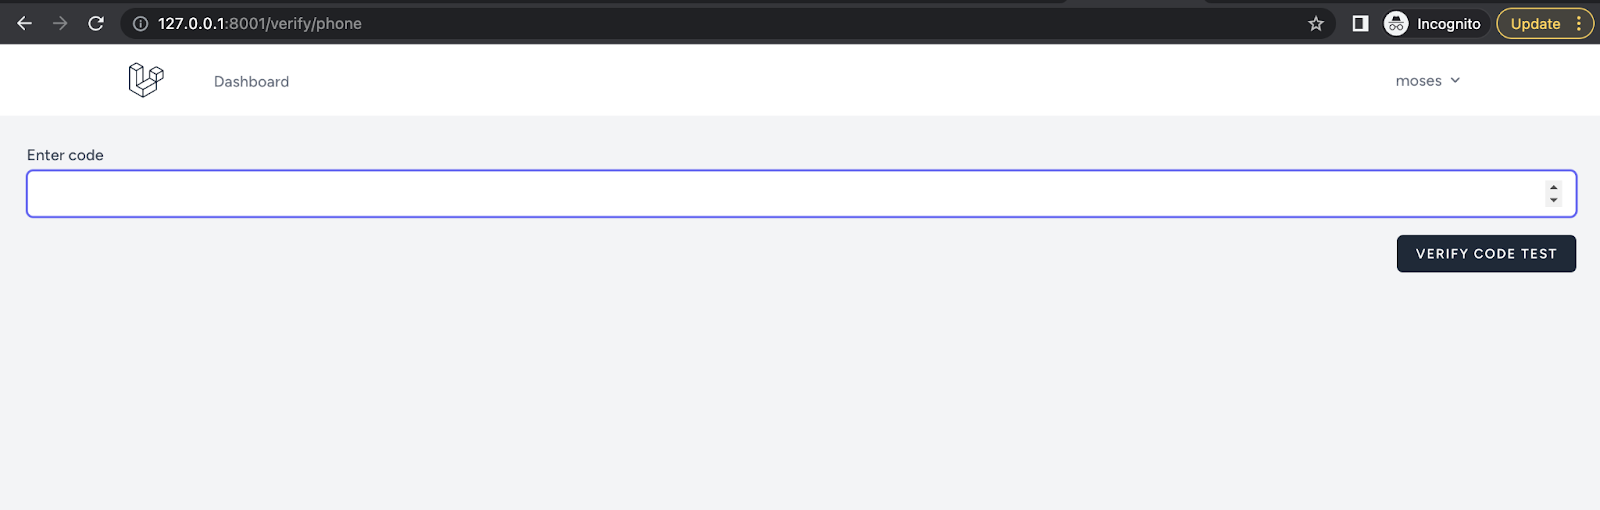
And after registering a new user, you should be redirected to the phone number verify page, as in the screenshot below.
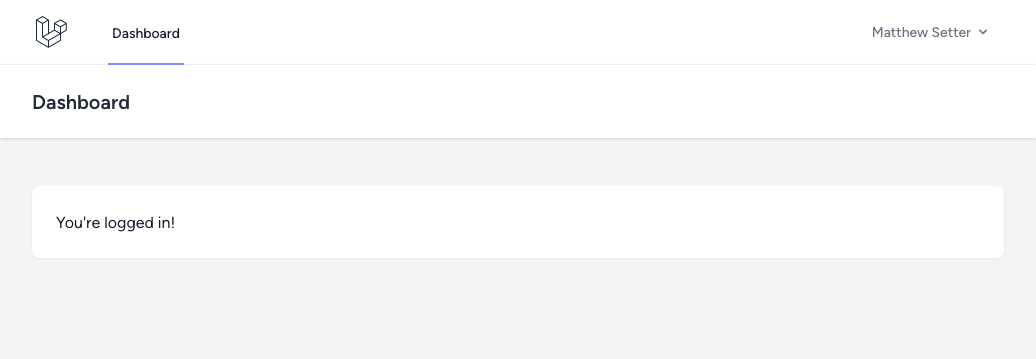
And, if verification was successful, you should be redirected to your application dashboard, like so.
Hide error messages with Alpine.js
We have made great progress already. Now, let's spice things up a little using Alpine.js' hide and show directives.
At the top of resources/views/livewire/phone-number-verify.blade.php, you will find a Blade component for displaying session() messages.
Right now, error messages do not disappear until the page is reloaded. Let's fix that. Open resources/views/livewire/auth-session-status.blade.php file and update it to match the following code.
show' is set to true letting errors be displayed, if any. On click of the x button the show is set to false` resulting in hiding of the error message component.
Add middleware to enforce verification
To wrap it all up, let’s create a middleware class to enforce 2FA.
If you're new to middleware in Laravel, check out this blog post to get started. For a more deeper dive, check the laravel official documentation here.
Create the core of the new middleware using the following command:
Next, we need to register our middleware in app\Http\Kernel.php. Add the path to our middleware to the protected $middlewareAliases array like so:
Next, let's add the logic to enforce a redirect unless a user verifies their phone number, by updating PhoneVerify.php to match the following.
The handle() method redirects a user to the phone verify page unless the phone_verified property is set to true.
Next, let's add this middleware to the dashboard route in the routes/web.php file.
This route ensures that only users with verified phone numbers can access the dashboard.
We also need to set phone_verified to false when a user logs out, to enable our middleware function properly. Update the destroy() method in app\Http\Controllers\AuthenticatedSessionController.php, to match the following code.
So here you have it. A 2FA integration built on Laravel Breeze.
Test the application
To test your 2FA application you need to do the following:
- Serve up your application using
php artisan serve - Navigate to
/loginor ‘/register` route - Create an account or login to an already existing account
- After a successful registration or login, you should be redirected to a 2FA page where you will be prompted to enter your 2FA code
- At this point, code should be sent to your phone number
- If the right code is entered, you should be redirected to the dashboard of the application. If the wrong code is entered, you will receive an error message telling you the code is incorrect
- You should not be able to access the dashboard without verifying with the 2FA code.
Conclusion
Awesome, we have come to the end of this tutorial where we integrated Two Factor Authentication into Laravel Breeze using Twilio Verify. We modified the Laravel Breeze registration form to include a phone number, verified the phone number and saved it in our database. We also sent and verified OTP to the provided phone number using Laravel Livewire. Finally, we created a middleware to enforce Two Factor Authentication.
To get more hands-on, try to implement the resend feature then you can go build something great. Here is a link to the GitHub repo.
I also made a short demo video of the application. Do check it out here
Moses Anumadu is a software developer and online educator who loves to write clean, maintainable code. I create technical content for technical audiences. You can find me here.
"Security" by Steven Penton is licensed under CC BY 2.0.
Related Resources
Twilio Docs
From APIs to SDKs to sample apps
API reference documentation, SDKs, helper libraries, quickstarts, and tutorials for your language and platform.
Resource Center
The latest ebooks, industry reports, and webinars
Learn from customer engagement experts to improve your own communication.
Ahoy
Twilio's developer community hub
Best practices, code samples, and inspiration to build communications and digital engagement experiences.