An introduction to the MediaRecorder API
Time to read: 5 minutes
June 03, 2019
Written by

On the web we can capture media streams from the user's camera, microphone and even desktop. We can use those media streams for real time video chat over WebRTC and with the MediaRecorder API we can also record and save audio or video from our users directly in a web browser.
To explore the MediaRecorder API let's build a simple audio recorder app with just HTML, CSS and JavaScript.
Getting started
To build this application all we need is a text editor and a browser that supports the MediaRecorded API. At the time of writing, supported browsers include Firefox, Chrome and Opera. There is also work ongoing to bring this API to Edge and Safari.
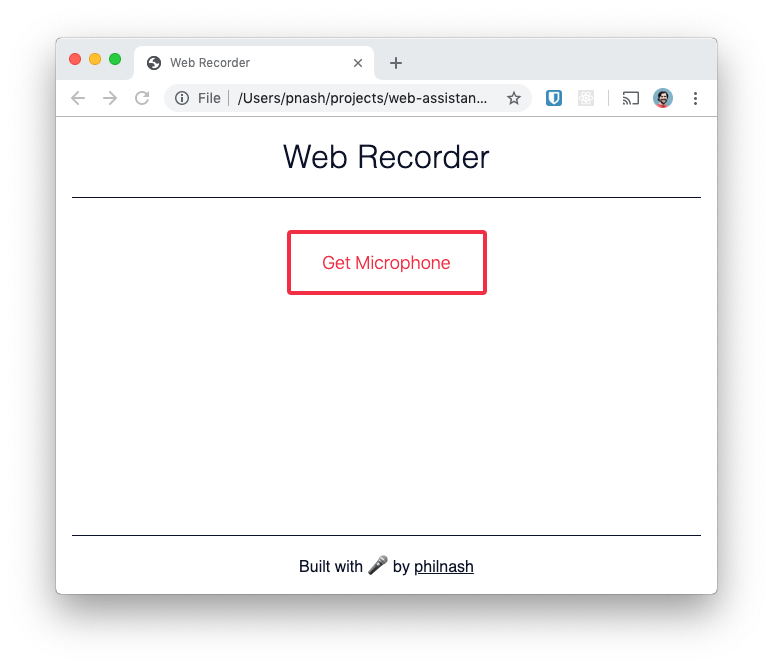
To get started, create a folder to work in and save this HTML file and this CSS file to give us something to start with. Make sure they are in the same folder and the CSS file is named web-recorder-style.css. Open the HTML file in your browser, you should see the following:
Now let's take a look at the MediaRecorder API.
MediaRecorder API
To start with the MediaRecorder API, you need a MediaStream. You can either get one from a <video> or <audio> element or by calling getUserMedia to capture the user's camera and microphone. Once you have a stream you can initialise the MediaRecorder with it and you are ready to record.
During recording, the MediaRecorder object will emit dataavailable events with the recorded data as part of the event. We will listen for those events and collate the data chunks in an array. Once the recording is complete we'll tie the array of chunks back together in a Blob object. We can control the start and end of the recording by calling start and stop on the MediaRecorder object.
Let's see this in action.
getUserMedia
We'll start by wiring up some of our UI and using the first button to get access to the user's microphone stream. Between the <script> tags at the bottom of the starter HTML you downloaded, start by registering an event to run after the content of the page has loaded and then gather the bits of UI that we will be using:
Next, we'll check whether the browser supports the code we're writing. If it doesn't we'll display an error to the page instead.
For the renderError method we will replace the contents of the <main> element with the error message. Add this method after the event listener.
If we have access to the MediaRecorder then we now need to get access to the microphone to record from. For this we will use the getUserMedia API. We're not going to request access to the microphone straight away as that is a poor experience for any user. Instead, we will wait for the user to click the button to access the microphone, then ask.
Making a call to navigator.mediaDevices.getUserMedia returns a promise that resolves successfully if the user permits access to the media. Since we're using modern JavaScript, we can make that promise appear to be synchronous using async/await. We declare that the click handler is an async function and then when it comes to the call to getUserMedia we await the result and then carry on after.
The user might deny access to the microphone, which we'll handle by wrapping the call in a try/catch statement. Denial will cause the catch block to execute, and we'll use our renderError function again.
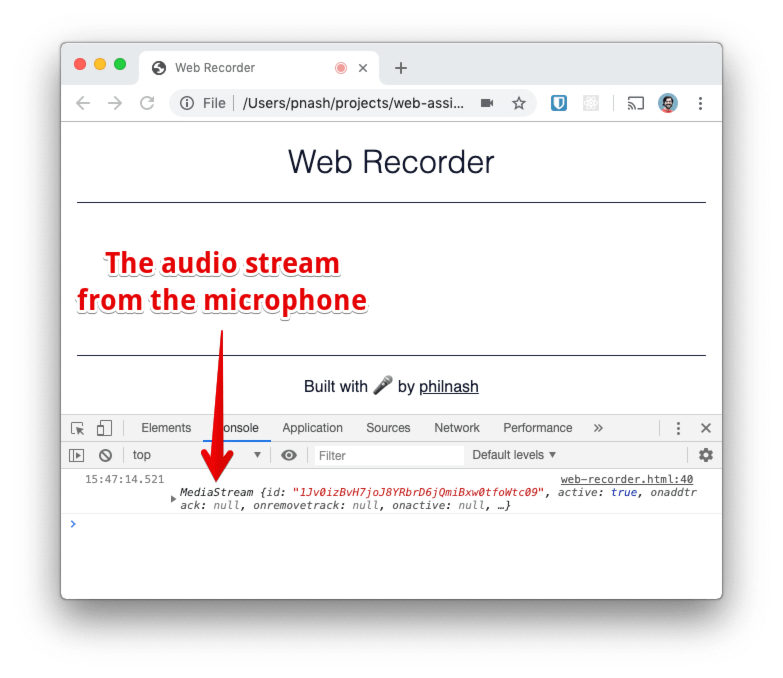
Save your file and open it in the browser. Click the Get microphone button. You will get asked if you want to give access to the microphone and when you accept you'll see the resultant MediaStream logged to the console.
Recording
Now we have access to the microphone, we can prepare our recorder. We'll store a couple of other variables that we'll need too. First the MIME type that we'll be working with, "audio/webm". This seems to be the most widely supported format that browsers will record to today. We'll also create an array called chunks, which we will use to store parts of the recording as it is created.
The MediaRecorder is initialised with the media stream that we captured from the user's microphone and an object of options, of which we will pass the MIME type we defined earlier. Replace the console.log from earlier with:
Now we've created our MediaRecorder we need to setup some event listeners for it. The recorder emits events for a number of different reasons. Many are to do with interaction with the recorder itself, so you can listen for events when it starts recording, pauses, resumes and stops. The most important event is the dataavailable event which is emitted periodically while the recorder is actively recording. The events contain a chunk of the recording, which we will push onto the chunks array we just created.
For our application we're going to listen to the dataavailable event collecting chunks and then when the stop event fires we'll gather all the chunks into a Blob which we can then play with an <audio> element and reset the array of chunks.
We'll implement the renderRecording method soon. We just have a little more work to do to enable a button to start and stop the recording.
We need to unhide the recording button, then when it is clicked either start the recording or stop it, depending on the state of the recorder itself. That code looks like this:
To complete this little application we're going to render the recordings into <audio> elements and provide a download link so a user can save their recording to the desktop. The key here is that we can take the Blob we created and turn it into a URL using the URL.createObjectURL method. This URL can then be used as the src of an <audio> element and as the href of an anchor. To make the anchor download the file, we set the download attribute.
This function is mostly creating DOM elements and making a file name out of the time that the recording was made. Add it below your renderError function.
Testing it out
Open the page in your web browser and click the Get Microphone button. Accept the permissions dialog and then click to start recording. Record yourself a message and play it back from the page.
WebM files
If you download one of your recordings, you may find you don't have a media player that's capable of playing a WebM file. WebM is an open source format for both audio and video, but it's mostly had support from browsers. If you have VLC player you can likely play the audio, otherwise you might want to convert it to an MP3 or WAV file using an online tool like convertio (or if you're feeling daring, with ffmpeg in your terminal).
Your browser is now a recorder
The MediaRecorder API is a powerful new addition to browsers. In this post we've seen its ability to record audio, but it doesn't just stop there. Currently the application doesn't save the audio files, so a page refresh loses them. ou could save them using IndexedDB or send them to a server. You could also play around with the recording, imagine passing the audio through the Web Audio API before recording it. And if the WebM format isn't your cup of tea, you could always look into re-encoding the audio in the front end, though that's likely a job for WebAssembly (or your server…).
If you want to try out the code from this post you can check out a live demo. All the code is available in this GitHub repo and you can remix the project on Glitch too.
Let me know what you think of the MediaRecorder API and what you could use it for. Hit me up on email at philnash@twilio.com or drop me a line on Twitter at @philnash.

Related Resources
Twilio Docs
From APIs to SDKs to sample apps
API reference documentation, SDKs, helper libraries, quickstarts, and tutorials for your language and platform.
Resource Center
The latest ebooks, industry reports, and webinars
Learn from customer engagement experts to improve your own communication.
Ahoy
Twilio's developer community hub
Best practices, code samples, and inspiration to build communications and digital engagement experiences.