What Is RabbitMQ and How Do You Use It With Laravel?
Time to read: 5 minutes
March 24, 2023
Written by
Reviewed by
As your software applications become complex, you may need to decouple some parts of them into smaller components to reduce your applications' dependency on them. That way, if any of these components fail, your applications don’t fail with them. Apart from that, having all your application’s components in one place means that when one part of it is updated, the whole application needs to be redeployed.
However, after decoupling applications into components, you will need to worry about how they will communicate. Some of the ways to facilitate communication between components include using APIs (e.g., REST and GraphQL), RPC (Remote Procedure Calls), and Message Brokers (e.g., RabbitMQ and Kafka).
In this tutorial, we will focus on the last one. Our broker of choice will be RabbitMQ.
What is RabbitmQ?
RabbitMQ is a message broker that provides ways to create queues for connected applications to exchange messages. In a typical RabbitMQ application, you have queues, producers, and consumers.
The queue serves as the underlying pipeline between the producers and the consumer, and a producer sends a message to a queue for the consumer to accept, remove from the queue, and process. When the task/process has been completed, the broker is notified to take the message out of the queue.
In this tutorial, you will learn how to decouple a part of a Laravel application into a worker (a PHP process that runs in the background) and how to communicate between the worker and the parent application. To do this we will build a basic Laravel application that will send a message from the web browser and get a response on the worker’s console.
Why use RabbitMQ?
RabbitMQ comes in handy in so many ways to simplify the development process. For example:
- Task Queues: RabbitMQ can be used as a task queue to manage background jobs. When a task is submitted to the queue, RabbitMQ stores it until a worker process is available to execute it. With this approach, tasks are not skipped or dropped till a response is received from the consumer.
- Event-Driven Architecture: RabbitMQ can be used to implement an event-driven architecture, where applications communicate with each other by publishing and subscribing (pub/sub) to events. This allows for a loosely-coupled system where components can be added or removed without affecting the rest of the system.
- Micro-services Communication: RabbitMQ can be used as a communication channel between micro-services. In a micro-service architecture, each service performs a specific task, with communication between services being critical. RabbitMQ provides a reliable and scalable way for this communication to be possible, with no noticeable delay in response.
- Distributed Systems: RabbitMQ can be used to build distributed systems. In a distributed system, different nodes need to communicate with each other. RabbitMQ provides a way to exchange messages between nodes, ensuring reliability and consistency.
- Internet of Things (IoT) Messaging: RabbitMQ can be used to connect IoT devices. IoT devices generate a lot of data, and RabbitMQ can help manage that data by providing a messaging system that allows for efficient communication between devices and applications.
- Chat Applications: RabbitMQ can be used in chat applications to deliver messages between users in real-time. RabbitMQ provides a scalable and reliable messaging system that can handle large volumes of messages and users.
Prerequisites
Create a Laravel application
For the installation, we’ll be using Composer, but before we start, let’s create a Laravel project, by running the command below.
Next, step into the folder and start the application by running the commands below.
If everything went well, you should have a server running at http://localhost:8000 serving the Laravel template page.
Now, let’s add php-amqplib to our project, so that PHP can communicate with RabbitMQ. To do that, run the command below.
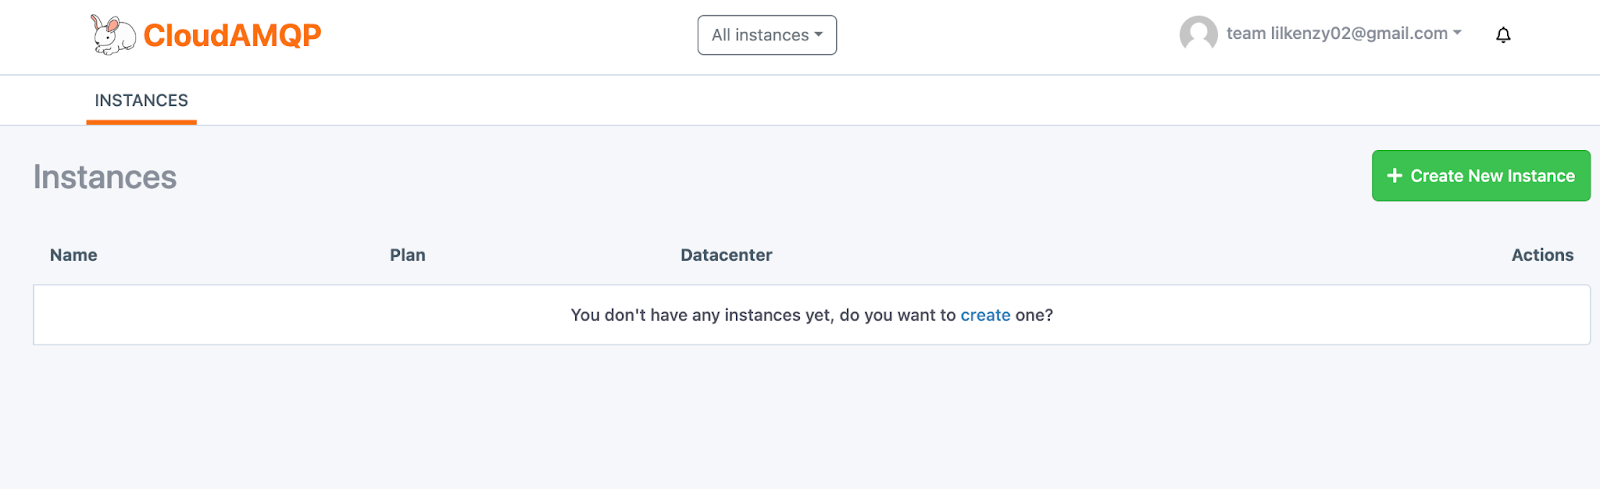
For the purpose of this article, we will use CloudAMQP as the default RabbitMQ server. Navigate to the CloudAMQP console. Below is what the dashboard looks like without any instances.
The next thing we’ll do is create a new RabbitMQ instance. To do that, click the Create New Instance button on the far right hand side and fill out the form that will be presented.
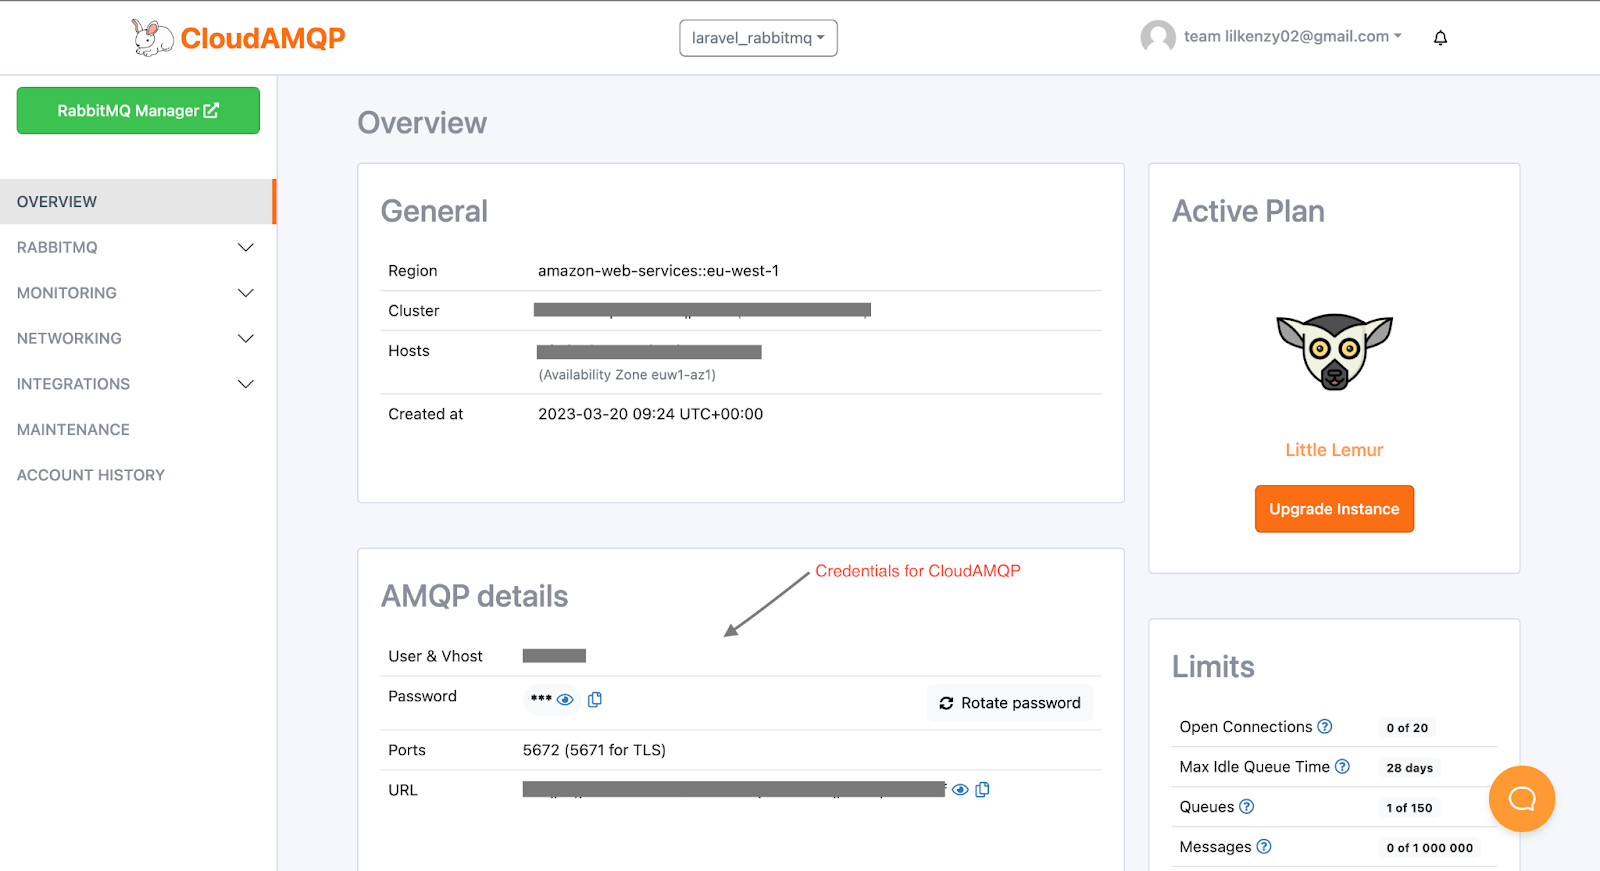
After that, click on the newly created instance to retrieve the server details, as can be seen below. In this instance, it was named laravel_rabbitmq.
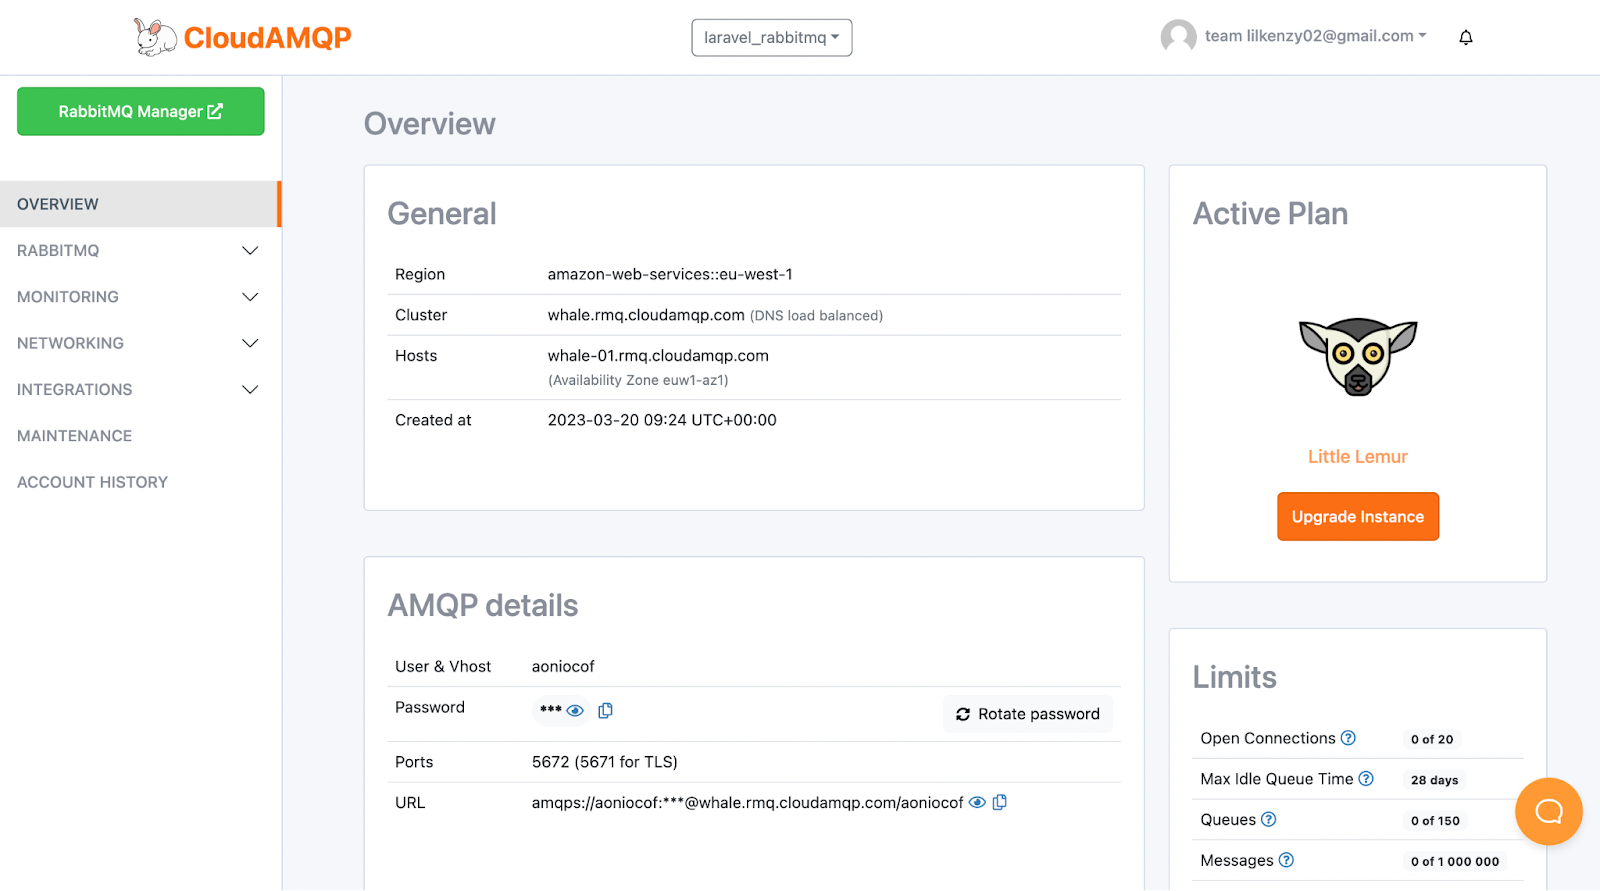
Next, we connect the php-amqplib client to this instance. To do that, add the following variables to the .env file in the project's top-level directory.
The variables listed are the AMPQP host, port, user, password, and vhost respectively. These keys can be retrieved from the CloudAMQP instance dashboard.
Create a RabbitMQ service
Now that the application has been scaffolded, the next thing we’ll have to do is create a service to handle RabbitMQ operations. Create a new directory named app/Services and in that directory create a new file named RabbitMQService.php and add the content below to it.
This service will be in charge of publishing and consuming messages from the job queue. To fully understand the code above, you will need to understand the RabbitMQ message flow. It works something like this:
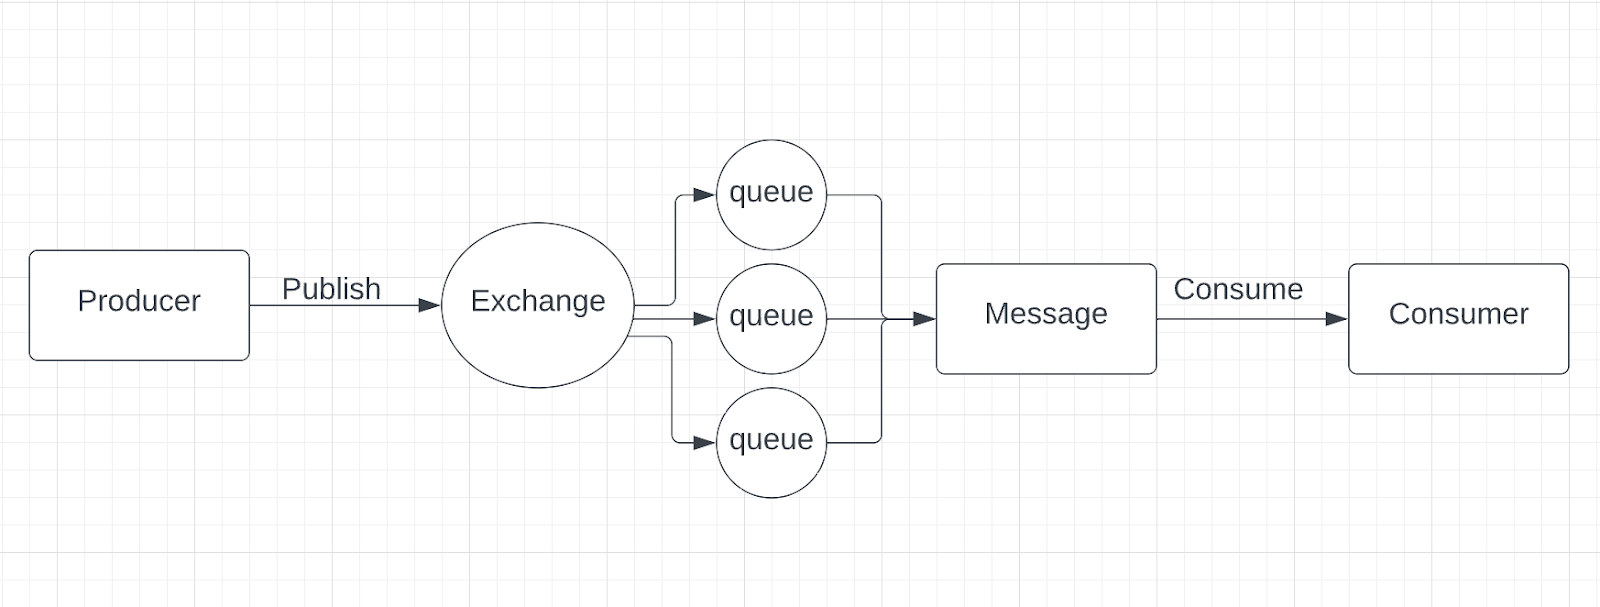
- The producer publishes a message to an exchange.
- The exchange receives the message and routes the message to the appropriate queue. The exchange also takes message attributes into account, such as the routing key, depending on the exchange type.
- For the exchange to communicate with the queue, a binding must be created between the two of them. Then the exchange routes the message into the queues depending on any provided message attributes.
- The routed messages will stay in the queue until they are handled by a consumer.
- The consumer handles the message and marks it as received/consumed.
Next, we create a consumer command that will listen to our queue and consume it when there’s a new message. Run the command below to generate a new command.
Now, add the following code to the app/Console/Commands/MQConsumerCommand.php file.
When this command is run, it will trigger the RabbitMQService's consume() function, which will in turn listen for incoming messages from the queue named test_queue.
Next, to the consumer. In the consumer application, we will create a form to publish out test_queue. To do that, update resources/views/welcome.blade.php to match the code below.
Next, add the following route definition to the end of routes/api.php.
Test that the code works
To test, we will start the consumer command, then navigate to the home page, and then send our custom message. If everything works, a message will be sent to the consumer console.
Start the application again, by running the following command.
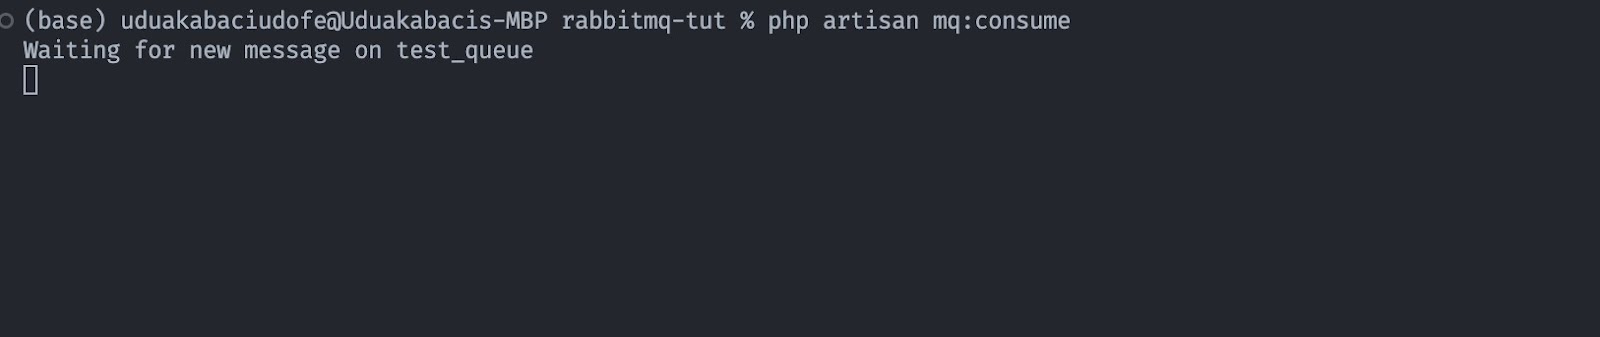
Then, in a new terminal window or tab, run the command below to start the consumer.
You will get a message like the one below.
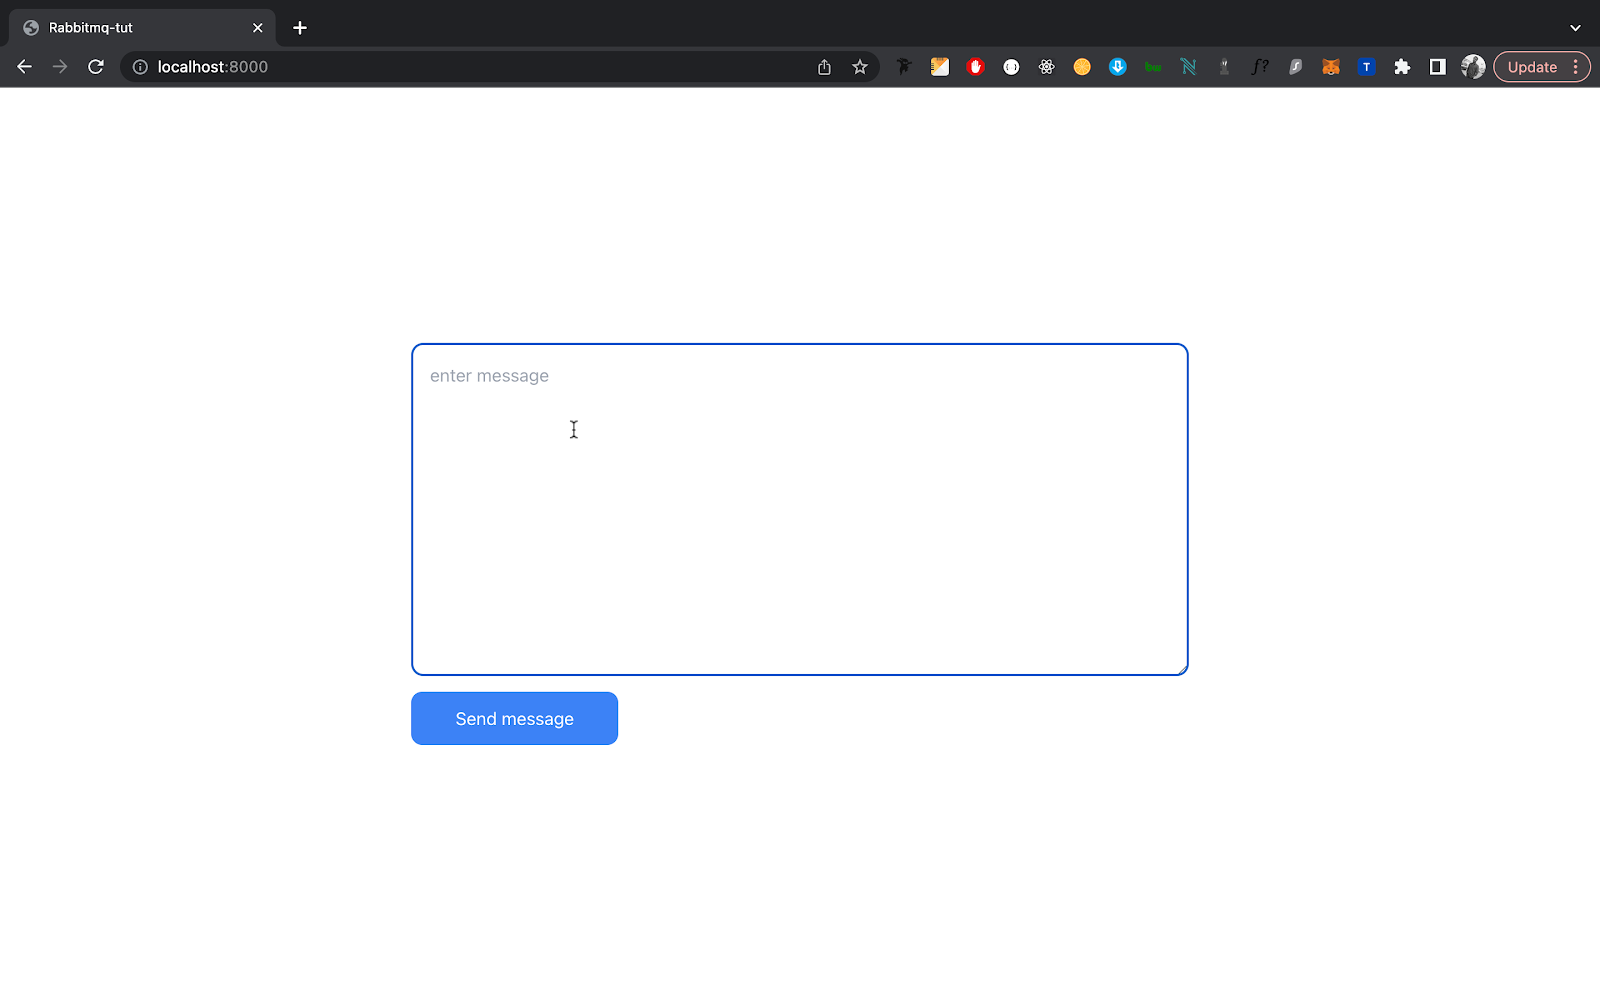
Now, navigate to the home page at http://localhost:8000 and send a custom message. You will see this before sending the message.
And you will see the following after sending the message.
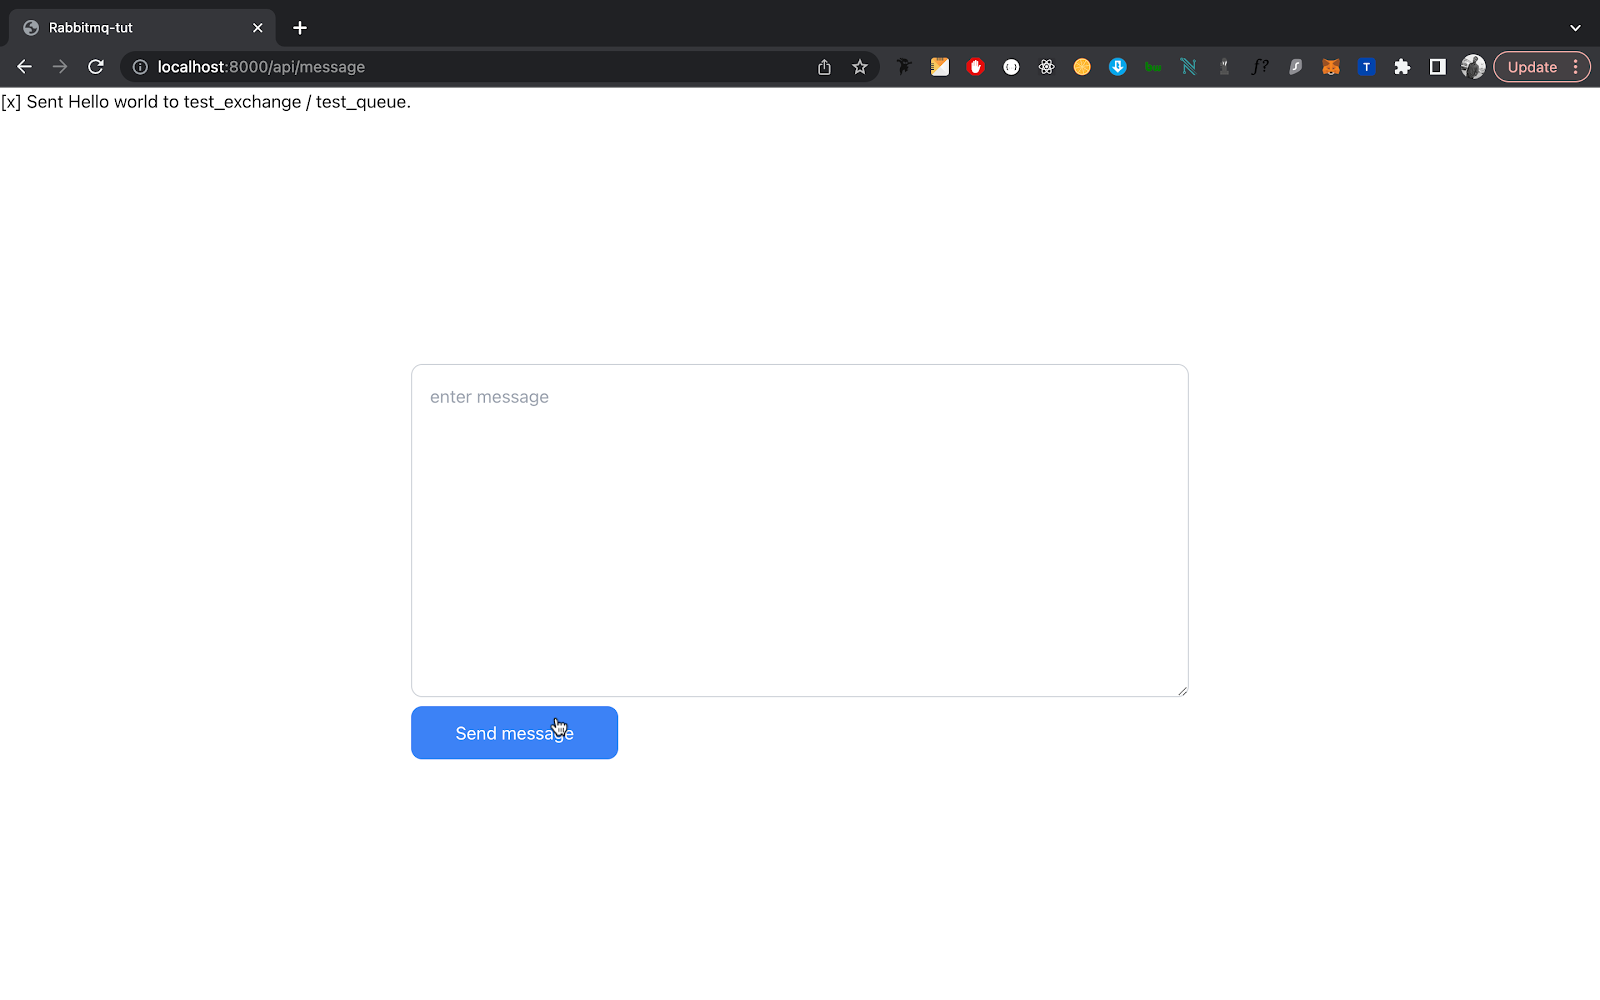
Take note of the test at the top right. It shows that the message is sent.
Now let’s take a look at our consumers. Here’s what it should print out.

If all went well, you should get something similar to this. Congratulations, you have a fully working pub/sub in Laravel. Depending on the message sent, you can now perform the operation you want in your consumer.
That's been a quick introduction to RabbitMQ and how to use it with Laravel
In this tutorial, we went through how to install RabbitMQ on a Laravel project. We also learned how to connect to a remote client by leveraging the free plan of CloudAMQP to build a fully working pub/sub RabbitMQ app. I hope you’ve learned how to use RabbitMQ and will use it on your next project. If you have any questions, let me know in the comments below.
Kenneth Ekandem is a full-stack developer from Nigeria currently in the blockchain space, but interested in learning everything computer science has to offer. He'd love to go to space one day and own his own vlogging channel to teach the next generation of programmers.
Related Resources
Twilio Docs
From APIs to SDKs to sample apps
API reference documentation, SDKs, helper libraries, quickstarts, and tutorials for your language and platform.
Resource Center
The latest ebooks, industry reports, and webinars
Learn from customer engagement experts to improve your own communication.
Ahoy
Twilio's developer community hub
Best practices, code samples, and inspiration to build communications and digital engagement experiences.