Scheduling Tasks in Python with Redis Queue and RQ Scheduler
Time to read:
December 05, 2019
Written by

Executing specific code at specific times is a common task in Python. There are a variety of tools to solve this issue, but RQ Scheduler is a lightweight, elegant solution built on top of another tool with a low barrier to entry called Redis Queue.
With RQ Scheduler, all you need to do is create a Scheduler object and provide it with a Python datetime and a function to execute, along with any arguments you want to pass to the function:
Let’s walk through how to queue up a function that notifies you when the International Space Station is flying over your location using the ISS Open Notify API.
Setting up your environment and installing dependencies
Before moving on, you will need to make sure you have an up to date version of Python 3 and pip installed. Make sure you create and activate a virtual environment before installing any dependencies.
We will be using the requests library to get data from the ISS Open Notify API, RQ Scheduler for scheduling asynchronous tasks, and the Twilio REST API for sending a text message when the space station flies by. The RQ and Redis modules will install as dependencies with RQ Scheduler. With your virtual environment activated, run the following command in your terminal to install the necessary Python libraries:
In order for RQ to work, you'll need to install Redis on your machine. That can be done with the following commands using wget:
Run Redis in a separate terminal window on the default port with the command src/redis-server from the directory where it's installed.
Writing functions as tasks to schedule
We can’t schedule a function if it doesn’t exist! So let’s begin by writing code that will call the Open Notify API for a given set of coordinates and print the next time that the ISS will fly by that latitude and longitude.
Create a file called iss.py (an “International Space Station” module) in the directory where you want your code to live, and add the following function:
The get_next_pass function in this code will make a request to the Open Notify API with a given latitude and longitude, check to see if there is a valid response, and then convert the timestamp received from the API into a Python datetime object and print the corresponding time that the ISS will fly overhead next.
To test this code, open a Python shell and run the following two lines. For this example we will use the Twilio Headquarters in San Francisco as our test location (latitude: 37.788052, longitude: -122.391472):
You should see something along the lines of: Next pass for 37.788052, -122.391472 is: 2019-12-04 23:29:19+00:00 with an appropriate timestamp.

Send a text with Twilio?
Let’s write a quick function to send a text message with the Twilio API. For this, you’re going to need to create a Twilio account and buy a phone number. Twilio phone numbers have a monthly cost, but it’s free if you’re using a trial account to test your code during development.
Once you have a Twilio phone number, update iss.py to include code to send a text message:
Make sure to grab your Account SID and Auth Token from your Twilio Console, and save them as environment variables named TWILIO_ACCOUNT_SID and TWILIO_AUTH_TOKEN, which the Twilio Python library will grab automatically when you run your code.
If you want to test this code, open up a Python shell and run the following:
Replace the values you pass to the function call with your Twilio phone number and your personal number. You should receive a text message telling you to look up!
Scheduling a task with RQ Scheduler
Now that we have a function that provides us with a datetime, and a function that sends a text message, we can use RQ Scheduler. Create another file called schedule_notification.py, and add the following code to it:
This is just a quick script that calls the other functions you wrote, one to find out when the ISS is passing by your location next, and another that will send you a text message. In this example, I'm using the coordinates for the Twilio office in San Francisco, but you can change the latitude and longitude to be wherever you are.
Before being able to run this code, you have to make sure you're running a Redis server, an RQ worker, and the RQ Scheduler process all in other terminal windows. You should already have ran the Redis server by using the command src/redis-server from the directory where you installed Redis. Open two more terminal windows, and in both of them navigate to the directory where your code exists and activate your virtual environment for this project. In one window run the command rqworker and in another run the command rqscheduler.
With this done, you should be ready to run your code to schedule a text message notification:
After this, you should receive a text message the next time the International Space Station flies over your location! If there is no predicted time, try it again with different coordinates. Now all you have to do is wait...
Traveling through time

This is great, but it's understandable if you don't feel like waiting around just to see if your code works. If you want instant gratification, we can use the time traveling method. On Unix based systems, you can change your system time using the date command.
If the space station is supposed to fly by on December 5th, 2019 at 4:02, then on Linux you can run date -s "12/05/2019 03:02:00". On OSX you would run date 1205160219 (you can even use the -u argument if you want to use a UTC time zone, which corresponds to the datetime your Python code is printing). If all else fails, there are also GUI options to change your computer's time on most operating systems.
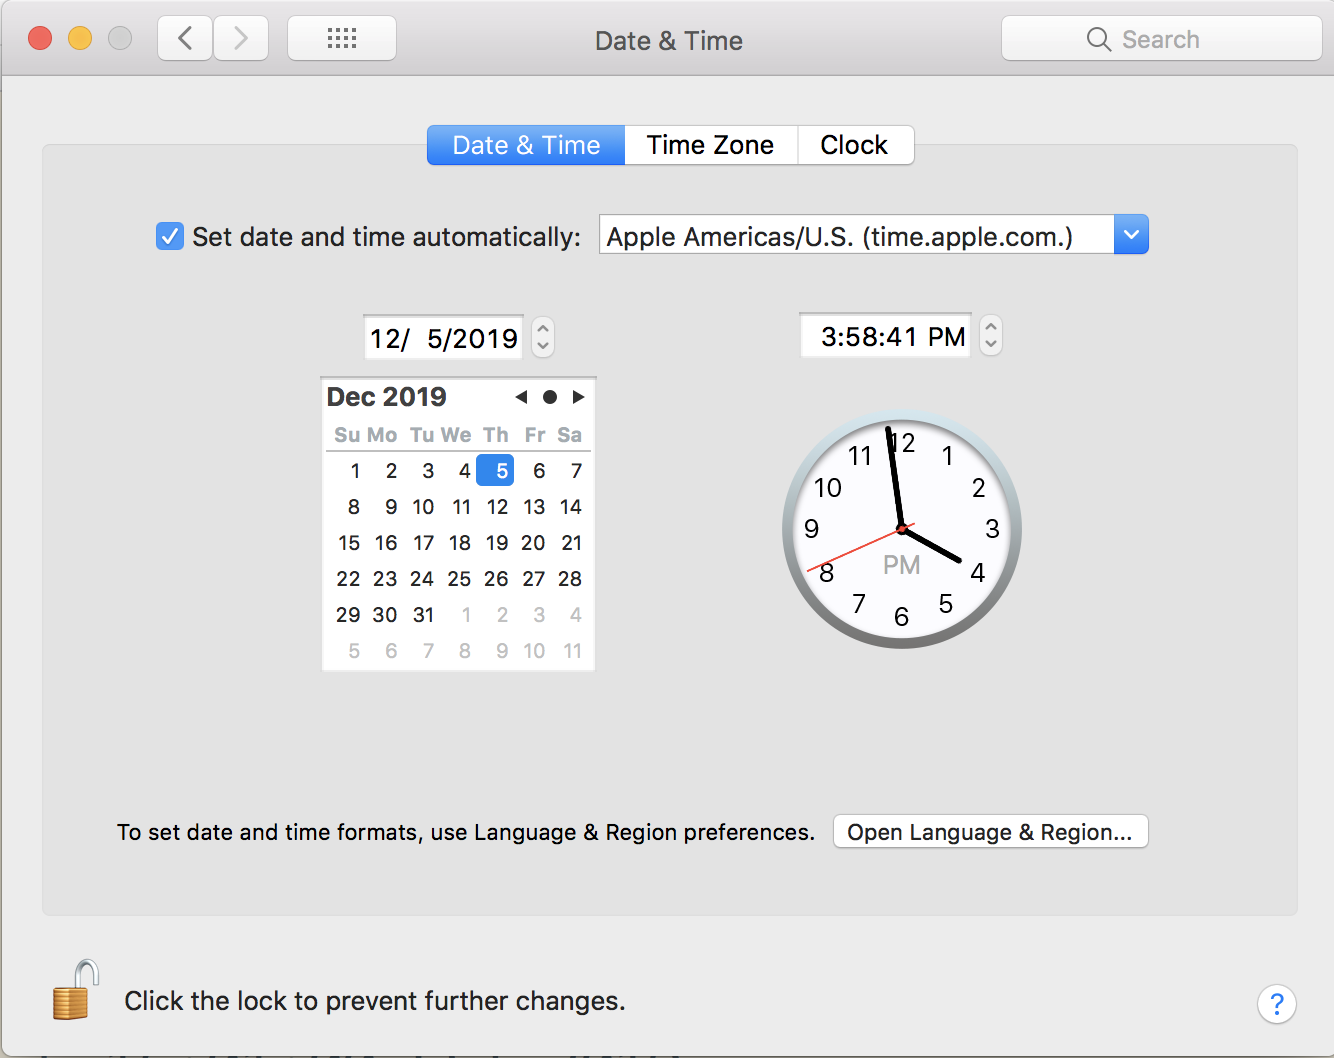
On OSX you can set (and reset) this by opening "Date & Time" in your System Preferences
If you want to receive notifications every time the ISS passes by instead of just once, you can schedule another notification after each message by modifying your send_text_message function in iss.py and adding the appropriate import statements:
To Infinity and Beyond
Now that you can receive text messages whenever the International Space Station flies by, you can use RQ Scheduler for all of your Python scheduling needs. The possibilities are endless.
For another example of a project that uses RQ, check out this post on how to create a phone number that plays computer generated music that sounds like the soundtracks of old Nintendo games.
- Email: Sagnew@twilio.com
- Twitter: @Sagnewshreds
- GitHub: Sagnew
- Twitch (streaming live code): Sagnewshreds

Related Resources
Twilio Docs
From APIs to SDKs to sample apps
API reference documentation, SDKs, helper libraries, quickstarts, and tutorials for your language and platform.
Resource Center
The latest ebooks, industry reports, and webinars
Learn from customer engagement experts to improve your own communication.
Ahoy
Twilio's developer community hub
Best practices, code samples, and inspiration to build communications and digital engagement experiences.