How to Send Recurring Emails in Node.js with SendGrid
Time to read: 3 minutes
December 01, 2021
Written by
Reviewed by

When building applications, there are often times when you need to create and run background tasks that run on a schedule such as checking for updates or backing up data.
There are many ways of scheduling recurring tasks in Node.js such as using Crontab or cloud based extensions. Another approach to scheduling recurring tasks is through npm packages such as node-cron and node-schedule which provide flexible cron scheduling to Node.js through libraries without the need to rely on infrastructure.
In this tutorial, you’ll learn how to use node-schedule and SendGrid to schedule recurring emails.
Prerequisites
Here is what you will need to follow along with this article:
- Node.js installation
- A free SendGrid account
- An email address to test out this project
Configure your environment
Start off by logging into your SendGrid account and heading to the API Keys section. Click the blue “Create API Key” button on the top right.
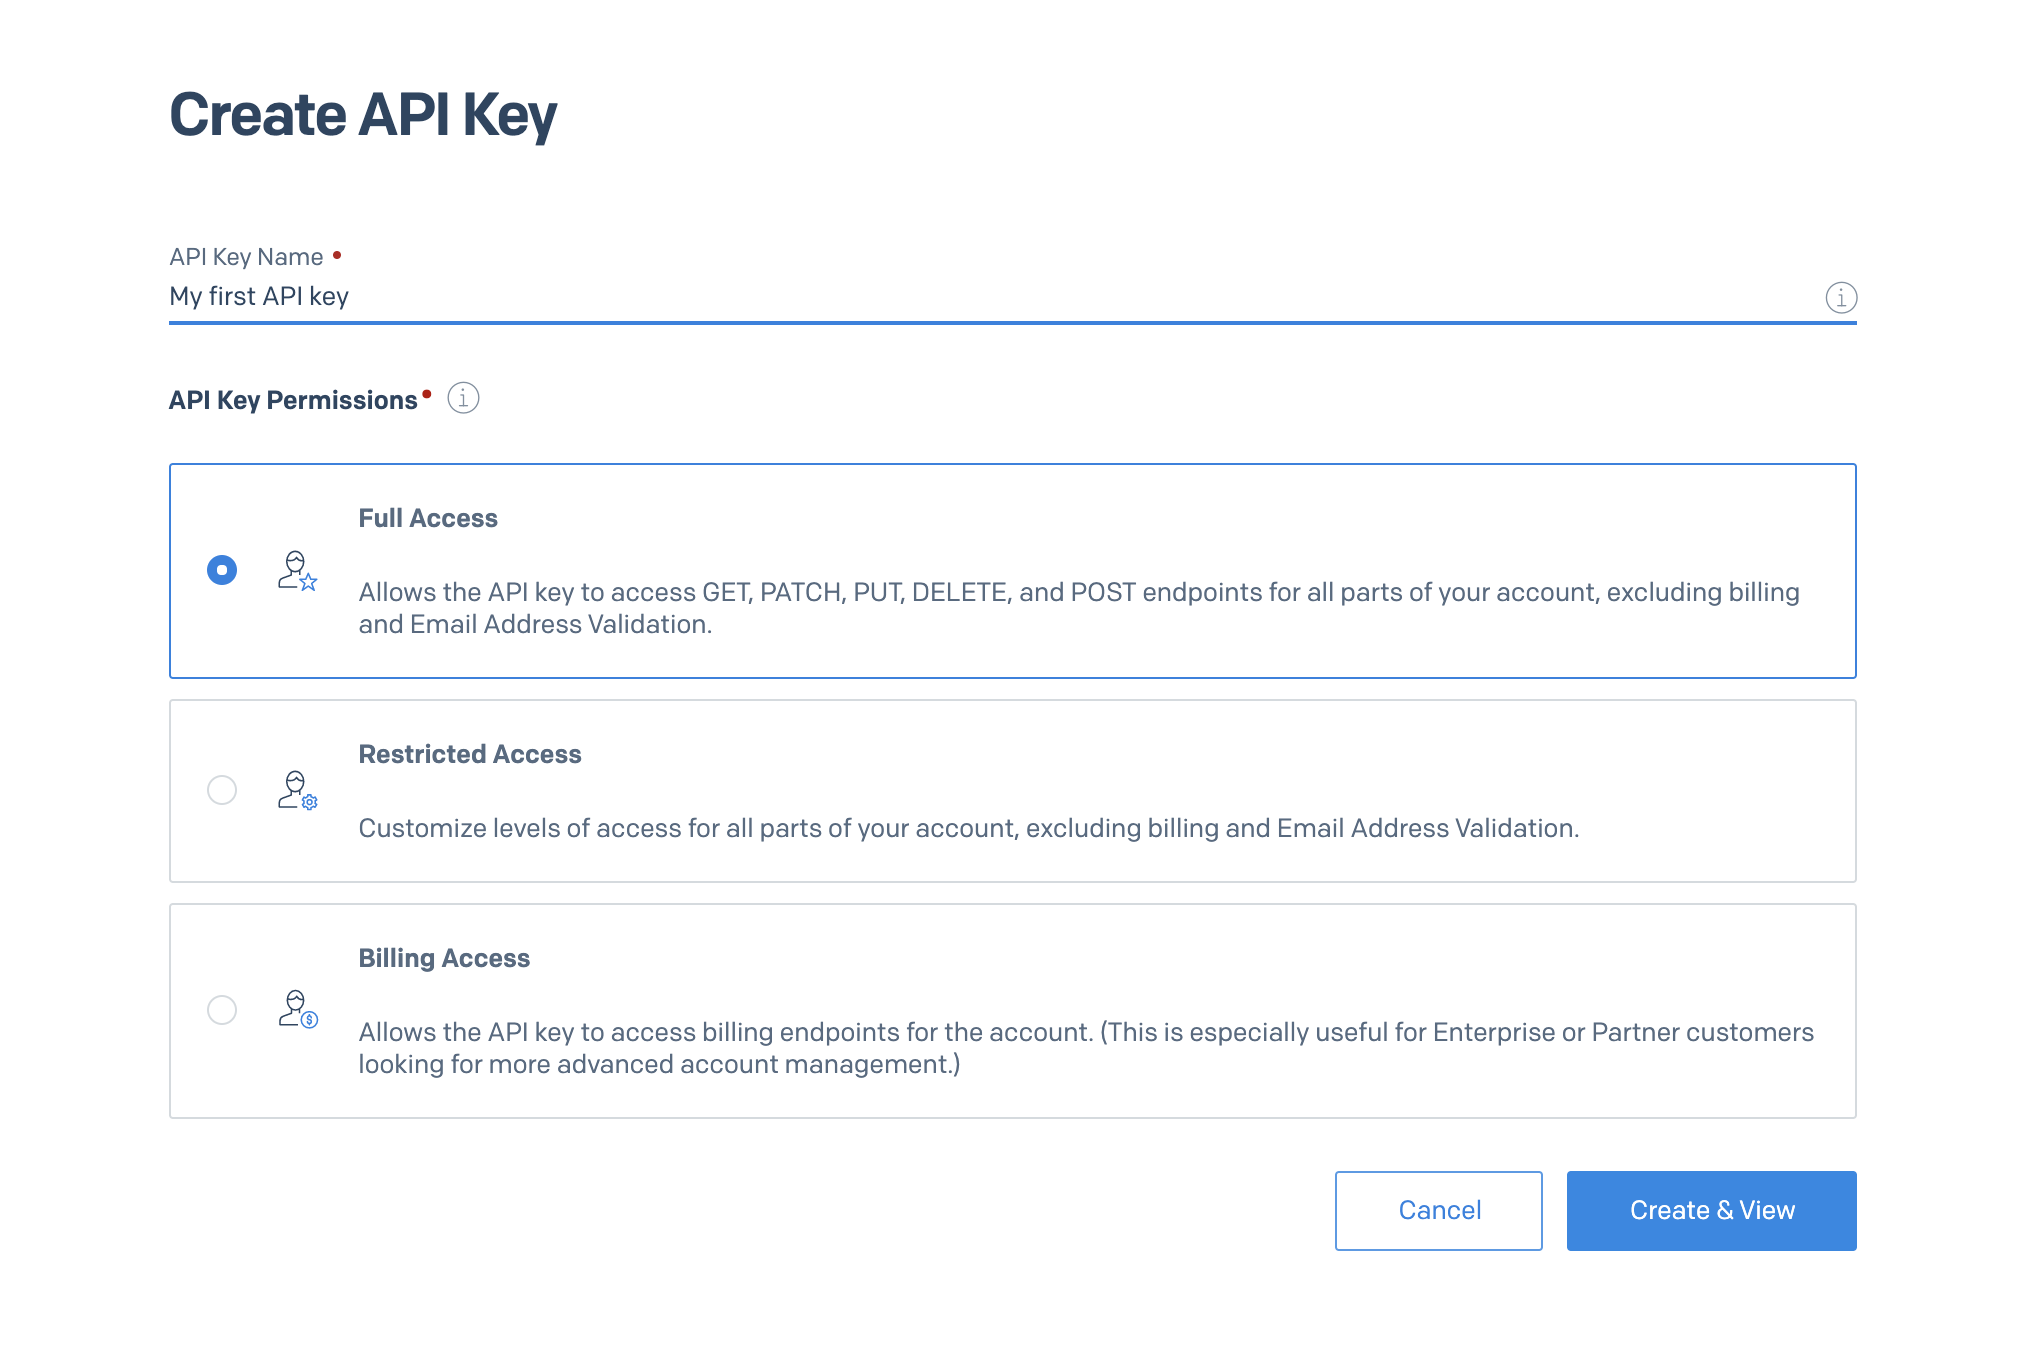
Choose whatever name you’d like for your API key and click the blue “Create & View” button. Copy your API key and store it in a safe place.
Set up your Node.JS application
The next step is to create your scheduler. Inside your terminal or command prompt, navigate to your preferred directory and enter:
You will need the @sendgrid/mail package to send emails using the Twilio SendGrid API, the dotenv package to access environment variables, and the node-schedule package to schedule the recurring emails.
Your next step is to create two new files inside your main directory: index.js, and .env:
Open up the .env file using your preferred IDE and place the following lines into the file:
Replace the `SENDGRID_API_KEY` placeholder with the API key you copied earlier and save the file.\
Build your scheduler
Open the index.js file and place the following lines in the file:
This code will initialize the packages you installed earlier and will configure the SendGrid package with your API key.
Test out the SendGrid API
For our scheduler, let's create a recurring email that gets sent every 24 hours. But before you do this let's test out the SendGrid API. Add the following code to the index.js file:
Save the file and navigate back to your terminal and enter the following command:
Check the inbox of the recipient email and the email should arrive shortly. Now that the SendGrid API has been tested, let's set up the scheduler.
Set up the scheduler
Node Schedule is a flexible job scheduler that allows you to execute functions at specific times with optional recurrence rules. For your scheduler, you’ll be using Cron-style scheduling. The format for a Cron expression is as follows:
In the index.js file, replace the testing code from earlier with the following:
The cron expression to schedule an email once a day will be: 0 10 * * *. This will have our function run every day at 10:00:00 which translates to 10 AM. For testing purposes, feel free to change it to your nearest hour. Don’t forget to replace and add in the recipient and sender emails.
Save the file, run the script again with node index in the terminal and you’re done! This script will continuously run and will recurringly send an email every 24 hours at the chosen hour.
What's Next?
In this tutorial, we went through how to send an email with SendGrid and how to schedule them using Node.js. Scheduling and automating tasks is easier than ever with Node.js and is even helpful when it comes to the development process of applications.
Start exploring more ways to harness the power of scheduling! Play around with the cron expressions or even expand the application by building more recurring jobs. To have better control of your scheduled jobs, implement a Node.js process manager - Packages such as PM2 and Forever run your script as a daemon and ensures your application is running 24/7.
For more solutions on scheduling tasks in Node.js check out: 4 ways to schedule Node.js code.
Happy Building!
Dhruv Patel is a Developer on Twilio’s Developer Voices team. You can find Dhruv working in a coffee shop with a glass of cold brew or he can either be reached at dhrpatel [at] twilio.com or LinkedIn.

Related Resources
Twilio Docs
From APIs to SDKs to sample apps
API reference documentation, SDKs, helper libraries, quickstarts, and tutorials for your language and platform.
Resource Center
The latest ebooks, industry reports, and webinars
Learn from customer engagement experts to improve your own communication.
Ahoy
Twilio's developer community hub
Best practices, code samples, and inspiration to build communications and digital engagement experiences.