How to Send a vCard with Twilio SMS and Node.js
Time to read: 4 minutes
March 06, 2023
Written by
Reviewed by

Enhance your customer's experience by simplifying their contact with your business. Sending a vCard, which is an electronic contact card in a standardized file format known as VCF, is a convenient way to share your business information. With vCards, your customers can effortlessly import your business details into their contact book.
In this post, you will learn how to create vCards and send them as an MMS using Node.js and Twilio Programmable SMS.
Prerequisites
- Node.js v16.x installation
- An ngrok account
- ngrok installation that is connected to your ngrok account
- A free Twilio account - Sign up here
- A Twilio number - Read our docs here on how to obtain a Twilio number
What is a vCard?
vCard is a file format (.vcf) designed for the purpose of sharing contact information seamlessly among people, applications, and devices. It is a popular standard used to exchange and store personal information such as name, phone numbers, email addresses, job title, company name, and physical address. With a vCard, you can easily transfer all your contact details to another person's address book or save a new contact to your own address book in a matter of seconds.
With Twilio, vCards can be sent as an MMS (media message) using the MediaUrl parameter when creating a message resource.
Set up the Node.js App
Before you create and send out a vCard, you’ll need to set up your application.
Inside your terminal or command prompt, navigate to your preferred directory and enter:
Then create an index.js file with the following command:
This file is where all of your code will be placed.
Install dependencies
The next step is to initiate a brand new Node.js project and to install the dependencies required for this project:
You will need the twilio package to send the vCards as an MMS through your Twilio number. The vcards-js package is used to programmatically create vCards. dotenv is used to access environment variables, which is where you will store your Twilio SID and Auth token which is needed to interact with the API.
Open up your index.js file with your preferred text editor and enter the following code:
This code will import the environment variables from the .env file, initialize the Twilio library with your credentials and initialize the vCards-js package.
Host your vCard
The contact card you’ll be creating will be stored on a local .vcf file. However, there needs to be a way for Twilio to publicly access this file through a public URL. To achieve this, you’ll use ngrok to expose a static directory (that will hold your .vcf file) through a public URL.
This static directory will be called assets. To create this folder, enter the following command on your terminal:
If you haven't registered your ngrok CLI to your account, register your authentication token in the console:
You’ll then expose your assets folder with the following command:
Replace the <folder path> placeholder with the full folder path of the assets folder. If you are using Visual Studio Code, you can grab the folder path by right clicking the assets folder in your project directory and then clicking Copy Path. You can also enter the command pwd in your terminal for the full path name.
After entering the command, your terminal will look like the following:
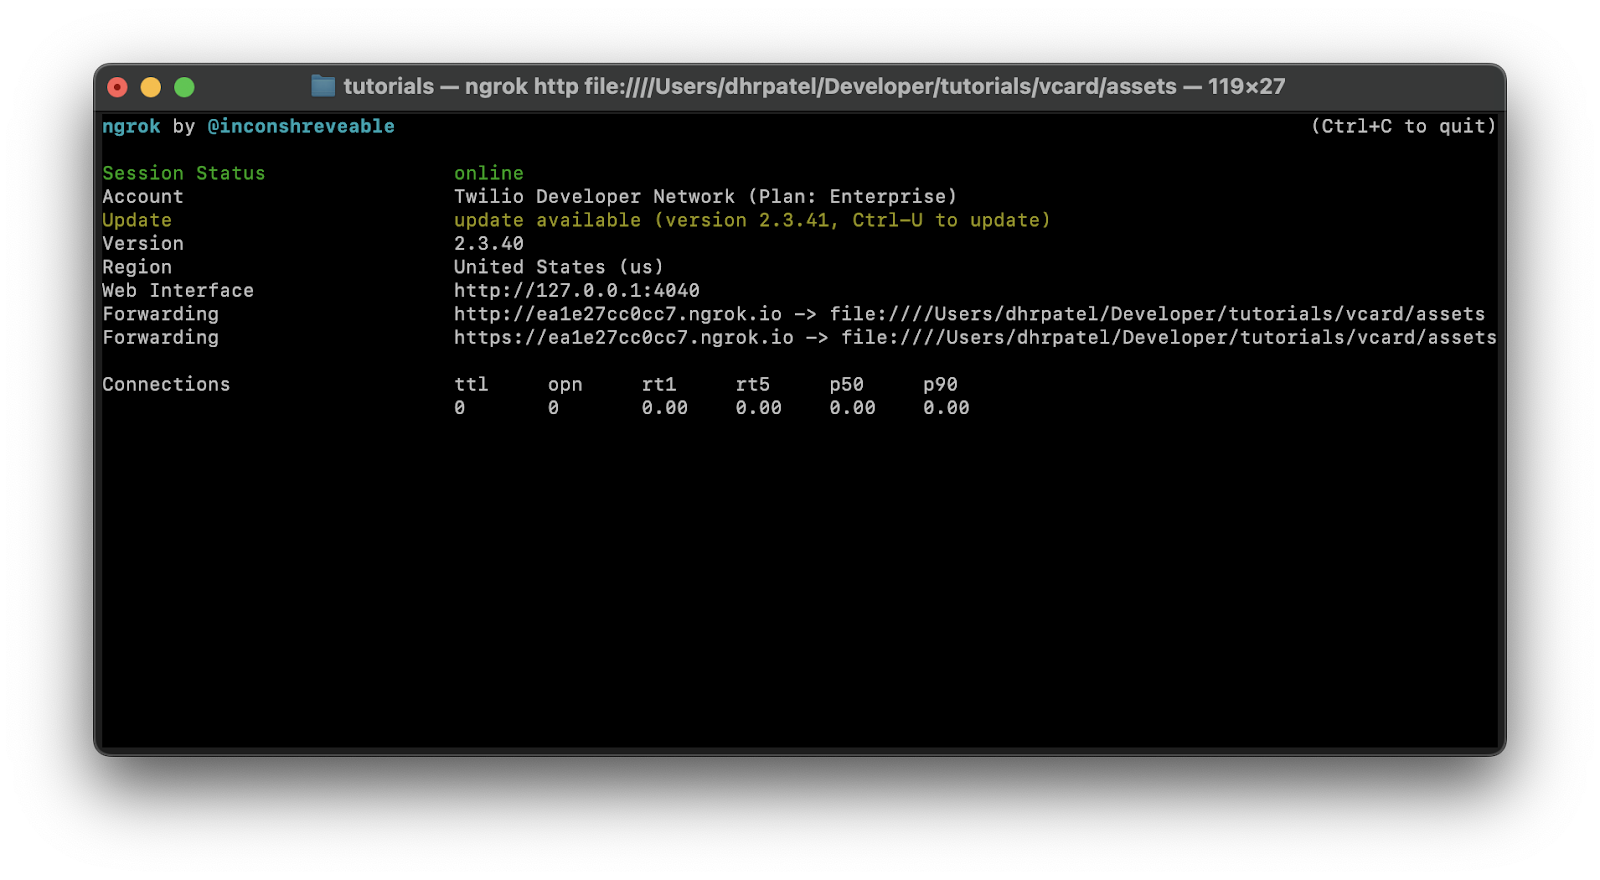
You’ll see that ngrok has generated two Forwarding URLs to your assets folder (in some cases only one URL may be shown). Copy either of the URLs – the https URL is recommended as it’s encrypted – and save it for the next section.
Set the environment variables
Create a file named .env and place the following lines into the file:
You’ll need to replace the XXXXXXXXXX placeholders with their respective values. Paste the forwarding URL you just copied from the previous section into the NGROK_URL placeholder.
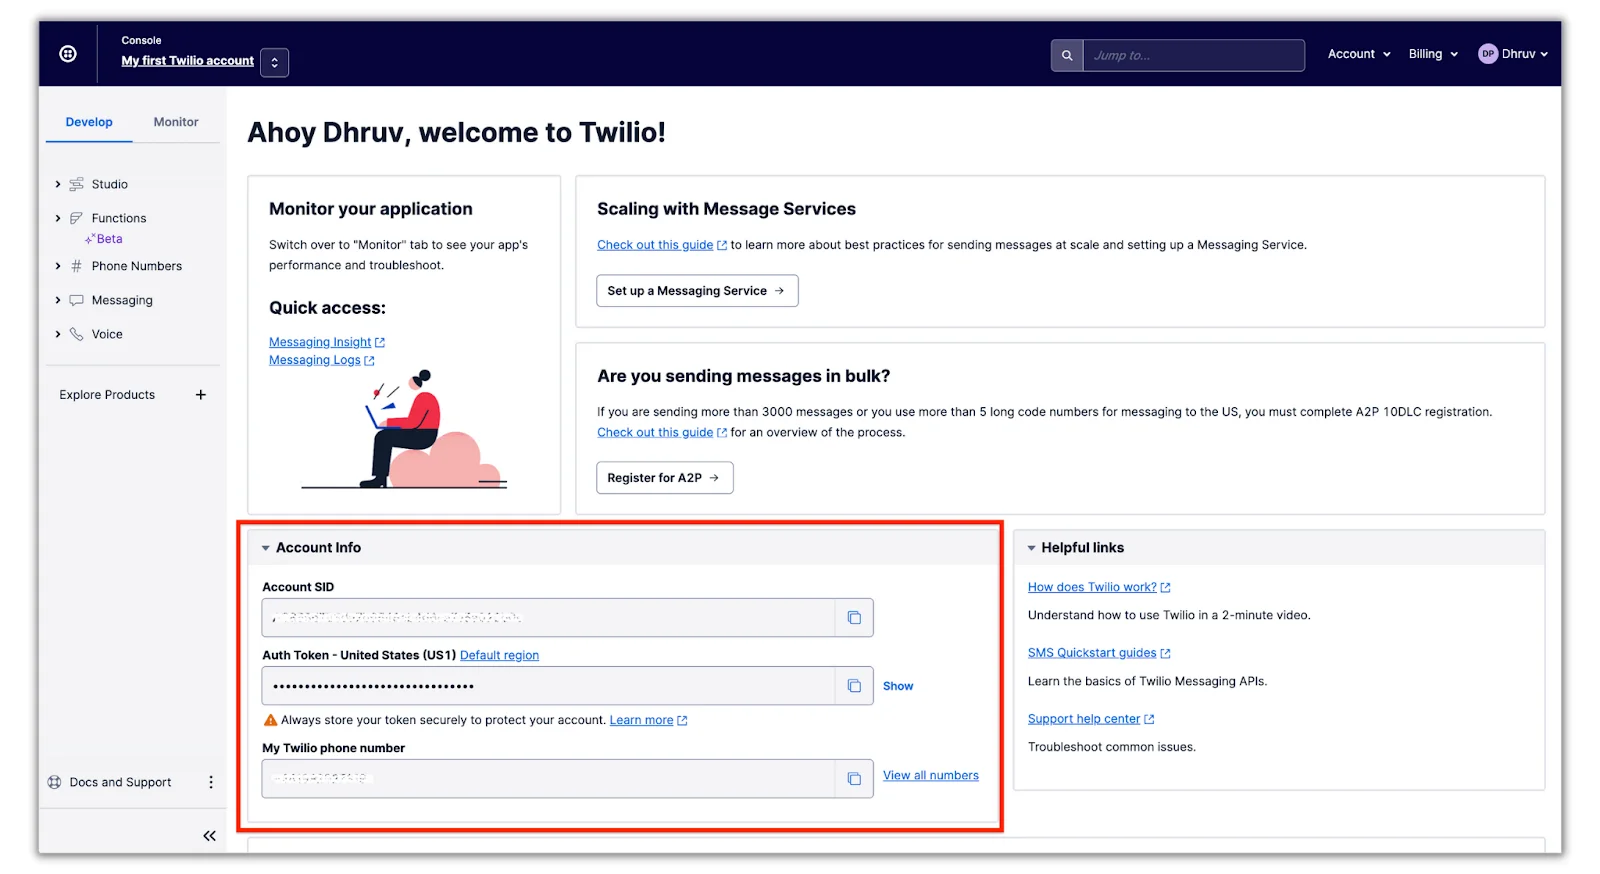
To get your Twilio number, Account SID, and Auth Token, log in to the Twilio Console and it will be on your dashboard:
Build the vCard
If you already have a .vcf file that you want to send out, move it into the assets folder, rename it to twilio.vcf and skip to the next section. If you don’t, you’ll be using the vcards-js npm package that you installed earlier to create a vCard in this section.
Open up the index.js file and place the following code in the file:
This code creates a vCard file for your Twilio number using the different vCard properties. Take a look at this example if you want to see the full list of properties you can add to your vCard. Feel free to change the contact info to your liking.
To further personalize the contact card, I added a contact photo in line 5. I’ve commented this line in the code just in case you don’t want to use a photo. To add a photo to your contact, uncomment the code (remove the // characters) and store a .png file named brand_logo.png within the assets folder.
The last line of code will save the vCard in a file called twilio.vcf within the assets folder.
Send the vCard
You’ll be using the Twilio SDK you initialized earlier to send out a text message of your newly created vCard. At the bottom of the index.js file add in the following code:
The code above creates a Message resource with the given properties. You can see that the mediaUrl property is using the publicly accessible URL of the vCard file which you exposed using ngrok. Don’t forget to replace the <YOUR_PHONE_NUMBER> placeholder with your personal phone number and ensure it is in E.164 format.
Run the code
The code is now ready to be put into use! Navigate back to your terminal and run the application to send the vCard using the following command:
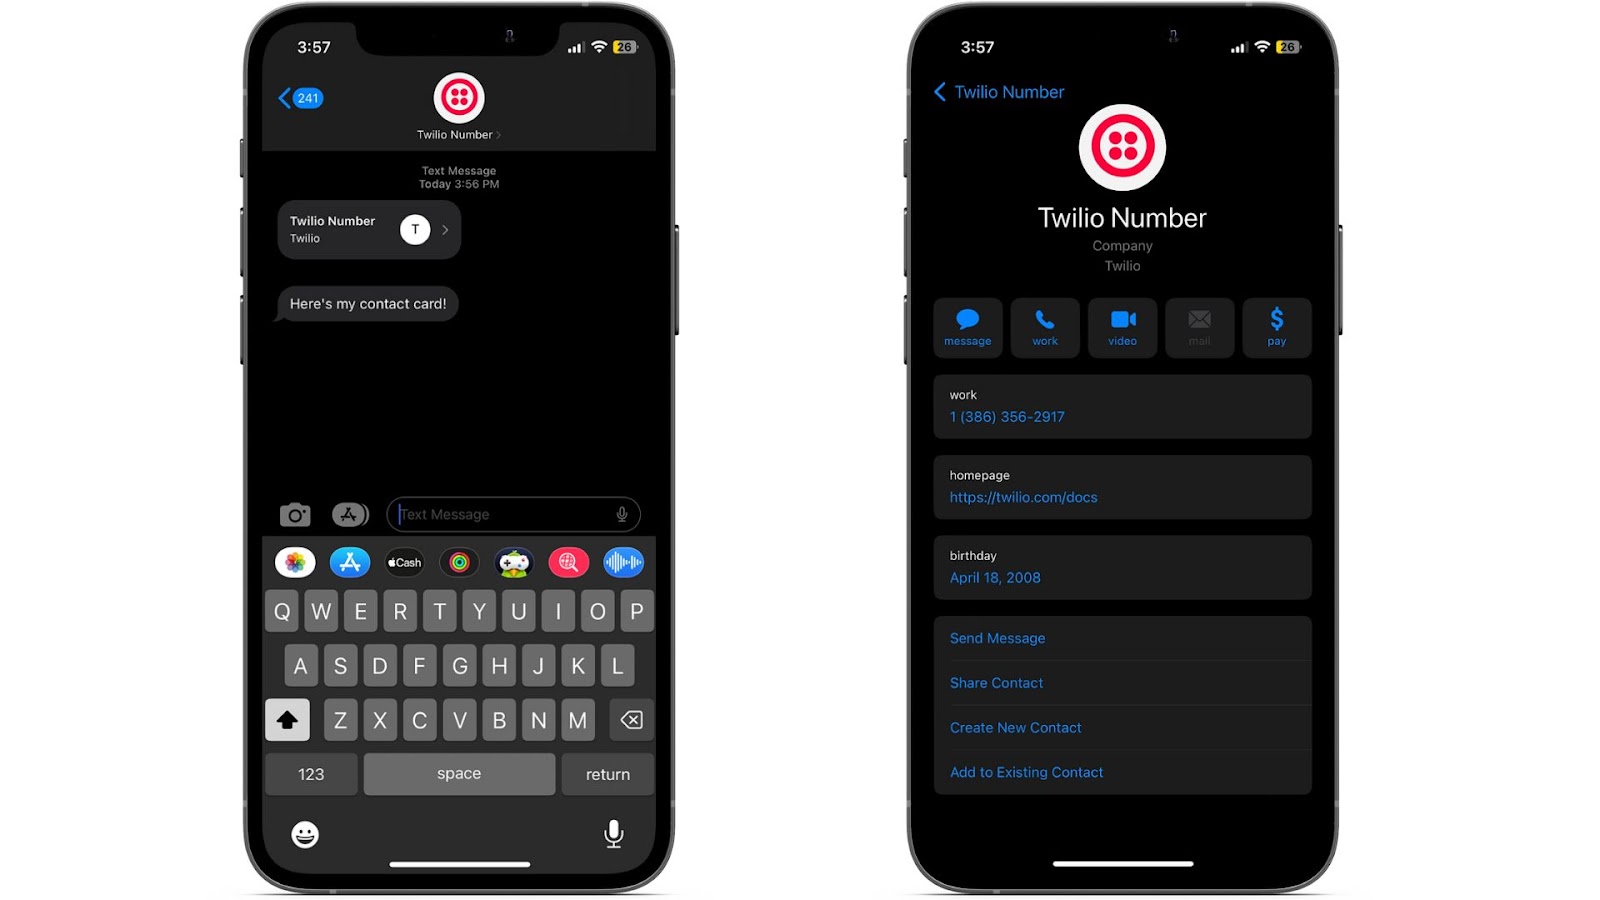
In a few seconds, you’ll receive a text from your Twilio number with the contact card!
Conclusion
There you have it, sending vCards using Twilio and Node.js is possible within minutes. As you move ahead, you can enhance the customer's experience by adding more properties to your contact cards or even hosting your application so you don’t have to serve your contact cards folder. Happy building!
Dhruv Patel is a Developer on Twilio’s Developer Voices team. You can find Dhruv working in a coffee shop with a glass of cold brew or he can either be reached at dhrpatel [at] twilio.com or LinkedIn.

Related Resources
Twilio Docs
From APIs to SDKs to sample apps
API reference documentation, SDKs, helper libraries, quickstarts, and tutorials for your language and platform.
Resource Center
The latest ebooks, industry reports, and webinars
Learn from customer engagement experts to improve your own communication.
Ahoy
Twilio's developer community hub
Best practices, code samples, and inspiration to build communications and digital engagement experiences.