How to Make a Smart Baby Monitor with Python, Raspberry Pi, Twilio SMS, and Peripheral Sensors
Time to read: 9 minutes
June 28, 2019
Written by

Have you ever wanted a smart monitor that not only lets you see your kids, but also texts you the temperature in their crib, so you can be certain they are comfortable? I certainly have!
That’s why I made the Raspberry Pi (RPi) Smart Baby Monitor, and I want to show you how easy it is to build yourself using Twilio, a Raspberry Pi, and a little bit of code.
Here's my son at 4 months old along with the smart baby monitor I created for him:

The Tech Stack
The IoT app we are going to create will use the Python programming language, a Raspberry Pi, a Raspberry Pi camera, a DS18B20 temperature sensor, and the Twilio SMS API:
- Python version 3.5: The language we will write our code in
- Raspberry Pi: Environment that will hold our software (code) and our hardware (peripherals)
- RPi Camera: the camera we will use for video stream
- DS18B20 Temperature Sensor: To send temperature data to the Pi
- Twilio SMS: to send a text
What We're Building
Let’s walk through how it will work when finished:
- The Raspberry Pi will be live streaming the video over your WiFi network, allowing any device on the network to watch the feed. In my case, it’s my wife’s phone, my phone, and my laptop.
- The DS18B20 sensor takes a temperature reading every second, and sends that to the RPi.
- The Python code reads that temperature data, and informs you when the temperature in the baby’s crib falls above or below a threshold.
- If the threshold is crossed, a text message is sent letting you know that it’s either too hot or too cold in your baby’s crib.
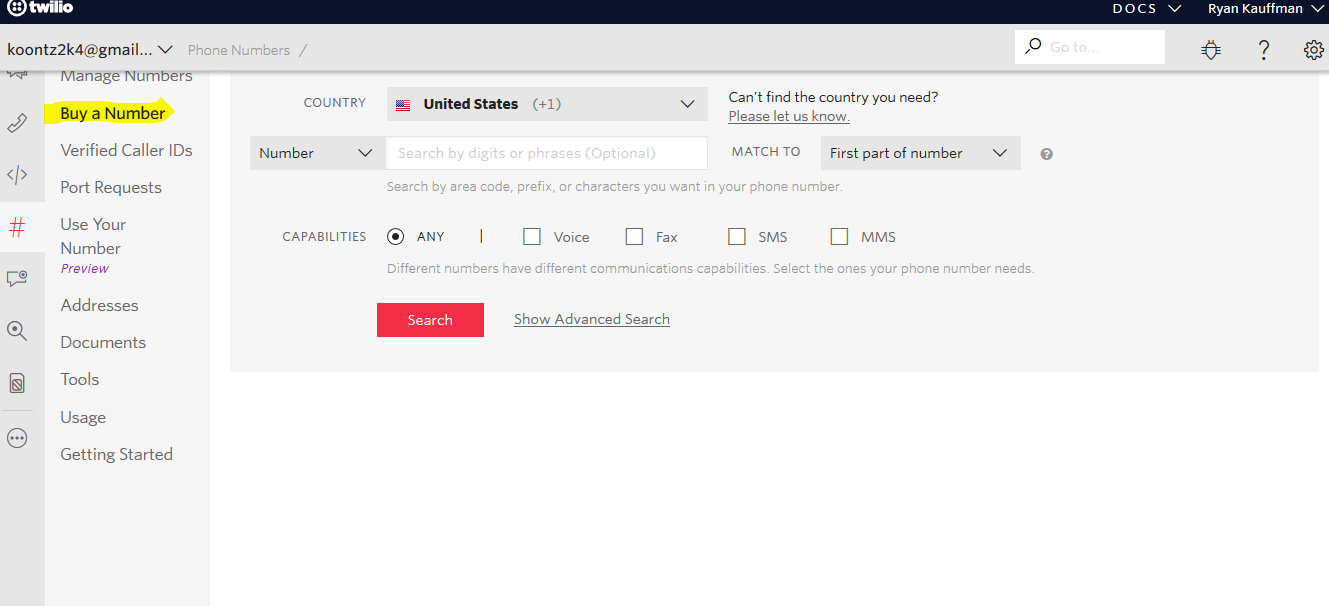
Create a Twilio Account and select your Phone Number
The first thing to do is sign up for a Twilio account. Next, buy a phone number. Make a note of the phone number you’ve bought, as well as your Account SID and Auth Token which can be found in the Twilio Console. You’ll need them all later.
Configuring your Raspberry Pi
If you don’t have an RPi already, you can pick up a kit here. There are lots of good kits out there, you don’t necessarily need the one I bought. But no matter what kit you go with, I would strongly recommend:
- Getting a kit that has the NOOBS operating system already installed on the SD card. (It will cost you about one dollar more and save you major headaches when setting up your RPi environment.)
- Buying an RPi 3 B or later, to ensure it has WiFi capability.
- Ensuring your kit comes with a 2.5A Micro USB Power Supply, which is specifically designed for the RPi. This is much more important than you might think.
Pro tip: The RPi 3 B+ has 5G capability, so if you buy that model you will be a step ahead of the game when that becomes the dominant paradigm!
Once you have your RPi kit assembled, you just need to plug it in and connect a monitor/keyboard/mouse, and you should be ready to go. These are generally very easy to set up. (Troubleshooting item: if your RPi starts up, flickers, then reboots over and over, it is likely due to a power supply issue. Replace your power supply. This is surprisingly common. It is very important to ensure you are using a power supply designed for the RPi.)
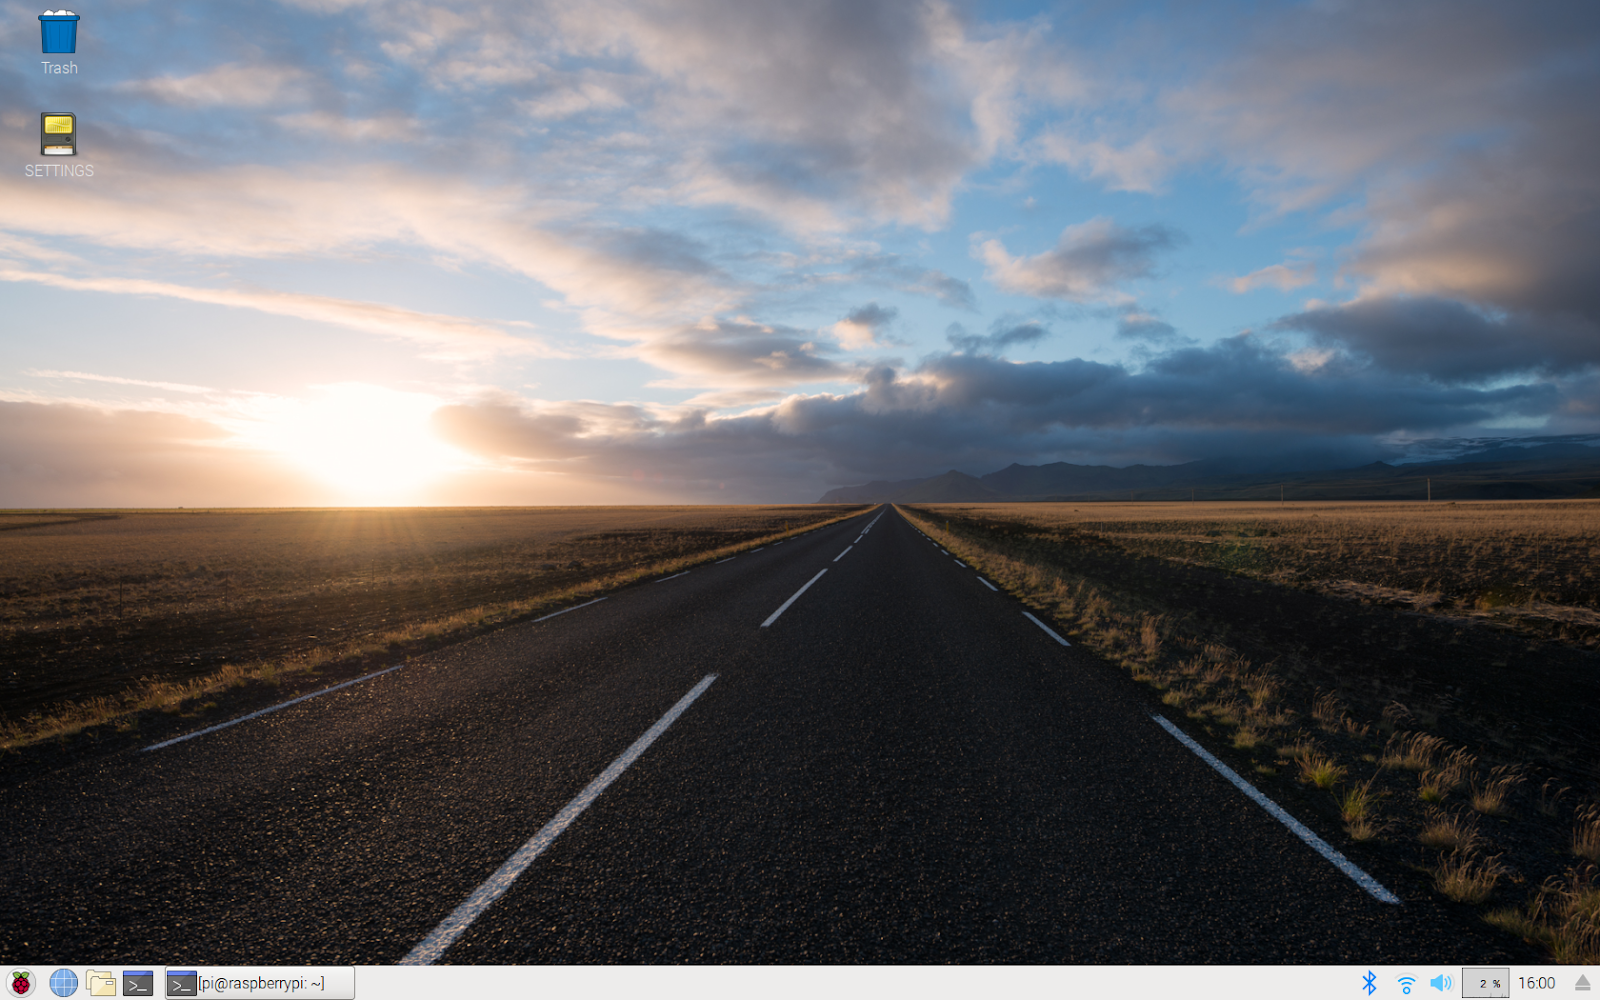
Great! You got your RPi up and working! Now you need to connect to your WiFi. You can do this in one of two ways: via the command line (instructions here), or via the desktop. I prefer doing it via the desktop because it is easier. Here is what my desktop looks like at boot up. Pretty plain, huh? Your background may vary.
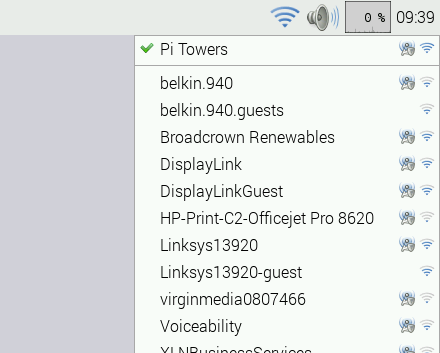
If you choose to set it up via the desktop, click on the network icon on the right side of the screen, and that will bring up a list of available networks. Choose your home network. (Troubleshooting item: If you don’t see your network, wait 5 - 10 seconds and it should auto-refresh. If you still don’t see it, double check that your network is active.)
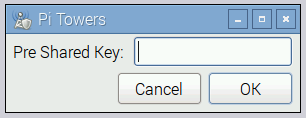
Click on your network, and enter your key. The network item will flash to let you know it is connecting.
Try opening the browser and visiting a webpage to ensure you have network connectivity.
Peripheral Hardware
Now that you are connected to the internet, it’s time to add your peripheral devices, e.g. your camera, and temperature sensor. To connect the DS18B20 temperature sensor, you will need some female-to-female jumper wires, available here. I’ve chosen blue, green, and purple wires for no reason in particular.
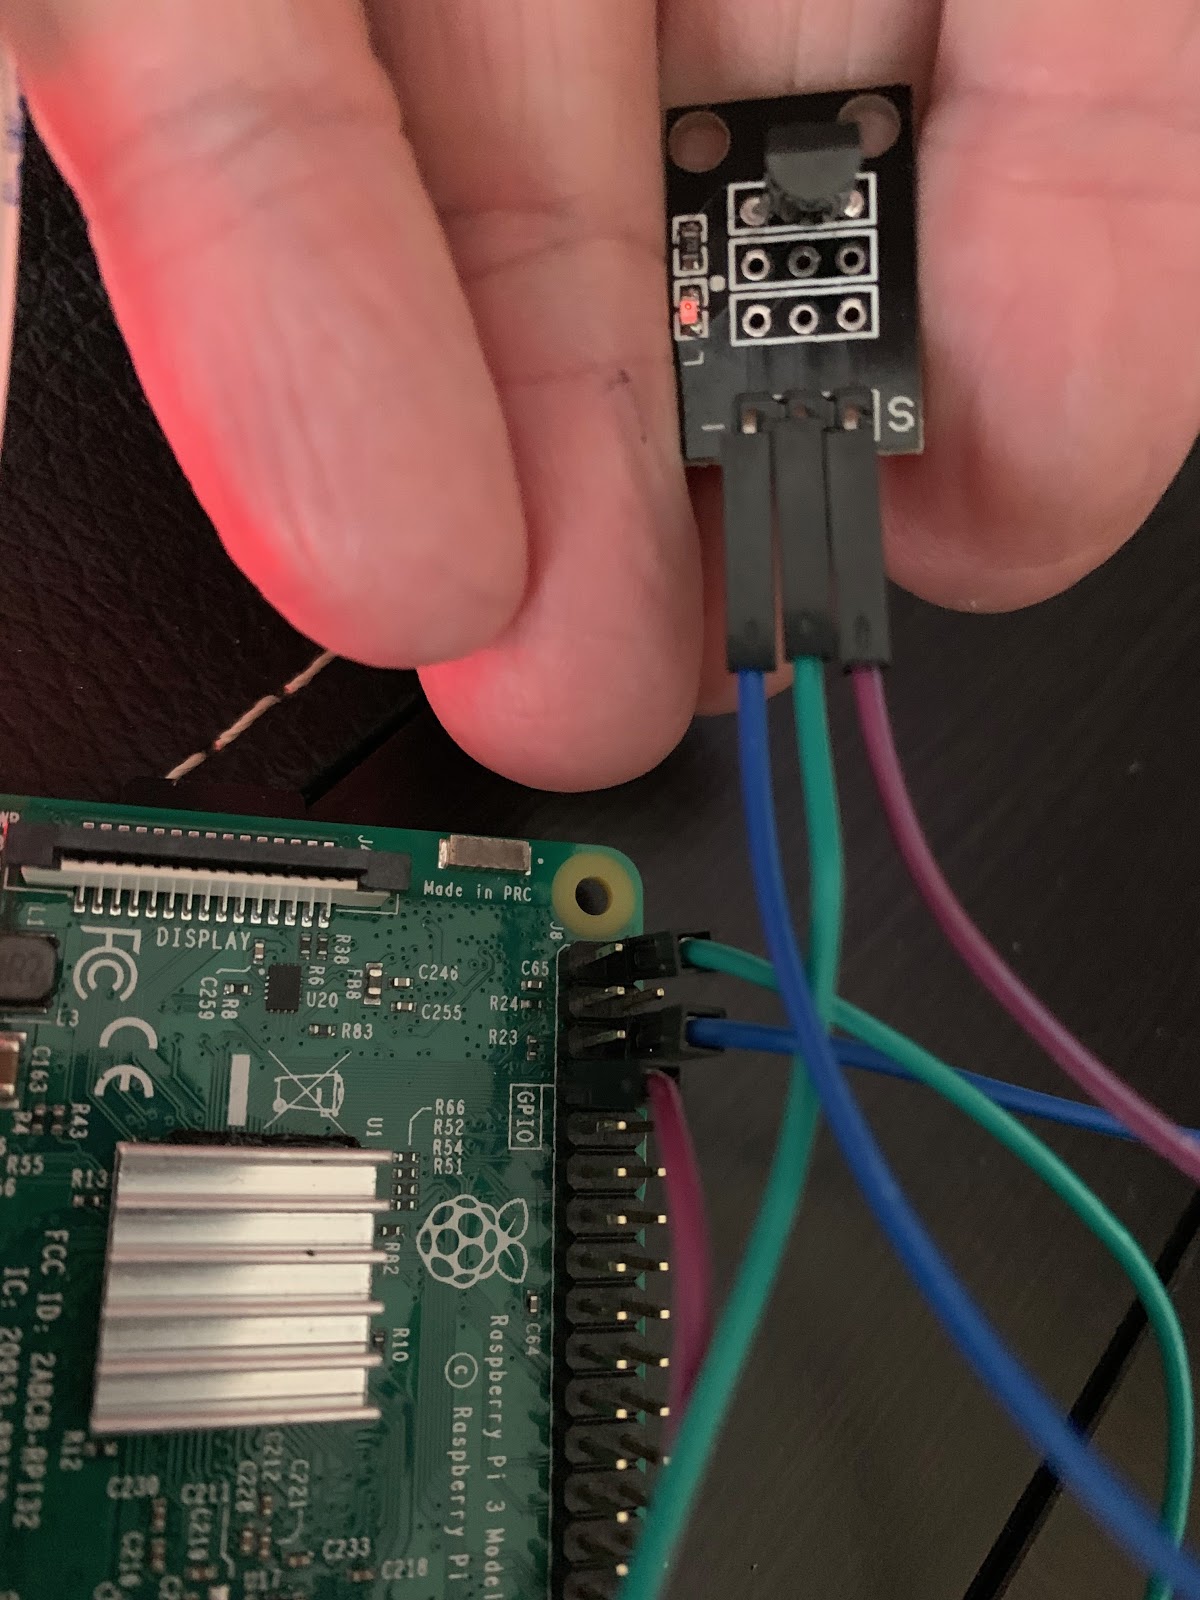
In the picture above, the green wire represents the voltage, the blue is the ground wire, and the purple is the wire that carries the data.
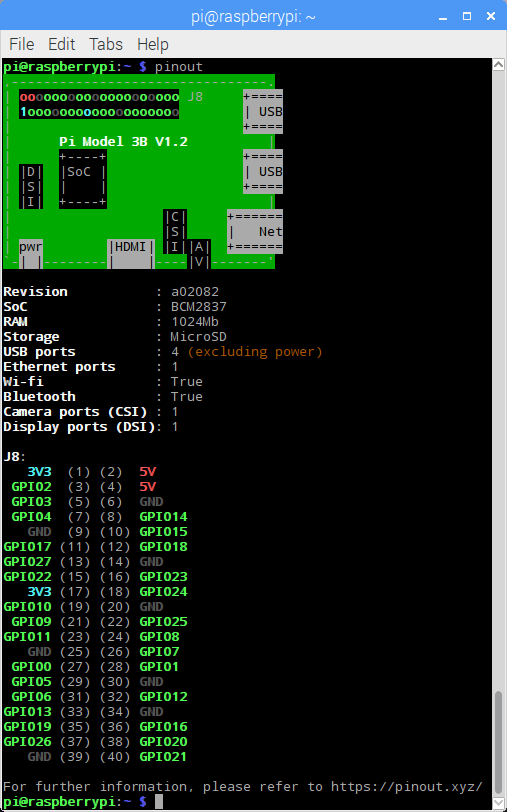
On the RPi, you will see 2 rows of 20 pins, for a total of 40 pins (see pic above). These are referred to as GPIO, or General Purpose Input/Output pins. Some of the pins are for voltage, some are ground, and some carry data. More information is available in the Raspberry Pi Documentation. This is one of the ways which you can connect sensors to the RPi.
For this tutorial, you need to connect the purple wire to the 4th pin on the inner row. This is data channel 4. This will be important when we write our code.
Connect the green wire to the first pin on the outer row. This is the 5V pin, and powers the sensor.
Finally, connect the blue wire to the third pin on outer row. This is the ground pin, and completes your circuit.
Pro tip: if you want a quick reminder of the GPIO configuration, you can always type pinout on the RPi command line. It will show you this very helpful diagram:
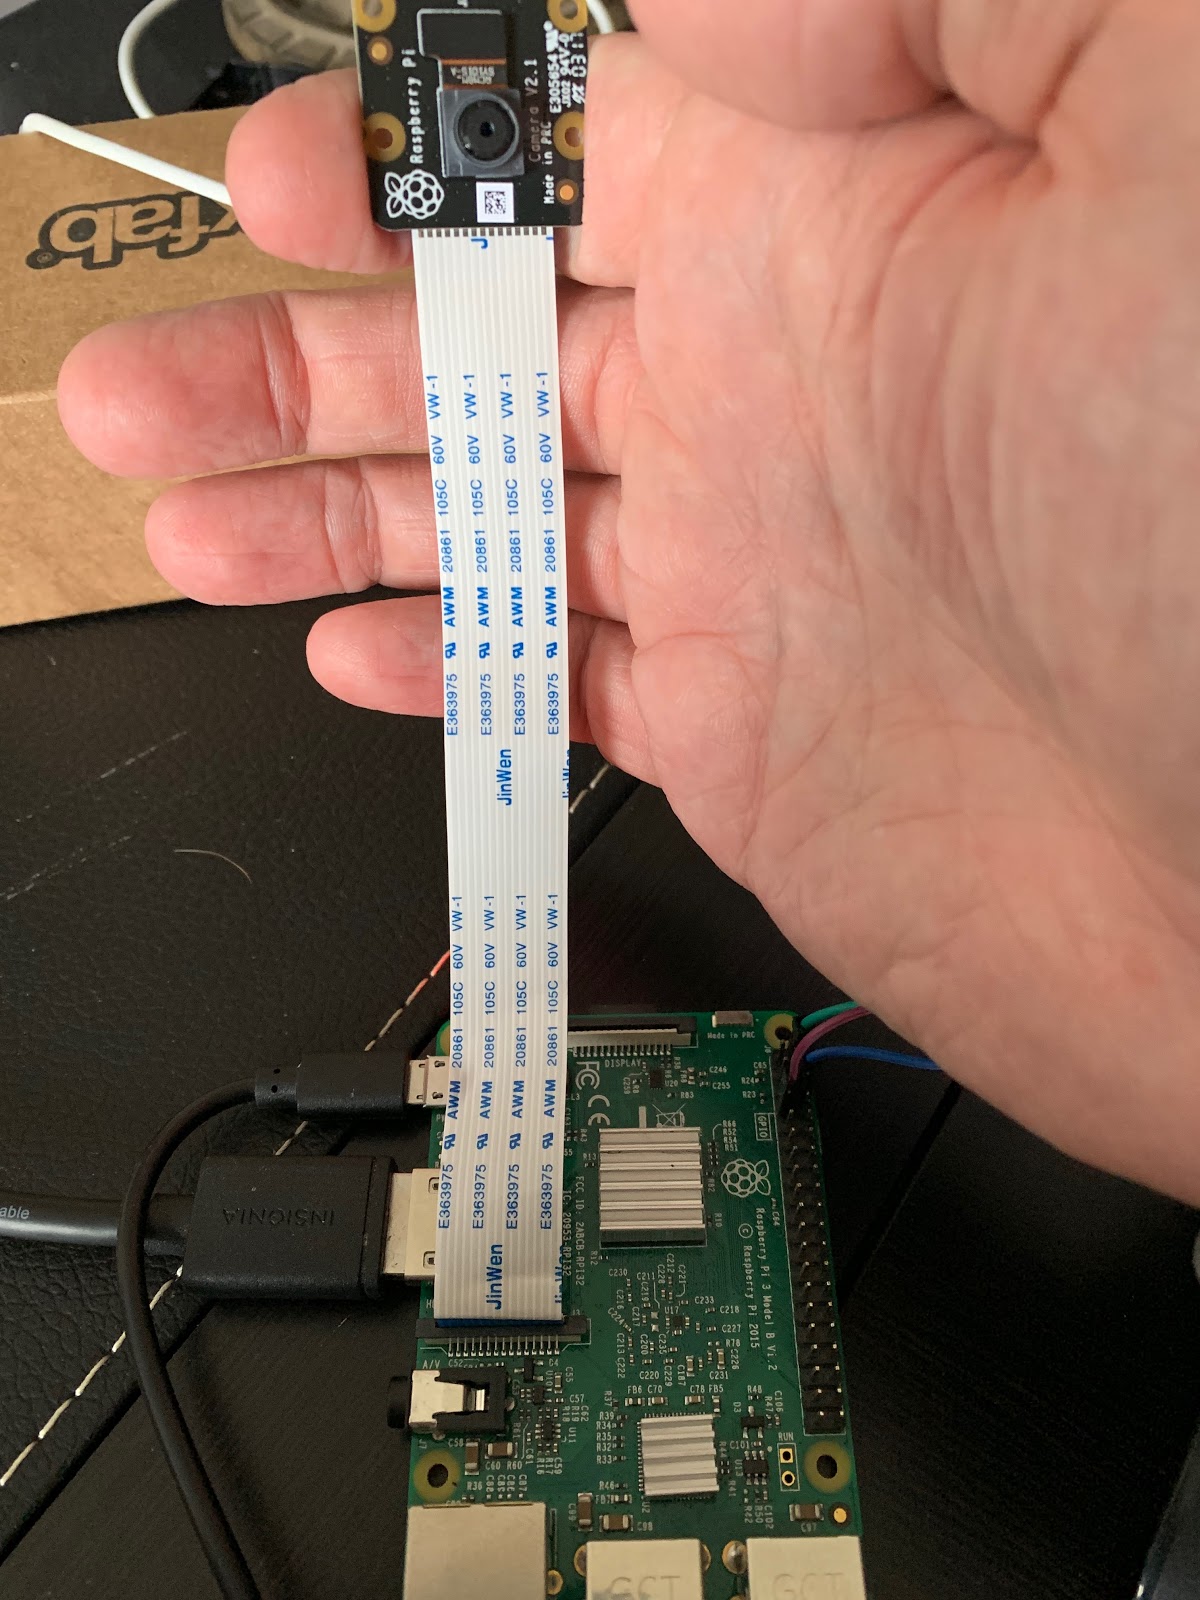
Next, you need to insert the camera into the connector situated between the Ethernet and HDMI ports, with the silver connectors facing the HDMI port. See picture below. You may have to press hard, it is a snug fit.
Awesome, all of your hardware is physically connected!

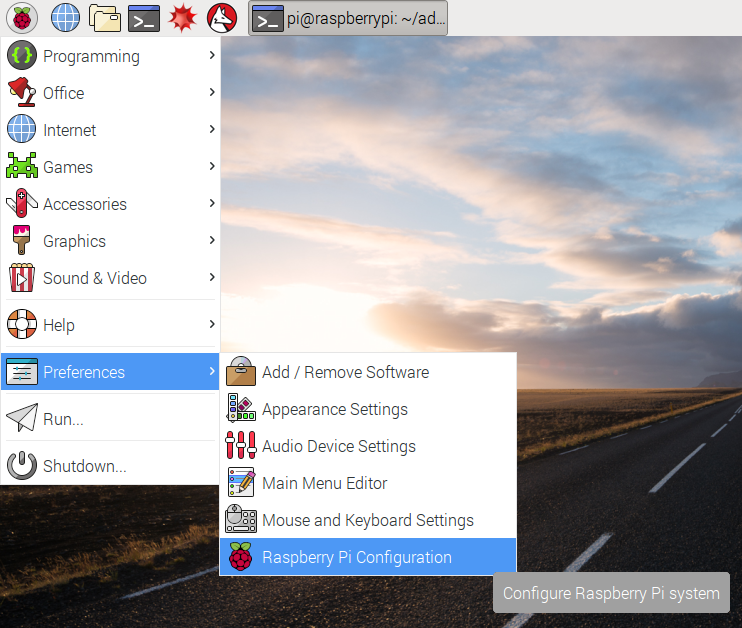
Click on the “Interfaces” tab. Then click “Enabled” on the Camera.
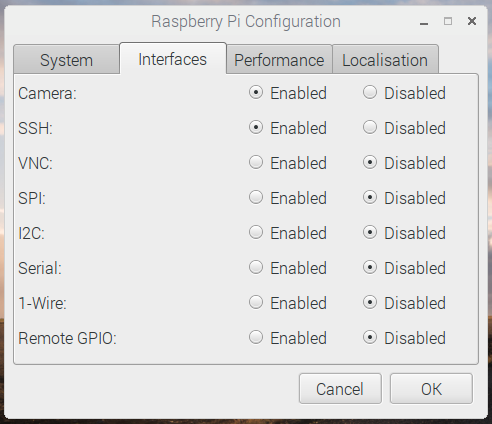
Then click OK.
Go to your command line, which you can quickly access by hitting Ctrl + Alt + t on your keyboard. It’s important to update your RPi with all the necessary updates.
Modify the boot file so that we can read data from the DS18B20 sensor. It’s very simple, to do it, open your command line, either from the desktop, or you can hit: Ctrl + Alt + t. Once your command line is open, type:
That will bring up your configuration file, which is the file that tells your RPi what to start when it boots up.
When the config file opens up, scroll all the way down to the bottom, and type:
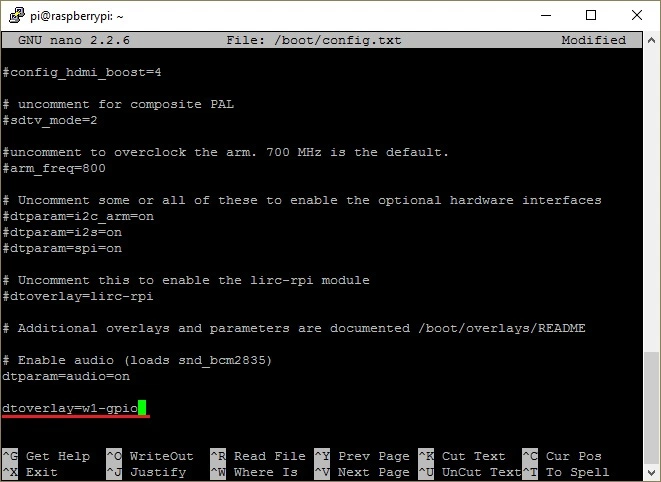
This line enables the 1-wire I2C library and allows you to access the GPIO pins programmatically, because in new RPi models, the pins are “off” by default. A longer (and much better) explanation of Device Trees can be found here.
Type “Ctrl+X” to exit, then “Y” to save, followed by “Enter”.
It will then ask if you want to restart now or later. A restart immediately after making a change is always a good idea.
Once you’ve restarted, you need to make sure your RPi is completely up to date. You never know how long it was sitting on a shelf before you bought it! The next two commands ensure you are current on everything, but they are very slow, so expect this to take many minutes:
Hit enter. Next, type:
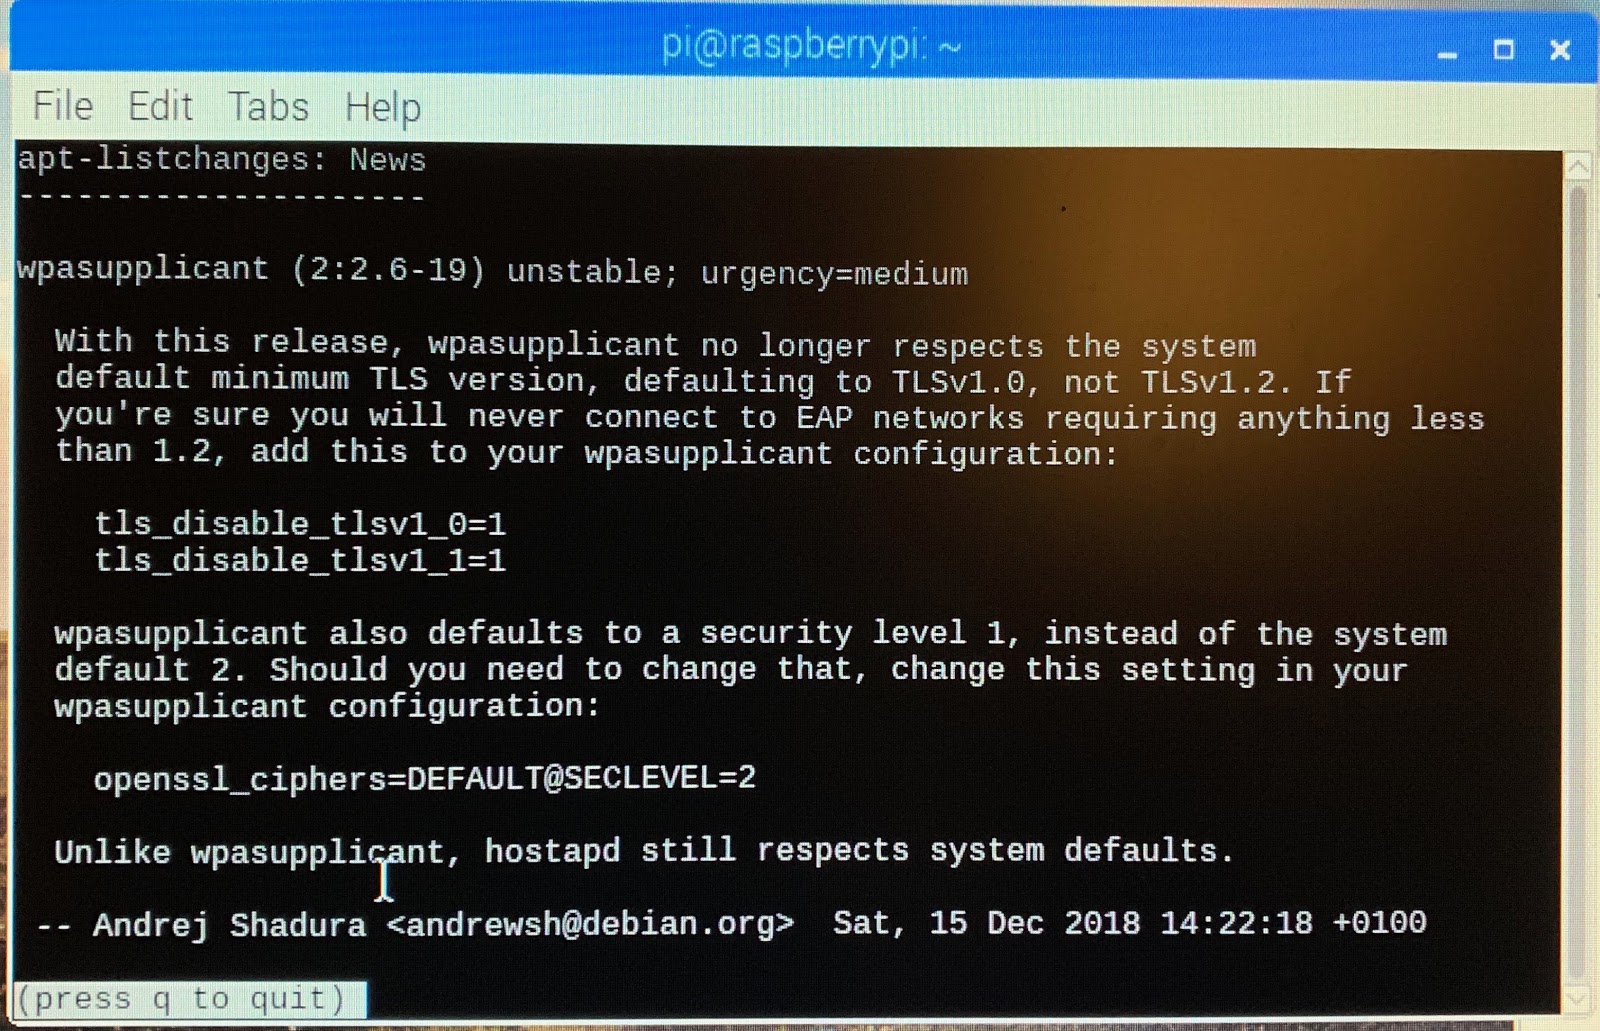
Hit enter. About half way through the update, it will give you a list of changes in the most recent update. This is unimportant for our purposes, just hit the letter q to quit, and it will continue updating.
Once that’s done, your RPi is up to date.

The RPi will likely reboot. If it does not do so automatically, you can do it by typing in the command line:
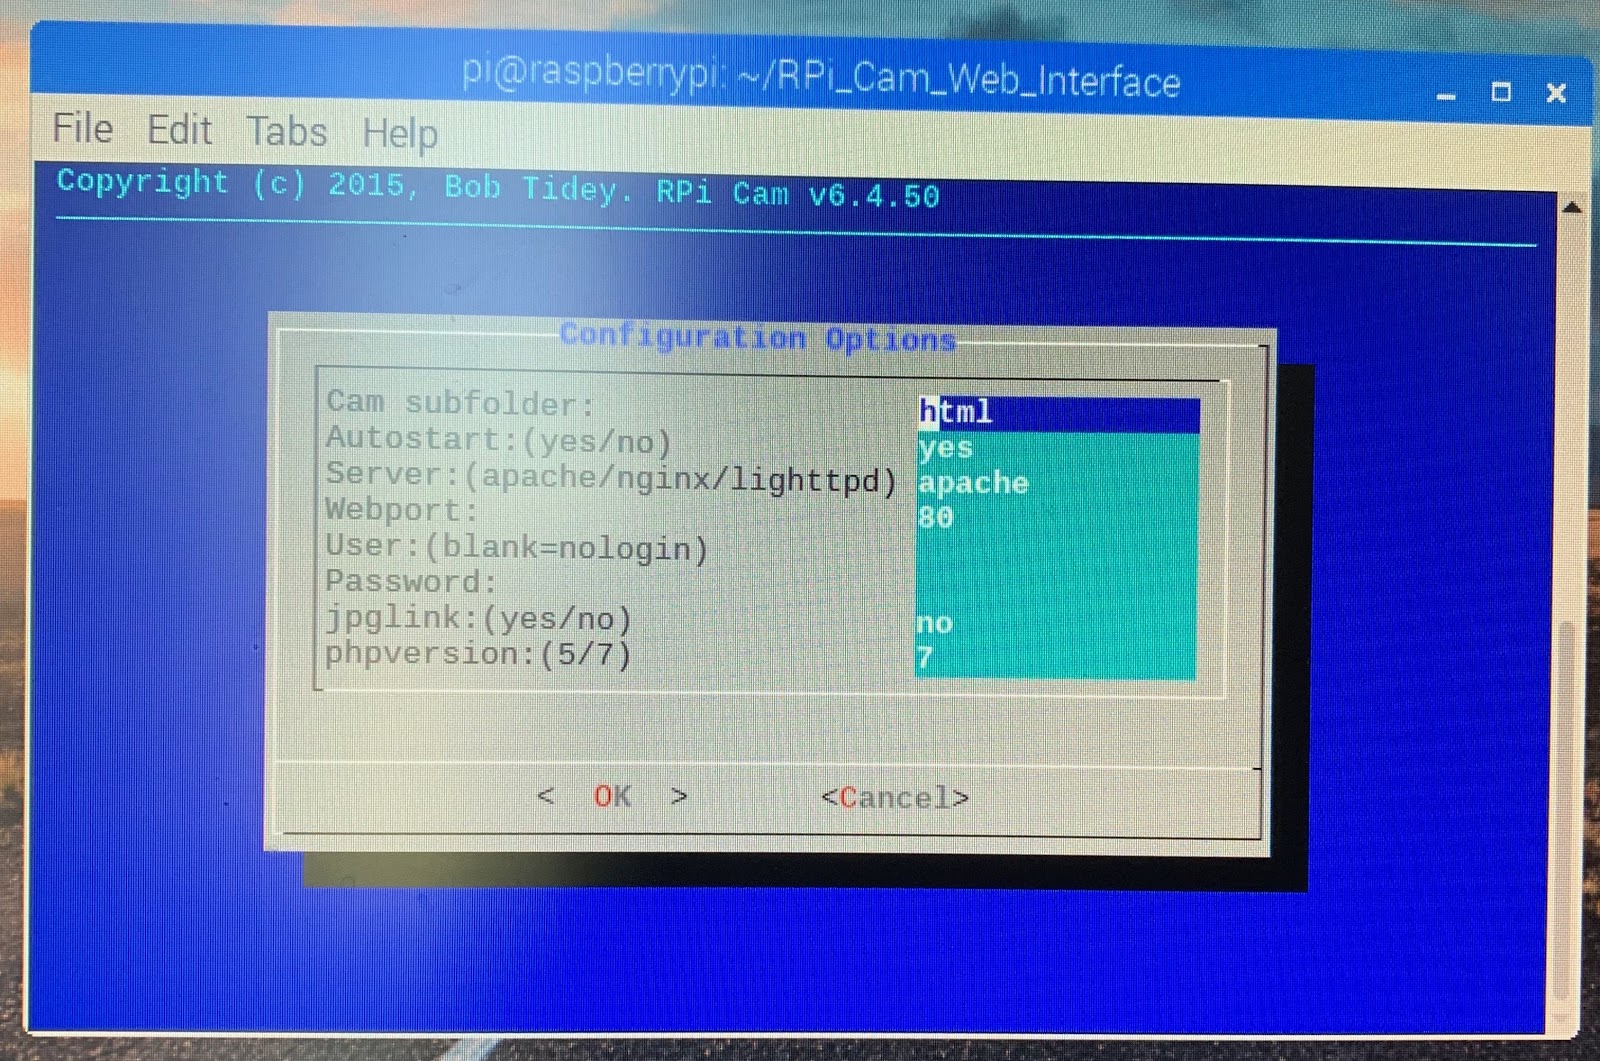
Once you’ve restarted, clone the camera code repository from GitHub and enable and run the install script with the following commands:
After the install is finished, you will be presented with a menu that looks like the screenshot shown below. You can keep all the default values, unless you would like to change anything. When you’re satisfied, hit Enter.
After the setup completes, which may take a minute, the RPi will likely reboot. If it does not do so automatically, you can do it by typing in the command line:
After the reboot, you need to find your RPi’s IP address. You can do this by typing:
Once you know your IP address, using a computer on the same WiFi network as the RPi, in a web browser, navigate to http://ipAddress/html, where the IP address is the address that was returned in the shell when you typed “hostname -I”.
For example, you might type: http://192.168.1.107/html.
(Troubleshooting tip: This relies on the assumption that you left the port at default 80 during install. If you change the port, the syntax is: http://ipAddress:port/subfolder)
For more detailed instructions, you can find them here.
Open any browser on any machine in your WiFi network (laptop, iPhone, Android device, etc), and enter the IP address that was populated when you typed “hostname -I” into your command line.
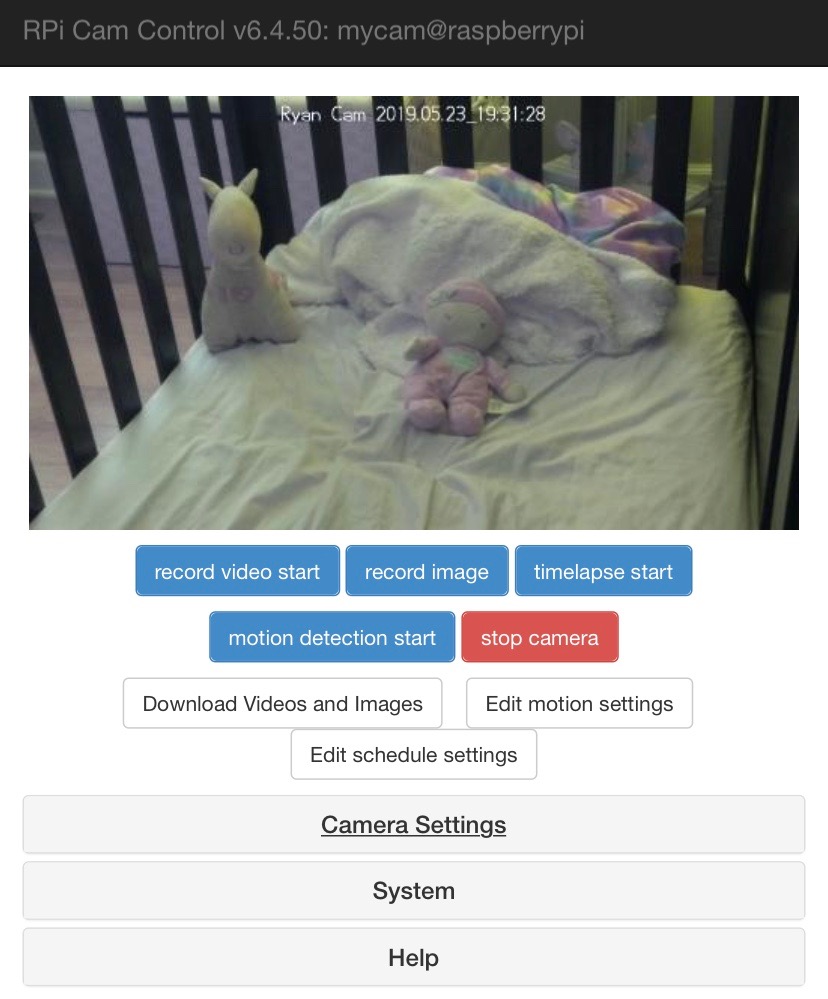
The stream should look something like this:
Code
Congrats, you made it through the hard part, setting up the peripherals. Phew!

Let's write some code. Before we can execute this Python script though, we need to install the Twilio client, which is the only dependency that doesn’t come pre-packaged in any version of Python.
Let's get back to the home directory first:
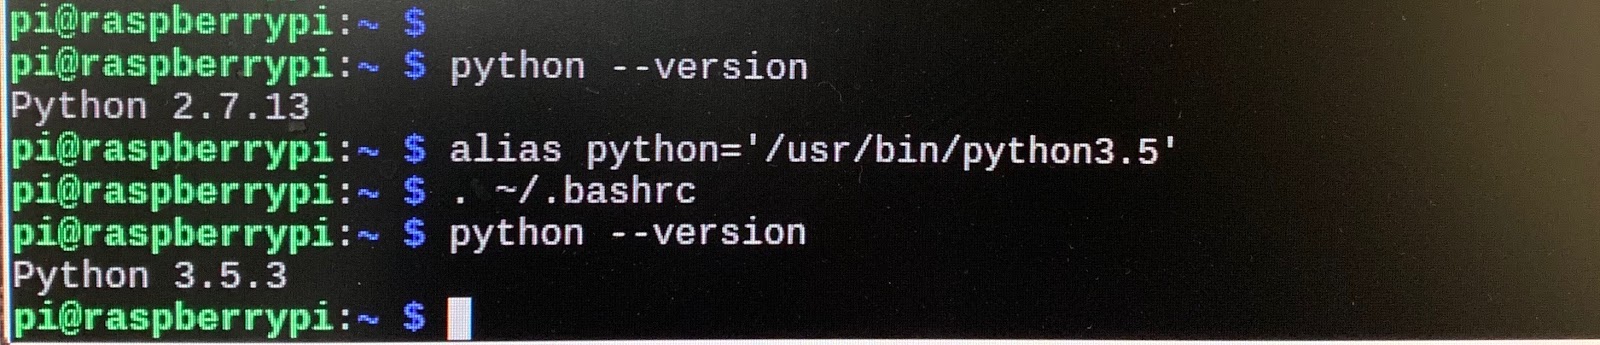
Raspberry Pis have an annoying habit of coming with two different versions of Python (version 2.7, which is largely outdated, and 3.5, a newer version). If you try to install the Twilio helper library package into the outdated Python 2.7, it will throw several errors.
To account for this, we need to point the Shell to Python 3.5. There are a couple ways to do this, but in the interest of simplicity, we’ll just do it for the current session. In the shell type:
If the output is 3.5, then you can skip this step. If the output is 2.7, then:
Then enter:
Check your version again, and it should say say, python 3.5 or later.
It should look something like this:
Install the Twilio helper library.
Hit enter, and wait for the helper library to download and install on your RPi.
Next, open a new file in your Python interpreter and either paste the below code in, or clone from GitHub.
In the lines of code above, you are taking a physical temperature via hardware, and making a text message appear on a cell phone that you determine, which is ridiculously cool if you ask me.

When you implement the code above, make sure to replace the ‘TWILIO_ACCOUNT’, ‘TWILIO_TOKEN’, ‘ALERT_PHONE’, and ‘TWILIO_PHONE’ with your specifics.
If you need to find your TWILIO ACCOUNT sid, and your TWILIO TOKEN, you can find it in the Console.
The ALERT PHONE is whatever phone you want to send a text to.
The TWILIO PHONE is the number you purchased when you set up your Twilio account. You can find it in the Numbers section of the Console.
Save this into the /home/pi/ folder, and call it “baby_monitor”. Ensure it saves as a .py file.
Run The Code on Boot
Now that your code is in place, you want to make sure that it runs when the RPi boots up. To do this, type:
Scroll to the bottom and add the following line to the last line:
Type “Ctrl+X” to exit, then “Y” to save followed by “Enter” twice.
When you’ve exited back out to the command line, you should reboot. Type:
When your RPi restarts, your video stream should come back on it’s own, and your code will begin running on it’s own as well.
Once you are done, create a contact in the phone of the person (or people) who you set up to receive the text message, so they know the number is coming from your baby monitor. If my wife or I ever gets this message, we know our kiddo needs a blanket, or a fan.

Way to go! You’ve just built a smart baby monitor that texts your cell phone if the temperature gets too warm or too cold in your child’s crib, using a Raspberry Pi and Twilio. Now you can tell everyone your DIY baby monitor has a phone number! Let me know if you have any questions, or comments!

Feel free to reach out to me on Twitter @ryankauffman80, LinkedIn, send me an email at koontz2k4@gmail.com.

Related Resources
Twilio Docs
From APIs to SDKs to sample apps
API reference documentation, SDKs, helper libraries, quickstarts, and tutorials for your language and platform.
Resource Center
The latest ebooks, industry reports, and webinars
Learn from customer engagement experts to improve your own communication.
Ahoy
Twilio's developer community hub
Best practices, code samples, and inspiration to build communications and digital engagement experiences.