How to test web applications with Playwright and C# .NET
Time to read: 8 minutes
September 19, 2022
Written by
Reviewed by
Testing your applications is a fundamental part of any project, whether it is to find errors during development, or to verify the expected behavior of your application in each action that a user may or may not execute.
In this post, you are going to use a simple form and test it using Playwright and C# to verify its operation with both correct and incorrect information, simulating the actions of users.
Prerequisites
You will need the following for your development environment:
- a .NET IDE (Visual Studio, VS Code with C# plugin, JetBrains Rider, or any editor of your choice)
- .NET 6 SDK (earlier and newer versions should work too)
- Git CLI
- NUnit
- PowerShell
Test types
You can create different types of tests to verify your software:
- Unit tests test individual methods and functions of the classes, components, or modules your software uses.
- Integration tests verify that the different modules or services used by your application work well together.
- End-to-End (E2E) tests verify that your application works as expected from a user perspective by simulating how a user interacts with your application.
For more details on these types of tests and why you should do them, check out "Unit, Integration, and End-to-End Testing: What’s the Difference?".
There are a lot more types of tests, but these the three above are the most common to test your software. You'll be developing E2E tests using Playwright in this tutorial.
What is Playwright?
Playwright is a browser automation framework for testing web applications end-to-end. Playwright takes advantage of the capabilities of current browsers through an intuitive API. It addresses a lot of the pain points that you had to deal with when using older browser automation frameworks.
One of the biggest pain points of using older automation frameworks, is that you had to manually install browsers and their compatible web drivers, but over time the version of the browser would change and become incompatible with the web driver. Thus, you had to find which newer version of the web driver you had to install. And you had to do this for every browser you wanted to run your tests in. Playwright, on the other hand, automatically install the latest browsers for you and Playwright doesn't use web drivers, so you don't have to worry about keeping those in sync.
Because older automation frameworks used web drivers to instruct the web browsers, they were limited by the capabilities offered by the web drivers. Playwright use the Chrome DevTools protocol to communicate with Chromium, Chrome, and Edge browser. For other browsers like WebKit, Safari, and Firefox, Playwright extended the browser to support a similar protocol. This allows Playwright to use the DevTools protocol to efficiently communicate with all these browsers and take advantage of all their features.
In addition to supporting multiple browsers, Playwright has cross-platform and cross-language support with APIs for .NET (C#), TypeScript, JavaScript, Python, and Java.
If you don't want to manually write your tests, you can generate tests using Codegen which will open a browser and record your actions in that browsers. Each recorded action is translated into the Playwright APIs in the programming language of your choice.
You can also record videos of the tests that will allow you to play them back, which can help with figuring out why a test failed. You can also emulate devices and instantiate browsers with properties such as viewport, location, time zone, geolocation, among others.
Set up the sample web app
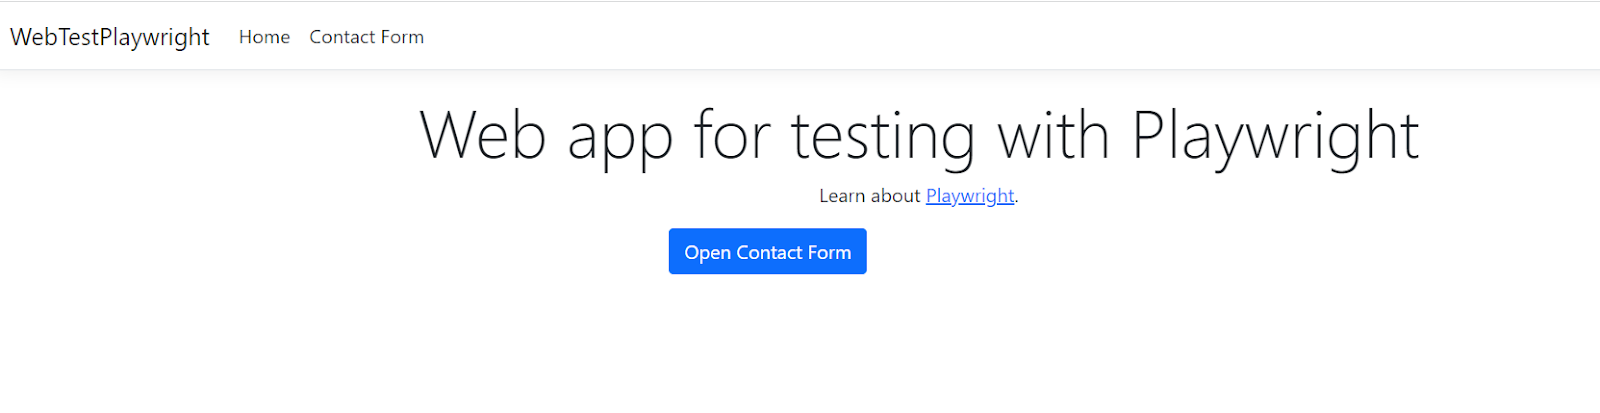
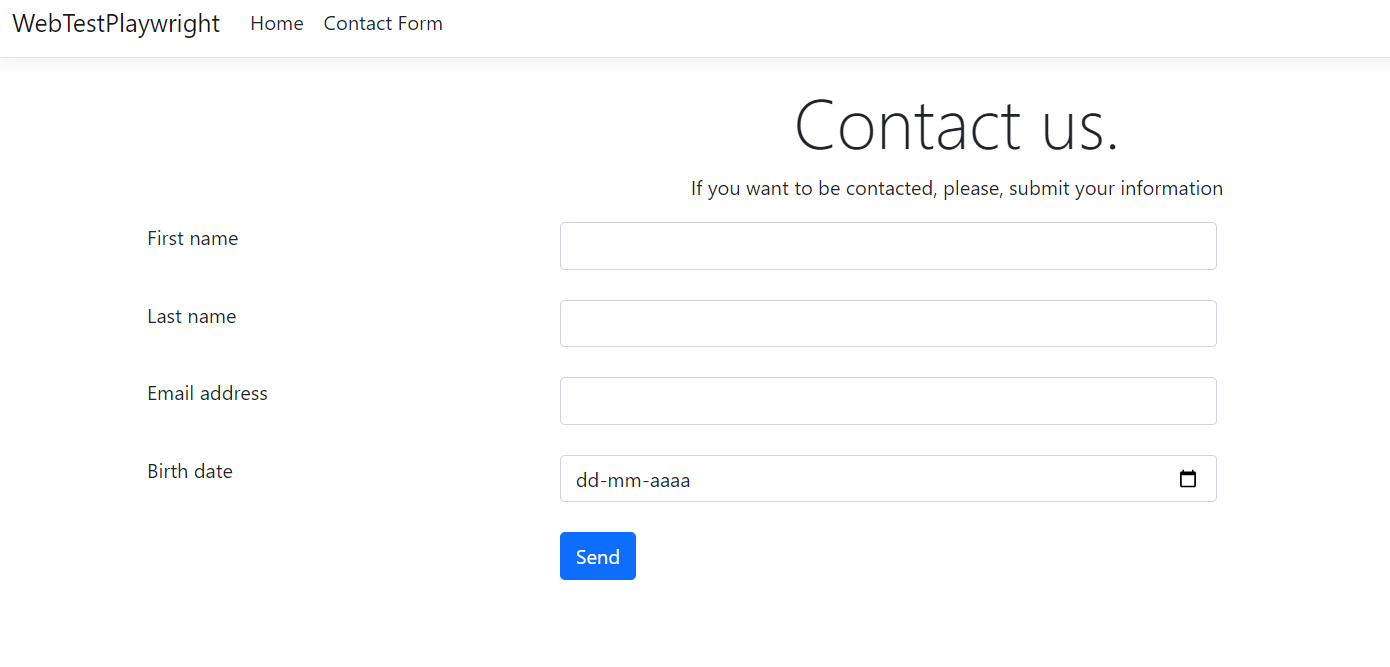
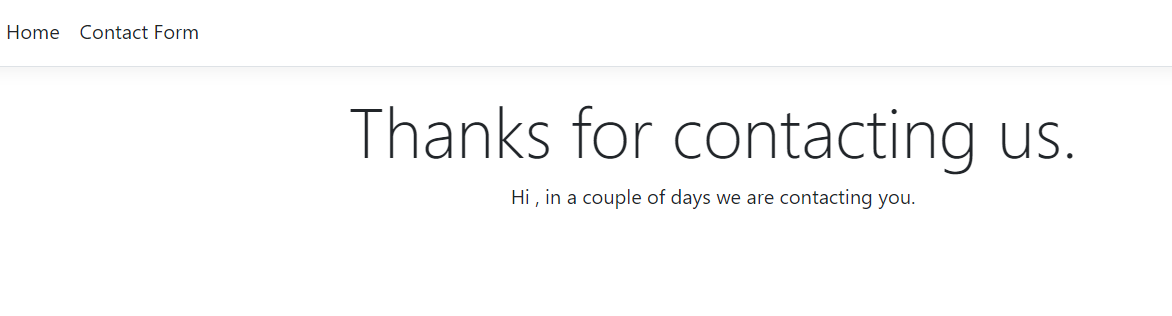
To get started, you must first clone this GitHub repository, which contains an ASP.NET Core web app with only 3 pages. A home page with a button leading to the form, the form page with 4 fields and some validations that you are going to test, and a success page if the form is completed successfully. While this sample web app is built using ASP.NET Core, it could've been built using any web technology and you'd still be able to write the same E2E tests with Playwright.
Open a terminal and clone the repository with the following command:
Then go into the tdv_testwebapps/ContactForm.Web project folder of the cloned repository and run the ASP.NET Core application:
The output of the ASP.NET Core application will print one or more localhost URLs where it is hosted. Open a browser and navigate to one of the localhost URLs.. You will see the home page with the button to open the form. Click on the button, fill out the form, and verify that you get to the success screen.
You will be testing this application, so leave it running in the background.
Now that you're familiar with the sample web app, let's find out how to test this web app programmatically.
Create the NUnit project
There are many frameworks to test .NET applications, with xUnit, NUnit, and MSTest being the most popular. This tutorial will use NUnit as its testing framework.
Open another terminal and navigate where you cloned the git repository, then create an NUnit project called ContactForm.Tests, and navigate to the new folder:
Install the Playwright library
Now, to use Playwright, you must install it as a library in the project. Run this command to add the Playwright NUnit NuGet package:
The Playwright library requires some extra setup, which is done via a PowerShell script. This is a little odd for a .NET package, but to get the script you first need to build the project, so go ahead and build the project:
Now the Playwright dependency has been copied into your bin folder, and you can run the PowerShell script. Run the installation script like this:
This installation script will install Playwright into your project, including the browsers.
Test the web app
Test the home page
Now, with Playwright installed in the NUnit project, you are going to create your first test, in which you will check if there is a button to open the form on the home page and verify that clicking the button navigates the browser to the form page.
Open the test project in your IDE and delete the generated UnitTest1.cs file. To test the home page, create a new file called WebAppTest.cs in the project and copy the following code into the file:
In the above code, you have just created a test that retrieves the button to open the form, clicks on it, and checks if the next page is the form page based on the current URL.
By default, Playwright will run your code against a browser in headless mode, meaning that the browser will not be visible. To make it easier to debug and see what's actually happening, you can turn off Headless mode. However, the tests would run so fast that you still can't perceive what is happening, which is why Playwright provides a SlowMo option that you can use to slow down the steps within your test.
The most flexible way to configure these options, is to use a .runsettings file. .runsettings files are used by all .NET testing frameworks to configure how the tests run, and Playwright added support to configure Playwright using .runsettings files as well.
Create a new file called .runsettings with the following content:
Here's what the configuration means:
BrowserNamelets you pick between thechromium,firefox, orwebkitbrowser.Headlessis set totrueby default, but you can set it totrueso that you can see the browser UI as the test is run.Channelconfigures which version of the browser to run. When you pickchromiumas the browser name, you can pickchromeormsedgeto use Google Chrome or Microsoft Edge which are both browser built on top of Chromium. You can also choose to test against the beta version and dev version by suffixing the channel with-betaor-dev, for examplemsedge-beta. You can learn more about the supported browsers and channels at the Playwright docs.SlowMolets you slow down automation steps by the specified amount of miliseconds.
Now, run the test using the following command:
If everything is ok, you will see the browser will open, click on the specified button and then close.
In the console you will see the result of the successful execution of the test, with an output like the following:
Test the form
Now, you are going to create a test that fails. In this test, you will enter all the data of the form at another URL correctly, except for the first name, which in the form will be empty, but hoping that the data is valid and you arrive at the page of thanks.
Since the form is in the same web application, but in another URL, you are going to optimize this using a variable where you will store the base of the URL. And instead of hardcoding this variable, you can make the project more flexible by configuring the URL using the .runsettings file.
First, add the WebAppUrl parameter in the .runsettings file:
Replace <URL> with the web app URL.
Next, add a method called Init(), which, unlike the test methods, will have the OneTimeSetUp attribute to specify that it should be executed once and before the tests. In this method, you are going to get the value of the URL parameter in the configuration file and save it in the variable webAppUrl. Then use the webAppUrl variable in the existing test instead of the hard-coded URL. Your code should look like this:
Now, create the new test with the following code:
This test navigates directly to the form page, then fills out each form input, submits the form, and verifies the submission was succesful by checking current page is the success page.
The text= locator in the above test will retrieve the labels of the form input, not the form input itself, but because the labels have been correctly linked to the form input using the for and id attribute, Playwright fills in the text into the correct inputs.
Rerun the tests, but this time, you're just specifying the execution of the new test by filtering the tests by name:
You will see the browser open, fill in the data and try to send it, but it fails because the name is required and the test expects to hit a success page.
Fix the value in the first name with a valid name to pass the test:
And run the same command again which should show this output:
Test form validation
Instead of verifying the "happy path" where the form submits successfully, let's test one of the validation errors by not filling out a valid email address.
Add the following test after your existing tests:
This test will verify that there's no invalid email address warning present before submitting the form. Then it will enter an invalid email address, submit the form, and verify that the current page is still the form page via URL and also verify that the email validation error message is visible.
Run the following command to run this test:
You can apply the same techniques to test all variations of validation.
Next Steps
You just wrote some end-to-end tests to verify form functionality using Playwright. You've learned about a couple of Playwright features and how to use the library, but only scratched the surface. I recommend exploring the Playwright documentation to learn more, for example, you can obtain screenshots of each test, to be able to verify or document your tests with images, or even record videos.
Additional resources
Check out the following resources for more information on the topics and tools presented in this tutorial:
Playwright for .NET – This page contains all the information about the requirements and examples with Playwright for .NET.
Playwright GitHub - Code repository on GitHub from Microsoft containing the Playwright project.
Source Code to this tutorial on GitHub - You can find the source code for this project at this GitHub repository. Use it to compare solutions if you run into any issues.
Néstor Campos is a software engineer, tech founder, and Microsoft Most Value Professional (MVP), working on different types of projects, especially with Web applications.
Related Resources
Twilio Docs
From APIs to SDKs to sample apps
API reference documentation, SDKs, helper libraries, quickstarts, and tutorials for your language and platform.
Resource Center
The latest ebooks, industry reports, and webinars
Learn from customer engagement experts to improve your own communication.
Ahoy
Twilio's developer community hub
Best practices, code samples, and inspiration to build communications and digital engagement experiences.