Creating a web chat app with Twilio Conversations and Vue.js (Part 2)
Time to read: 5 minutes
September 08, 2021
Written by
Reviewed by
")
In part 1, we set up the project and built the back end of the below chat app. Let’s continue and build the front end.
Building the front end
The front end of the chat app is built using Vue components. The components used in this chat app with a .vue file extension are called single file components. Single file components combine HTML templates, JavaScript logic, and CSS styling into a single file.
Let’s create single file components for the chat app. Open a new window in the terminal.
Delete the HelloWorld.vue component that the Vue CLI created by default, and create files named Chat.vue and Conversation.vue under the src/components directory.
Build the chat component
First, we will build Chat.vue, a component for the entire chat screen. Single file components are divided into three parts: <template>, <script>, and <style>. We’ll first define the HTML for the chat screen in <template>.
Open Chat.vue in a text editor and paste this code.
We will then add CSS styles to the HTML using <style>. Add this code after the <template> block:
The scoped attribute in <style scoped> is used to apply CSS only to the elements in the current component.
Next, we’ll add the JavaScript logic using <script>. Add this code between the <template> block and the <style> block:
This code imports the Client class from @twilio/conversations, which is the starting point for accessing the functionality in Twilio Conversations, and a Conversation component, which is a child component of the Chat component that we are yet to write.
The data method is used to register data in the application as an object, so that Vue can detect and re-render it whenever a change occurs.
We define functions to manipulate these data elements in the methods object. methods is a set of functions that process events that occur in the DOM, such as user actions.
We will create an initConversationsClient method to initialize the Client object. initConversationsClient will be executed when the username is entered. Paste this code inside the export default block and after the data() method:
The first user to enter a user name is treated as the “main user”. The client is assigned to this user with ConversationsClient.create(token).
To create a Conversations client, you will need an access token. The initConversationsClient method is defined as an asynchronous function using async/await, as the client needs to be created after the getToken() method to get the access token is complete.
We’re also using the conversationsClient.on event listener to change the message displayed in the UI every time the user’s connection status to the chat changes.
Next, we’ll create a getToken method to send a GET request to the /auth/user/:user endpoint configured on the server side to get the access token for each user.
Add this code under the initConversationsClient method:
In this code, we’re using async/await again to wait for a response from the /auth/user/:user endpoint.
Next, we’ll create a registerName method to register the user name. Add this code under the getToken method:
This method updates the nameRegistered property to indicate that the user has entered a username.
Next, we’ll create a createConversation method to create a new conversation. Add this code under the registerName method:
In this method, we use try...catch to check whether “User1” and “User2” hold a client. If they don’t hold it, it will output a Waiting for User1 and User2 client sessions error message.
We then create a new conversation with an asynchronous process using newConversation.join() and add “User1” and “User2” to the conversation using joinedConversation.add. If the conversation already exists, we set activeConversation to the existing conversation obtained with getConversationByUniqueName.
Now we have a Chat.vue component. Let’s edit the App.vue root component so that the Chat.vue component will display correctly.
Open the App.vue component with a text editor and change the content to this code:
Let’s check the display of Chat.vue. In the second window of the terminal, execute this command:
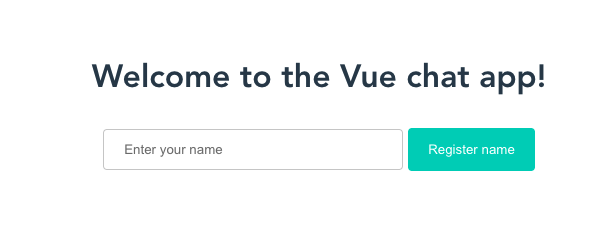
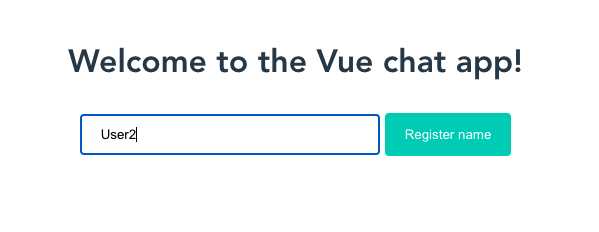
Make sure that the server is still running in the first terminal window, and your Vue CLI is running in your second terminal window. Open http://localhost:8080/ in your browser. You will see a screen like this:
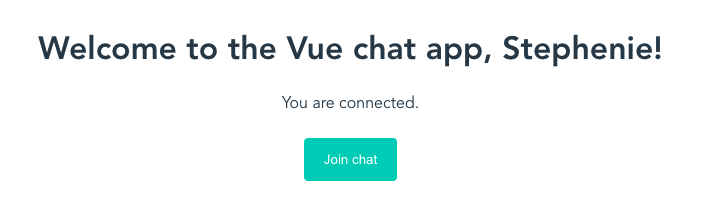
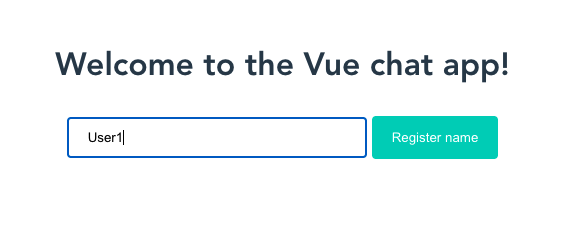
Try typing your name and click “Register name”. The screen will then update as shown below.
Now the process for users to register a username is ready. Next, let’s add some code to Conversation.vue to build the conversation section of the app.
Build the conversation component
Open Conversation.vue in a text editor. First, we’ll add the HTML template, like we did for Chat.vue. Paste this code in Conversation.vue:
Next, we’ll add the CSS. Paste this code under the <template> block.
Next, we’ll add the JavaScript logic. Add this code between the <template> block and the <style> block:
In this code, we are importing props. Props are used to pass data from the parent component to the child components. In this chat app, Chat.vue is the parent component and Conversations.vue is the child component. In Chat.vue, <template> passes activeConversation, which is the chat that the user is currently in, as well as the username name as follows:
Next, we will add a process to display messages received in the past and set up an event listener for newly received messages. Paste this code inside export default, under the data() method:
In this code, we are using mounted(). mounted() is one of the Vue lifecycle hooks, and is called when a component is added to the DOM. When a user enters the chat and the chat screen is added to the DOM, the messages sent so far are retrieved and displayed on the screen. We also set up the activeConversation.on event listener to prepare it to receive messages that are about to be sent. Newly sent messages will be added to the messages array using a destructuring assignment.
Next, we’ll define what to do when a user sends a message. Paste this code under mounted().
Here we defined the sendMessage method in methods. We also set messageText to an empty string to clear the text area to enter a message once the message is sent.
Congratulations! That completes the configuration of the chat app! Now let’s test the app we made.
Test the chat app
Make sure that the server is still running in the first window in the terminal and that Vue CLI is running in the second window.
In addition to the browser window you already have open, open two more windows and access http://localhost:8080/ in both windows.
We registered a user with your name earlier. We’ll now register 2 additional users.
Create a user “User1” in the first newly opened window and a user “User2” in the second window.
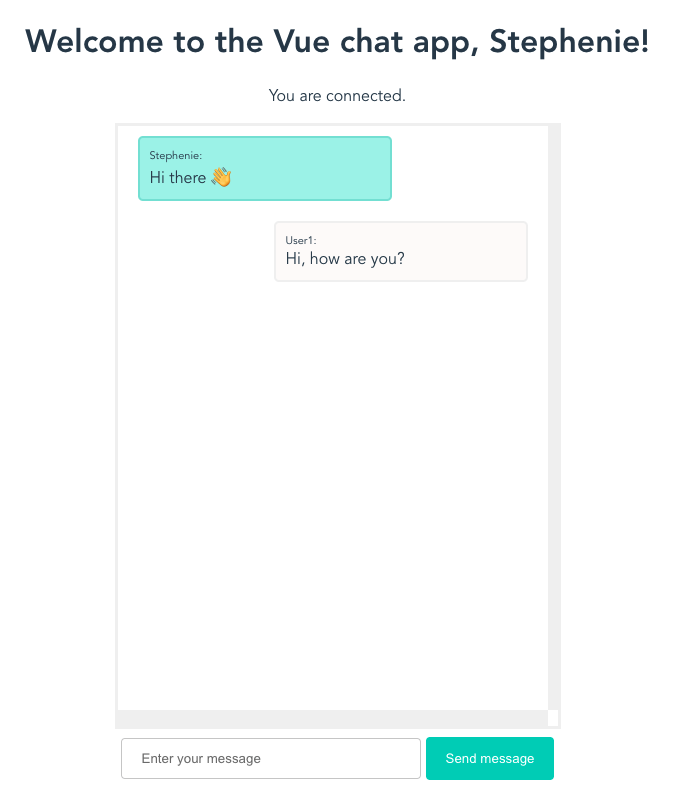
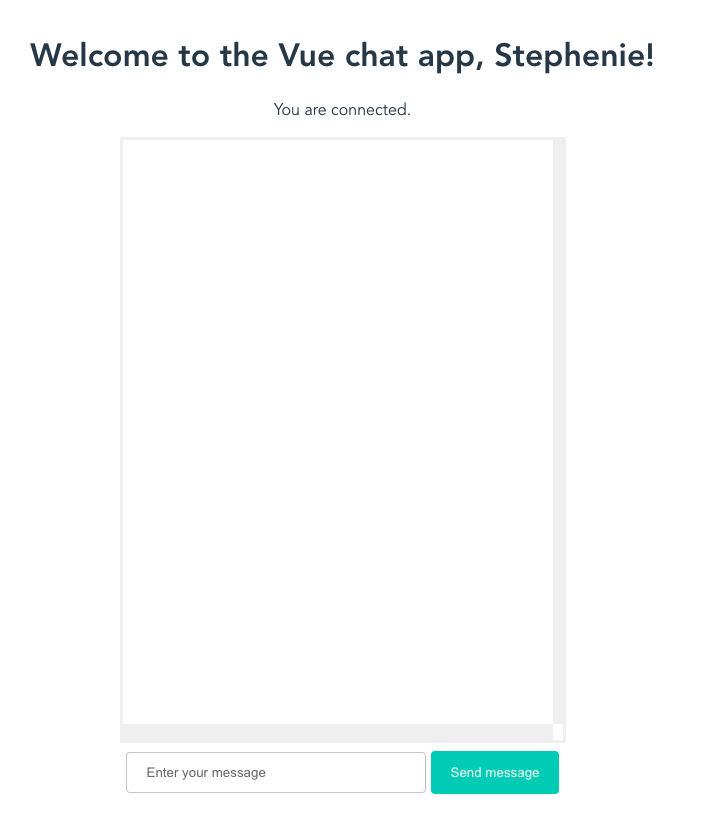
Next, click “Join chat” in the main user, User1, User2's windows.
A chat screen like this will appear.
If nothing happens when you click “Join chat”, try opening the browser’s developer console in the main user window. If you get a “Waiting for User1 and User2 client sessions” message when you click “Join chat”, it means that there are no clients for User1 and User2. Open two windows, register User1 and User2, and then try “Join chat” again.
Now let’s send a message. From the main user screen, enter your message in the form and click the “Send message” button.
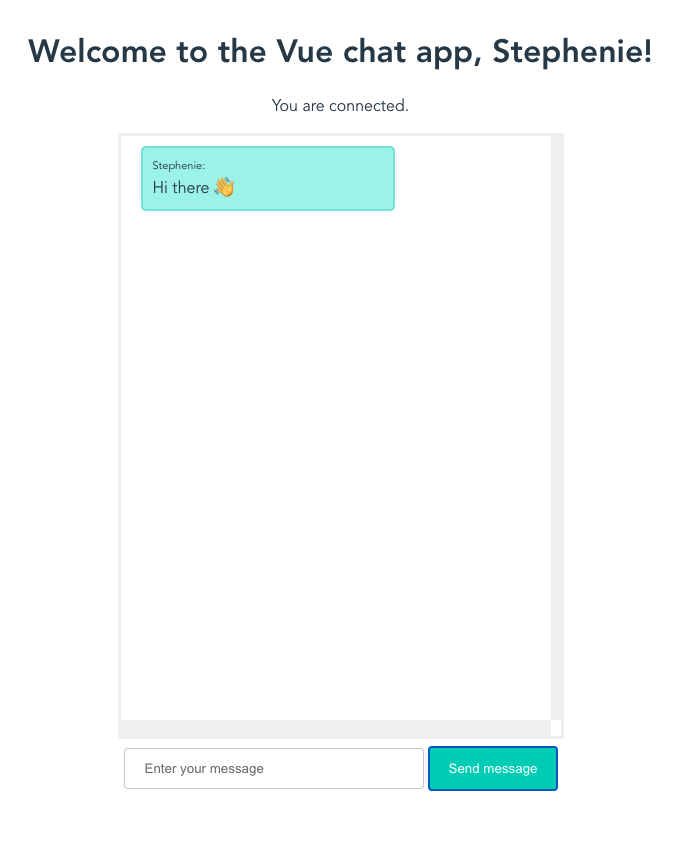
Open User1’s screen to see the message from the main user.

Let’s send a message from “User1” as well. Enter your message in the form and click the “Send message” button.
Open the “User2” screen, you’ll see the messages from the main user and “User1”.

Next steps
Congratulations, you have completed your chat app! If you want to develop the app further, you can add Twilio Sync to share online status, or use Typing Indicator to display a status like “User1 is typing” while the user is typing.
All of the code we have used so far can be found in the Github repository. If you want to learn more about Vue.js, see the official Vue.js documentation.
Feel free to reach out to me at snakajima[at]twilio.com and see what I’m building on Github at smwilk.


Related Resources
Twilio Docs
From APIs to SDKs to sample apps
API reference documentation, SDKs, helper libraries, quickstarts, and tutorials for your language and platform.
Resource Center
The latest ebooks, industry reports, and webinars
Learn from customer engagement experts to improve your own communication.
Ahoy
Twilio's developer community hub
Best practices, code samples, and inspiration to build communications and digital engagement experiences.