How to use the Twilio API from Android's Tasker App
Time to read: 5 minutes
November 30, 2021
Written by
Reviewed by

When I first got an Android phone I was very excited about writing my own apps, and played with Android Studio to write a few simple things. In the end I found myself building really basic apps, which were useful to me but took a long time to write because I didn't know the Android APIs well. Along with that, I worked on them so infrequently that my tooling was always out of date. I wanted something simpler, like IFTTT (if this then that) for my phone.
Enter Tasker, an app for watching and automating your Android phone's sensors and capabilities. You define tasks, lists of things you want your phone to do, and profiles which define when those tasks should be run.
You can read more on the Tasker homepage and there are countless lists online of cool things people have done with it. Tasker currently costs $3.49 in the Play Store, or you can download a 7-day free trial which will work just fine for this post's build.
In this post I'll show how you can use Tasker to call the Twilio API to send an SMS. But hang on… isn't Tasker for Android phone automation? And can't my phone already send SMS by itself? OK that's true, but you might choose to use Twilio for a few other reasons like:
- hiding your real phone number for privacy
- handling incoming messages with programmable messaging
- reusing an old phone that doesn't have a SIM any more
- using Android on a tablet or other non-phone device (seriously, if anyone is calling the Twilio API from their washer/drier, I want to hear about it!)
- using other parts of the Twilio API than just messaging.
Introduction to Tasker's UI
For all its power, the Tasker UI can be confusing to begin with. On launching the app you will see four tabs across the top of the UI: Profiles, Tasks, Scenes and Vars.
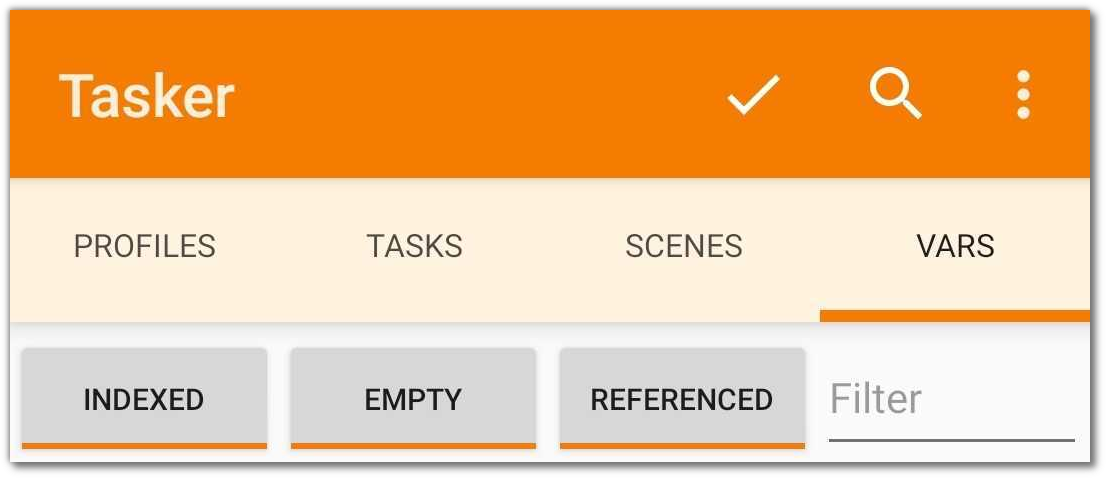
If you can't see the "VARS" tab, Tasker is set in Beginner Mode. You will need to disable that mode as we're using vars in this post.
Tasks are sequences of actions that Tasker will perform. Tasks can include almost anything your phone can do: launching apps, playing sounds, changing settings, taking photos, making HTTP requests etc.
Profiles are conditions that can cause tasks to be performed. For example, a profile can become active at a certain time of day, or in a particular location, when an app is launched, when your battery is low, when you're on a certain wifi network, when a call from a particular number is received and so on.
You can combine these to make very specific profiles like "at home, on a weekday between 8-10pm when the temperature is below freezing" for example. Tasks can be triggered when a profile becomes active or inactive.
Building tasks and attaching them to profiles is the heart of Tasker. For example, I have:
- A task to turn on the torch when I shake the phone quite hard and it's after dark.
- A task to switch on mobile data sharing when I'm in my car, and off again when I get out. The profile is active when I'm connected to the car's bluetooth.
Scenes let you build UIs which can be reactive to profiles and can launch tasks. We won't be using scenes in this build.
Vars are variables. They can be set and read by both profiles and tasks, or can be hard-coded. There are a lot of built-in vars, and you can add your own.
What are we building?
For this build, we will create a task which sends an SMS using the Twilio API. The credentials to the Twilio account will be stored in vars, and the task will be triggered by a profile that monitors the battery level. Gluing these together will mean that my friend gets a text message when my battery level is very low, saying that I'll be out of contact for a while.
Let's get building!
Before we start, let's check that we've got everything we need:
- A Twilio account. If you don't have one, sign up with this link to get an extra $10 credit when you upgrade your account.
- A Twilio phone number.
- Tasker (from the Play Store, or the 7-day trial)
Once you've got all that, launch Tasker on your phone.
Adding the Vars in Tasker
In the vars tab of the app, add the following:
%Twilio_SIDthis is your Account SID%Twilio_AUTHthis is your Twilio account's Auth Token.
You can find these two values on your Twilio console once you're logged in. You can open the Twilio Console on your mobile browser and use copy/paste rather than awkwardly typing those values in.
Then add two more vars:
%Twilio_My_Numberthis is the Twilio number that you have bought, the SMS will be sent from this number.%Twilio_Other_Numberthis is the number which the SMS will be sent to.
Make sure to use E.164 format, +44123456789 for example, for both these phone numbers.
Building the Task
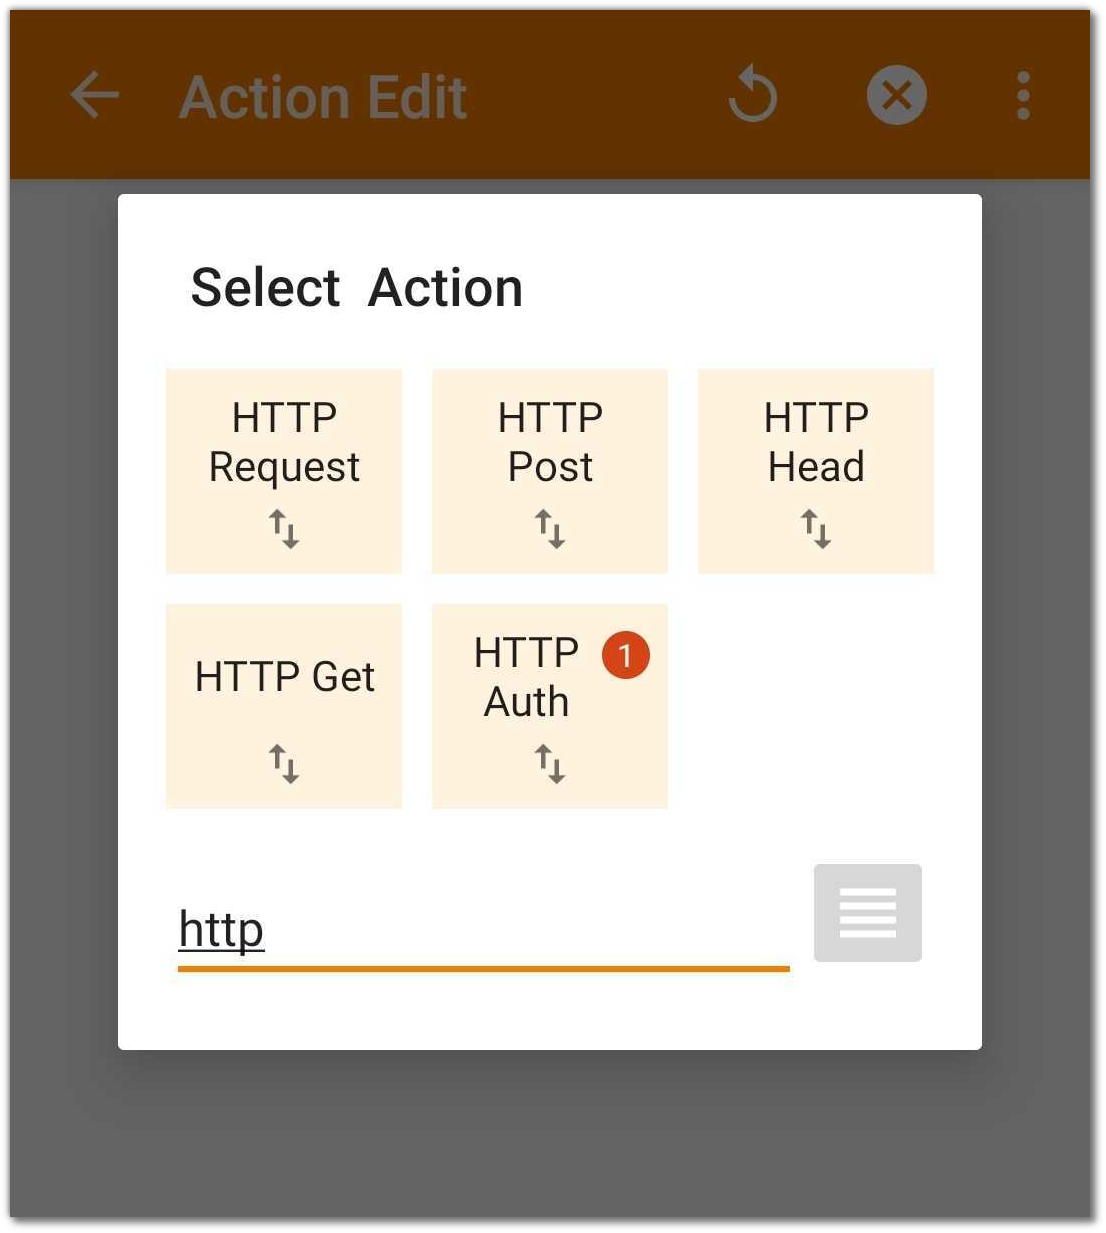
In the tasks tab, press the + button to create a new task and give it a name (choose "create" if Tasker suggests importing a task from Taskernet). You can choose any name you like but make it descriptive. I called mine "Send Low Battery SMS". Tasks start out empty, so click the + again to add an action to the task. There are lots of things to choose from here, so use the "Filter" at the bottom to find "HTTP Request" without having to navigate any more menus.
You will be on the "Action Edit" screen which starts with a list of Output Variables that you can ignore for now. Scroll down and you will see the fields which you need to edit to call the Twilio API. Typing these values on your phone can be tiresome - I used Pushbullet to send text from the computer to my phone then copy and paste into Tasker. Set them like this:
- Method:
POST - URL:
https://%Twilio_SID:%Twilio_AUTH@api.twilio.com/2010-04-01/Accounts/%Twilio_SID/Messages - Headers:
Content-Type: application/x-www-form-urlencoded - Body: This is quite a long one. The values for
Body,FromandTohave to be URL-encoded which means using a%sign to escape characters like spaces and punctuation, and it includes Tasker vars which also use%as part of their names. The value for Body starts withBody=and it might be hard work to type on your phone. The full value for Body is:Body=Oh%20no%21%20I%20only%20have%20%BATT%25%20battery%20remaining.%20I%20might%20be%20hard%20to%20reach%20for%20a%20while.&From=%Twilio_My_Number&To=%Twilio_Other_Number.
All the other fields in the HTTP request can be left as they are. Save by clicking the left-arrow in the top-left of the screen.
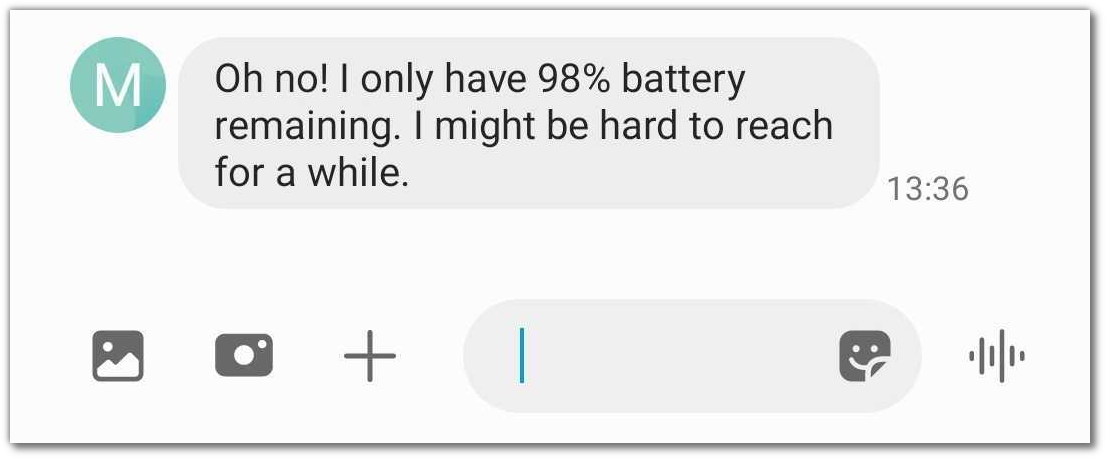
If you set the %Twilio_Other_Number var to your own real phone number you can test the HTTP request using the play button at the bottom of the Task Edit screen. You should get an SMS a few seconds later:
Setting up the Profile
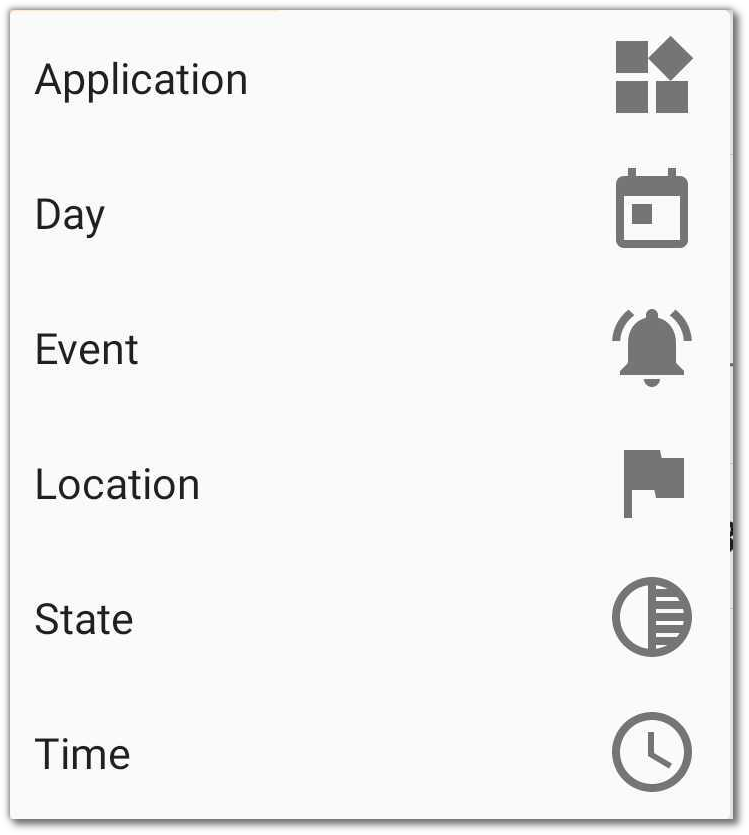
In the profiles tab, again click the + button to add a new one, and choose "State" from the popup:
Use the Filter in the next popup to find "Battery Level" and set the values to be From 0 to 5 (the units are battery percentage). Click the left-arrow at the top to save those values and you will be prompted to choose a task. Your "Send Low Battery SMS" will be in the list so select it and your profile will look like this:
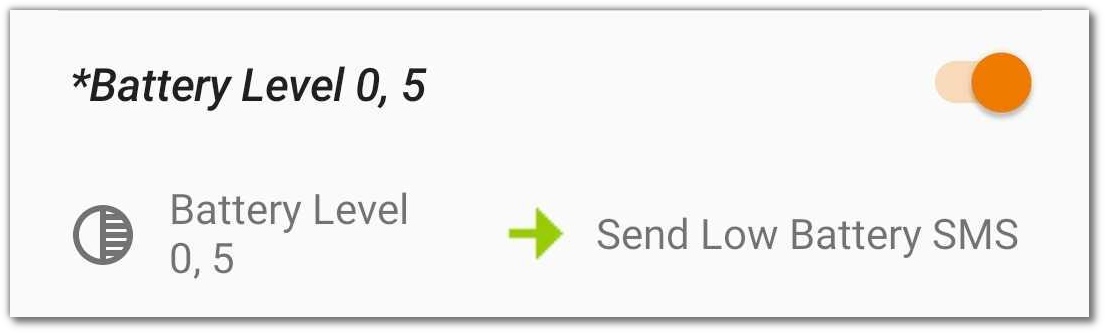
A green arrow to the right means that task will be run when the profile becomes active, so you're all done. If you're like me and start to panic when it's below 95% you can bump the percentage up to test the profile. Wait a few minutes for the battery to drop and the SMS will arrive.
Congratulations!
You've added a Tasker task to send an SMS when your battery gets low. What's next is up to you - Tasker is very flexible and the Twilio API has a lot more than just SMS too. Whatever you're building with Twilio, I'd love to hear about it, especially if you're programming a fridge or coffee machine. Get in touch


Related Resources
Twilio Docs
From APIs to SDKs to sample apps
API reference documentation, SDKs, helper libraries, quickstarts, and tutorials for your language and platform.
Resource Center
The latest ebooks, industry reports, and webinars
Learn from customer engagement experts to improve your own communication.
Ahoy
Twilio's developer community hub
Best practices, code samples, and inspiration to build communications and digital engagement experiences.