How to Generate a QR Code with Go
Time to read:
June 26, 2023
Written by
Reviewed by
QR, or Quick Response, codes were invented in 1994 in Japan. Quoting Wikipedia:
A QR code consists of black squares arranged in a square grid on a white background, including some fiducial markers, which can be read by an imaging device such as a camera, and processed using Reed–Solomon error correction until the image can be appropriately interpreted. The required data is then extracted from patterns that are present in both horizontal and vertical components of the image.
Here's an example of one from City Square Mall in Singapore.
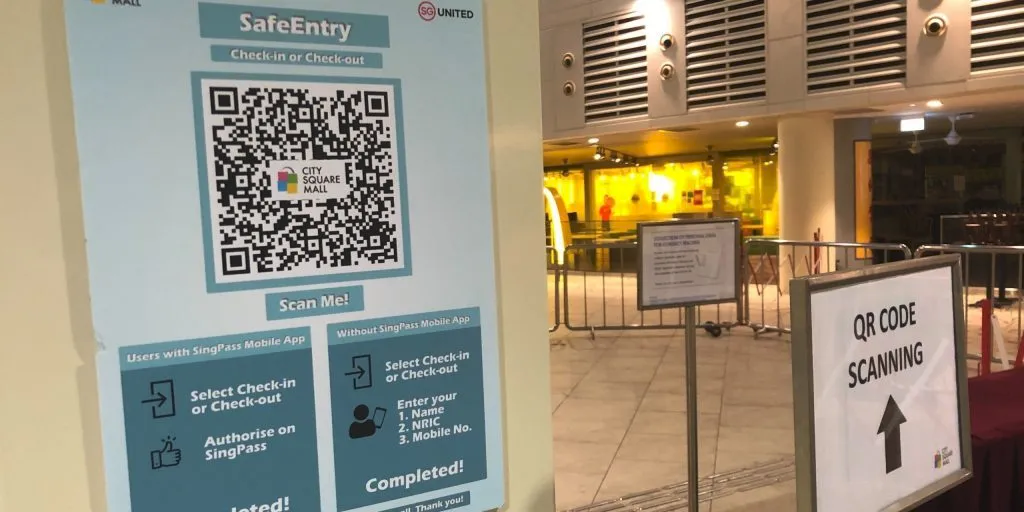
They're used for a diverse range of tasks, such as providing information about bus routes and schedules, train journey information, sharing business card data, taking surveys, and paying for meals.
With that kind of variety and functionality, what's not to love about them?!
So in this tutorial, you're going to learn how to generate them using Go. Specifically, you're going to learn how to generate a plain one as well as one with an overlaid image, helpful if you want to add some organisational branding.
Let's begin!
Prerequisites
To follow along with the tutorial, you don't need much, just the following things:
- Go (a recent version, or the latest, 1.20.5)
- Curl or Postman
- Your preferred text editor or IDE. My recommendation is Visual Studio Code with the Go extension
- A smartphone with a QR code scanner (which most of them should have, these days)
How will the application work?
Before we dive in and start writing Go code, here's what the code will do. The application will be a simplistic web service with one endpoint (/generate) that supports POST requests. Requests to the endpoint will require at least two POST request parameters:
size: This is an integer that sets the width and height of the QR codecontent: This is a string that provides the QR code's content. For the sake of simplicity, the tutorial will use a URL, but you could use almost anything, so long as it's less than 7,089 characters
An optional, third, parameter (watermark) will also be supported in the later version of the code. This will be a PNG image that will be overlaid over the centre of the generated QR code.
Create the project directory
The first thing to do is to create the project directory. It's going to be pretty uncomplicated, just having the following structure:
If you're using Linux or macOS, create and change into the top-level project directory by running the commands below.
If you're using Microsoft Windows, use the commands below instead.
Then, add module support, by running the following command.
Create the core code
Now, it's time to create the core code. It won't do much, but will at least provide a route that can be requested. In the top-level project directory, create a new file named main.go. Then, in that file, paste the following code.
The main() function uses the net/http package to register a route (/generate) which is handled with the handleRequest() function, and starts an HTTP server listening on port 8080.
The handleRequest() function doesn't do anything, so when calling it only an HTTP 200 response will be returned.
Test that the code works
While the application does almost nothing, it's still worth testing that it works. Before you can do that though, start the application by running the following command.
Then, make a request to the application by running the following curl command in a new terminal session.
You should see output similar to the following printed to the terminal.
Add the functionality for generating a QR code
Now, it's time to add the ability to generate the QR code. Start by adding the following code after the import list in main.go.
The code starts off by adding a custom type, simpleQRCode. It has two properties, Content and Size, which contain the QR code's contents and size respectively.
simpleQRCode has one method, Generate(), which generates a QR code using Content and Size. If successful, it returns the QR code's data, otherwise, it returns an error message.
Update the handleRequest function
Now, update the handleRequest() function in main.go to match the following code.
The changes start by limiting the size of uploaded files to 10 mb in the call to request.ParseMultipartForm(). Then, two POST variables size and content, which respectively contain the QR code's width and height and its content, are retrieved.
As both of the POST parameters are required, if either of them couldn't be retrieved or contained invalid data, an error message is returned stating this. Otherwise, a simpleQRCode object is instantiated using them and a QR code is generated in PNG format. If generation fails, a message is returned, otherwise, the QR code is returned with the content type set to image/png.
To accommodate the new packages used in the revised code, update the imports list at the top of main.go to match the following.
Then, add the go qrcode package by running the following command.
Test the code changes
Now, it's time to test the changes and generate a QR code. To do that:
- Restart the application in the first terminal session
- Then, run the following curl command in the second terminal session
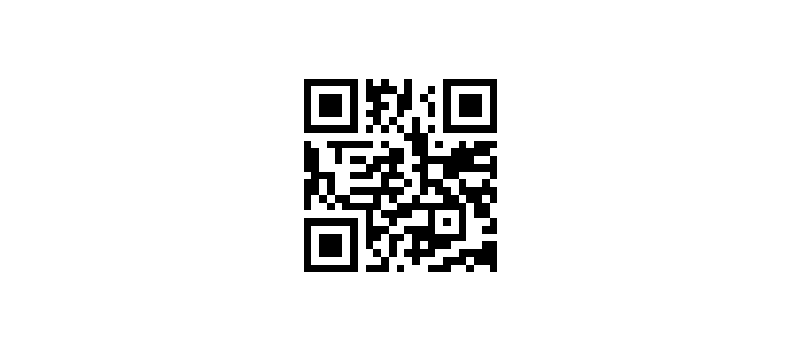
After it completes, if you open data/qrcode.png you should see a QR code similar to the example below.
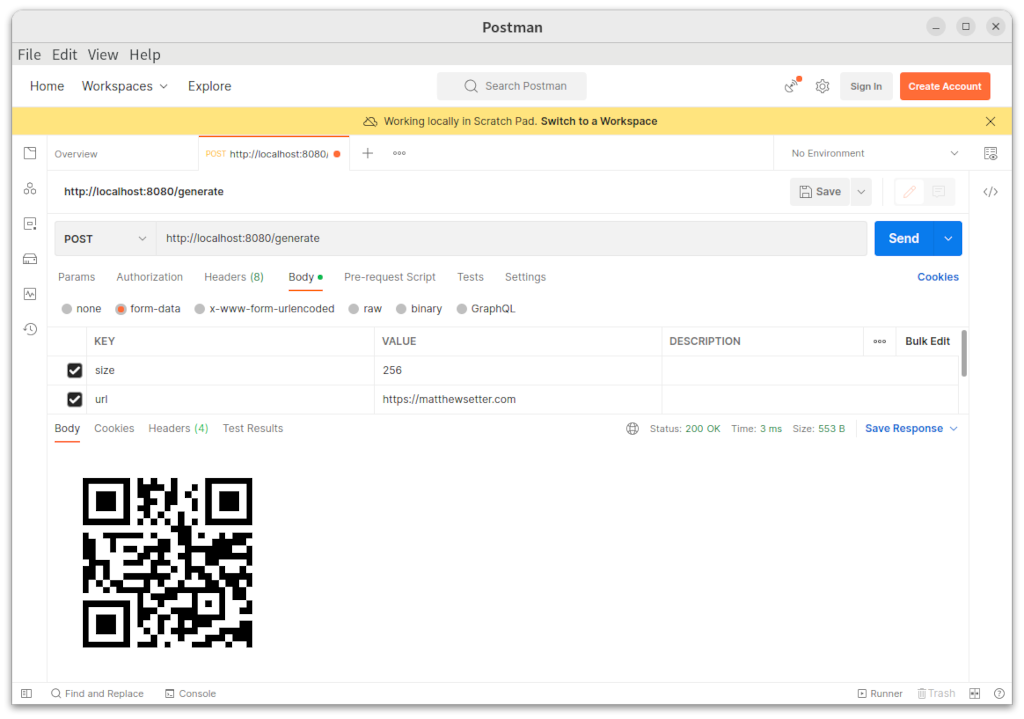
Alternatively, use Postman to generate the QR code. After opening Postman, create a new request. Set the request's URL to http://localhost:8080/generate and the request's type to POST. Then, click the Body tab, and underneath that, click form-data. In the table that appears, add two keys, size and content, setting them to 256 and https://twilio.com respectively. Finally, click Send to send the request.
After about a second you should see the QR code appear in the response's Body tab at the bottom of the Postman window.
Regardless of how you generated the QR code, scan the code using your phone. https://twilio.com (or whatever you set the URL to) should open in your default browser.
See the error messages
If you'd like to see the error messages, run one or both of the following commands.
Running the first command will return:
Running the second will return the following
Add the ability to watermark a QR code
Now for part two, adding a watermark to the QR code. Add the following code before the definition of simpleQRCode method in main.go.
Two methods are defined: uploadFile and resizeWatermark.
uploadFile takes a multipart.File object, retrieved in an updated version of handleRequest shortly, writes it to memory, and returns the data. In an earlier version of the code, the file was stored on the filesystem, but writing it to memory instead makes it easier and more performant.
resizeWatermark resizes the uploaded image so that it can be overlaid on the QR code. It needs to be small enough so that it doesn't obscure too much of the QR code, such that it cannot be used.
Now, add the following code after the Generate() method in main.go.
The code adds two methods to simpleQRCode: GenerateWithWatermark() and addWatermark(). GenerateWithWatermark:
- Calls
Generate()to generate and return the QR code data - This data is then passed with the watermark image data to
addWatermark(). This function overlays the watermark, resized to no more than a quarter of the width and height of the QR code, on the centre of the QR code - The watermarked QR code data is then returned
The code's a little limited in that it only supports PNG files. But for the sake of a simple example, it doesn't support other image file formats.
Update the handleRequest function
Next, update handleRequest() with the following code.
The revised code attempts to retrieve a POST parameter named watermark which should contain the watermark image. If it's not present then a plain QR code is generated and returned, as before. Otherwise, the image is uploaded and stored in memory. If the file is a PNG file it is then resized and overlaid on the QR code, with the rendered QR code returned to the client.
If the file could not be uploaded, was not a PNG file, or could not be resized or overlaid on the QR code, an applicable error message is returned instead.
Update the imports list
Then, update the imports list, to match the following.
Add the nfnt resize package
The revised code uses the nfnt/resize package. Add it to the project by running the following command.
Download the files to the data directory
Now, there's one final thing to do: get an image to overlay on the QR code. You don't need to use the one I'm recommending, but I wanted to save you time and effort by providing you with one. Download it to the data directory and name it twilio-logo-original.png.
Test the code changes
Now, it's time to test the code and generate a QR code with an overlaid image. Again, before doing so, restart the application.
Then, if you prefer curl, run the following command.
If you open data/qrcode.png, you should see a QR code similar to the example below.

Alternatively, use Postman to generate the QR code.
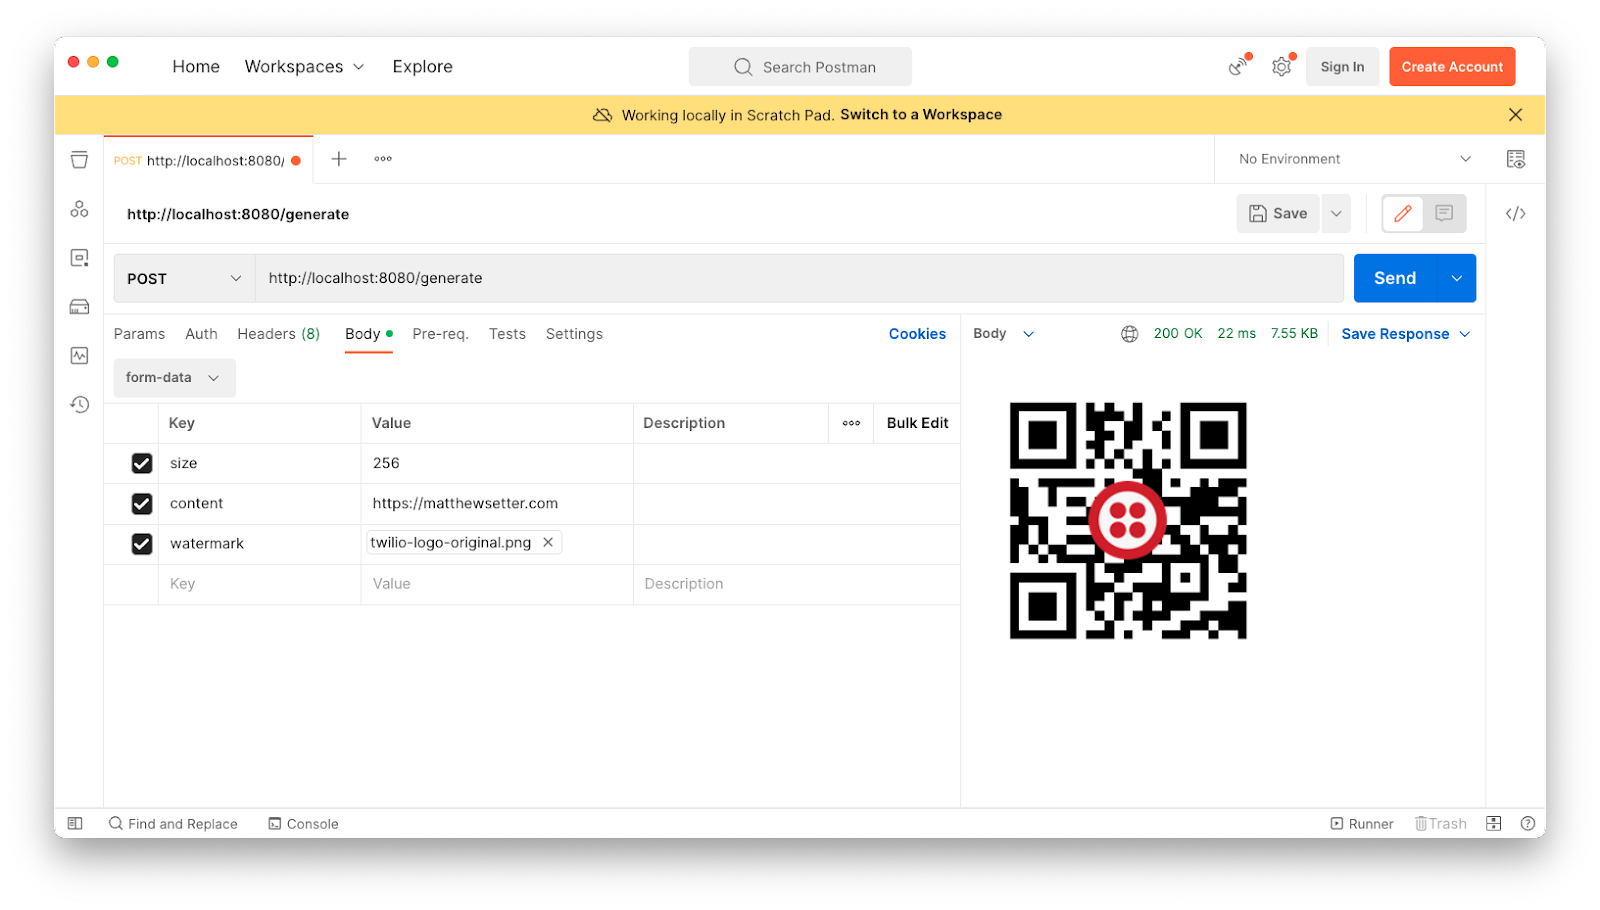
After opening Postman, create a new request. Set the request URL to http://localhost:8080/generate and the request type to POST. Then, click the Body tab, and underneath that, click form-data. In the table that appears, add three keys, size, content, and watermark. Set the first two to 256 and https://twilio.com respectively. Then, mouse over watermark's cell and change the dropdown that appears to File. After that, set the downloaded Twilio logo in the data directory as its value.
With the request ready, click Send to send the request. After about a second you should see the QR code appear in the response Body tab at the bottom of the Postman window.
That's how to generate a QR code with Go
If you want to generate a QR code using Go, there's not much to it. Sure, adding a watermark over the image took a bit of custom code, which could have been avoided if I'd found a third-party package to do the heavy lifting. However, I thought it'd be worth the investment in learning a little bit about image manipulation as well.
If you're having trouble getting the code to work, check out the complete code. Otherwise, have a play with the code and let me know what changes you'd make.
Lastly, a big thank you to Matt Oddie for reviewing and helping me improve the code.
Matthew Setter is a PHP and Go editor in the Twilio Voices team, and a PHP and Go developer. He’s also the author of Mezzio Essentials and Deploy With Docker Compose. You can find him at msetter[at]twilio.com. He's also on LinkedIn and GitHub.
The image used in the tutorial's main image was sourced from https://thelowdown.momentum.asia/singapore-learns-how-to-scan-qr-code-overnight/.
Related Resources
Twilio Docs
From APIs to SDKs to sample apps
API reference documentation, SDKs, helper libraries, quickstarts, and tutorials for your language and platform.
Resource Center
The latest ebooks, industry reports, and webinars
Learn from customer engagement experts to improve your own communication.
Ahoy
Twilio's developer community hub
Best practices, code samples, and inspiration to build communications and digital engagement experiences.