How To Add React Powered CSS Filters To Twilio Video
Time to read:
May 11, 2016
Written by
This post is part of Twilio’s archive and may contain outdated information. We’re always building something new, so be sure to check out our latest posts for the most up-to-date insights.

What’s that? You want to add filters to your video application that serve no purpose other than looking awesome? Check out how easy adding CSS filters are to elements on your page.
In a recent post we saw how to introduce React.js into an existing Twilio Video application. Let’s pick up where we left off and add our video filters as a new React component.
Start by cloning this repo and moving into it:
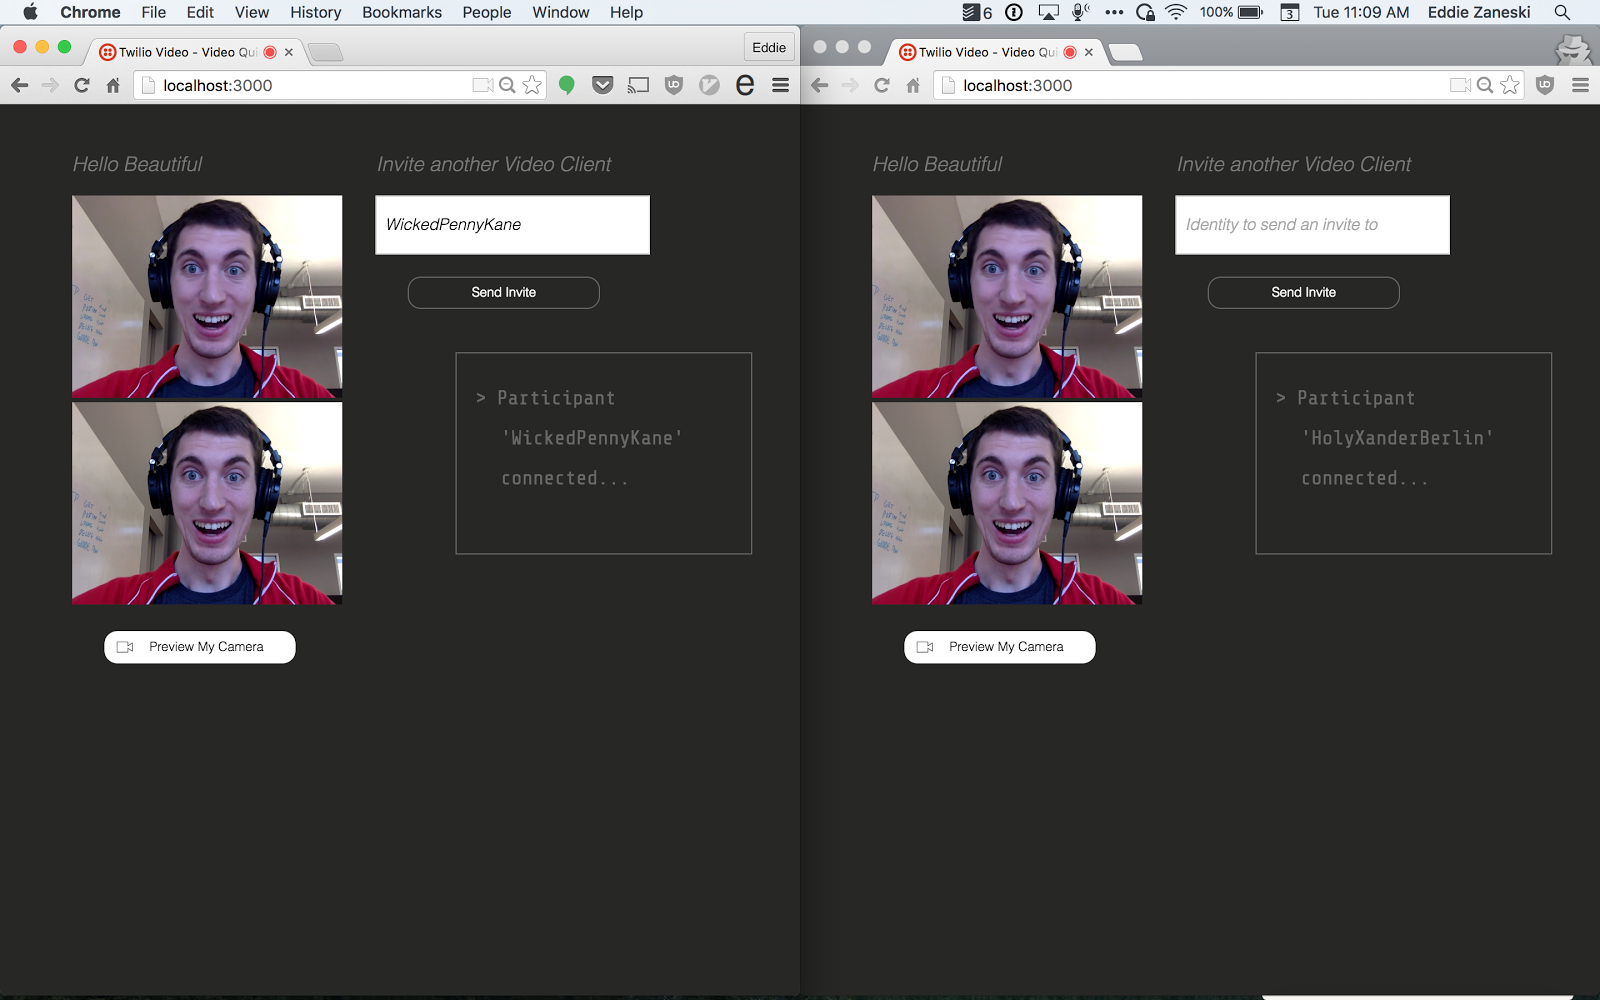
Open http://localhost:3000 in two browser tabs to confirm everything is working (it’s secretly required that you make a goofy face).
Filters Are Simple
CSS filters are really straightforward to use. They are simply CSS rules that we’ll apply to the video div’s via a CSS class. We’ll base our filters off of this excellent example.
Start by opening up our application’s stylesheet located at public/style.css and adding in the following classes to the bottom:
This set of filters will change the video to sepia, inverted, grayscale, over saturated, and blurry. You should get creative and add your own to the list as well. The example shows how you can combine filters.
Next we’ll introduce two new React components to handle applying the filters.
The Filter component will represent a single filter as an li whose name value is passed in via a prop along with a filterClickCallback to handle the filter being selected. The FilterList component will create and hold all of the Filter‘s inside a ul.
Open up our React code at public/conversationcontainer.jsx and add the FilterList component at the bottom:
The render method maps over the list of filter properties that are passed in and creates a new Filter for each.
Now add the Filter component at the bottom.
Add a constructor to the existing ConversationContainer to establish the initial filter list. We’re also binding the filterClickCallback method which we’ll write next.
Right below the constructor add the filterClickCallback method which will update the state of our active filter:
Then modify the render method of ConversationContainer to include the FilterList and filter CSS classes from our state:
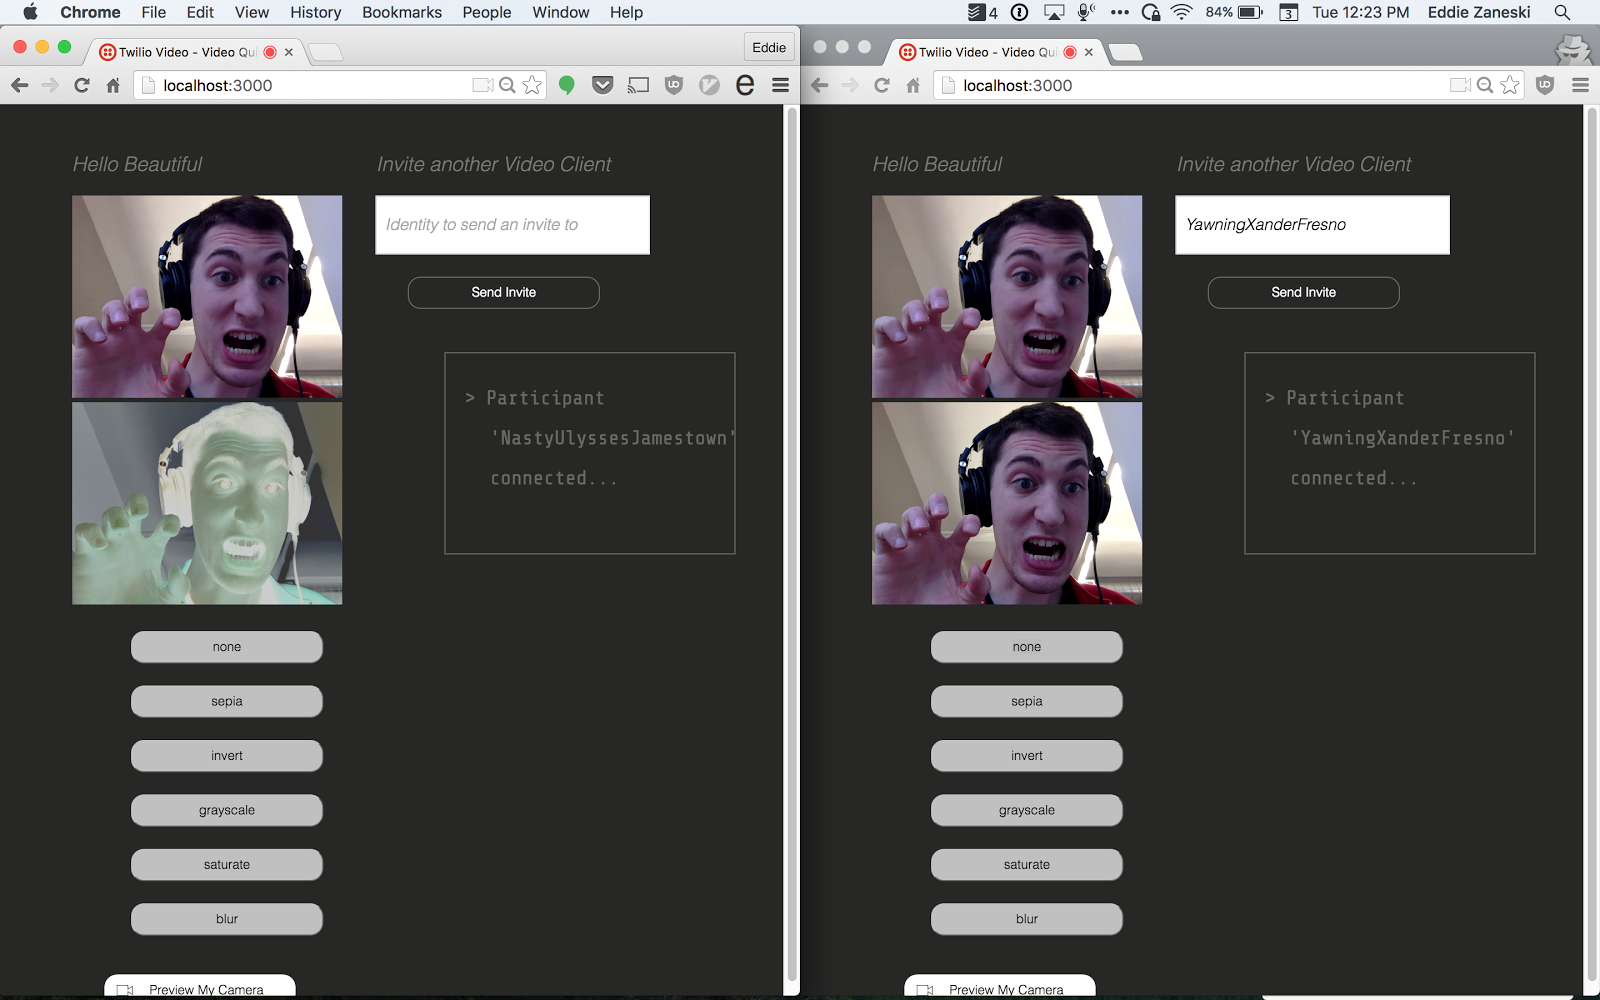
Start the server back up and open http://localhost:3000 in two browser windows again. Connect a conversation and start clicking to apply the video filters. You should seriously consider making a scary monster face here.
Getting Real-Time
You may have noticed that the filter isn’t applied to both pages. We need some way of communicating that the other client should show whichever filter we have selected for our video on their page.
I’ve chose to use one of my favorite libraries, Socket.io, to solve this. Socket.io is a WebSocket library with an easy to use API. Check out my buddy Sam’s post if you haven’t used Socket.io before.
Install Socket.io by running:
Now let’s configure our server to use Socket.io. Open index.js and make the following changes:
We’ve imported the library,connected it to our Express server and added a listener for a custom filter event that our clients will emit when a new filter is selected. Time to wire the client up.
Pop back into public/conversationcontainer.jsx and import the client side library:
Inside componentDidMount initialize the Socket.io client and listen for the filter event to update the state:
Finally, emit the same event at the top of filterClickCallback:
Start up the app one last time and open your browser tabs. Connect one to the other and start clicking your new filter buttons and watch as they are applied across browsers.
Wrapping It Up
CSS filters are a quick and easy way to add a bit of fun and customization to your web apps. The best part is that these CSS filters can be applied to everything from images to iFrames, or as we saw in this post, Video!
Using React we were able to create a set of reusable components to encapsulate our filter UI into a set of declarative elements which cut down on the complexity and length of our UI code. Those components would be at home in any UI, from the most complex to what we used them for: adding a bit of fun and pizazz.
Finally, throw in few lines ofSocket.io to coordinate filters across clients and you’ve built yourself a simple way to share the fun with your video conference friends.
Have a crack at adding some filters of your own and be sure to let me know what you come up with.


Related Resources
Twilio Docs
From APIs to SDKs to sample apps
API reference documentation, SDKs, helper libraries, quickstarts, and tutorials for your language and platform.
Resource Center
The latest ebooks, industry reports, and webinars
Learn from customer engagement experts to improve your own communication.
Ahoy
Twilio's developer community hub
Best practices, code samples, and inspiration to build communications and digital engagement experiences.