Create Reusable Dynamic Blocks in Twilio SendGrid with this React Application
Time to read:
July 25, 2023
Written by
Reviewed by
If you are using Twilio SendGrid frequently and creating Dynamic Templates for your emails, you might have wondered: “Is there a way I can create a small, reusable block of components and update multiple templates with it?”
Currently, SendGrid does not offer a console-based capability to do that.
In this post, I will take you through an (unofficial!) application that I hope can assist you with creating a reusable, composable, updatable content block for SendGrid Dynamic Templates. Let’s get started!
A tour of the application
Given the multiple sections of this application, I have created a video tour that hopefully gives a good idea of how to use it. This tour is on a non-technical level so anyone should be able to follow it!
Architecture
Below is a high level overview of the architecture followed in this application.

Hashrouterfromreact-router-domis used to handle the client-side navigation. This is because Twilio Serverless won’t be able to handle the client side routing (you will get lots of ‘not found’ in anything other than the main index.html page)- When the user logs in using the relevant Twilio Function, a JWT token is generated and placed as an
httpOnlycookie in the user’s browser - Every component (that corresponds to a logged-in only route) is wrapped with the
Authcomponent that checks the jwt. So, for example, if it has expired, the user will be logged out. You can set the expiry time from the relevant Twilio Functionjwt.js - When the user takes an action, for example to update a template, the relevant Twilio Function calls the SendGrid APIs and returns the results needed.
- A Redux store with localStorage is used to maintain the folder/file structure of the dynamic blocks that the user might create. Currently there is no backend to manage this as the purpose of the app at this stage is to deploy within Twilio as quickly as possible
- HTML sanitization is used throughout the application as it needs to render HTML for the user in multiple components. A reusable component called
HTMLSanitize.jsdoes that by leveraging theDOMPurifylibrary
Below we'll explore the prerequisites, setup, and general technical concepts.
Prerequisites
First, if you haven’t yet, you’ll need to sign up for a (free) Twilio SendGrid account. Optionally, if you will send your data to a CDP, sign up for a Twilio Segment account as well.
The main Github repository for this application lives here: https://github.com/evanTheTerribleWarrior/sendgrid-dynamic-blocks
The repository README file provides instructions on how to set it up. The important parts are mentioned below. The app has been built with fast deployment in mind.
- Install the Twilio CLI
- Install the serverless toolkit
- Create a SendGrid API Key. You don't need to give it full permissions.
Template Engineshould be enough - (Optional) Create a Segment CDP Source. If you want to send data like Web Vitals to Segment CDP, create a Javascript Source - we will use the Write Key below
Excellent – with all the prerequisites in place, we can move on to setting up the code.
Setup
First, clone the repository and enter the folder:
Go to frontend directory and run npm install to install the relevant node modules:
Go to serverless directory, run npm install and create an .env file for all the important environment variables
The following environment variables exist by default in your .env file that you created in the previous step:
Ensure that PASSWORD and JWT_SECRET are hard to guess. With the current implementation, the application relies on a single login (no users/signup process)
As part of the setup, there are 3 scripts depending on how you want to use the application:
1. You can deploy via the Twilio Serverless API. This will build your application and will upload the result as Assets and Functions in the Twilio account
2. You can deploy locally using the Twilio Serverless API. This will build your application and run the Assets and Functions from your local environment
3. You can run the frontend and backend locally without building the application. This is best for straightforward development and debugging. Note that the application is configured to proxy requests in the same port that the Functions run, due to the credentials: 'same-origin' used in the requests
If all goes well, you should see the Login page!
Code design decisions
The Material UI library is used across the application to provide the UI.
Given the complexity of creating folder trees and multiple levels in a reusable dynamic block (conditions with nested conditions and components), the application uses recursion in multiple places to handle updates such as insertions, deletions, etc. For example, here is a function to rename a folder or file from FolderTree.js:
The general data model that this uses can be seen in the Redux directory under Redux -> slices -> folderStructureSlice.js
This is the initial state. Each item has a unique id generated by the uuid library. If it is a folder, then it can have children (other folders of files). If it is a file, it can’t have children
On the backend (Twilio Functions side), one of the important aspects is authenticating all the requests based on a valid JWT.
So you will see this snippet of code:
This uses the concept of Private Functions, so it passes the httpOnly cookie to the check-auth private function that takes care of checking multiple conditions and ultimately verify the JWT token. If any condition fails, it returns Unauthorized to the user.
Code structure decisions
In this section, I will give a quick runthrough of the different components to give you a better understanding on how the current version is structured. The below sections are split per Application UI section.
App.js contains:
You can see that we use the Redux Provider and then the Routes component of react-router-dom to provide the different paths.
All the gated components are wrapped with the Auth component, explained below
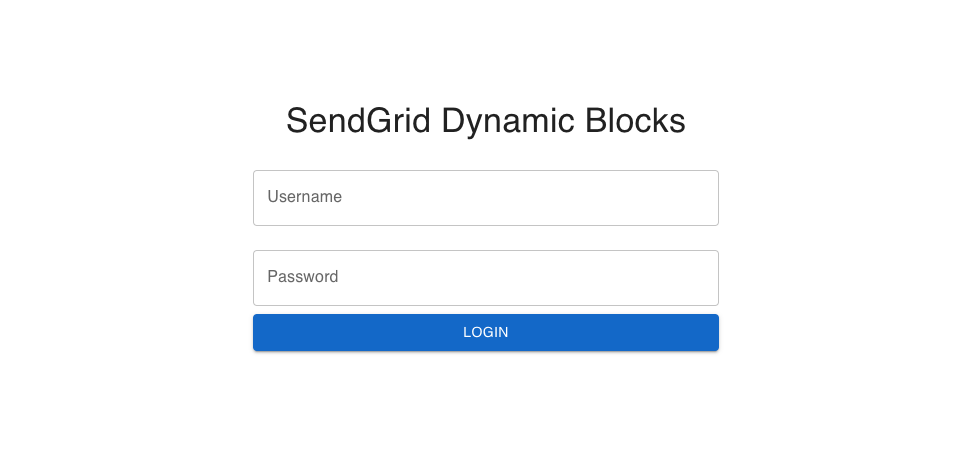
Login / Auth
This component, called Auth and its child Login take care of the Login process and page shown here:
When the user tries to log in, the following flow occurs:
Login.js —> authenticateUser.js (in functions.js) → jwt.js (in Twilio Functions)
This returns the httpOnly cookie with an expiration date (5h by default)
Then each time the user tries to access a section, Auth checks the validity of the token with jwt.js.
Upon logout, the cookie is deleted.
Create New Block
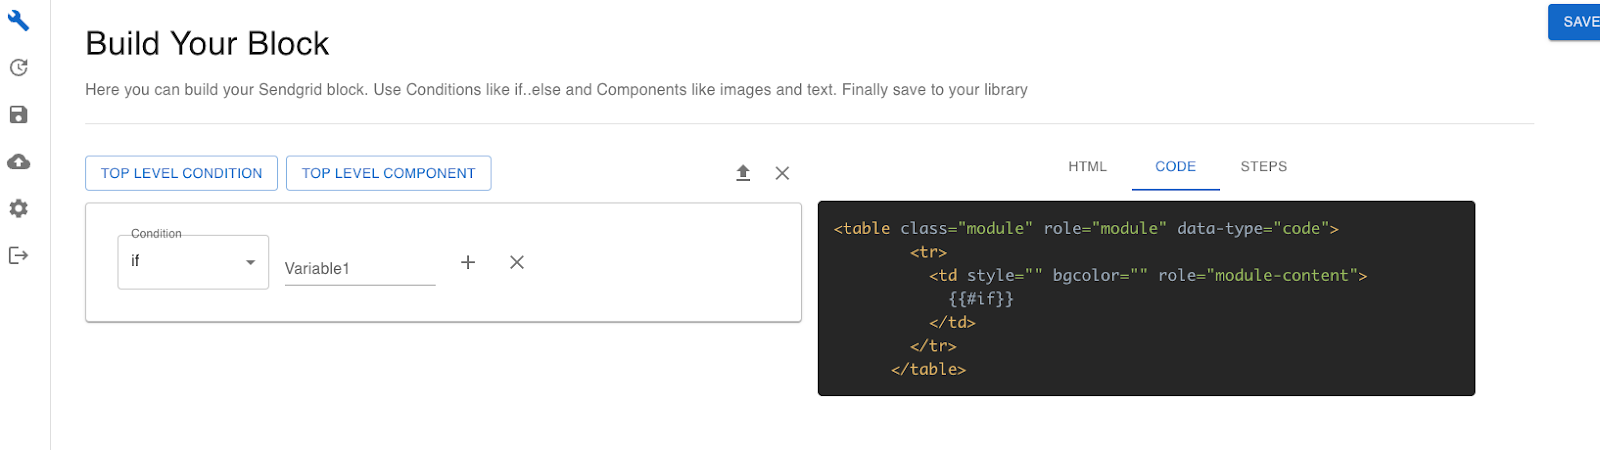
The main component in this section is called DynamicBlockGenerator and has several child components. The important one that deals with the main block creation logic is called BlockCreation. This is where several recursive functions are used, as mentioned above, in order to traverse the rows structure.
One of the prominent functions is generateCode. This recursive function takes the rows that get generated and runs through them in order to generate both the steps generated and the html code that will be rendered for the user.
Here is a relevant snippet as an example:
Here the following takes place:
- If the row is a “condition”, for example an
ifstatement, then it constructs the code needed, including the relevant angle brackets as required by all conditional statements and the values entered by the user - If the row is a component, it takes the relevant value entered by the user (for example an image url) and the styles selected
In order to build the relevant HTML, it uses the getCodeBlockObject function that lives in functions.js. This maps each element to the relevant code block required by the Twilio SendGrid drag and drop editor. This means that when the block is embedded in a template and opened in the Editor, the components can be manipulated correctly, as if they were created in the Editor directly
Update templates
The main parent component here is TemplateUpdater. It is split into the 3 steps that the user needs to take.
Some noticeable points are:
In the DynamicTemplateList child component, the Twilio Function get-templates.js is used to pull the relevant Dynamic Templates from the Twilio SendGrid account. You can change the number of templates you want to fetch, as the function implements pagination. The Twilio SendGrid API includes a page_token parameter, so it is checked in the query params passed to it.
Finally, when we use the API, we check to see if the property next is included in the results, as this is a property returned by the API that helps understand the next page we need to retrieve.
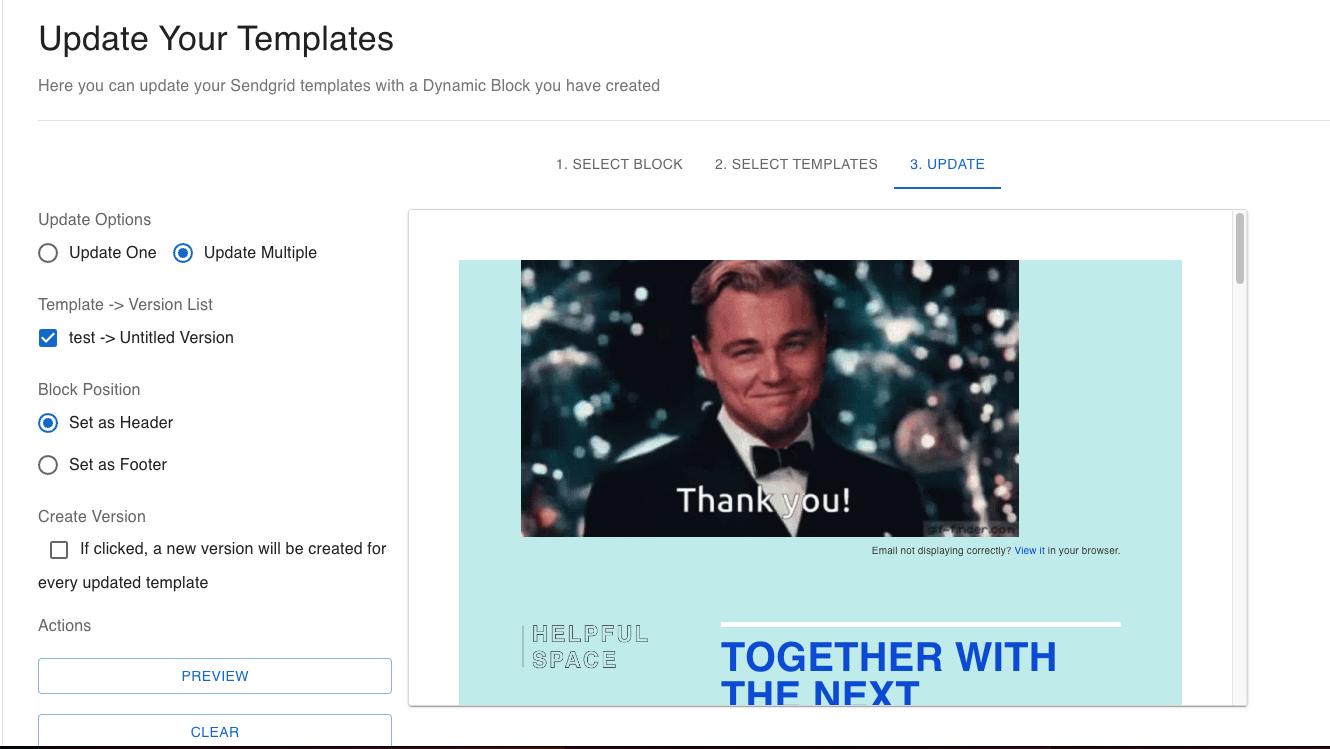
Another component worth mentioning here is TemplatePrep that essentially helps the user update one or multiple templates.
The logic here is if the user wants to update multiple templates, then they can choose to add them as Footer or Header, as there is no easy way to place the block otherwise – many templates might have a very different structure.
If the user wants to update one template at a time (so they can have more control over where exactly to place the block), then the Dynamic Template that was fetched is broken in “Positions” as shown here
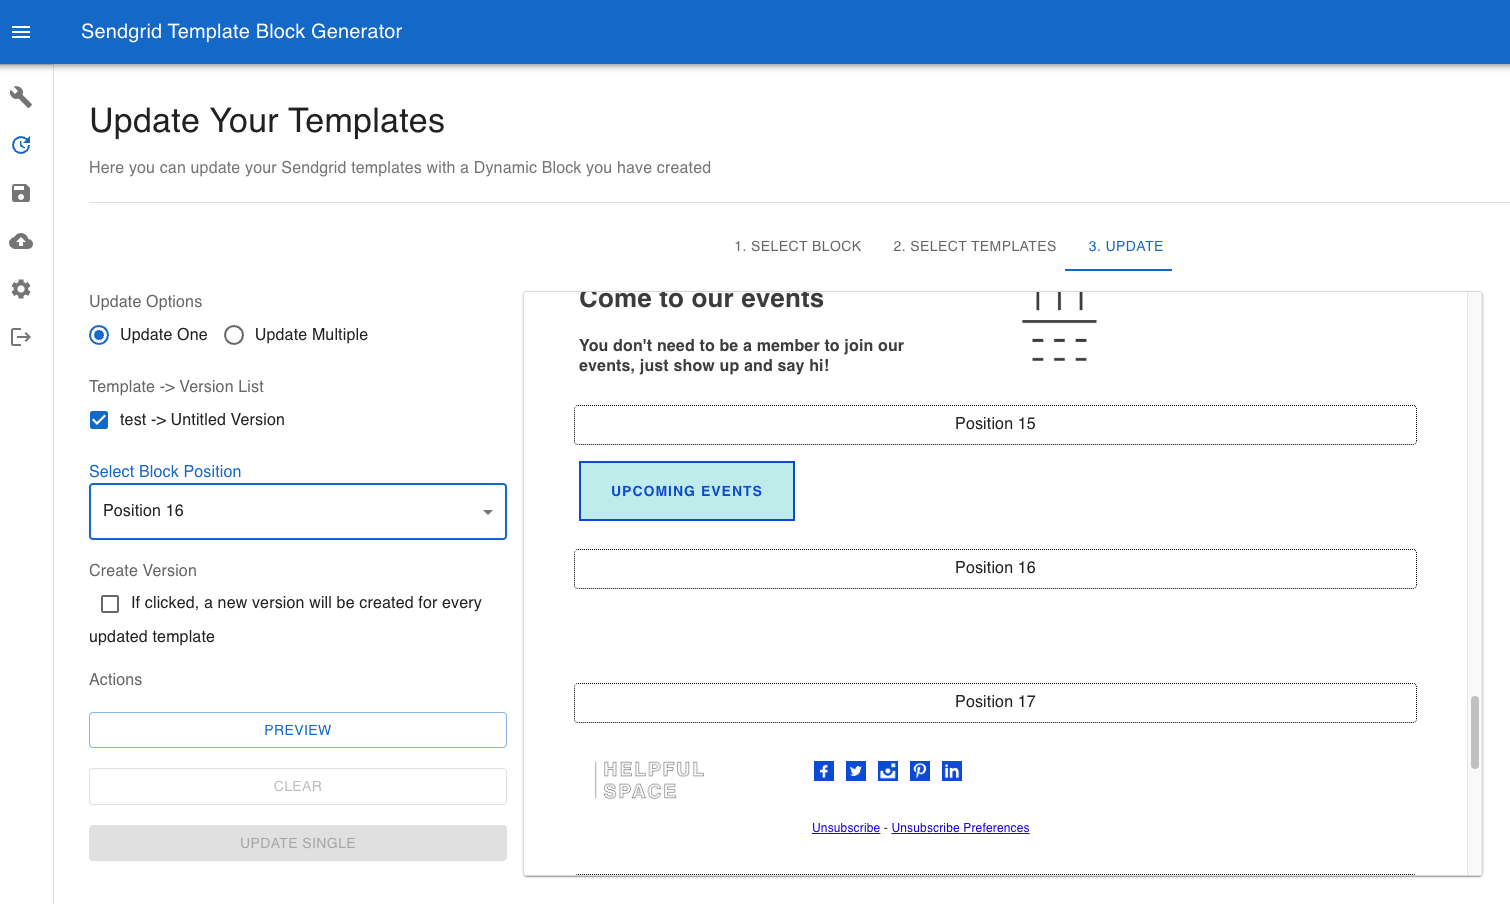
This allows the user to choose the exact position.
This section has quite a bit of logic in it, but the main concept is the HTML needs to be manipulated in order to achieve all of the above. As such DOMParser is used (https://developer.mozilla.org/en-US/docs/Web/API/DOMParser) in order to parse the HTML
Here is an example when updating a single template:
This does the following:
- HTML is parsed using
DOMParser - The
preheadercomponent is retrieved. This is a standard SendGridtableelement, after which the actual content of the template is rendered. This content is at the same level as thepreheaderin the html structure - Then we get all the siblings elements that basically represent the actual components we need
Following this logic, the application is able to do several HTML manipulations as needed to accommodate the insertion of the user blocks in the specific places the user chooses.
Saved blocks
The main entry component for this section is SavedCollection.
This component takes care of the user’s stored collection. It allows a user to create folders that include files or other folders. So, essentially, the user can fully shape the structure of their saved blocks.
It leverages one of the most important components in the application, FolderTree, which takes care of the behavior and rendering of the folder structure
Above, I gave an example of renaming a folder. The same recursive approach is used for all different user actions.
This component also allows users to export and import this folder structure from the localStorage. Here is the example of importing and exporting:
The purpose of this is to allow the user to export the structure in JSON format and store it locally. The user is of course free to do any changes locally. When imported, the changes will be reflected, as essentially the folder structure is just recreated by using JSON.parse to read the file and then we use redux in order to save it and import to localStorage.
Upload your HTML
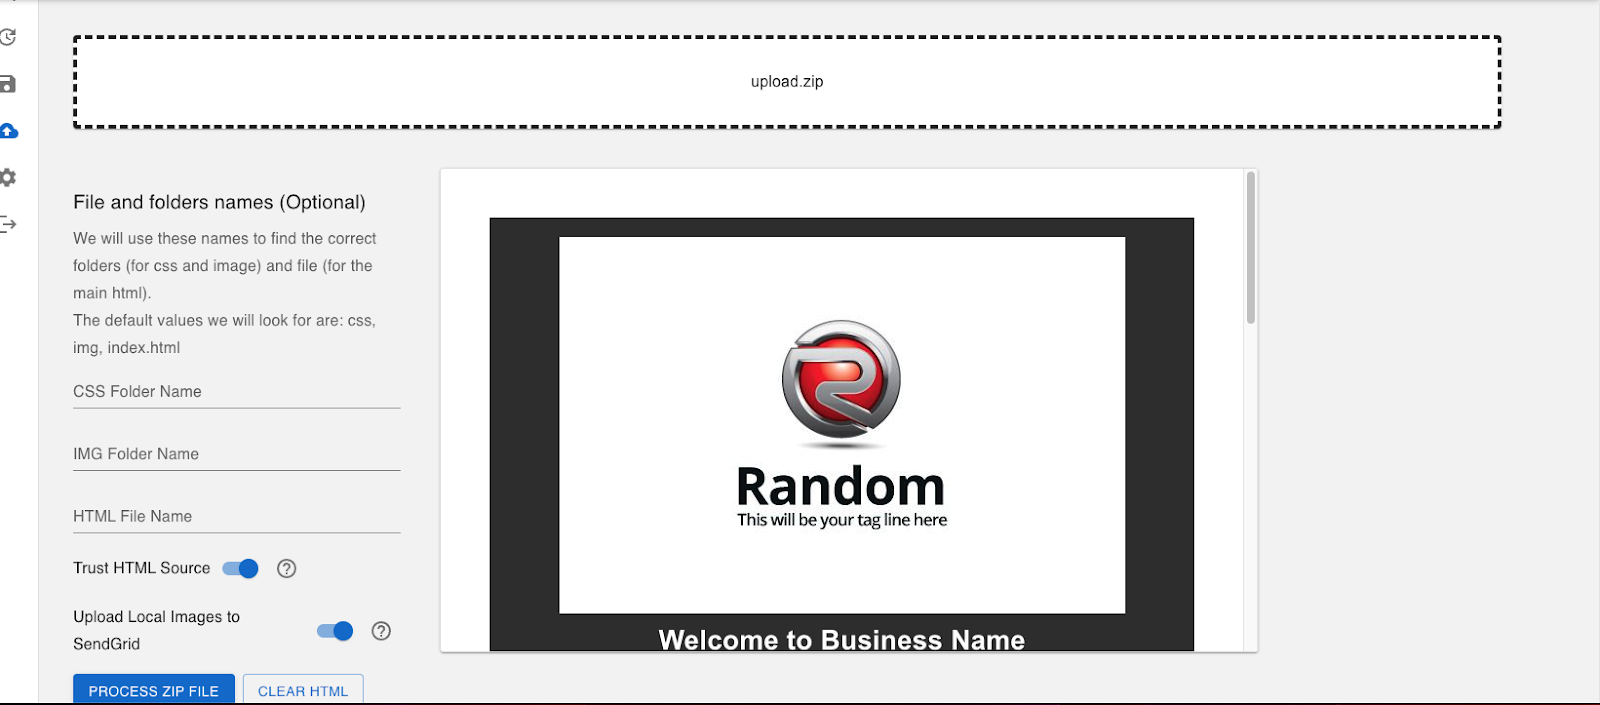
The main component for this section is ZipUploader.js. This component uses jsZip in order to read the zip file and list its contents
An example of the main code block is shown below:
As you can see, there are a number of asynchronous operations (using the await keyword to call these functions).
The logic here is as follows:
- The Zip file is loaded
- CSS files are discovered and code extracted and placed in the HTML file
- Image files are discovered and their local paths stored (both from the CSS files and the
Imagedirectory) - Any image formats that are not valid for SendGrid (for example, svg in this case), get transformed into pngs. At this stage, the code takes care of svg-formatted images,, but if there are different needs in your case you can extend it
- The images are uploaded to SendGrid using the
upload-image.jsTwilio Function - Finally, the local image paths in the (now assembled) HTML code are replaced by the ones generated from the previous step - basically Twilio SendGrid CDN public URLs
Next, I’ll briefly explain how this application handles uploading local images to Twilio SendGrid.
The function upload-image.js contains the following code:
This block of code gets the image from the application in base64 encoding and saves it in the /tmp directory under the Function. This directory can’t be used for long term storage, but it’s a good place to do some temporary activity such as storing and fetching the image during the same execution. You can find more information about this here. Then the stored image is read with createReadStream and finally uploaded to SendGrid using the relevant endpoint. At the end of the Function, we retrieve and return back to the application the public CDN URL that SendGrid generates for the uploaded image.
Extensibility
The application has certain areas that could allow you to extend it in the future.
For example, take a look at the variables.js file, specifically where we define a Text component
Each component is an object with several fields that can define the type, any fields that the user can control, and styles. You can extend this with other components or extra styles. The important thing is that these need to work well with the SendGrid editor. You can see examples of the components structure in the Twilio SendGrid official documentation
At the time we published this post, there are only a handful components such as ImageText and Columns that have not been implemented yet, so if you need to use those components you’ll know where to start to extend the functionality.
Conclusion
In this blog post we went through an application that can be used in order to create reusable components for Twilio SendGrid dynamic templates. Hopefully you can leverage this app and enhance it to make it truly your own!
Evangelos Resvanis works as a Solution Architect in Twilio. He loves learning about tech and how to put different aspects of it together like lego blocks! He can be reached at eresvanis [at] twilio.com.


Related Resources
Twilio Docs
From APIs to SDKs to sample apps
API reference documentation, SDKs, helper libraries, quickstarts, and tutorials for your language and platform.
Resource Center
The latest ebooks, industry reports, and webinars
Learn from customer engagement experts to improve your own communication.
Ahoy
Twilio's developer community hub
Best practices, code samples, and inspiration to build communications and digital engagement experiences.