Automatically Trigger Twilio SMS in MongoDB through MongoDB Functions
Time to read:
July 31, 2020
Written by
Reviewed by

There are quite a few cases in an application when you want to trigger notifications to users on database changes. One of the most common examples would be updates to feeds. When a new web feed arrives in your database you would want to send a notification to your users regarding this feed.
Usually, in an application, you might trigger an event after storing the feed in your database, which will asynchronously send a notification to your users. But is that the best solution available out there? Wouldn’t it be a lot better if you could send messages automatically when a document is created or updated in a collection, thus separating it from your business logic?
Recently, MongoDB Atlas released MongoDB functions as part of their new collaboration with Realm. These functions currently support modern JavaScript (ES6+) syntax and execute in a serverless manner. It is part of their Atlas service and hence an Atlas account is required for using Realm functions.
In this tutorial, you’ll learn how to create a serverless MongoDB function that sends a Twilio SMS notification when a new document is created in a MongoDB collection.
Since we’re using MongoDB Atlas in this tutorial, we’re able to avoid all the headaches of manually deploying a server. Atlas also includes a Realm UI, which makes it a lot easier to create and connect Realm functions to the MongoDB database.
Realm also has built-in tools to connect to the Twilio Programmable SMS API, so we’ll be leveraging that to make the entire process as simple as possible.
Prerequisites
In order to complete this tutorial, you will need the following:
- A Twilio Account (Sign up with this link and receive an additional $10 credit.)
- A MongoDB Atlas account.
Create a MongoDB Cluster in MongoDB Atlas
As soon as you create an account in MongoDB Atlas, you’ll be presented with the following screen if this is your first time here.
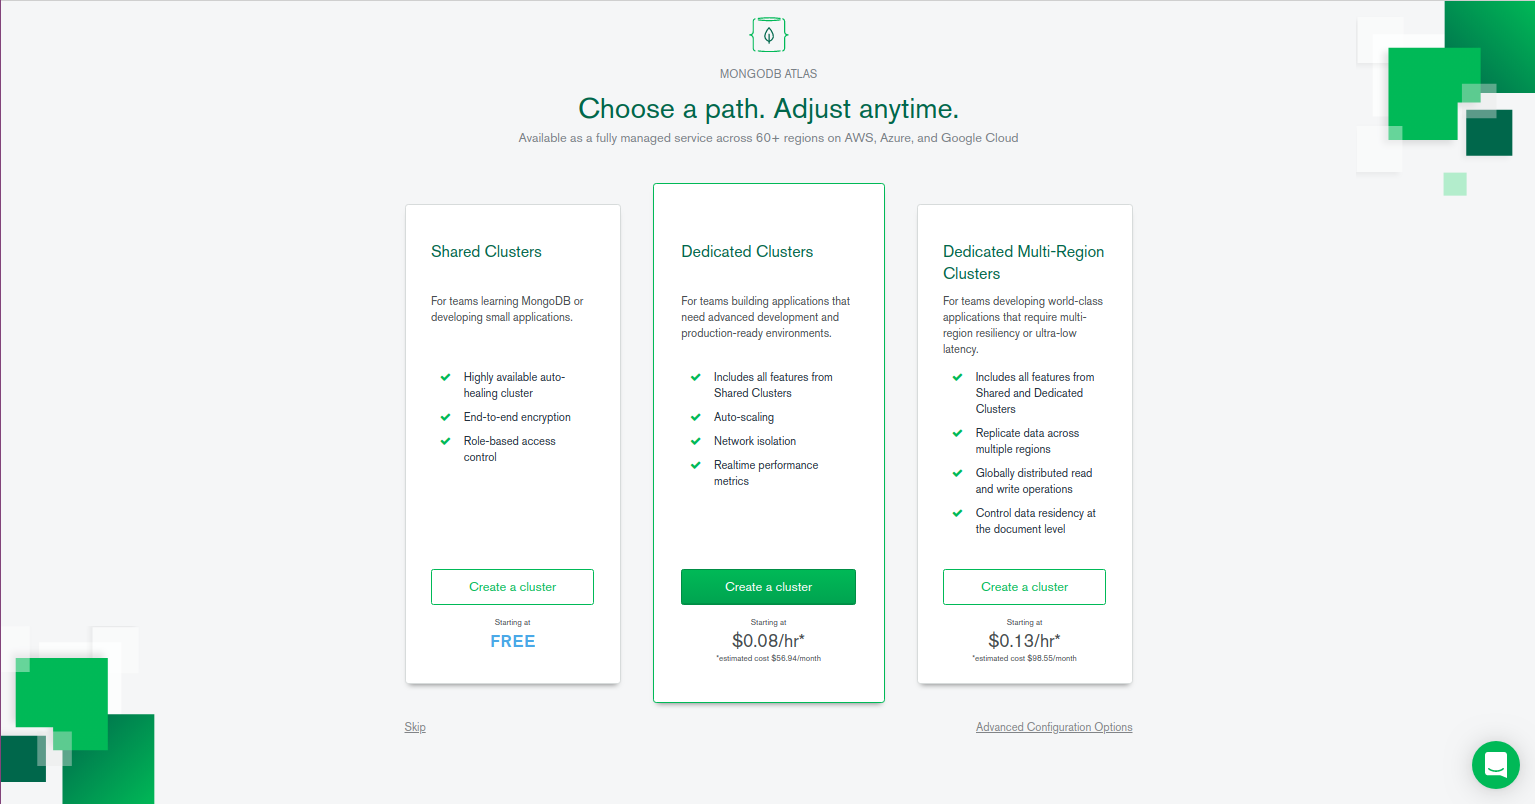
We will choose the free “Shared” cluster for the purpose of this tutorial, however you can configure the cluster as you need.
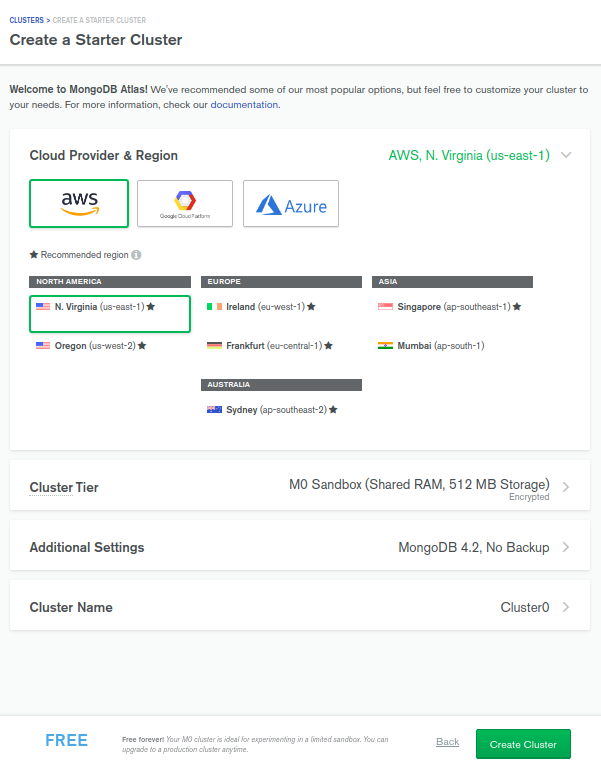
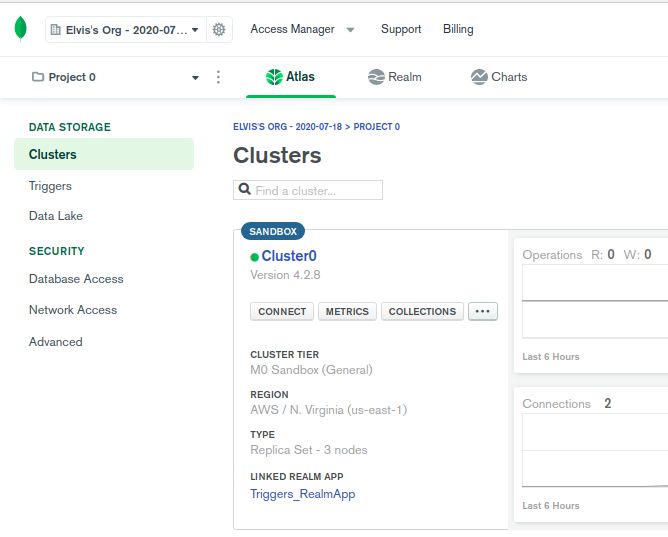
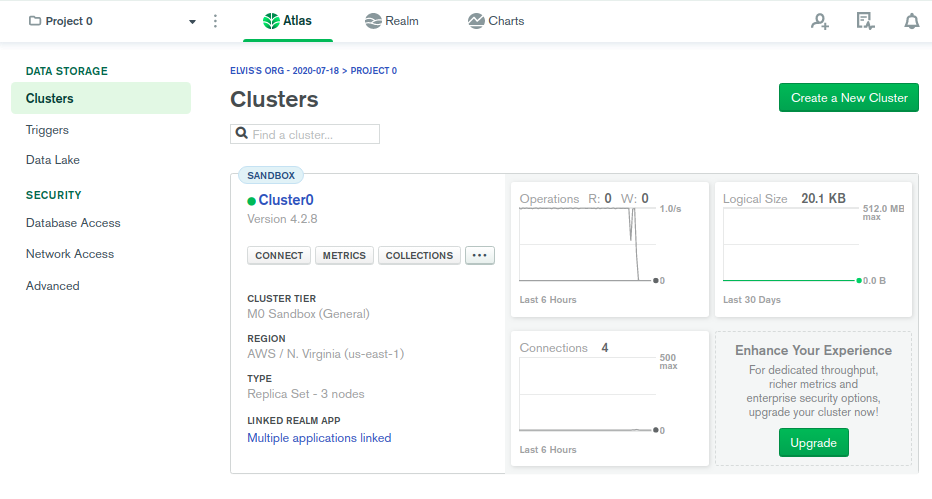
NOTE: It’ll take a few minutes for the cluster to be created. Once that's done, you can see a cluster created for you. We’ll be using that cluster for the MongoDB database.

Let’s connect to the cluster by clicking on Connect. A popup window will appear where you’ll have to approve your own IP address to access the DB and create a system user that can perform operations on your DB.
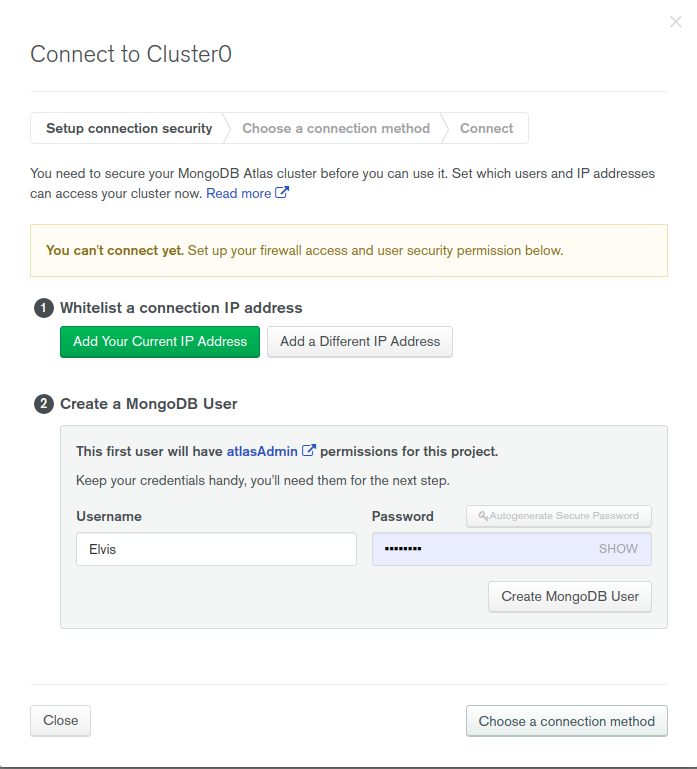
Click on Add Your Current IP Address, to confirm your IP address and type your username and password for the admin user. Click on Create MongoDB User to finish the creation process.
If you are successful, you will see a notification informing that “You’re ready to connect. Choose how you want to connect in the next step.” as seen in the screenshot below.
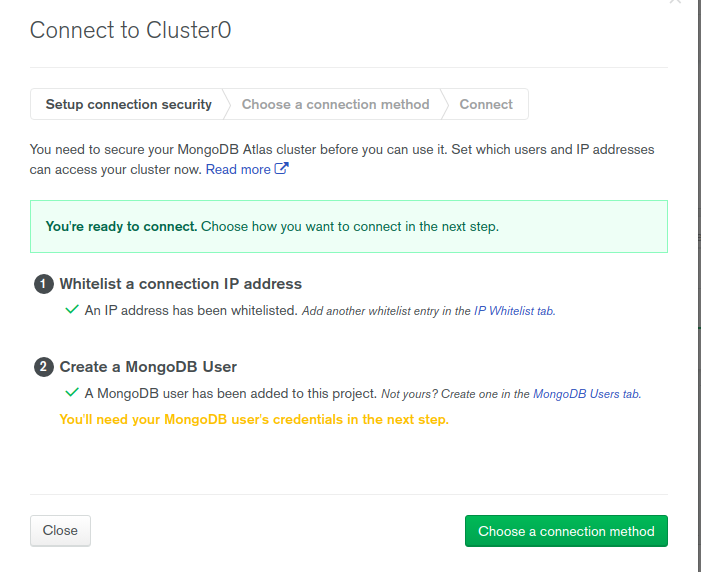
You don’t have to select a connection method for the purpose of this tutorial, so you can close this window. Now your cluster is ready to use.
Create a Database and Collection
Now that your cluster is ready, let’s create a database for our collection to be stored.
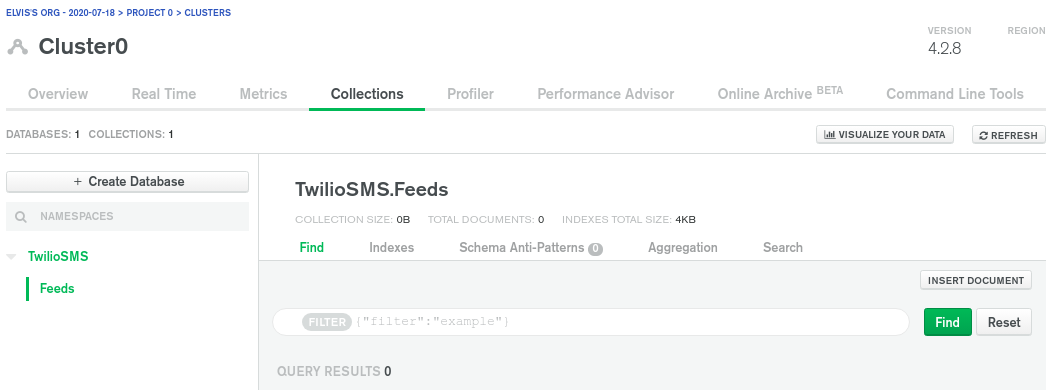
Click on collections and you’ll be redirected to the collections tab. There you can click on Add my own data to create a new database and create a collection in it.
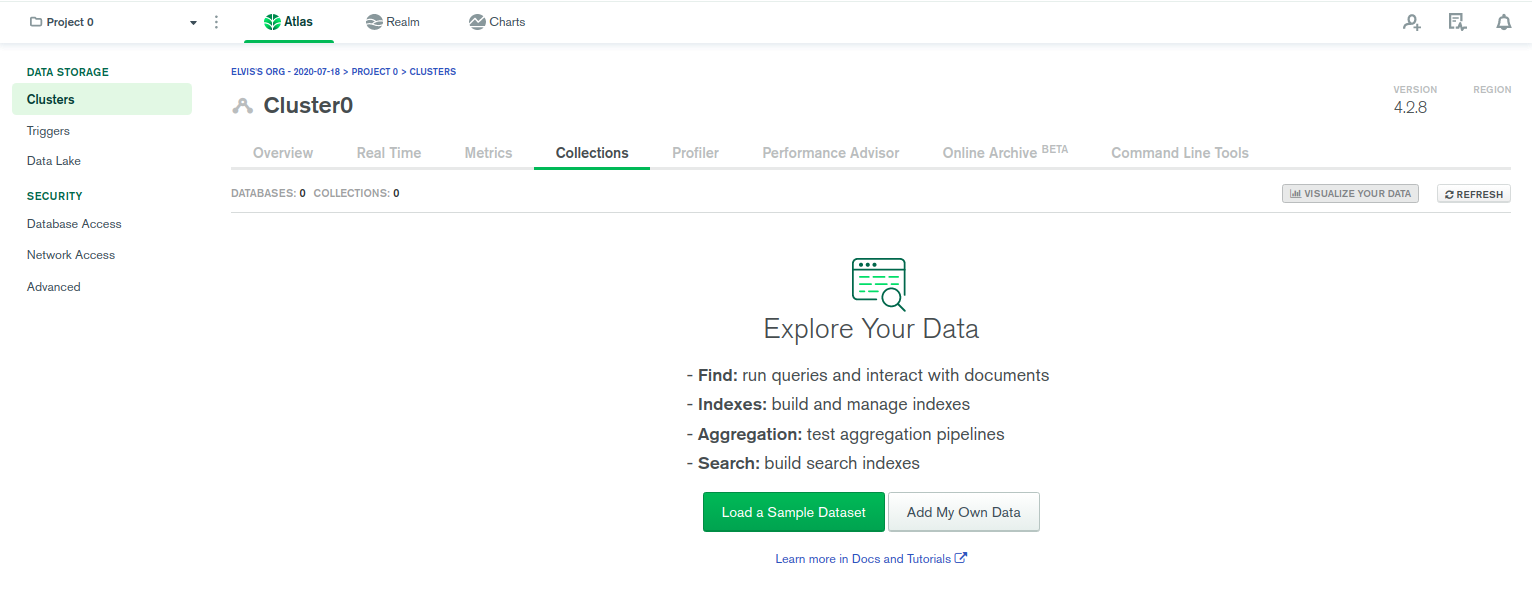

For the purpose of this article, we will define the database name as “TwilioSMS” and the collection name as “Feeds”. Click on Create to finish the database creation process.
Now that we have a database and collection set up, we can connect our Twilio SMS service to the application.
Create a Twilio SMS Account
Create a free Twilio trial account if you don’t already have one. It’s quite straightforward. Make sure to verify your email address and your phone number, as this phone number is the number in which you’ll be sending SMS messages to while you’re in trial mode.
In the Twilio Dashboard, click on Get a Trial Number and save that number somewhere. This is the number from which the SMS will be sent.
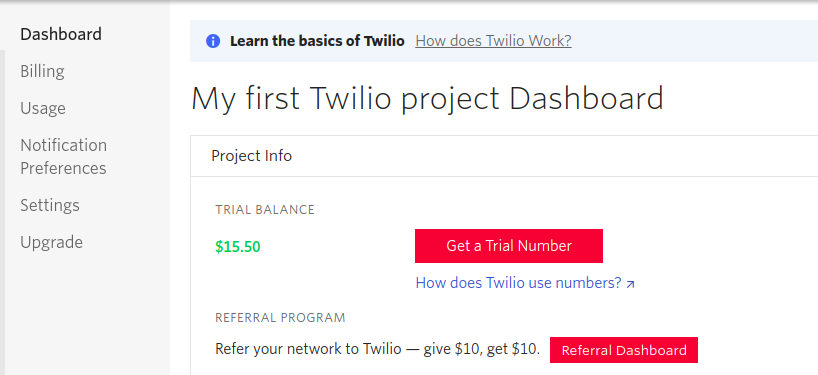
Below you’ll also see the Account SID and Auth Token. Copy and save them somewhere safe since they will be needed in the following steps.
Now that we have a Twilio account set up for sending SMS, let’s connect this account with our MongoDB service.
Connect Twilio with MongoDB
MongoDB allows us to connect third-party services to our account. One of the services it supports by default is the Twilio SMS service. We’re going to use this service to send SMS, but before that, we need to connect our Twilio account with MongoDB.
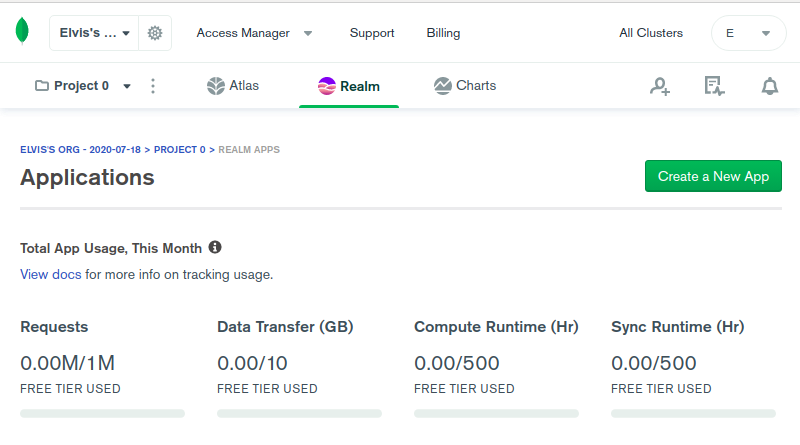
Go back to the MongoDB console and you can see Realm as one of the tabs in the top panel.
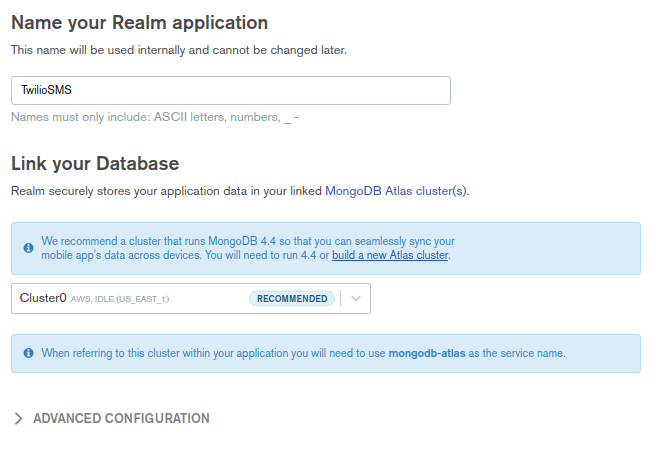
Go to the Realm tab and create a new application. Connect it to the cluster you just created. Name it “TwilioSMS” as seen in the screenshot below.
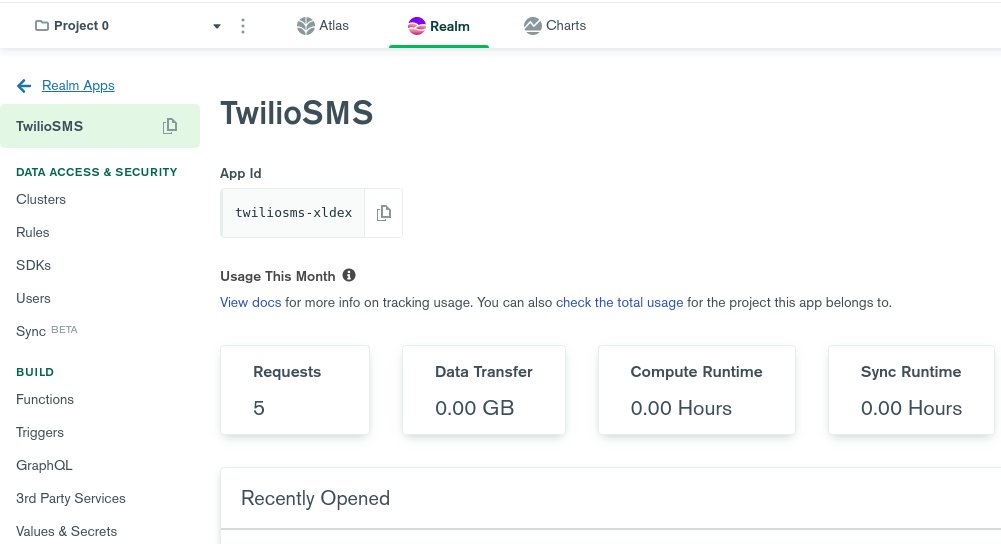
Once you have your Realm application ready, go to the 3rd Party Services tab on the left panel, and add a service.
Choose Twilio as the service type and give it a name for future reference. I chose to name the Service Name “SMS” for simplicity.
Paste the Twilio Account SID you copied earlier into the Account SID text field. In the Auth Token field, type a name to create one and then paste the Twilio auth token when prompted below. Click Add Service.

Once you’re done adding the service, make sure to click on the Review and Deploy popup at the top, otherwise, the SMS service won’t be available to the function.
Now our SMS service has been created which connects to our Twilio SMS service.
Create a Function
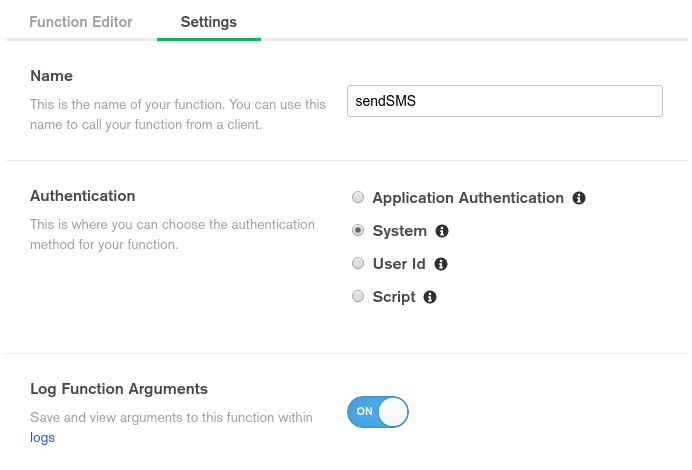
Click on the Functions tab on the left panel to create a function.

I’ll name the Function “sendSMS”.
For authentication choose system, which means the highest level of authority. This is fine since the function will be called by our own internal triggers.
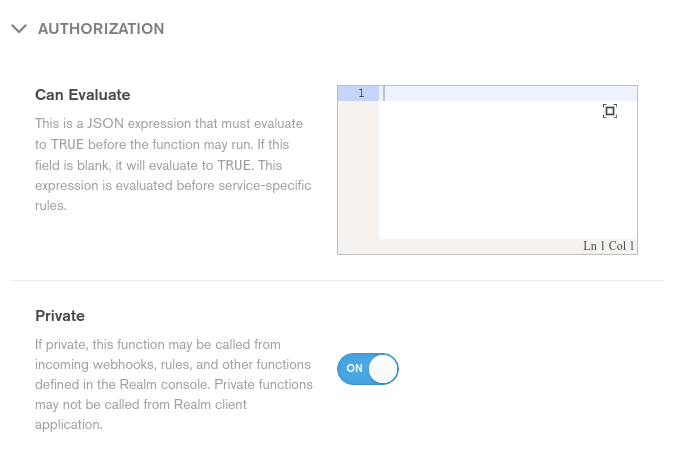
Turn on the private toggle which makes sure that the function is not available anywhere apart from our MongoDB ecosystem.
Send an SMS using the function
In the function code, we’ll call the SMS service we created and pass the phone number we got from the Twilio service as the From number and our own number (which was verified in the Twilio account) as the To number. Paste the below code, replacing the numbers accordingly. Make sure that all three values are strings.
At the bottom of the code editor, click on the Run button.You should get a message in your phone from the Twilio number.
Send the Feed as SMS
Now that the SMS service is working properly, let’s send the feed as an SMS.
When you create a database trigger, the trigger will call the function you connected to the trigger with a single argument, which will be a change-event object. This object will have a key “fullDocument” and contain the entire document being inserted.
Let’s consider a document in the feeds collection will have two keys, the name of the feed and the description of the feed, apart from the document ID. If we want to send the description of the feed being inserted as the message content, we can change the value of the body to “changeEvent.fullDocument.description”.
The new code will be:
That’s it for the function. It is completed and ready to use. Similar to the SMS service, after clicking on Save, we’ll also click on the popup which says Review and Deploy. Once our function is deployed, we can call it in our trigger.
Create a Trigger
Now that we have a collection, a function, and the Twilio SMS service set up, let’s create a trigger to run the function when a new document is inserted in the ‘Feeds’ collection.
Go to the Triggers tab on the left menu and click on Add Trigger to create a new trigger.

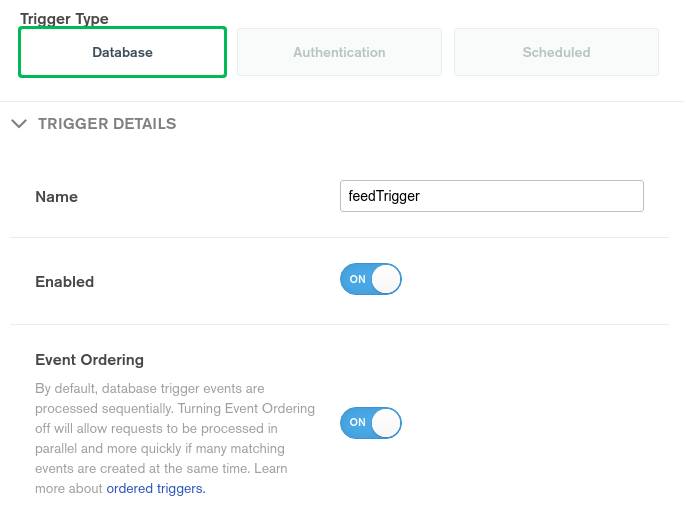
Set the trigger type to database since we want the trigger to initiate when database activity is detected. You can give a name suitable to your application. I’ve chosen to name it “feedTrigger”.
Keep Event Ordering turned on, since you want the triggers to run sequentially and not all at once.
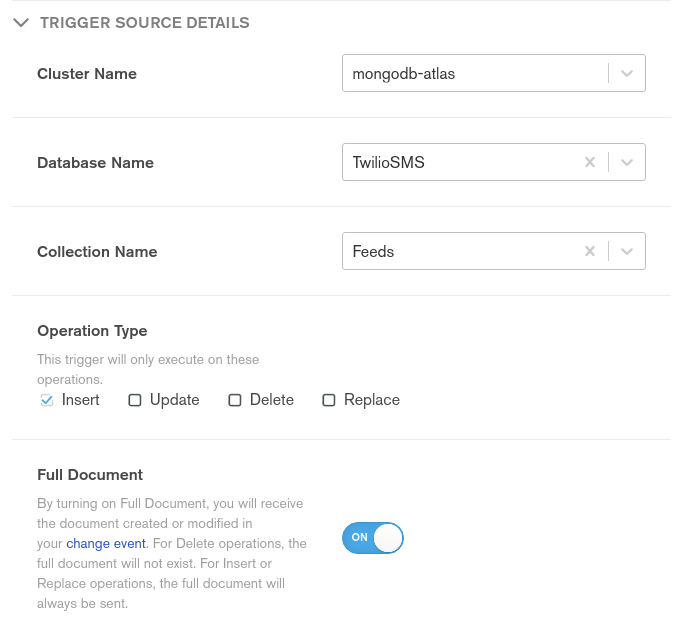
In the Trigger Source Details section, choose your cluster, database, and collection. Choose Insert as the operation type since we want to send SMS only on the create event.
Turn on the Full Document Toggle so that the entire document is retrieved when a new document is created.
Let’s move to the final part of the trigger. Select the Event Type as Function and select the sendSMS function we created earlier. Click Save.
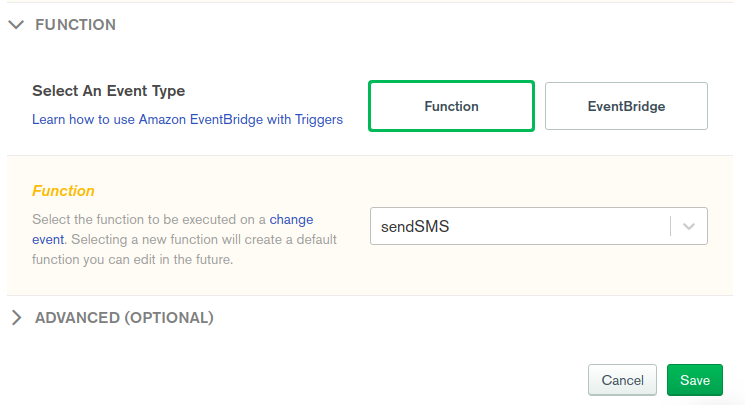
Again, don’t forget to Review and Deploy the trigger.
Testing the trigger
Now that all the entities are created and connected to each other, let’s see whether our application is working as intended.
Go back to the Atlas tab on the top.
Go to the Collections tab and select the Feeds collection. You’ll see a button to insert a document into the collection.
As we decided earlier, the feed document will have two keys, name and description.The description will be sent as the SMS body content.
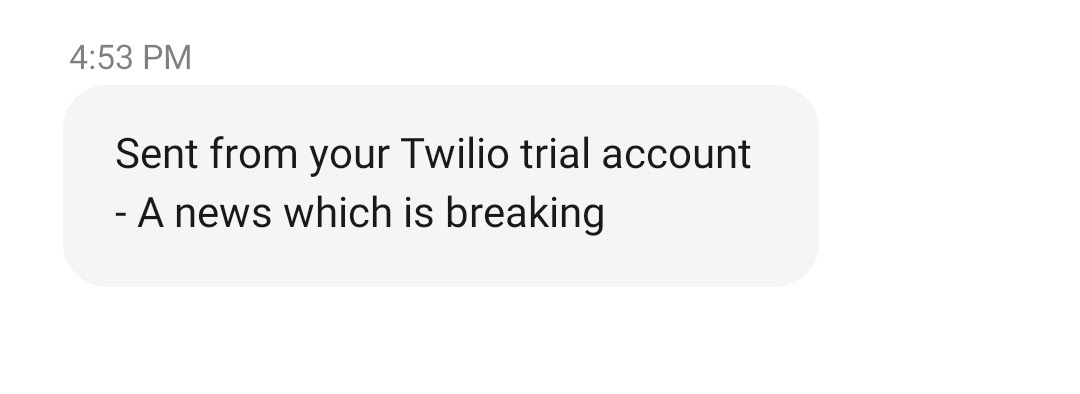
Create a new document with the name set as “Breaking News” and write “A news which is breaking” in the description.
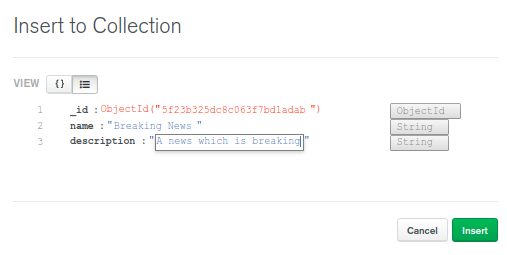
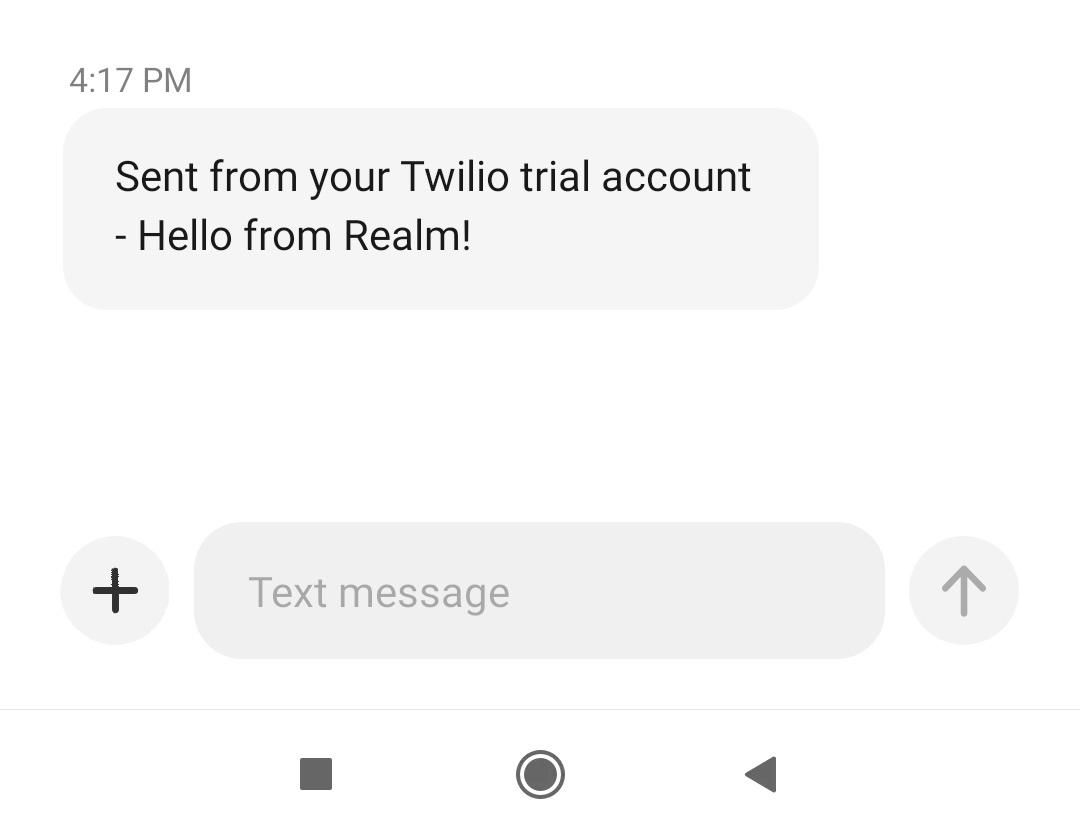
When you insert the document successfully, you should get an SMS similar to what’s shown below.
Conclusion
Congratulations! You successfully created a trigger to send an automatic SMS when a document is inserted in your database.
There are many ways to extend this application further.
Firstly I’d like to point out that you can write rules to your third-party services making it more secure. You can also configure service webhooks such that you can catch incoming messages and perform actions on it, like storing it in the database.
You can also learn how to send SMS on updating and deleting a document Keep in mind that the object being sent in all three cases is the change-event object.
Finally, you can also send Whatsapp messages by tweaking the code a bit.
Elvis is a senior backend engineer in FreightBro where he primarily works on building scalable microservices using NodeJS and MongoDB. He can be reached via:
- Email: elvisrozarioefr@gmail.com
- LinkedIn: linkedin.com/in/elvis-rozario-55185570
- GitHub: github.com/visrozar


Related Resources
Twilio Docs
From APIs to SDKs to sample apps
API reference documentation, SDKs, helper libraries, quickstarts, and tutorials for your language and platform.
Resource Center
The latest ebooks, industry reports, and webinars
Learn from customer engagement experts to improve your own communication.
Ahoy
Twilio's developer community hub
Best practices, code samples, and inspiration to build communications and digital engagement experiences.