Flex 2.0: Configure Facebook Messenger with Flex Conversations
Time to read: 3 minutes
November 21, 2022
Written by
Reviewed by

Twilio Flex natively supports sending and receiving messages from Facebook Messenger users. This guide showcases how to configure Facebook Messenger for Flex UI 2.x and Flex Conversations. Messages from Facebook Messenger will first flow into Twilio Studio before hitting Twilio Flex.
Requirements
Before you can complete this tutorial, you'll need to set up a few things:
- Twilio Flex Account with Console Access
- Twilio CLI installed (v5.2.1 or above) along with Node.js
- Facebook Page (Ready to be integrated)
Step-by-Step Guide
- Step 1: Install and Configure Facebook Messenger Channel
- Step 2: Create Studio Flow
- Step 3: Create a Conversations Address
Step 1: Install and configure the Facebook Messenger Channel
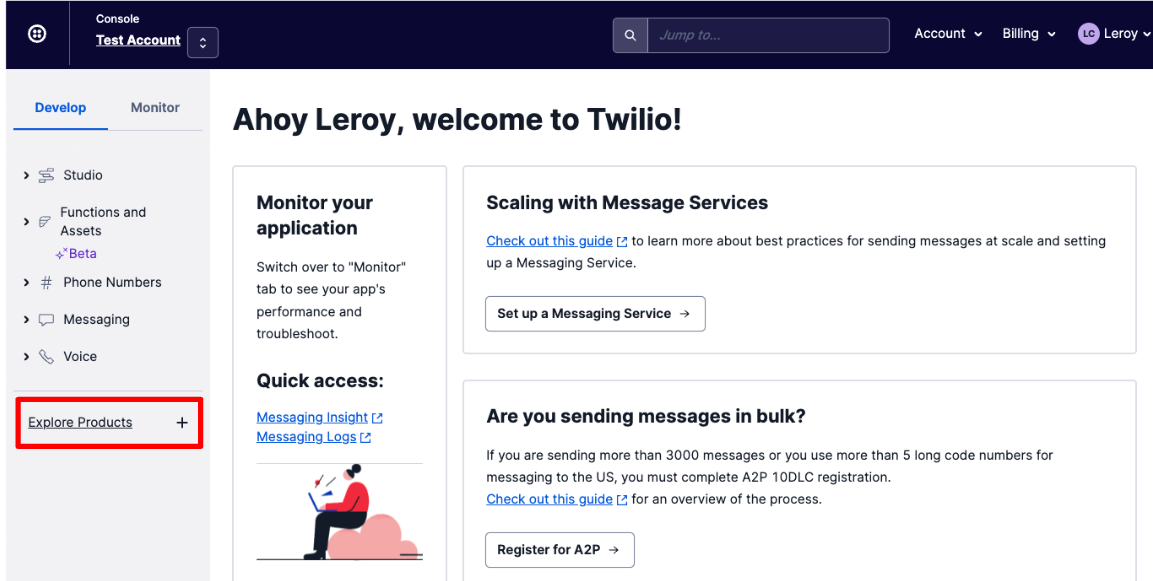
First, open your browser and login into Twilio Console
Next, click on Explore Products
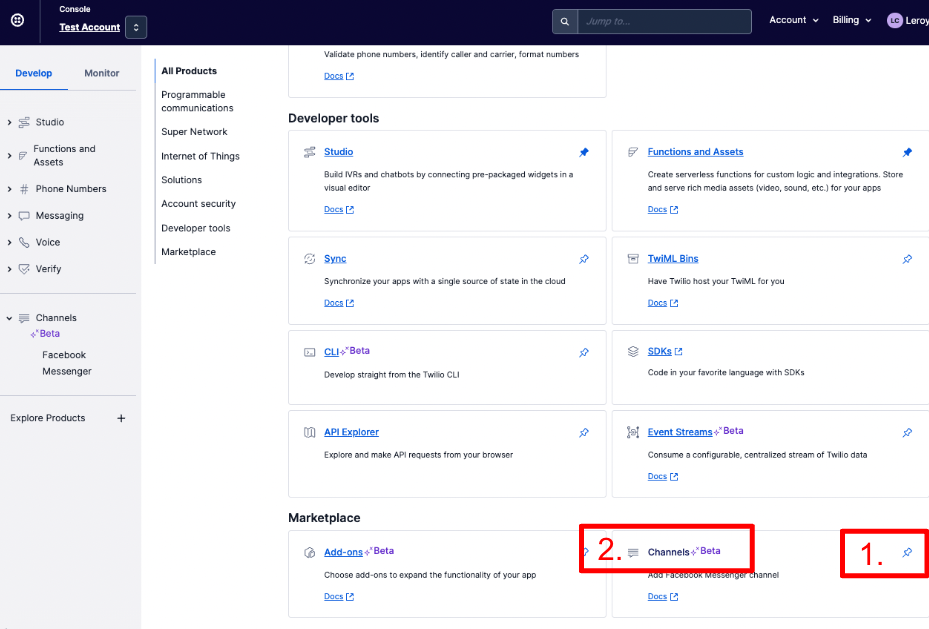
Under Marketplace, click on the Pin icon (for easy access) followed by Channels
Click on Enable Facebook Messenger, and press Log in with Facebook
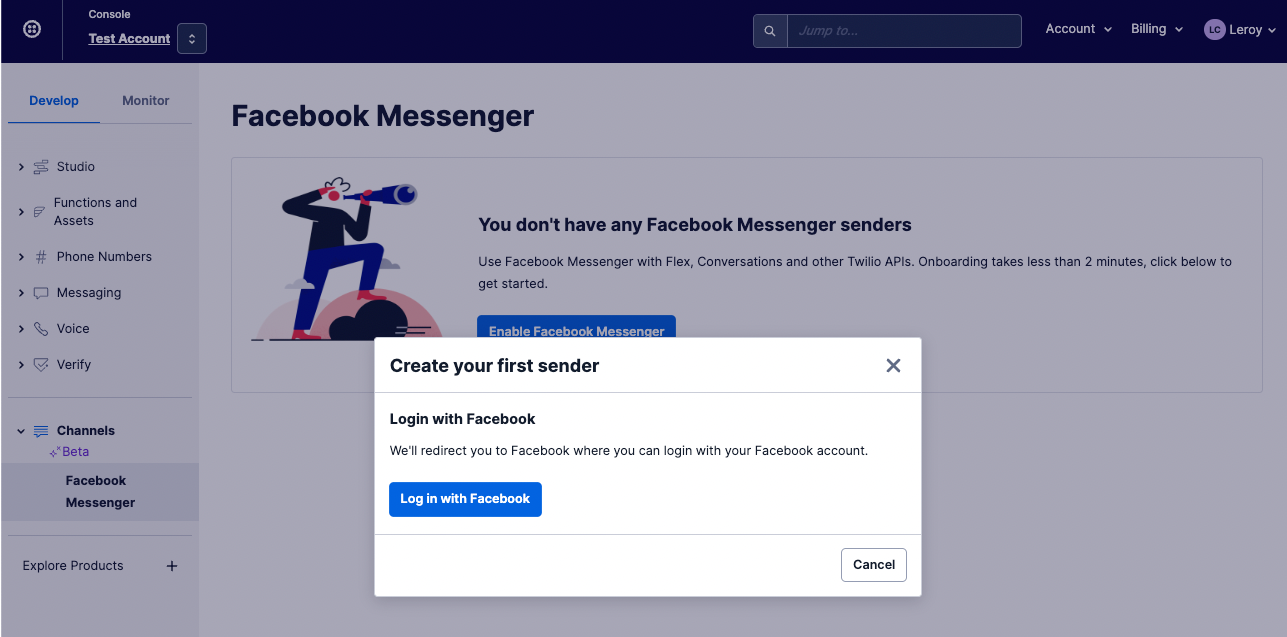
Follow through and complete the steps to integrate your Facebook Page with Twilio.
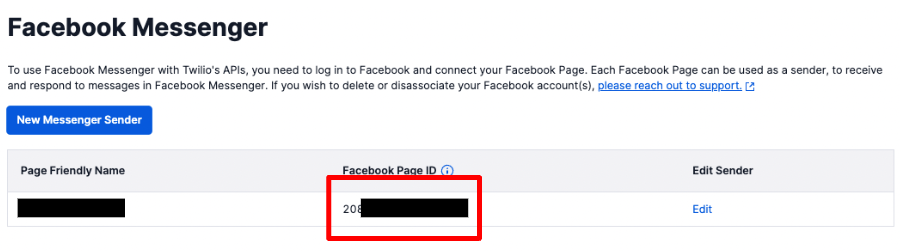
Once your Facebook account has been linked to Twilio, you should be seeing the Create your first sender popup window in your Twilio Console.
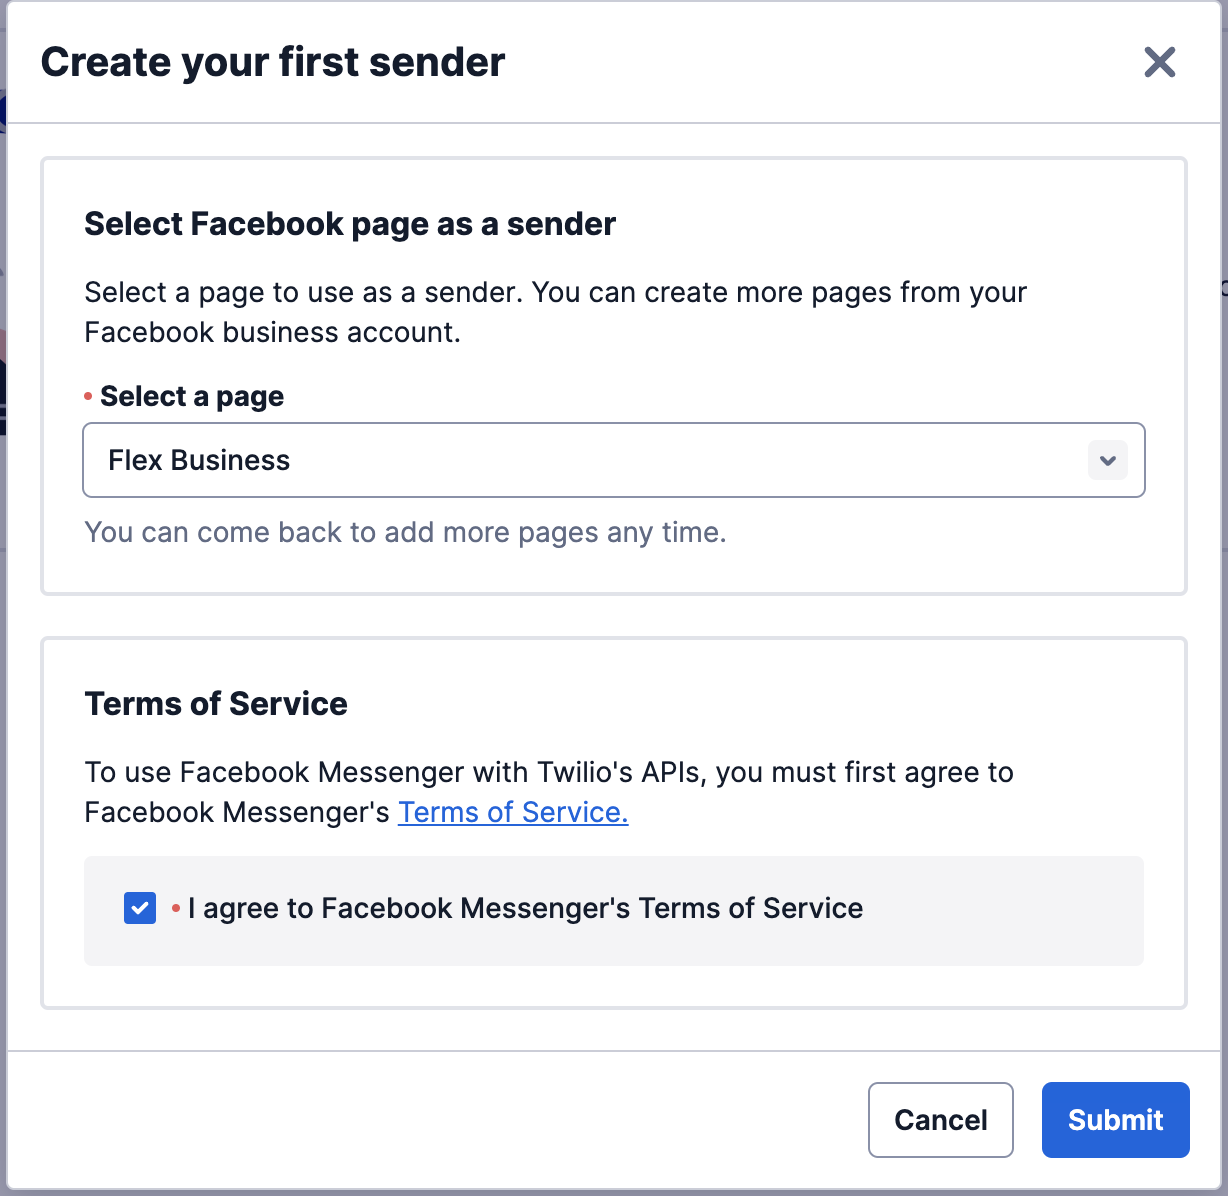
After submitting your sender, take note of the Facebook Page ID as it will be required for setting up a Conversations Address.
Great work – you have successfully configured the integration between Facebook Messenger and Twilio! Please move on to Step 2.
Step 2: Create a Studio Flow
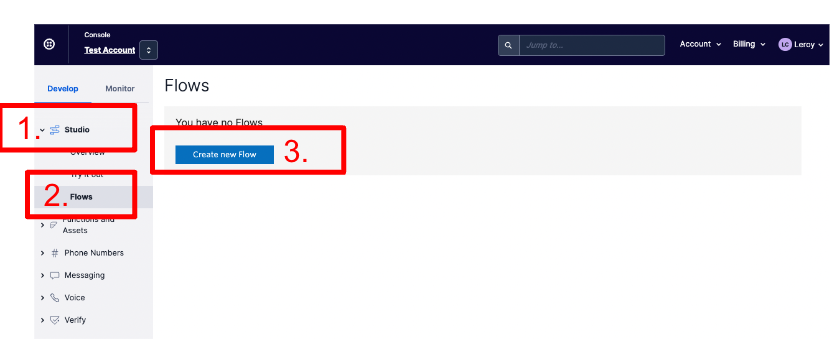
In the Twilio Console, navigate to Studio and then Flows. Once the page loads, click + to create a new flow.
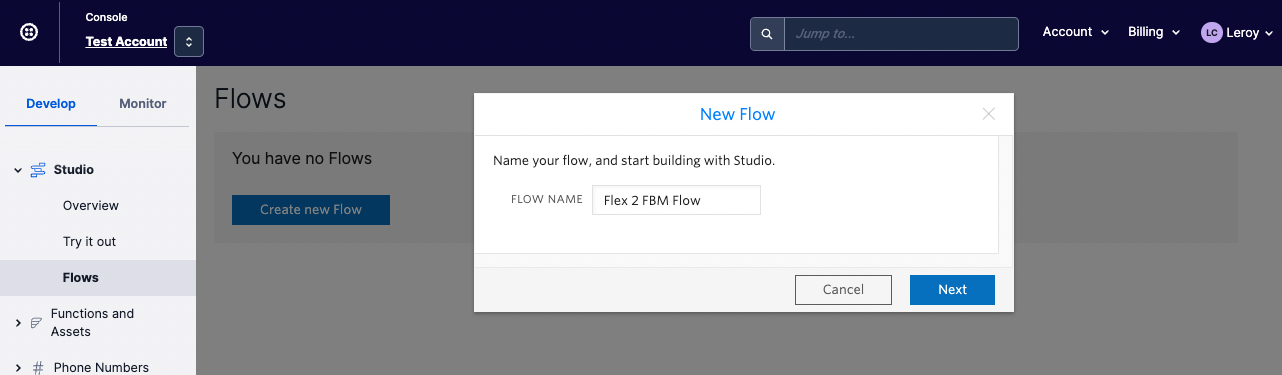
Enter the Flow Name (for example, Flex 2 FBM Flow) and click Next
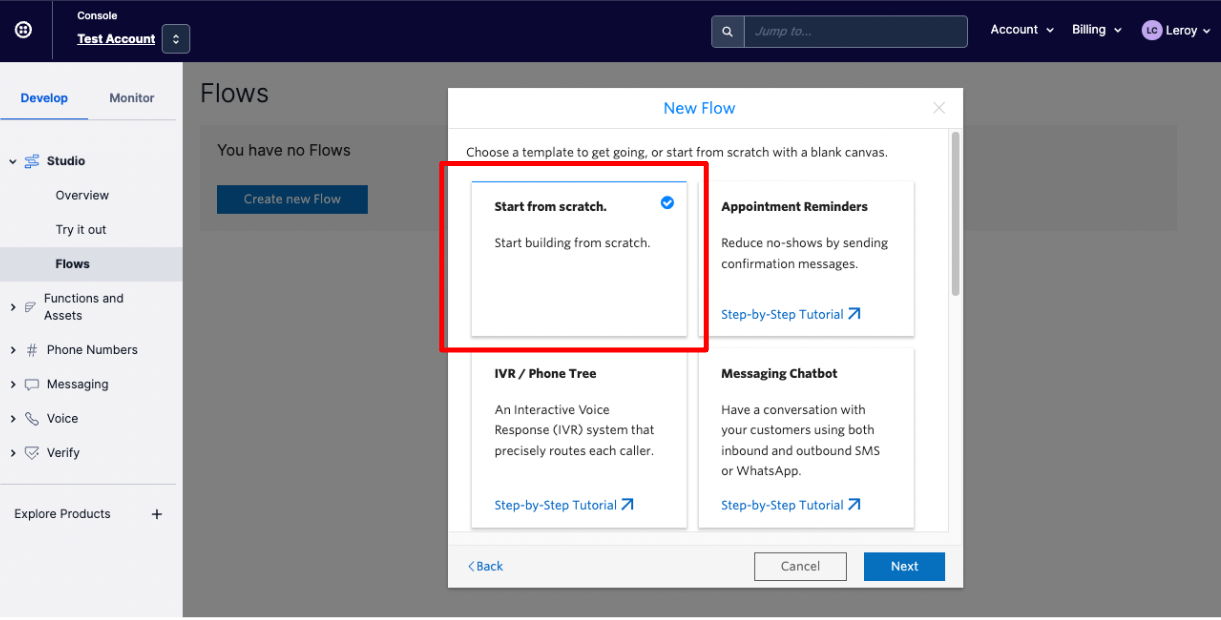
Select "Start from scratch" and click Next
Your flow should now be created and you will be presented with a blank Studio canvas, with only a trigger ready to configure:
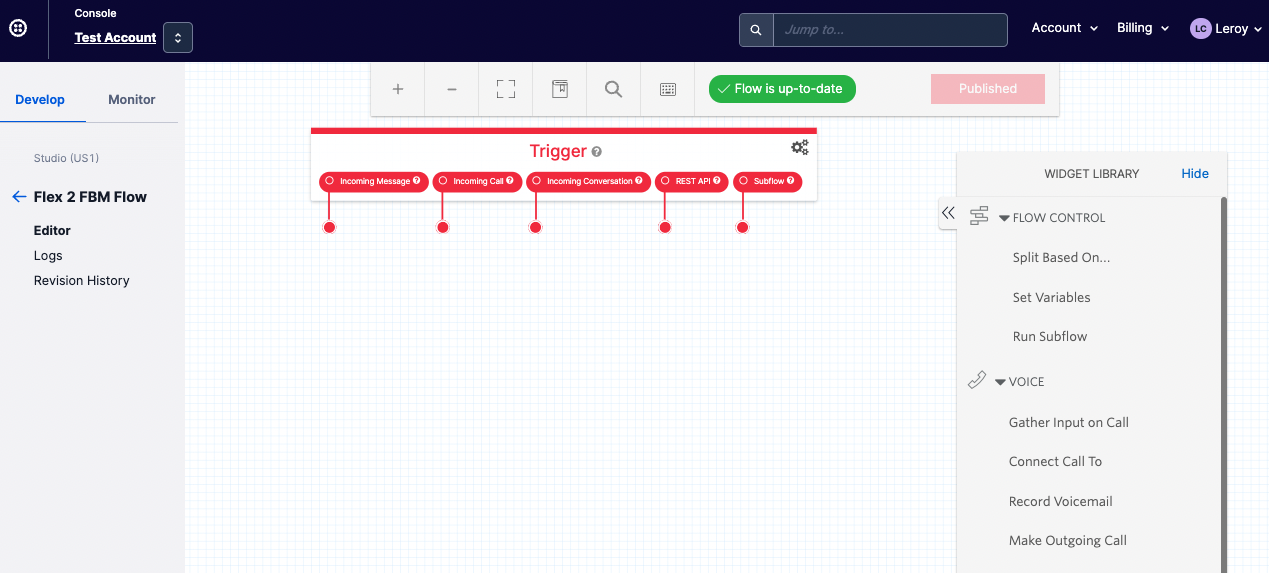
Under the WIDGET LIBRARY, search for Send to Flex and drag it onto the canvas.
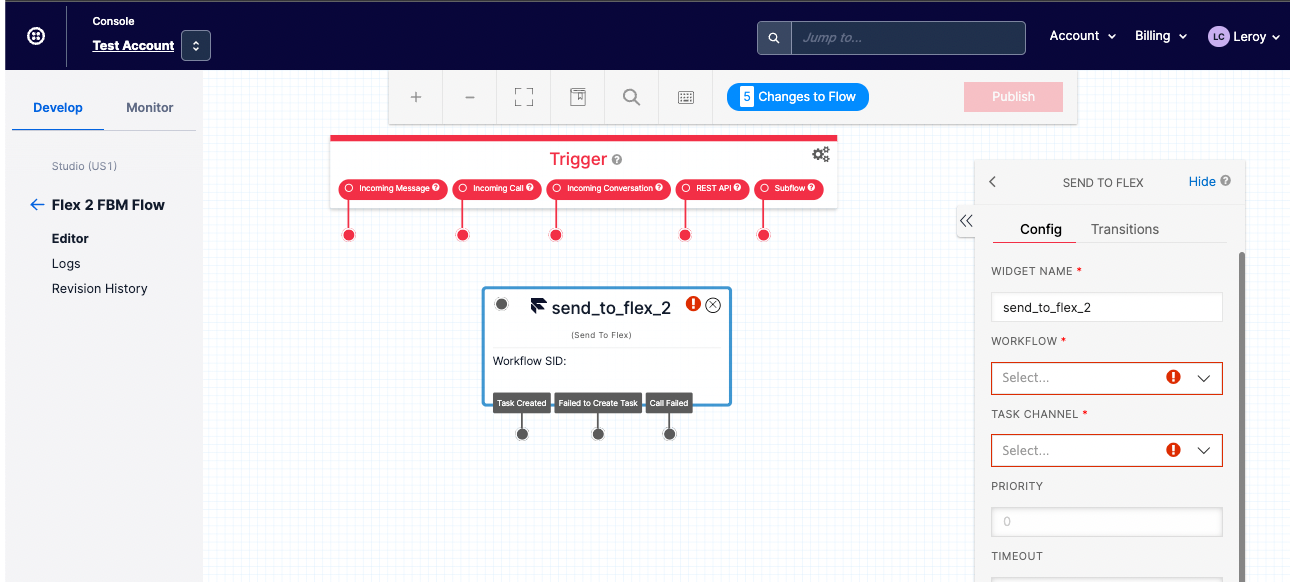
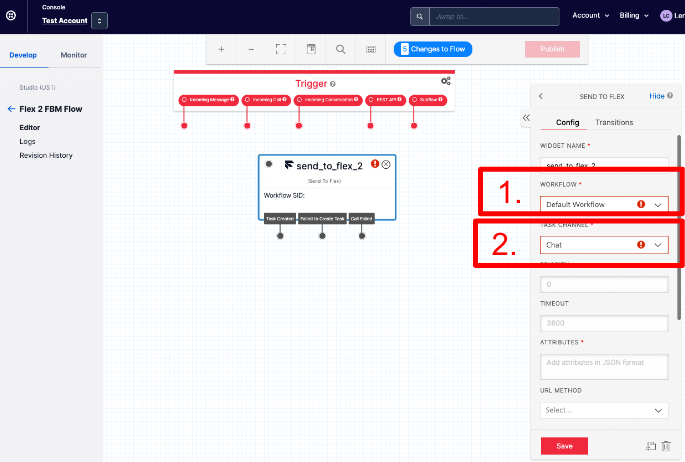
Click on the Send to Flex widget. Under WORKFLOW, select your desired TaskRouter Workflow. Under TASK CHANNEL, select Chat. If you do not see Chat, please select Programmable Chat. After that, click Save
Under Trigger, connect Incoming Conversation to the Send to Flex widget. After that click Publish.
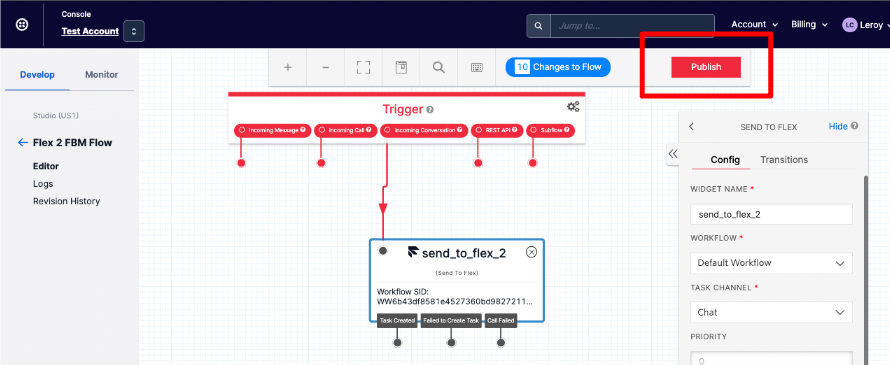
Navigate back to the Flows page and take note of your newly created Flow SID.
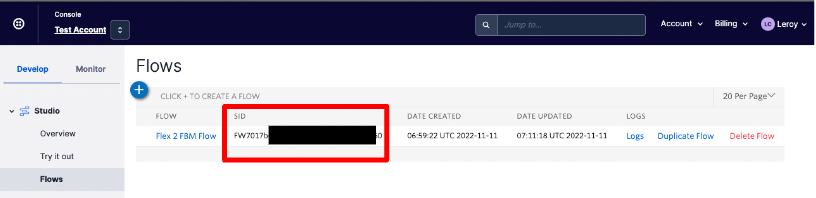
And with that, you're ready to move on to step 3!
Step 3: Create a Conversations Address
Open up your terminal (Terminal or iTerm on a Mac for instance) and verify that you have both the Twilio CLI and Node.js installed by running:
Next, prepare the following:
- Facebook Page ID (from Step 1)
- Twilio Studio Flow SID which starts with
FWxxxxxx(from Step 2)
Run the following command:
Once the Conversations Address has been successfully created, you are all set! You should see an Address with type messenger being added to your Conversations Addresses:

Conclusion
Congratulations! You have successfully integrated Facebook Messenger into Flex 2.0.
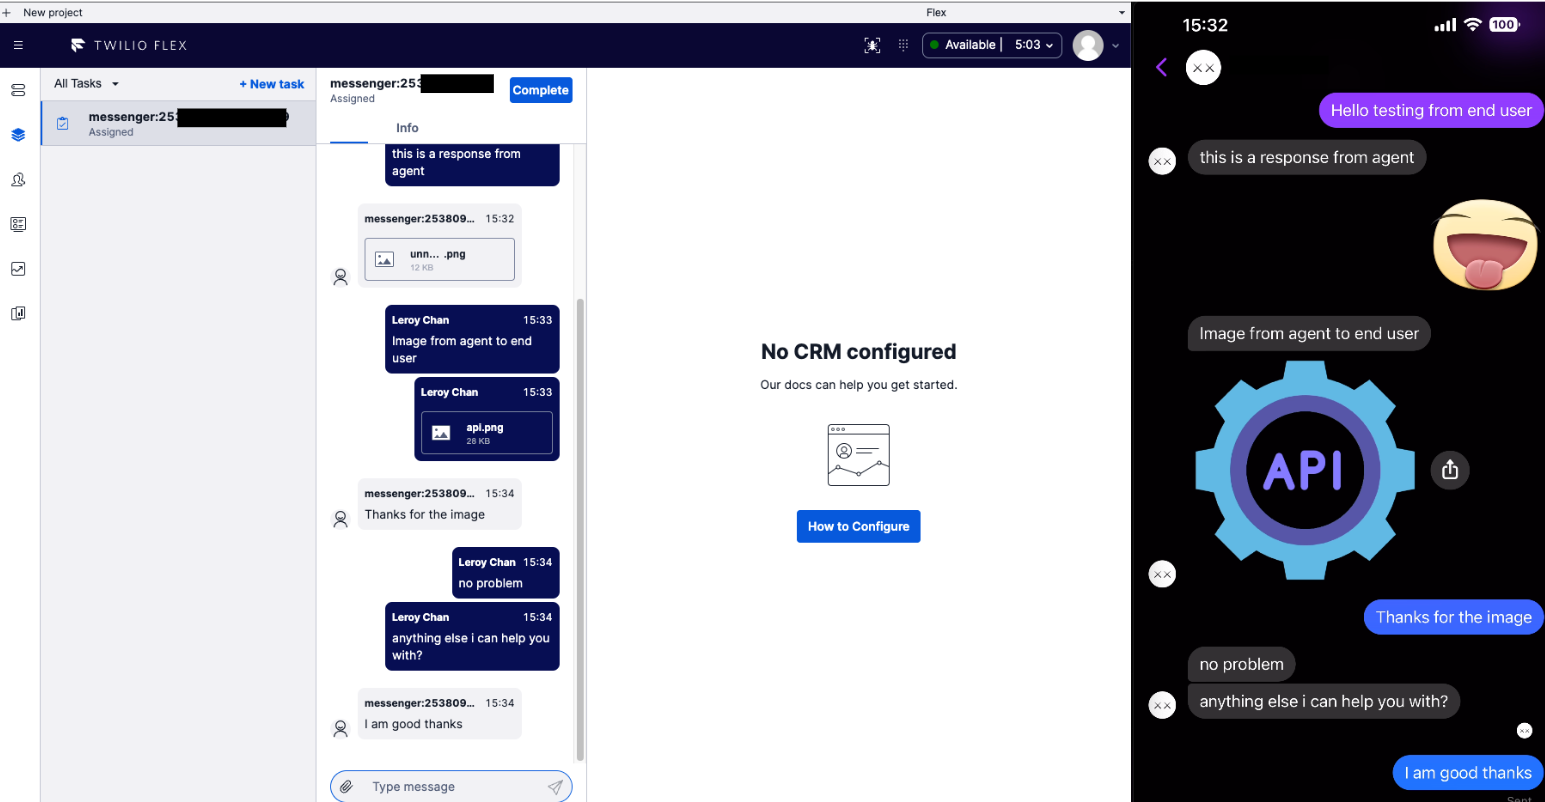
Now, let's see the integration in action!
- Start by logging onto your Flex’s agent interface
- Set the your availability to Available
- Using the Facebook Mobile App or Facebook Web, search for your Facebook Page and try sending a message from your Facebook account to your connected Facebook Page.
- You should see the task coming into Flex!
- Accept the incoming messenger request as a Flex agent, type your reply, and see it come in on your Facebook Messenger.
Now that you've learned to integrate Facebook Messenger with Flex Conversations, you can explore the other guides we have for Flex Conversations. We can't wait to see what you build!
Leroy is a seasoned solution architect with a knack for designing scalable architectures on the cloud. He is currently part of the Flex Solution Engineering team for APJ, focusing on driving joint Go-to-Market motions with partners. Leroy can be reached at lechan [at] twilio.com.
Related Resources
Twilio Docs
From APIs to SDKs to sample apps
API reference documentation, SDKs, helper libraries, quickstarts, and tutorials for your language and platform.
Resource Center
The latest ebooks, industry reports, and webinars
Learn from customer engagement experts to improve your own communication.
Ahoy
Twilio's developer community hub
Best practices, code samples, and inspiration to build communications and digital engagement experiences.