Create a Real-Time Note Collaboration Tool using Twilio Sync, Node.js, and Express.js
Time to read: 5 minutes
June 09, 2021
Written by
Reviewed by

One of the brightest spots in the future of communication-based apps is the ability to create real-time communication between various devices. Document apps such as Google Docs, Notion, and even iOS Notes are made possible due to the ability to synchronize state and data in real-time.
Twilio Sync makes this same functionality possible by offering two-way, real-time communication between browsers, mobile devices, and the cloud.
In this tutorial, we're going to use this state synchronization service to create a real-time note collaboration tool using Twilio Sync. When completed, all users will be able to co-browse the same notepad and type a document together in real-time.
If you’re still not clear on what Sync does, consider that I wrote this tutorial in Notion. Their synchronization service allowed me to seamlessly switch between my phone and their desktop app without revision conflict. This is the power of real-time synchronization!
NOTE: Twilio Sync focuses on state management in the cloud and providing quick updates, it is not ideal to use Twilio Sync as a primary database to store large quantities of content.
To learn more about the best use cases and how synchronized data can provide a personalized experience for your app, check out the Twilio Sync Overview.
Tools needed to get started
This project will be created with Node.js, Express.js, and Twilio Sync. To get started, have the following services ready to use:
- Node.js installed.
- Twilio account. (If you don’t have one, here’s $10 to get started). If you have already set up your account, login to grab your Account SID and copy it to a secure location on your computer.
- Twilio API Keys & Sync Service. These can be generated directly from the Twilio console.
These are all the prerequisites we’ll need to get started. Be sure to save all of the credentials created, saved to a safe location.
Create a new package.json file
This tutorial will create a Node.js server so that the final app can be coupled into one code base for simplicity.
Create a new project by running the following commands from the command line wherever you keep your projects:
Create a new Express.js app
Right now our application folder is empty aside from the package.json file. We want to change that by creating a simple HTML page that will display a <textarea> to co-browse.
Express.js is a minimal Node.js web application framework that will allow us to combine our front end form with routes to generate tokens in the back end.
Add Express to your project with the following command:
Create an index.js file
Now that all of our dependencies have been created, we need to create an index.js file to serve our app. Open your IDE and create a new index.js file inside of the project directory.
Create an index.html file
We will need to create an index.html file to display the notepad. Express allows us to serve static HTML files using the sendFile() function.
As a nod towards organization, create a new public folder inside of the project directory. This folder will store the index.html file.
Create a new file called index.html inside of the project directory and open it in your IDE.
Add the following code to the file:
Our notepad HTML consists of:
- The Tailwind CSS framework loaded via CDN. This will allow us to easily style the notepad. Note that the CDN is not recommended for production.
- The Twilio Sync JavaScript client. This library will allow us to monitor our state and any changes made to the Sync document.
- A
<textarea>is styled to function as the collaborative notepad.
Create an endpoint to display the index.html file
Setup the Express.js app to create an endpoint at the root path to return the index.html file.
Add the following code to the index.js file:
In your command prompt or terminal, run the following code to start your local server:
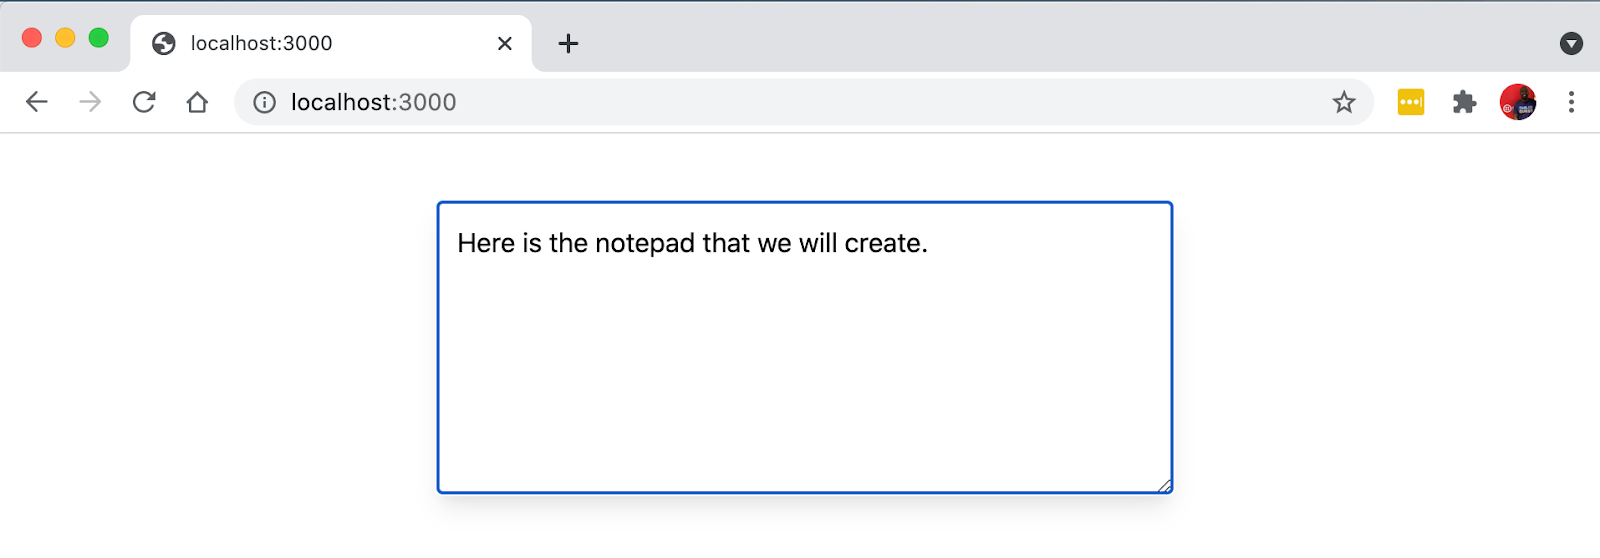
Open your browser at http://localhost:3000 and you should see a similar screen.
We're now ready to learn about Twilio Sync by creating an access token and later using the Twilio Sync JavaScript Client.
Install .dotenv to securely store Twilio Credentials
Earlier in the tutorial you set up new credentials so that all requests can be securely authenticated. In order to access those credentials within this app they'll need to be securely stored.
We'll use a .env (dotenv) file to handle this. To allow our app to read the .env file we'll need to add the dotenv package. Stop your server by pressing CTRL + C or open a new terminal window and navigate back to your project’s directory. Then, run the following command to install the package:
Create a .env file at the root of the project folder and add your Twilio Credentials:
Add the dotenv requirement to the top of the index.js file.
Download the Twilio Node.js Helper library
Before we reference our credentials, we'll need to actually install the Twilio Node.js Helper Library. Run the following command from inside of your project directory in the command line:
Create an access token
Our code will use the credentials to authenticate each request in creating an access token.
After the access token is created, we will use it to authenticate the Sync service.
Define the following variables after the const port = 3000 declaration:
Now create a new endpoint GET /token endpoint that will allow us to request a new access token on page load.
Start the server and visit http://localhost:3000/token to view a sample access token.
We're nearing the end of completing our app. At this point we can type in the notepad and generate an access token. The best part follows: adding a listener to synchronize the data in real time!
Add a listener for when we type in the notepad
We want to be able to type in the notepad in two separate browsers and see them update in real time. To do this, we're going to add an event listener to the <textarea> that detects when we've finished a word (space, return, or punctuation mark) to trigger synchronization.
We will be using a Sync Document to store the most recently updated version of the notepad contents. Twilio Sync allows you to create three other types of Sync objects for various use cases.
We've chosen to use a Document because they're a great introduction to Twilio Sync as it provides a basic publish/subscribe transaction where history synchronization isn't a requirement.
Add the following code to the bottom of the public/index.html file.
Each Sync Document has a uniqueName; an application-defined string that uniquely identifies the resource. Our Document will be called notepad.
When our page loads, a new access token is generated and the first request is made to open the notepad document. After it loads, the existing document is loaded into the <textarea> content.
Most importantly, a listener is initialized that will synchronize the cursor position and set the notepad content to the synced Document.
All of the aforementioned steps are triggered every time time the keyup event fires on the <textarea>.
Testing
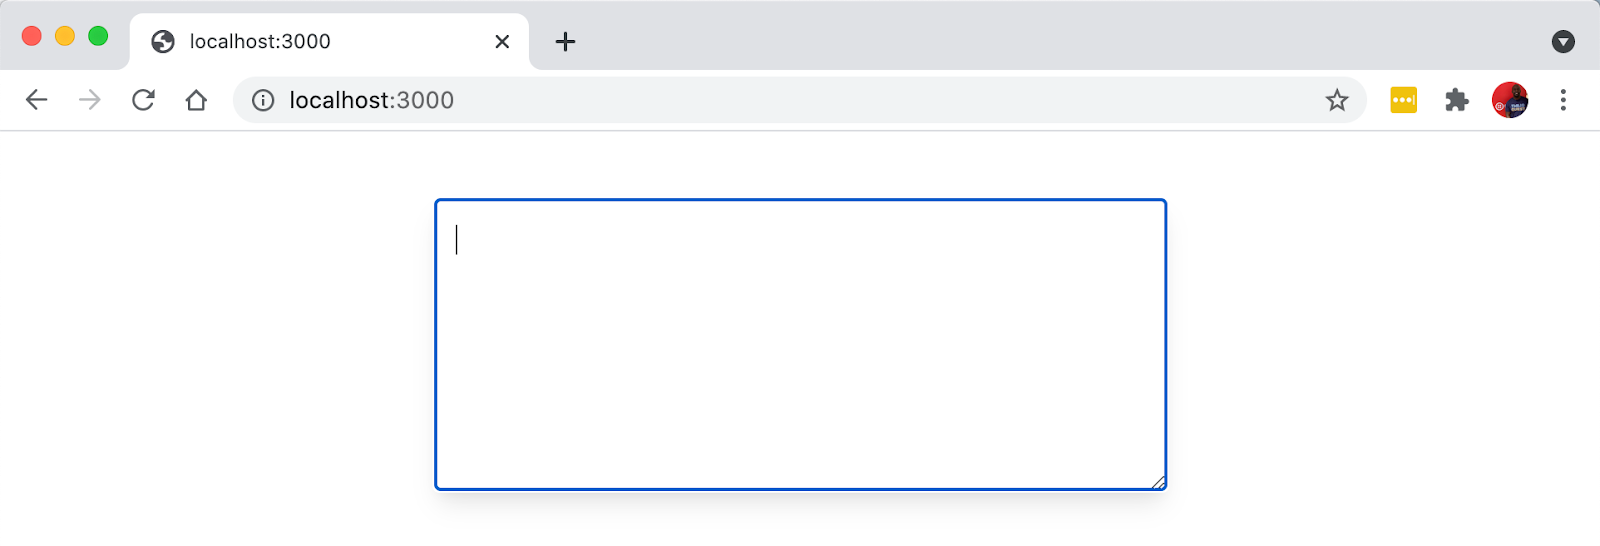
That's it! We're now ready to test the app. Open http://localhost:3000 in two browsers, side-by-side. Type in one and watch it update in the other.
Conclusion
Here's to a great introduction on Twilio Sync! You've successfully created a real-time, note collaboration app. This app could be extended by occasionally saving the content into a database or even adding a full rich text editor for greater customization. The cursor positions could also be communicated to each user so that they know where the other person is typing and we could also communicate whether or not the other users are typing. The possibilities for customizing the collaboration experience are almost endless.
In a future version of this tutorial, we'll add Twilio Programmable Video to create a video collaboration authoring tool.
Marcus Battle leads an awesome team of engineers writing technical content for Twilio called Developer Voices. He can be reached via:
- Email: mbattle@twilio.com
- Twitter: @themarcusbattle
- Github: https://github.com/themarcusbattle

Related Resources
Twilio Docs
From APIs to SDKs to sample apps
API reference documentation, SDKs, helper libraries, quickstarts, and tutorials for your language and platform.
Resource Center
The latest ebooks, industry reports, and webinars
Learn from customer engagement experts to improve your own communication.
Ahoy
Twilio's developer community hub
Best practices, code samples, and inspiration to build communications and digital engagement experiences.