Getting Started with the Twilio Video JavaScript SDK
Time to read:
This post is part of Twilio’s archive and may contain outdated information. We’re always building something new, so be sure to check out our latest posts for the most up-to-date insights.

The code in this is currently outdated because our Video SDK was in BETA and has updated since the writing of this blog post. Check out this tutorial instead if you want help using Twilio video.
Twilio Video simplifies building multi-person video chat applications and minimizes complicated WebRTC boilerplate. The Twilio docs have a thorough quickstart which will assist you in creating a production ready Video application, but we are going to build a more bare bones JavaScript application to get up and running as quickly as possible.
If you just want the code, you can grab it at this repository. Before running this code you’ll need to create a free Twilio account.
Listening for Twilio Video Conversation invitations
Our app will have two web pages, one for you (local.html) and one for the other person in the conversation (remote.html).
To get started, create and open a file called local.html and add the following:
This page includes a div for each participant as well as the client side code for Twilio Video conversations. We also need a bit of JavaScript to accept conversation invitations and to attach the media for each participant to those divs.
Create a file called inviteAccepted.js which will contain one function that will be shared by both pages to attach remote and local media to their respective divs:
The onInviteAccepted function is called when we receive an invite to start a video conversation. It takes a conversation and attaches the participants’ media to their respective elements on the page.
Now let’s write the code for the “local” participant. Create a file called local.js and add this code to it:
In the above block of code, we declare the variables we need to use the Video API. We’ll generate the access token from your Twilio dashboard in a future step. It’s passed to an AccessManager which updates our token at any time and propagates the change through any of the supported Twilio SDKs that are initialized in the app. In the last section we instantiate a conversations client and listen for invites which we will automatically accept.
Inviting a participant to a Twilio Video Conversation
Create a second page for our remote participant. This will be the other side of the conversation.
Create and open a file called remote.html and add this code:
This is identical to local.html except it is using a different JavaScript file called remote.js which automatically invites the other participant to a conversation.
Create another JavaScript file called remote.js and add this code:
Our code is written and we are almost ready to test our app. By now you should have the following files in your directory:

Generating access tokens and starting a conversation
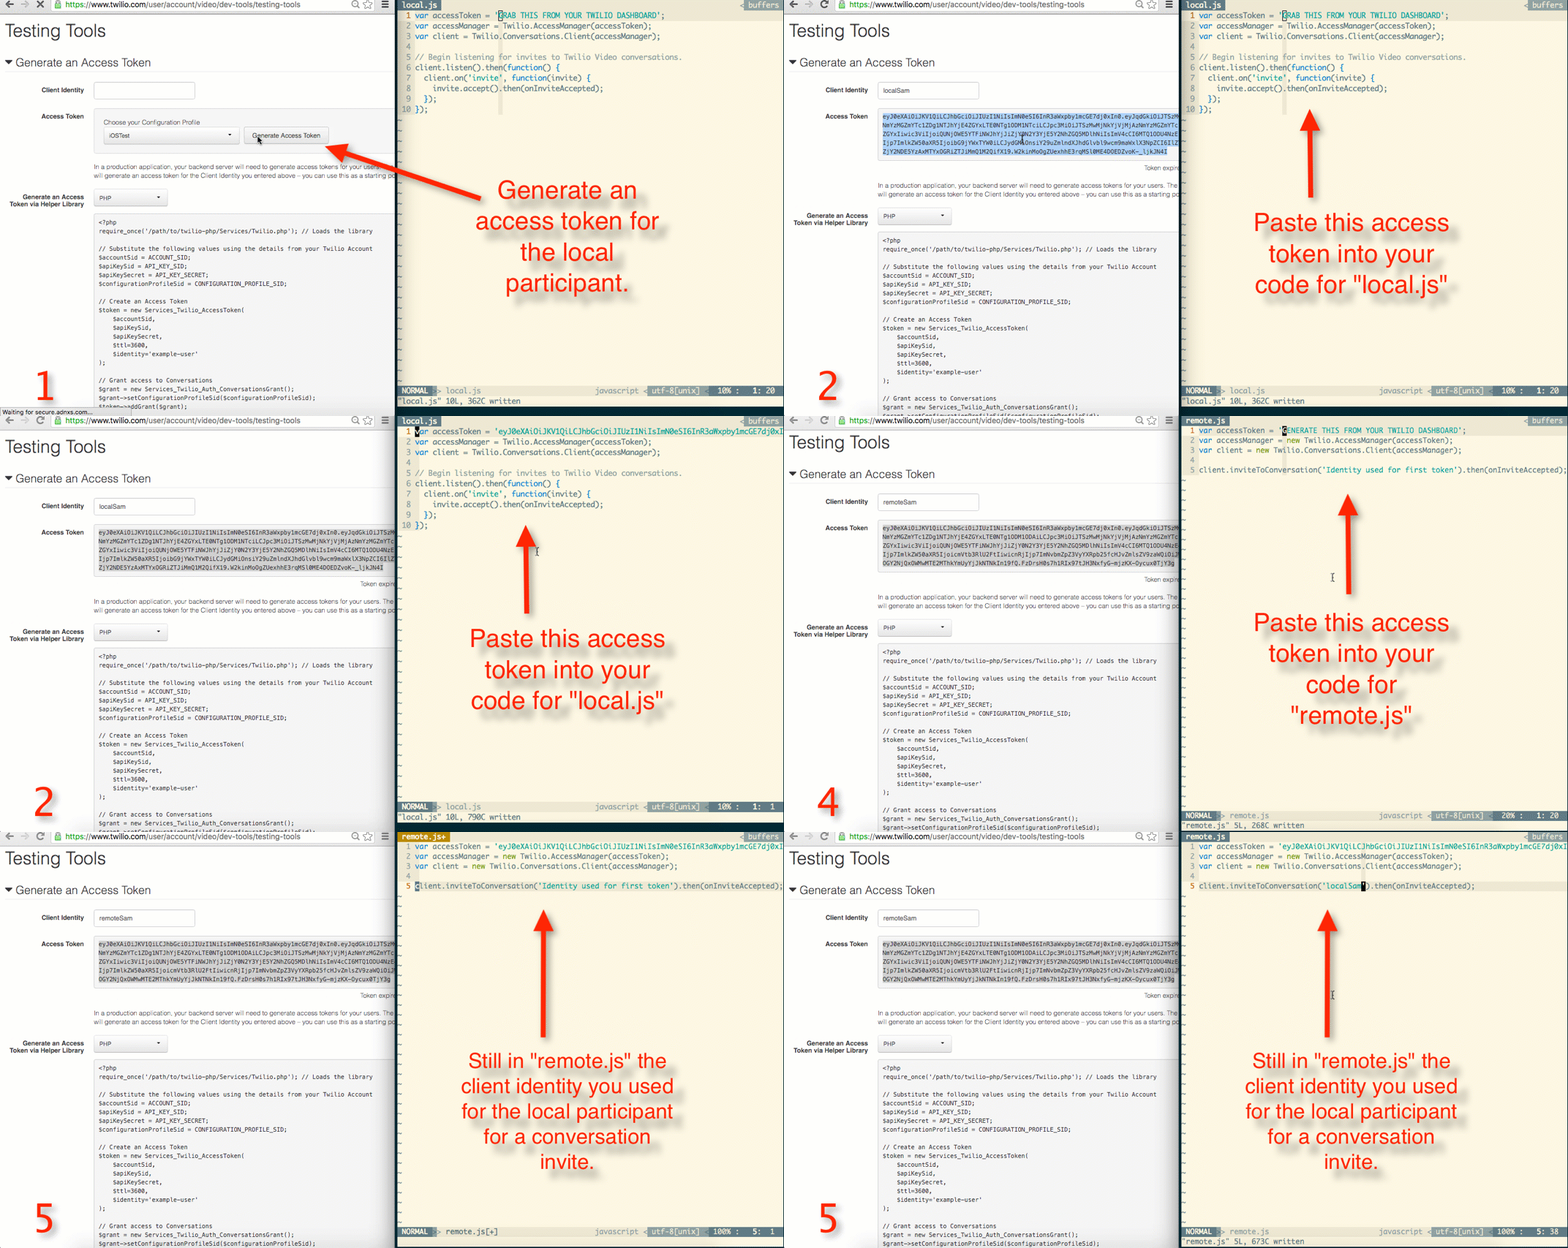
We are going to have to generate two access tokens to use in your client side code. You can have a web server create these for you programmatically, but for the sake of this tutorial we will use the dev tools on your Twilio Dashboard. Keep in mind that these tokens expire one hour after being generated so if you leave and come back to this tutorial you will have to regenerate them.
You can use any identity you want. I’ll go with “localSam” for the first one and “remoteSam” for the second one. You’ll also want to replace the identity on line 5 of remote.js with whatever identity you used to generate the first token.

Copy and paste these access tokens into local.js and remote.js as seen in the GIF above.
You’ll need to have an extremely basic HTTP server running on your machine for this code to work. I am using an npm module called ws, but if you have Python installed you can also just run this command from the directory your code is in:
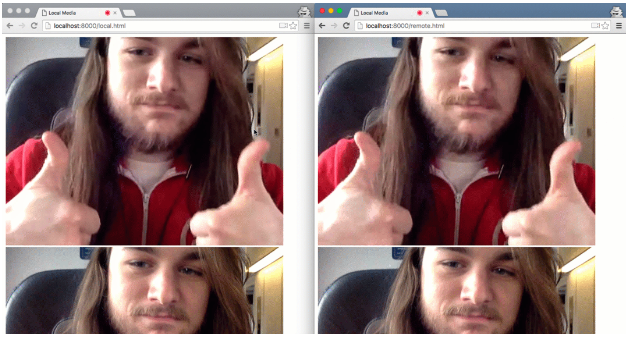
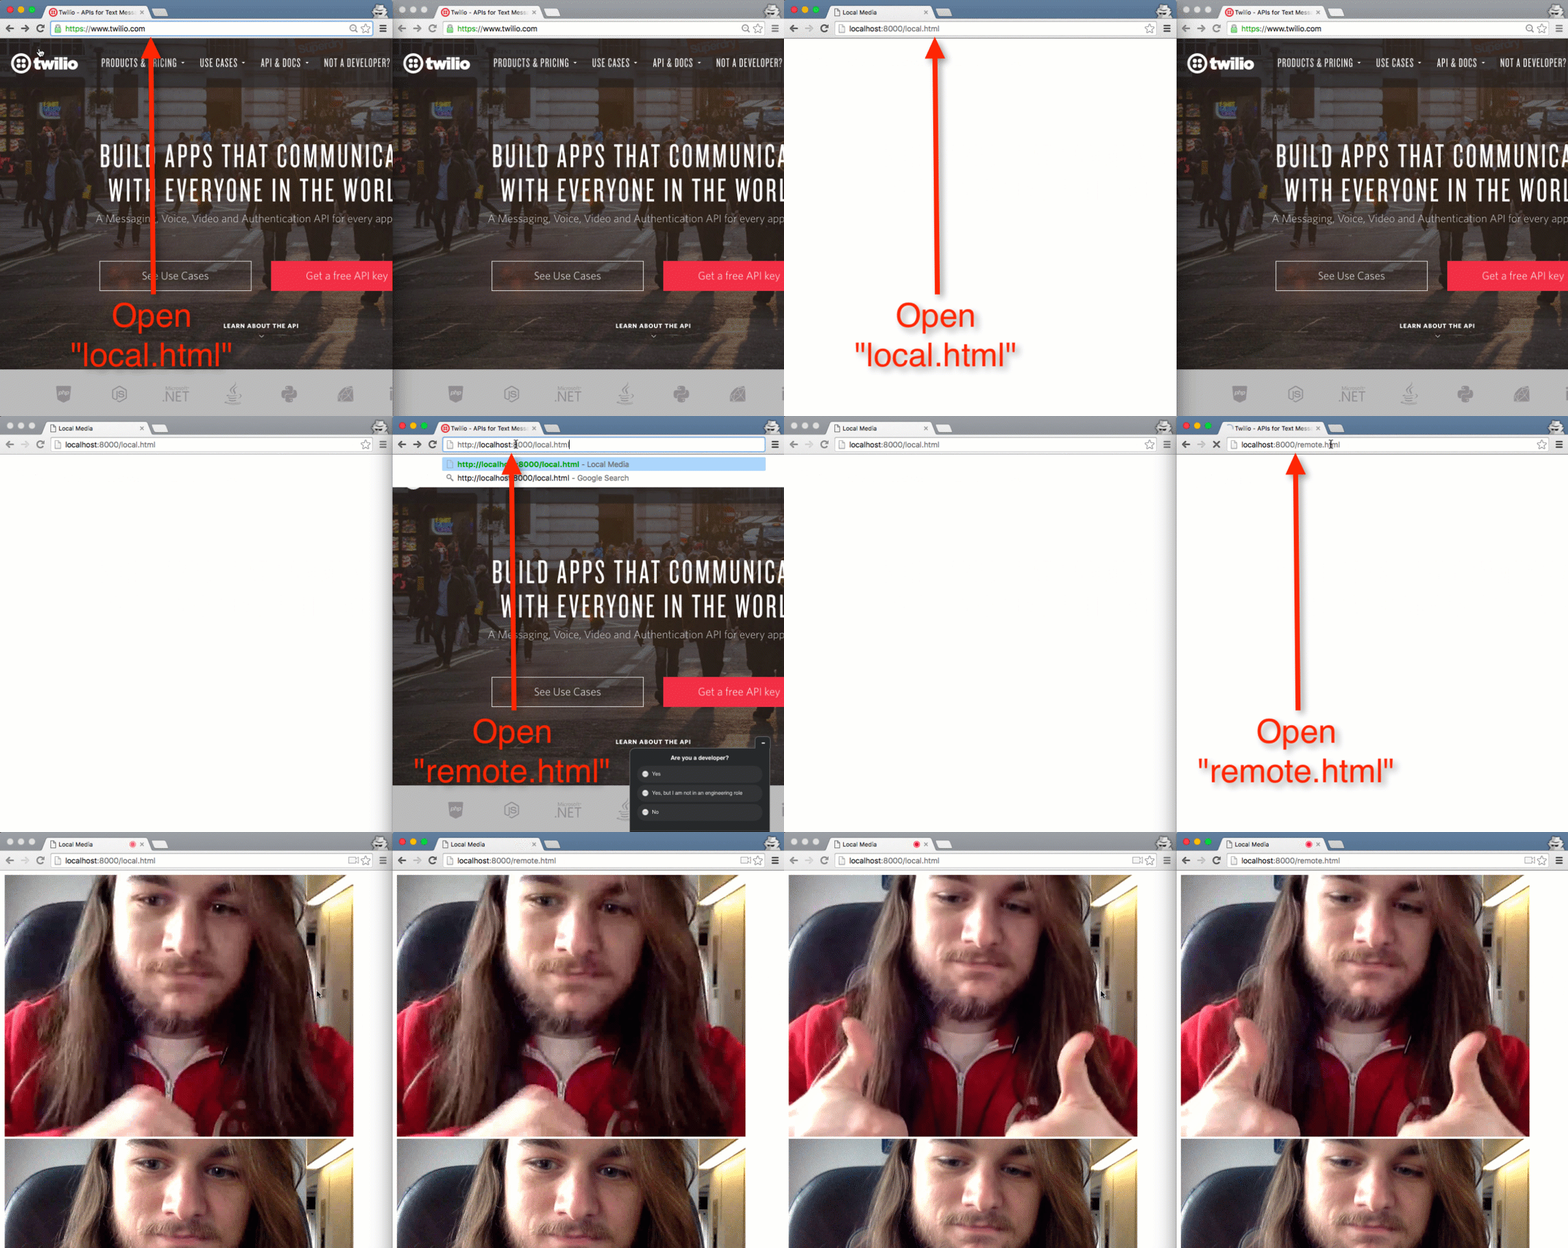
Visit localhost:8000, open local.html with your web browser and then open remote.html in a different browser window. Once remote.html is loaded, the JavaScript code will invite the other client to a conversation. As seen in the GIF below, you can see yourself twice on each page.

Next steps with Twilio Video
You now have a bare bones JavaScript application running with Twilio Video that you can use as a base for making an application like Skype or integrating video chat to something else you’re building.
You should try writing a web server to generate access tokens rather than manually creating them. The quickstart for the JavaScript SDK goes over this and more for bringing this closer to being production ready.
Feel free to reach out if you have any questions or comments or just want to show off what kind of cool stuff you’ve built
- Email: sagnew@twilio.com
- Twitter: @Sagnewshreds
- Github: Sagnew
- Twitch (streaming live code): Sagnewshreds
Related Posts
Related Resources
Twilio Docs
From APIs to SDKs to sample apps
API reference documentation, SDKs, helper libraries, quickstarts, and tutorials for your language and platform.
Resource Center
The latest ebooks, industry reports, and webinars
Learn from customer engagement experts to improve your own communication.
Ahoy
Twilio's developer community hub
Best practices, code samples, and inspiration to build communications and digital engagement experiences.


