How to Forward Emails to SMS using Node.js
Time to read:
June 13, 2017
Written by

You know that annoying moment when you are waiting for an important email to come through? Or you really have to send that one formal email to your boss but you have used up all your data allowance and have no WiFi to connect to? Yup, me too.
I had recently found myself in a similar situation and missed out on an amazing opportunity. When I went to a local hackathon I knew what I would be building – a minimalistic email interface you can control just with SMS. Today we are going to build this app using a little bit of Node.js and Twilio!
Getting Started
Let’s start with a checklist of all the things we will need to build the app:
- A Twilio Account to get a Twilio Phone Number – sign up for free
- Node.js and npm which you can get here: https://nodejs.org/en/.
- Yarn – You can use npm as well but you will have to modify the
package.jsonstartscripts to npm from yarn. - A working email account with IMAP access.
Begin by cloning the starter project from GitHub and running Yarn to install the project dependencies. Make sure that you are checking out the twilio-template branch. Run:
This repository contains all the skeleton setup we need to get started, including an Express web server that we’ll use to receive notifications of newly arrived emails, and to parse those emails so we can send them as SMS messages.
Copy the config.env.example file to a new file called config.env and add the credentials of your Twilio account which you can grab from the Twilio Console. Don’t worry about the other fields in the config file – we will fill them up as we go along.
You can now fire up the Express server with yarn dev:server, you can also use node ./server.js but the former uses nodemon to automatically restart the server when our code changes.
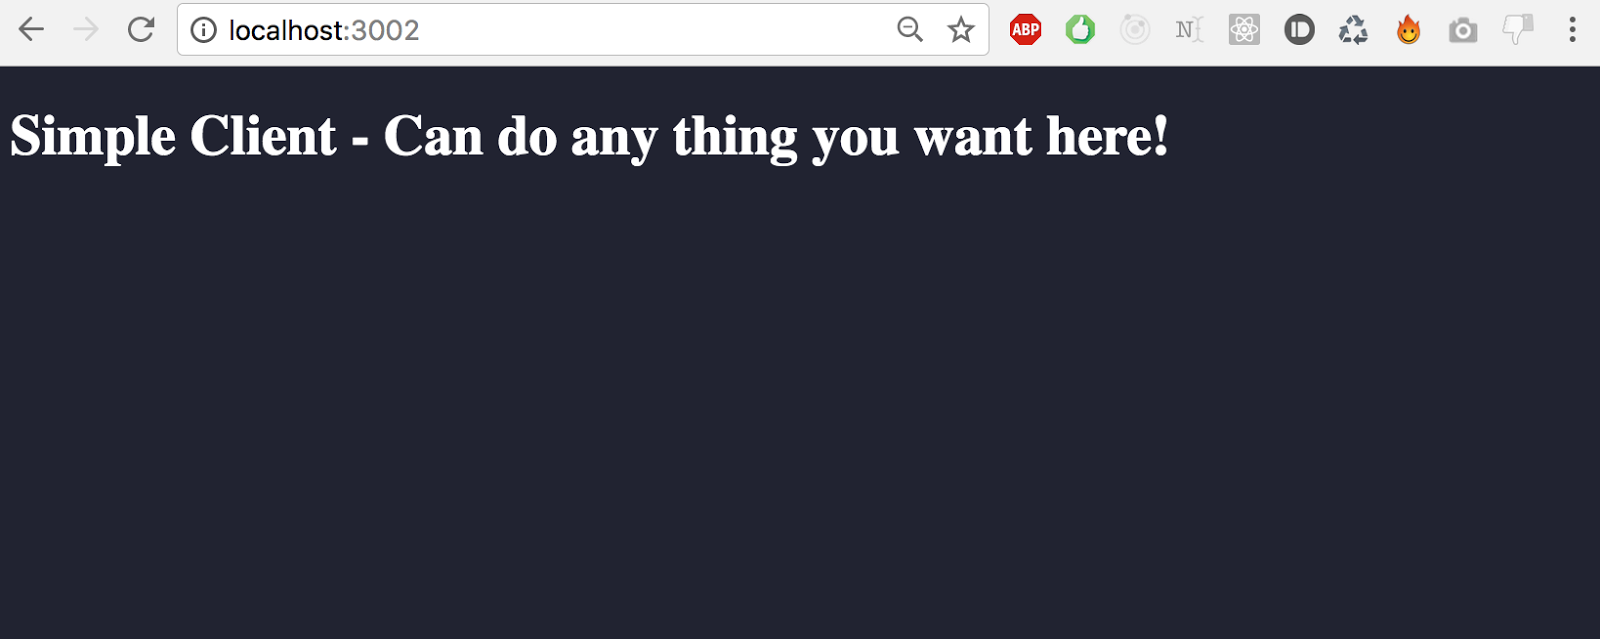
To see the server working, head over to http://localhost:3002/ and you will find the following webpage:
Receive Email on a Node IMAP Client
To receive emails on our Express server and parse them to be sent as SMS we first need to add a new route that accepts a POST request. Open server.js and add the following lines of code at then end:
When we POST something to the url http://localhost:3002/new-email it will be shown to us in the console – great for debugging. You can test this by running your server with the command yarn dev:server and in a separate terminal window running
curl —data "param1=value1¶m2=value2" http://127.0.0.1:3002/new-email, you will see the output from your console.log in the terminal window running your server instance.
In the main directory create a new file mail_client.js and add the following lines of code to it:
Woah, that was a huge chunk of code. Lets walk through it.
First, dotenv is an amazing library that allows you to map a given key-value file to the process.env state of a node application. This is quite handy for sharing the configuration format but at the same time hiding things like authorisation tokens.
Next, we are using another library called mail-notifier which does exactly what it reads: creates an IMAP Client and listens for updates to the watched folder – can be SPAM, DRAFTS, anything. Read the library’s documentation if you want to use it to monitor any other mailbox. In our app we set up the default configuration for the server to watch our INBOX.
In that configuration note the host, port, username and password environment variables. They depend on the email service you use, and you will have to look for the correct values. Here I am going to set up the variables in my config.env file to work with a standard Gmail account.
Let’s add the listener to actually do something when we receive a new email and start the server.
Require the request module at the top of the mail_client.js file::
The request library allows your application to perform all sorts of HTTP calls and adds quite a few nice wrappers to ease our coding.
Add the following lines after the inbox declaration:
Here we add an event handler that is raised when a new email is received by our IMAP Client. When that happens our code picks the values from the mail object and creates a new custom object, which is then posted to a URL running on the Express web server.
Note: make sure the WEBHOOK_TARGET url in the config.env file matches the one of your Express server’s /new-email route.
Now that we can listen for new email and forward them to our Express server. Let’s make our lives easier and modify the package.json script to run both the Express web server and the IMAP client in one command.
From this point onwards whenever we run yarn dev both servers get started.
Shall we test our application to this point? Go to another (or the same) email account of yours and write up a quick test email and send it to the email you put in config.env.
Note: The IMAP client marks all incoming emails ‘UNREAD’. Make sure you don’t have any unread emails in your inbox or else all are gonna come flooding in.
You should get an output like this in your terminal –
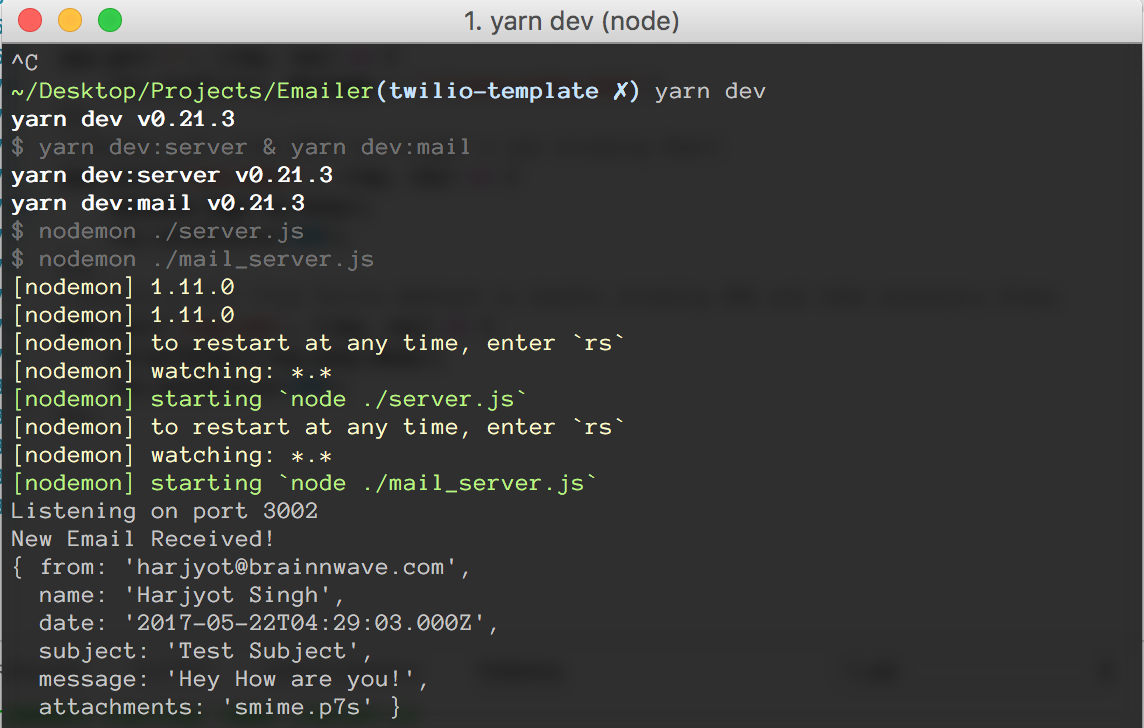
Whoop, that works! So our Express server can receive our custom mail object and we are free to do with it whatever we want.
How to forward an Email as SMS.
Begin by writing up a function that handles sending SMS – it is nothing but a wrapper for our convenience. In server.js add:
Now add the following function as well:
The job of this function is to break down our received email object and convert it into SMS body strings – the content of the SMS we will be sending. This function handles edge cases like when the email overflows the character limit imposed by Twilio, you can follow the comments in the function to understand what’s happening under the hood.
Before running this code make sure you have purchased a SMS compatible Twilio phone number and also verified one of your personal numbers. This is required if you are using a trial account which restricts you to sending SMS to only numbers you have verified.
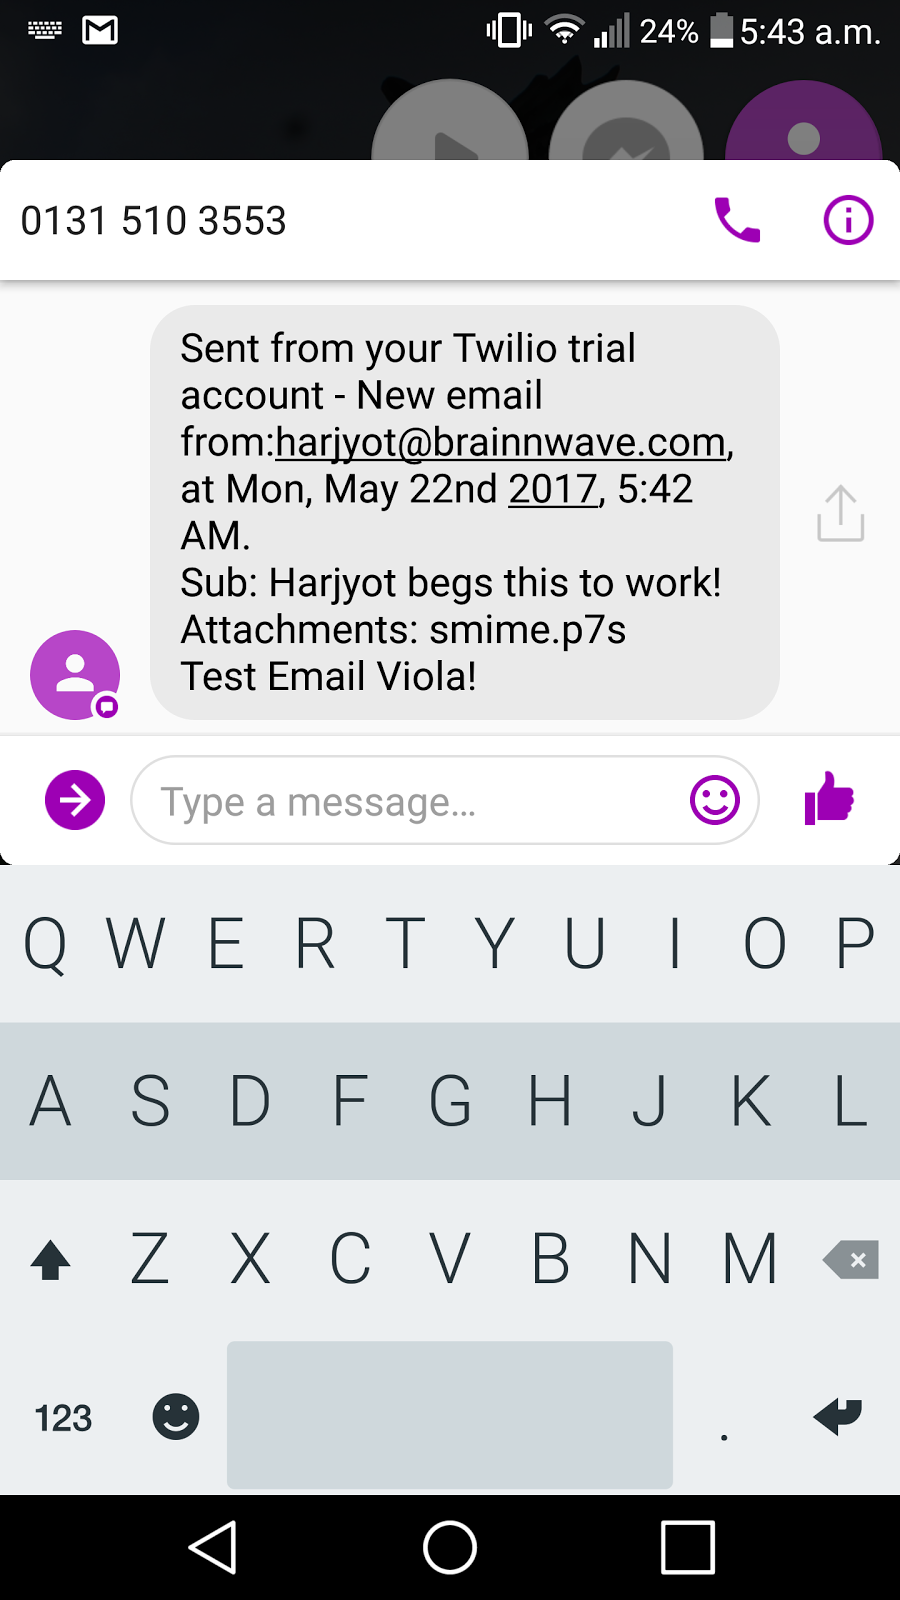
Finally, we modify our /new-email route to call the parseToSMS function to send another test email.
Final Thoughts
In this tutorial we saw how easy it was to set up simple servers in Node, write custom start scripts and use the Twilio SMS API to tackle a problem we encounter in real life. If you are further interested in trying out different things with the project, check out the master branch of the project at the repository . It has the same code as above but an added MongoDB Connection that stores all incoming emails.
- Try different machine learning algorithms on the stored incoming emails (anything from sentiment analysis to trend of emails you receive from different users)
- Create an offline dashboard for all your emails (the setup for a client page is already done. Just navigate to http://localhost:3002) in your browser
- Add more functionality like CC, BCC
- Improve on the attachments list
The things mentioned above are only a few of the ways you can extend this project. If you have any questions or just wanna have a quick chat, drop me a message on FB or send a tweet my way @iharjyot.


Related Resources
Twilio Docs
From APIs to SDKs to sample apps
API reference documentation, SDKs, helper libraries, quickstarts, and tutorials for your language and platform.
Resource Center
The latest ebooks, industry reports, and webinars
Learn from customer engagement experts to improve your own communication.
Ahoy
Twilio's developer community hub
Best practices, code samples, and inspiration to build communications and digital engagement experiences.