Saying Happy Birthday to my Grandma with #TwilioIoT
Time to read: 6 minutes
November 05, 2018
Written by

When it came to my Grandma 90th birthday I was stumped about what to get her as a gift. She has been a big influence in my life and I wanted to do something that showed that. I knew I wanted to integrate Twilio in some way because when she was younger she was a switchboard operator for Bell Telephone. Then it hit me like a ton of phones. I will create a hardware device with a Programmable Wireless SIM and a Grove Button. When grandma presses the Grove Button a voice call will be routed to her phone and an operator will tell her how much I love her and wish her a happy birthday.
What I needed to send some birthday love
For this project you will need following components:
- Twilio SIM
- Twilio Phone Number
- TwiML Bins
- Wio LTE Cat.1 board by Seeed Studio
- LTE Antenna
- Lithium Battery
- Micro-USB cable
- Seeed Studio Grove Button
- Arduino IDE
- Wio LTE Arduino Library
How does this work?

I want to generate a call from my Twilio SIM using the Wio LTE. A Grove Button is connected to the Wio LTE and is used for physical interaction. When the Grove Button is clicked it will trigger a callback in Twilio. To make the call I need to create some TwiML which will respond to the callback. Then when the call connects I need another piece of TwiML which will play a Text-to-Speech message using Amazon Polly. Since we are connecting a SIM card on a board to a real device, we'll use a little workaround to get the message played. By including a `url` attribute on `<Number>` Twilio will play the TwiML to the person who answers the phone before they are connected. This is known as a whisper.
Purchase a Twilio number & register a Twilio SIM
First things first, purchase a Twilio phone number. This phone number will be used to route the call from the Programmable Wireless SIM to my grandma’s phone using voice data.
Remove the Twilio SIM from it’s packaging, register and activate your SIM.
Creating the Text-to-Speech TwiML with Amazon Polly
I wanted to create a Text-to-Speech message using TwiML. TwiML, or the Twilio Markup Language, is an XML based language which instructs Twilio on how to handle various events such as incoming and outgoing calls, SMS messages and MMS messages. When building a Twilio application you will use TwiML when communicating your desired actions to Twilio. A TwiML Bin is a way to prototype an interaction with TwiML without having to create and host a web server yourself.
To do this I used the TwiML <Say> verb to create a message that will be verbalized when my grandma answers the phone call. And to make it more realistic, I used the voice attribute to select an Amazon Polly voice to sound more lifelike.
- Navigate to Runtime in the Twilio Console
- Click TwiML Bins
- Click the + to add a new TwiML Bin
- Create new a new TwiML <Response>
- Add the <Say> verb
- Add the voice attribute to specify an Amazon Polly voice
- Specify the language with the language attribute
- Press save
Your TwiML should look like this when you complete the following above steps. Save the TwiML Bin and make sure to copy the URL of the TwiML Bin, it will used momentarily.
Creating the Programmable Voice URL TwiML for your SIM
The Text-to-Speech part is ready, next I need to route the inbound Programmable Voice call from the SIM using TwiML. These are the steps to set this up:
- Navigate to Programmable Wireless in the Twilio Console
- In Overview, select the newly registered SIM
- Click the Programmable Voice & SMS tab
- Under Programmable Voice & SMS change the Voice Url to TwiML
- Paste the TwiML below into the box
- Add your Twilio phone number to the callerId attribute of the Dial Verb
Paste the TwiML Bin URL into the URL attribute of the Number noun
Great! The SIM is now configured to route an outgoing voice call with a Twilio phone number and read a custom message to my grandma using Text-to-Speech. That was a mouthful of cake, no doubt. Next let’s make this into a physical device.
Hardware setup
Unbox the Wio LTE board and connect the board to the computer using the Micro-USB cable provided. Depending on the operating system a USB driver may be needed to connect to the Wio LTE.
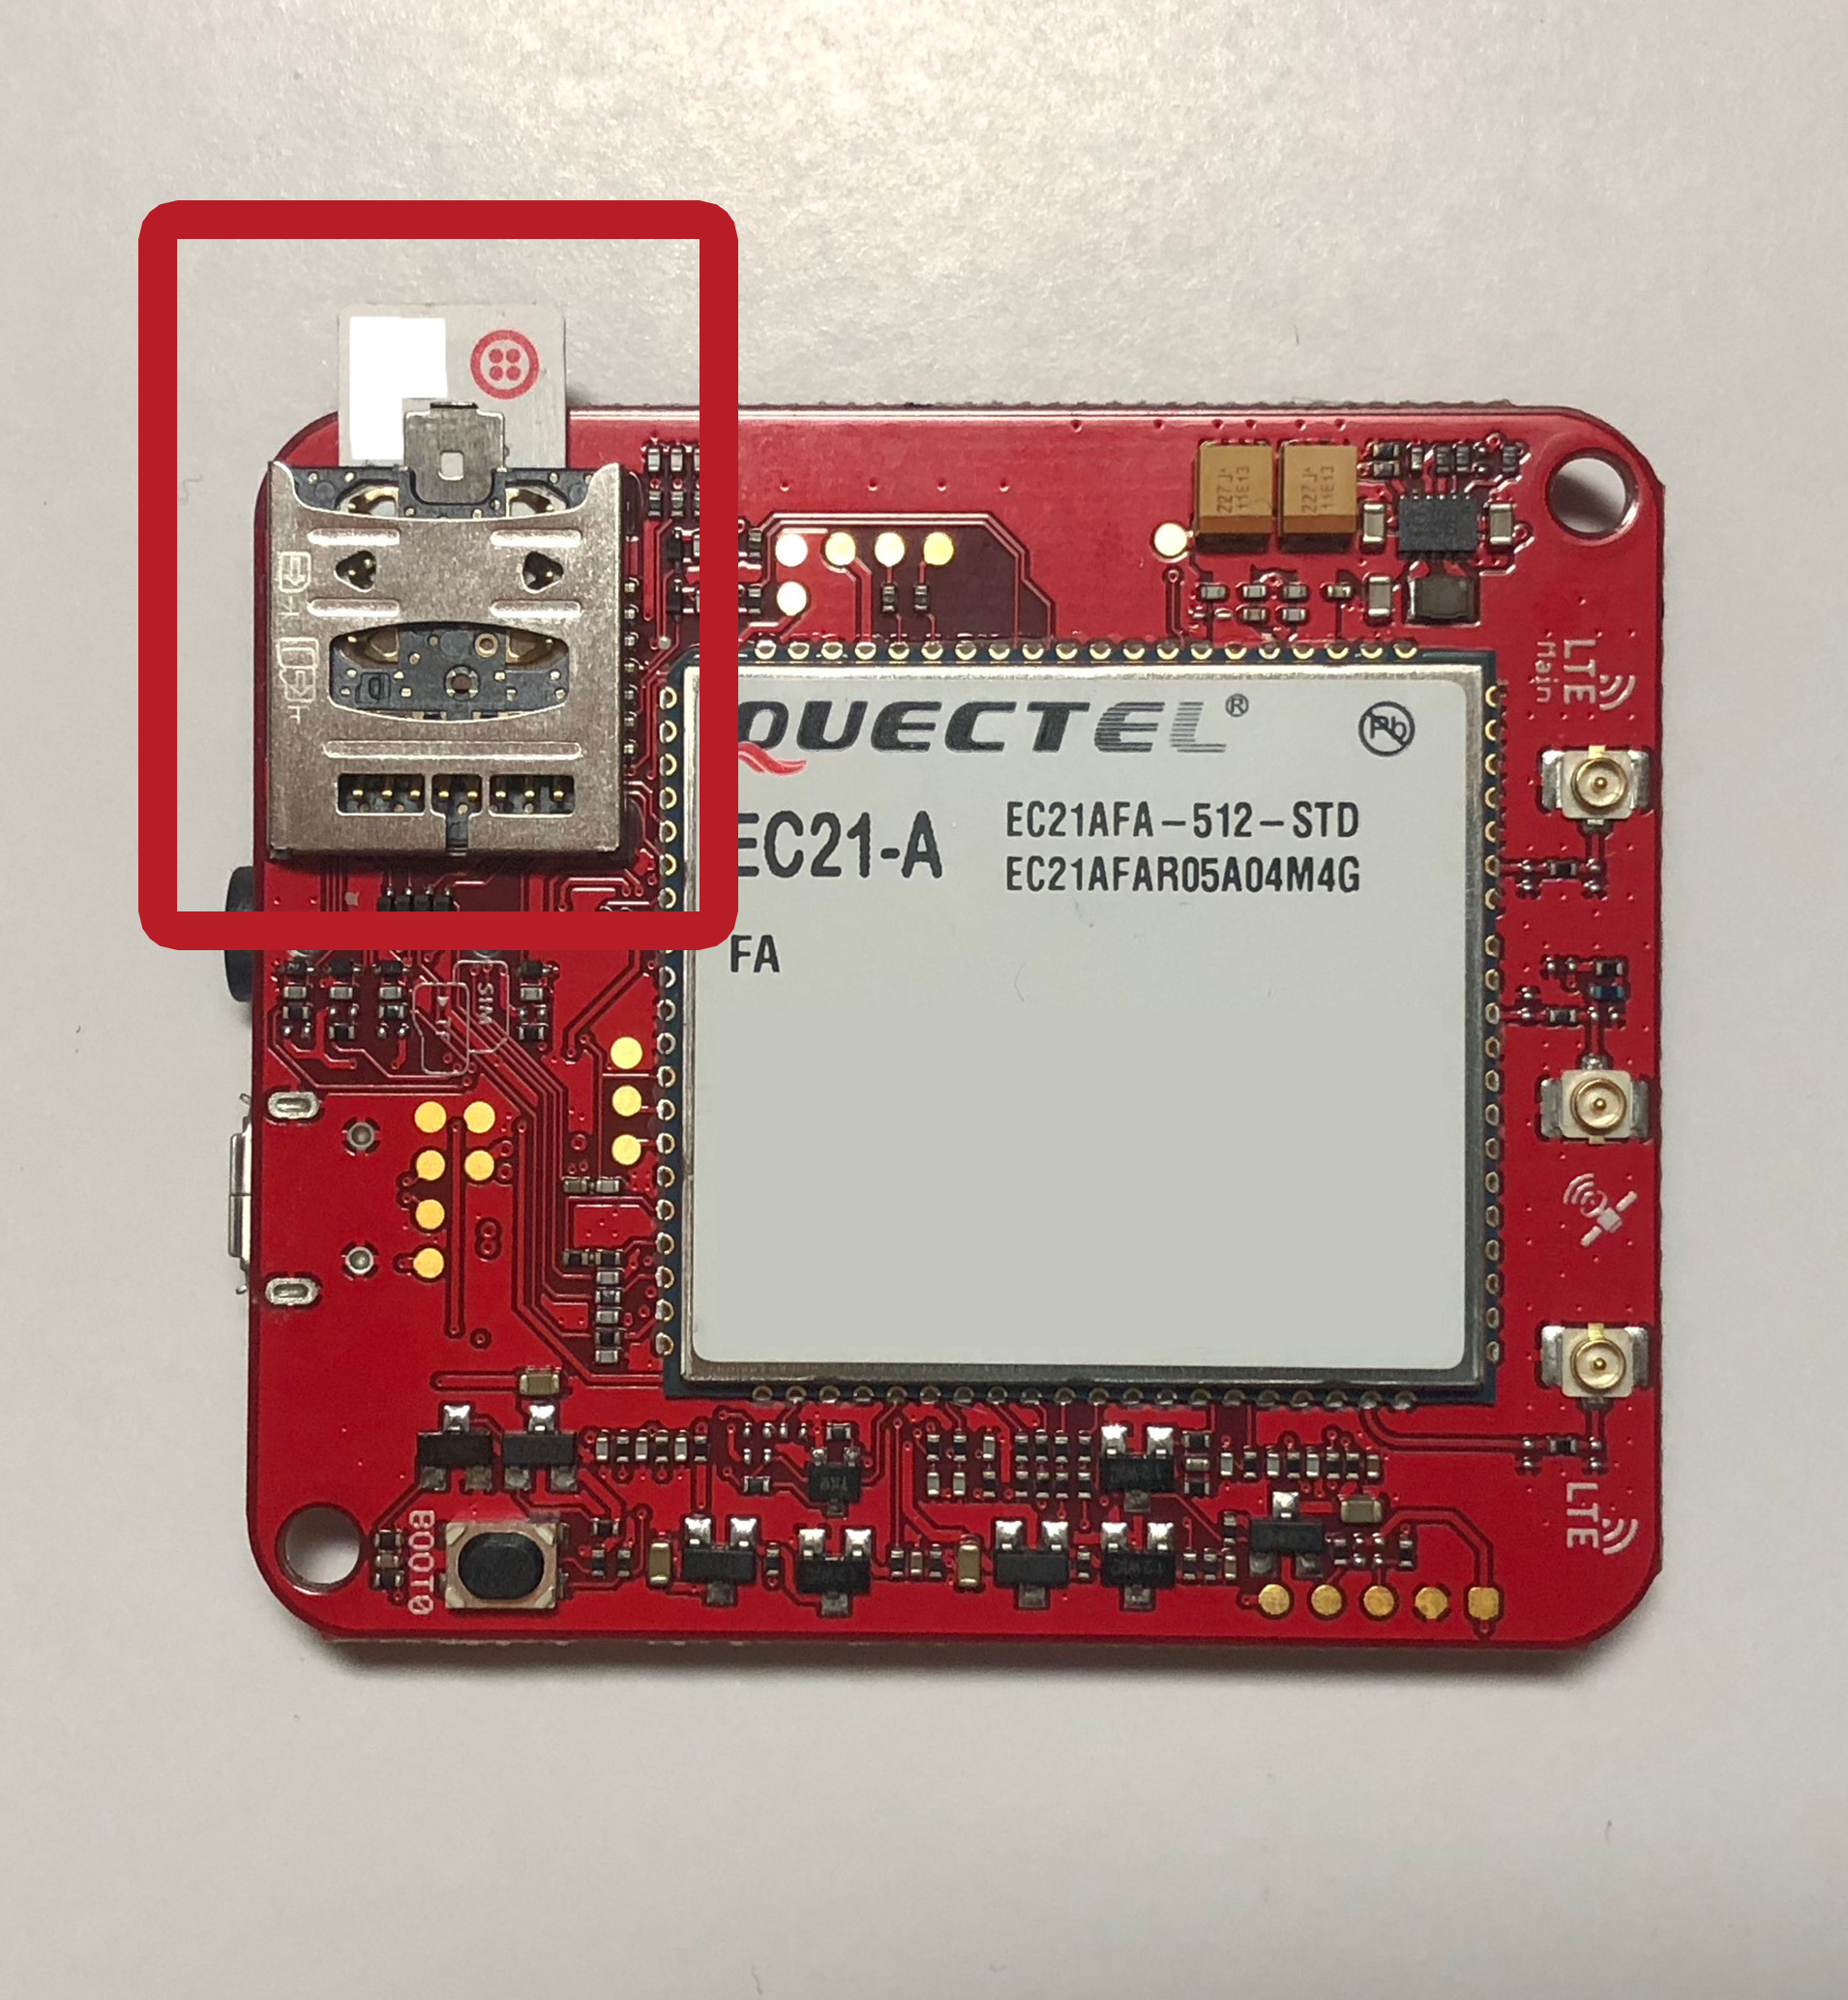
Insert the Twilio SIM you registered into the Wio LTE’s SIM slot on the back of the board.
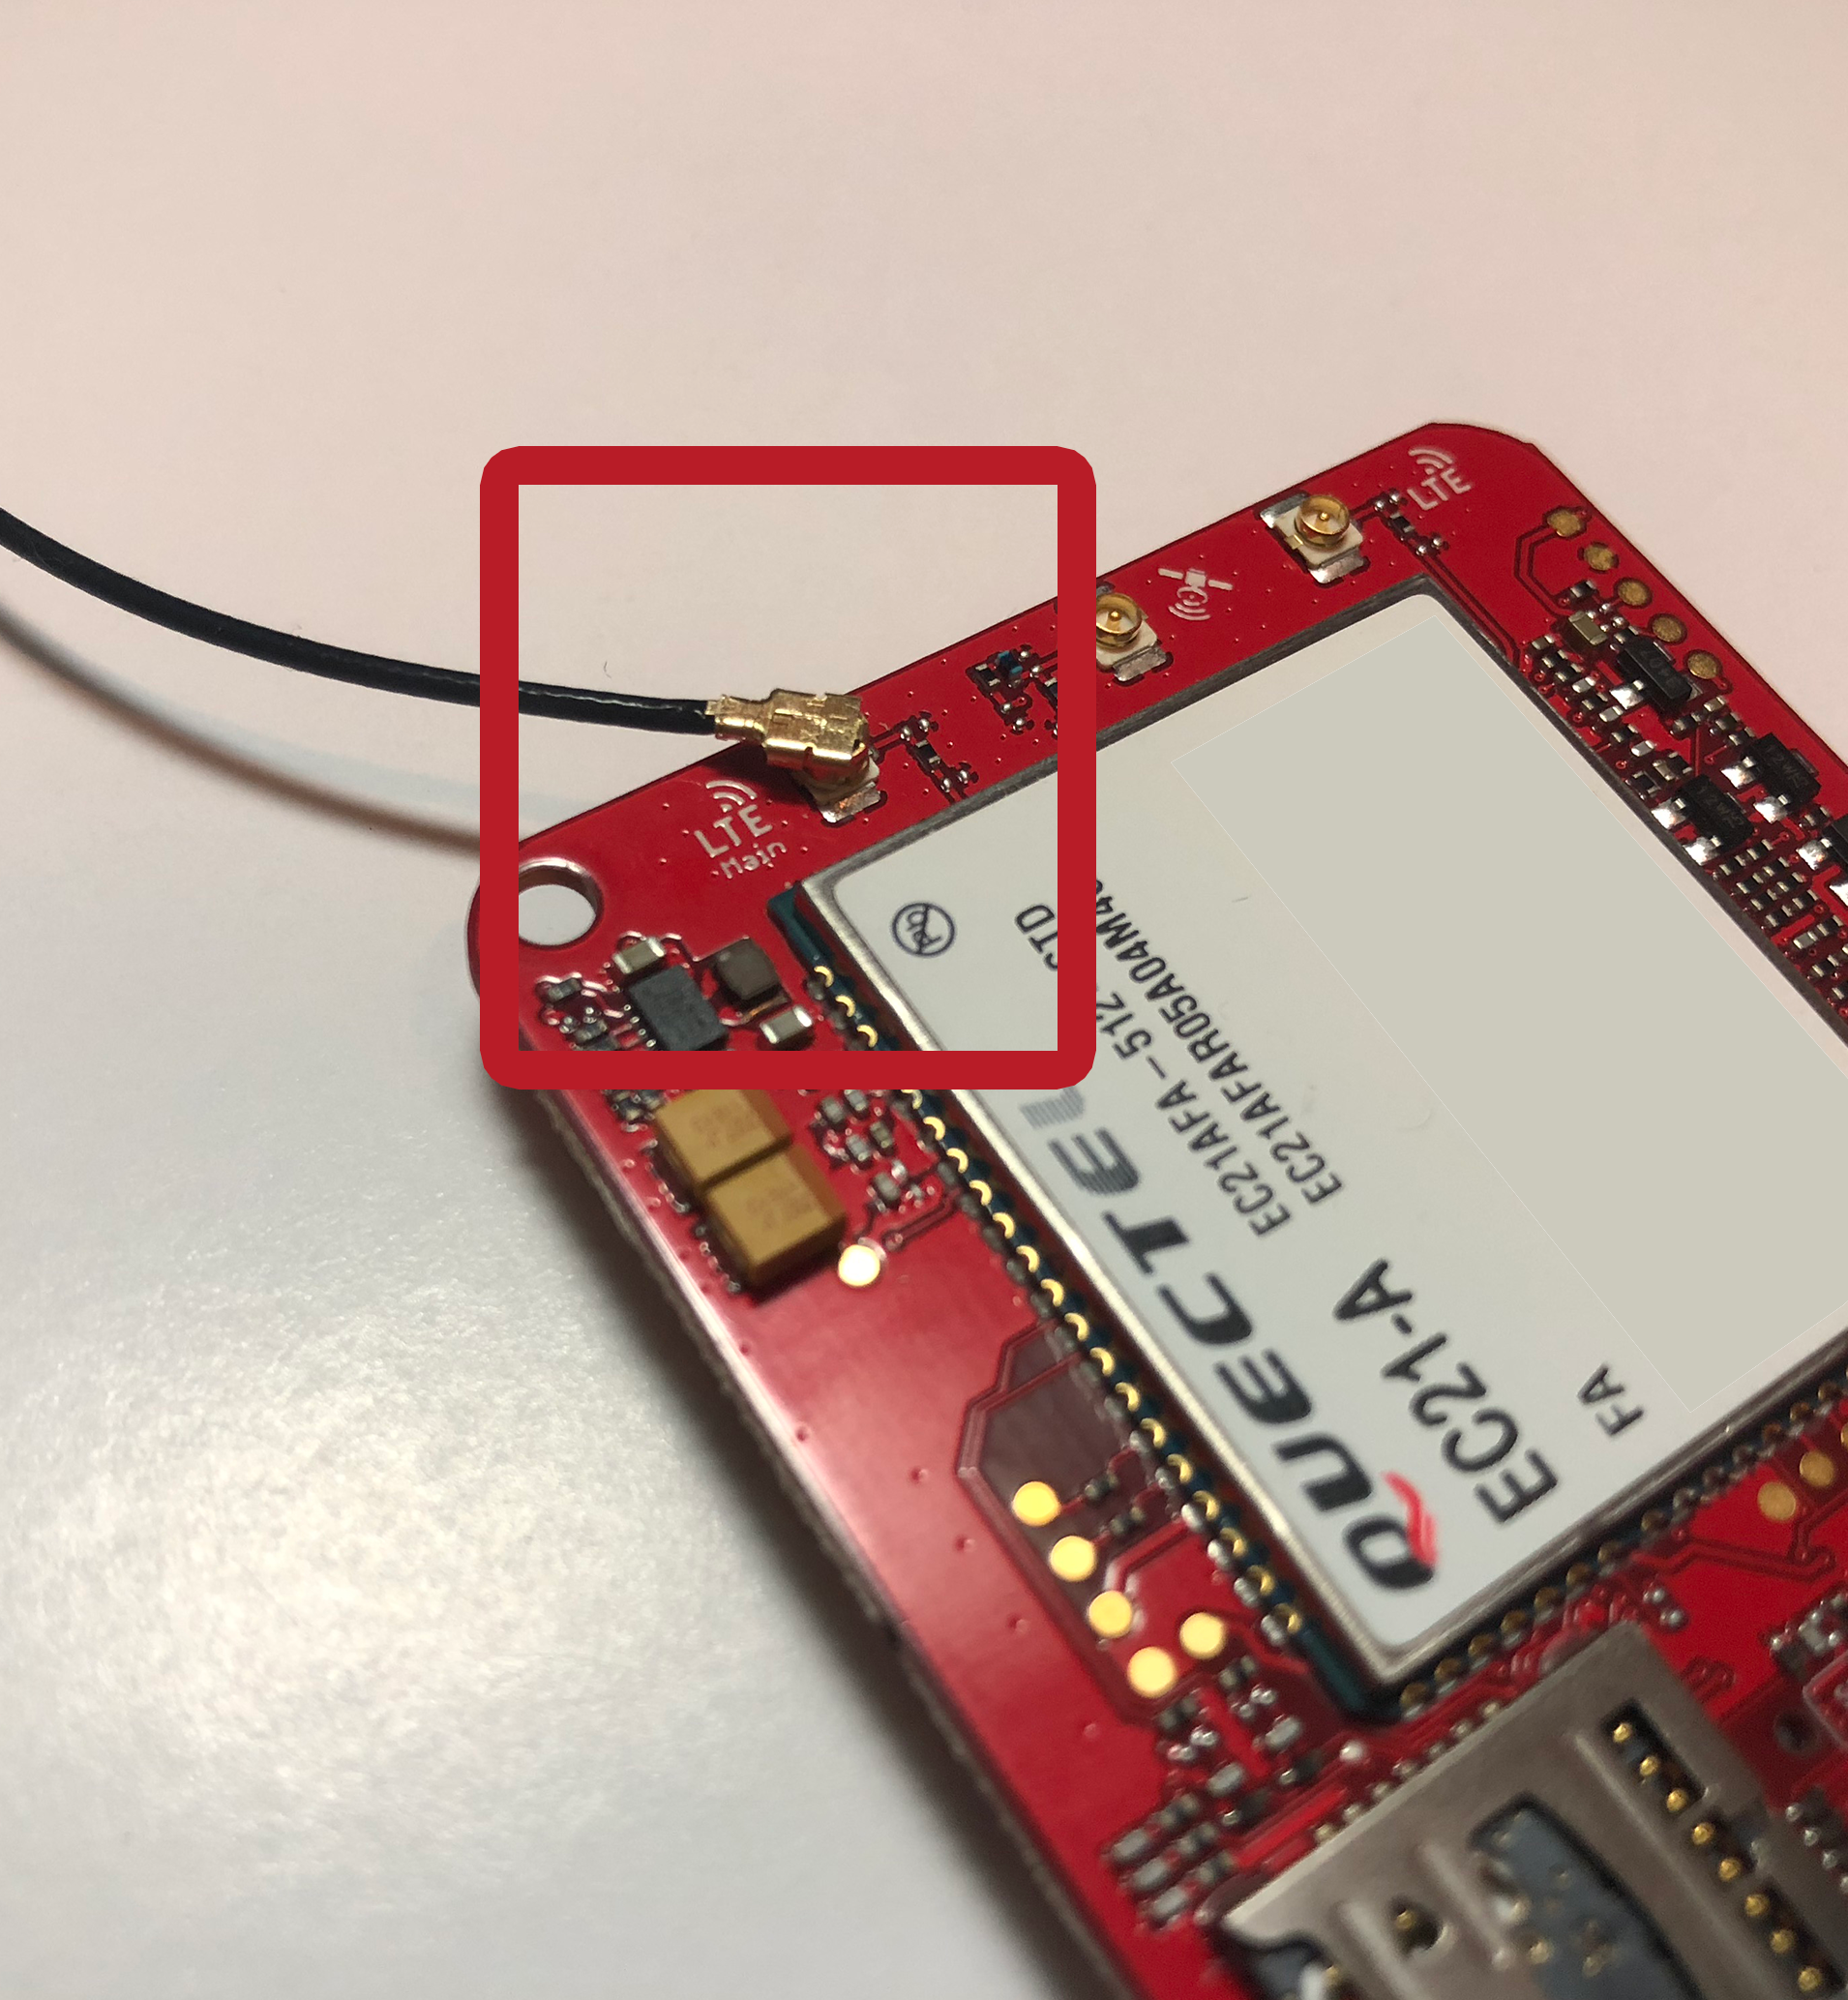
Within the Wio LTE box is a LTE antenna. Remove the LTE antenna from it’s packaging and connect the LTE antenna to the back of the Wio LTE where it says LTE main.
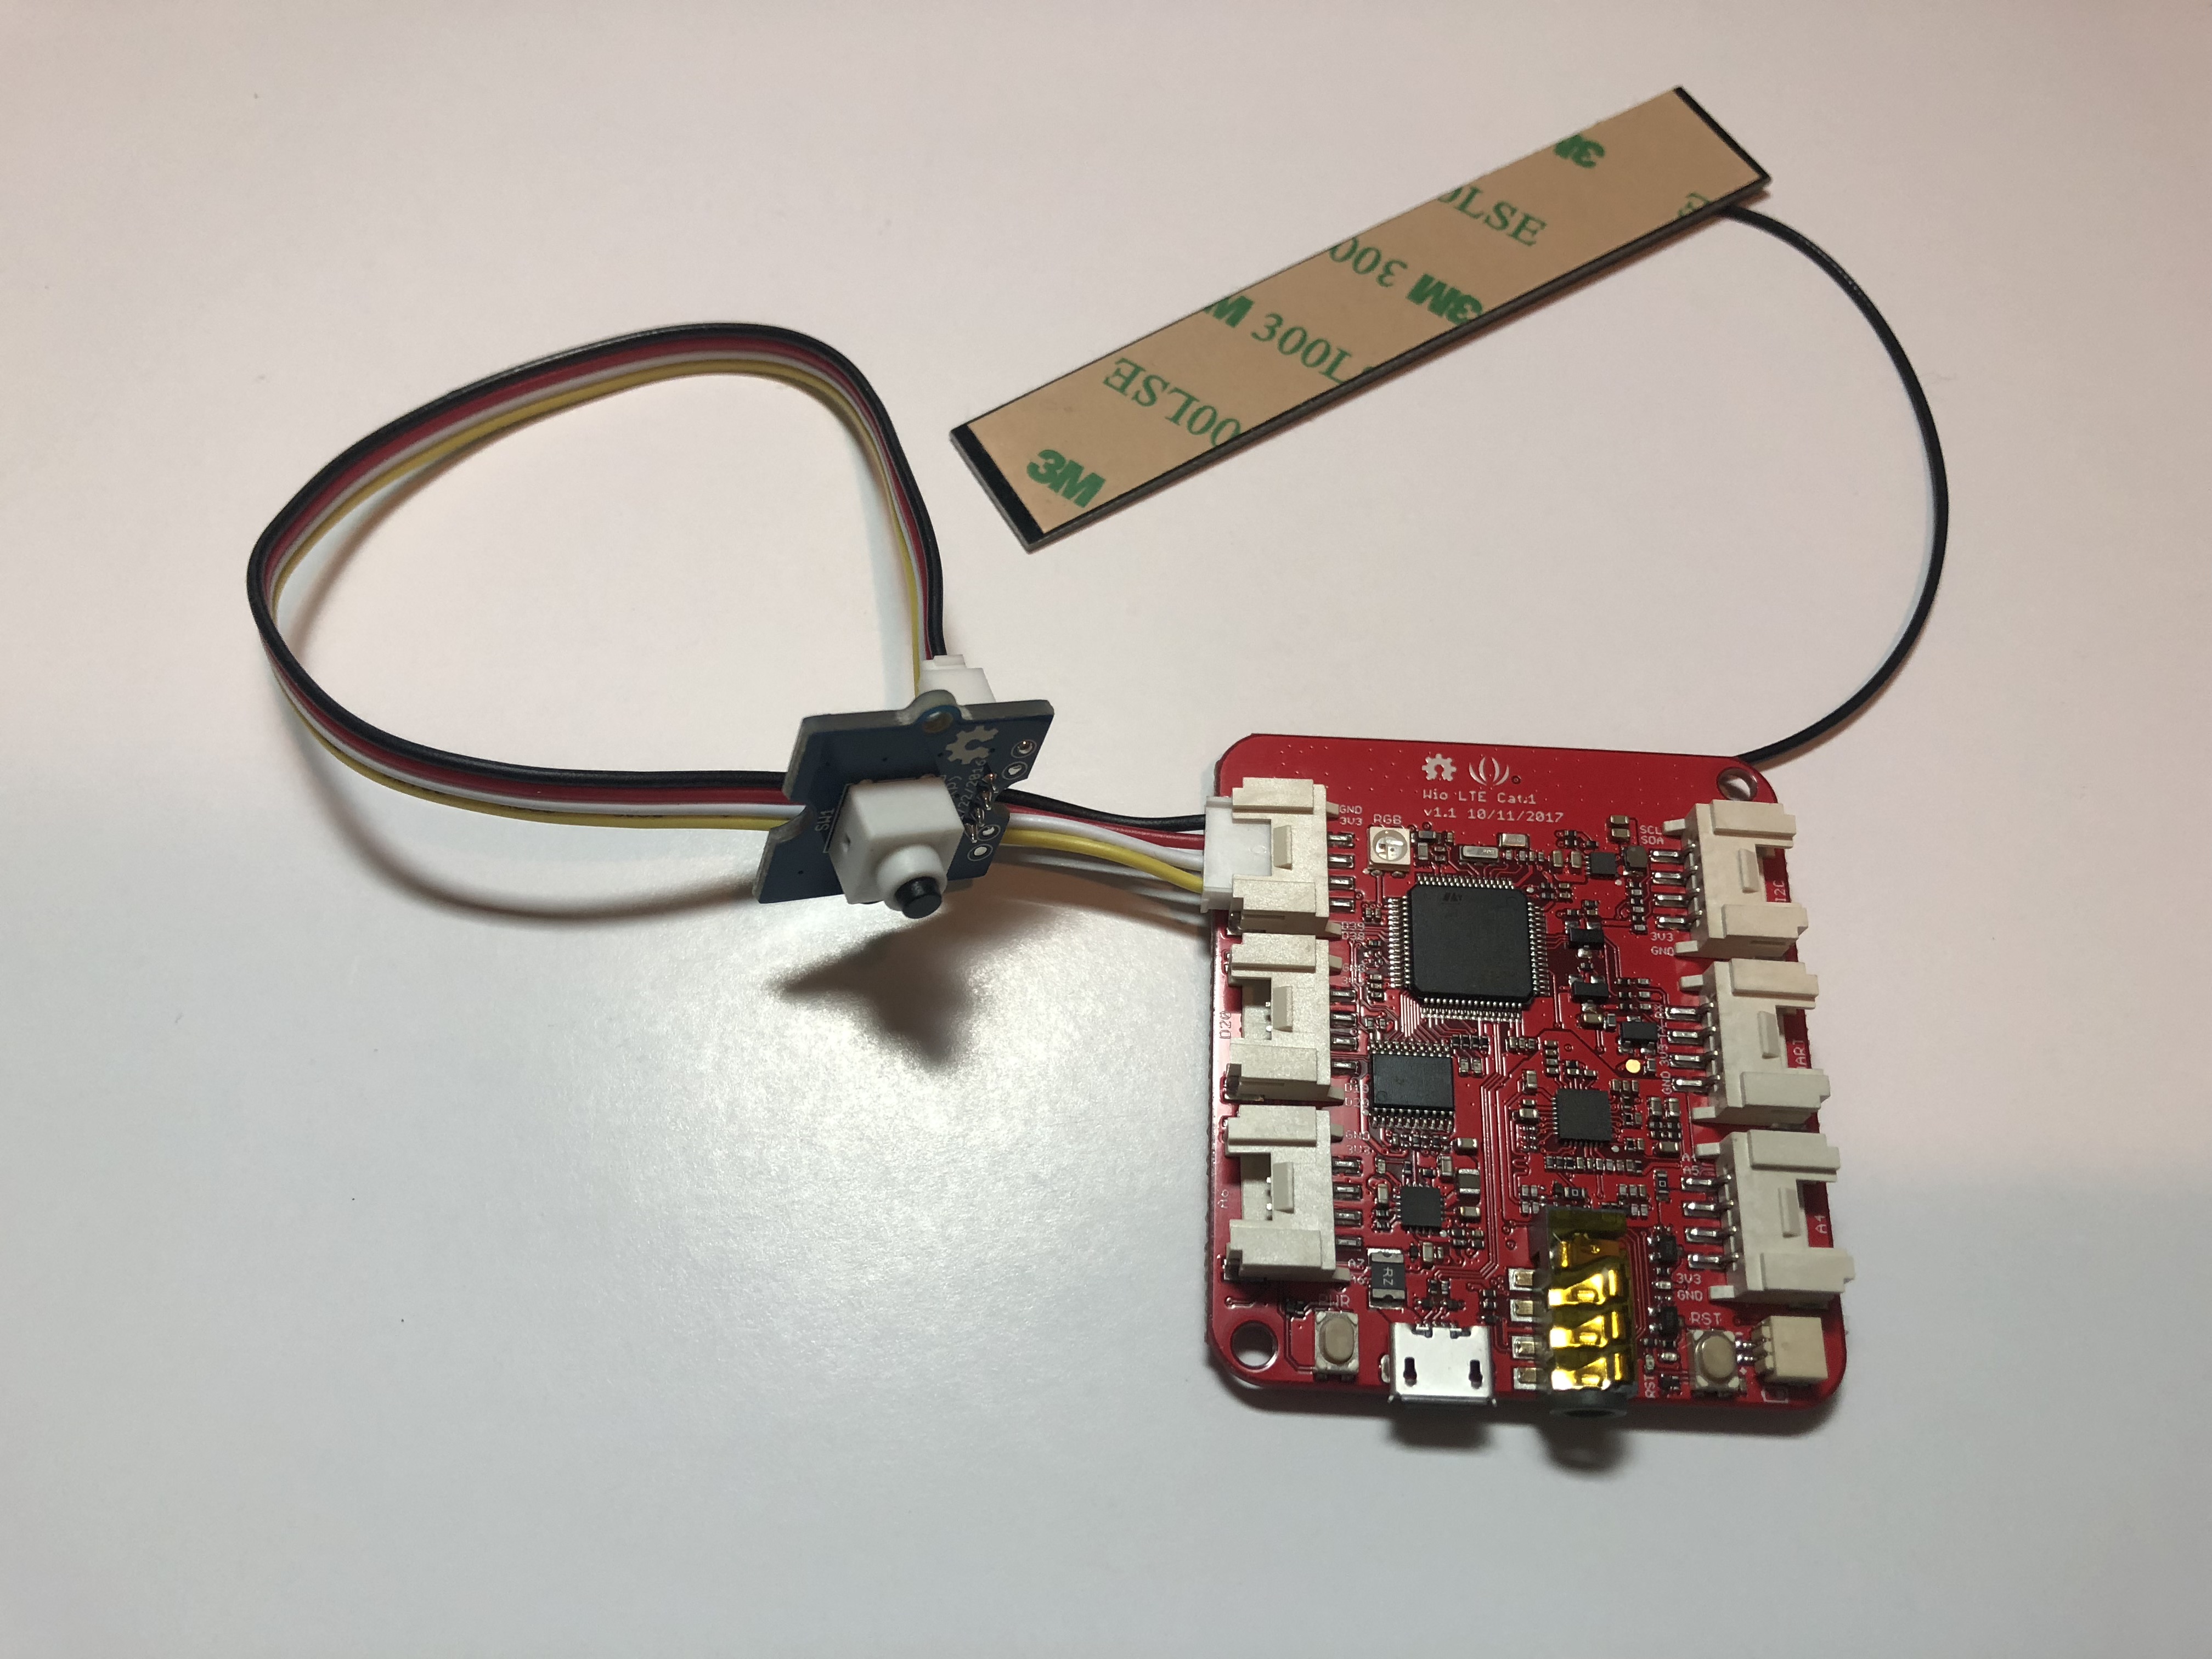
Now remove the Grove Button from it’s packaging and connect the Grove Button to the D38 socket of the Wio LTE.
Software Environment setup
Next to download Arduino IDE. This will be used to program and upload code to the Wio LTE. After installing the Arduino IDE download the Wio LTE Arduino Library from GitHub and follow this guide to install the library. The library is a wrapper for the STM32F4 chip that utilizes the Arduino Core and adds Quectel EC21-A modem functionality.
Next put the Wio LTE into Bootloader mode. This mode needs to be enabled for uploading code to the board. To enable Bootloader mode:
- Press and hold the BOOT0 button underneath the board
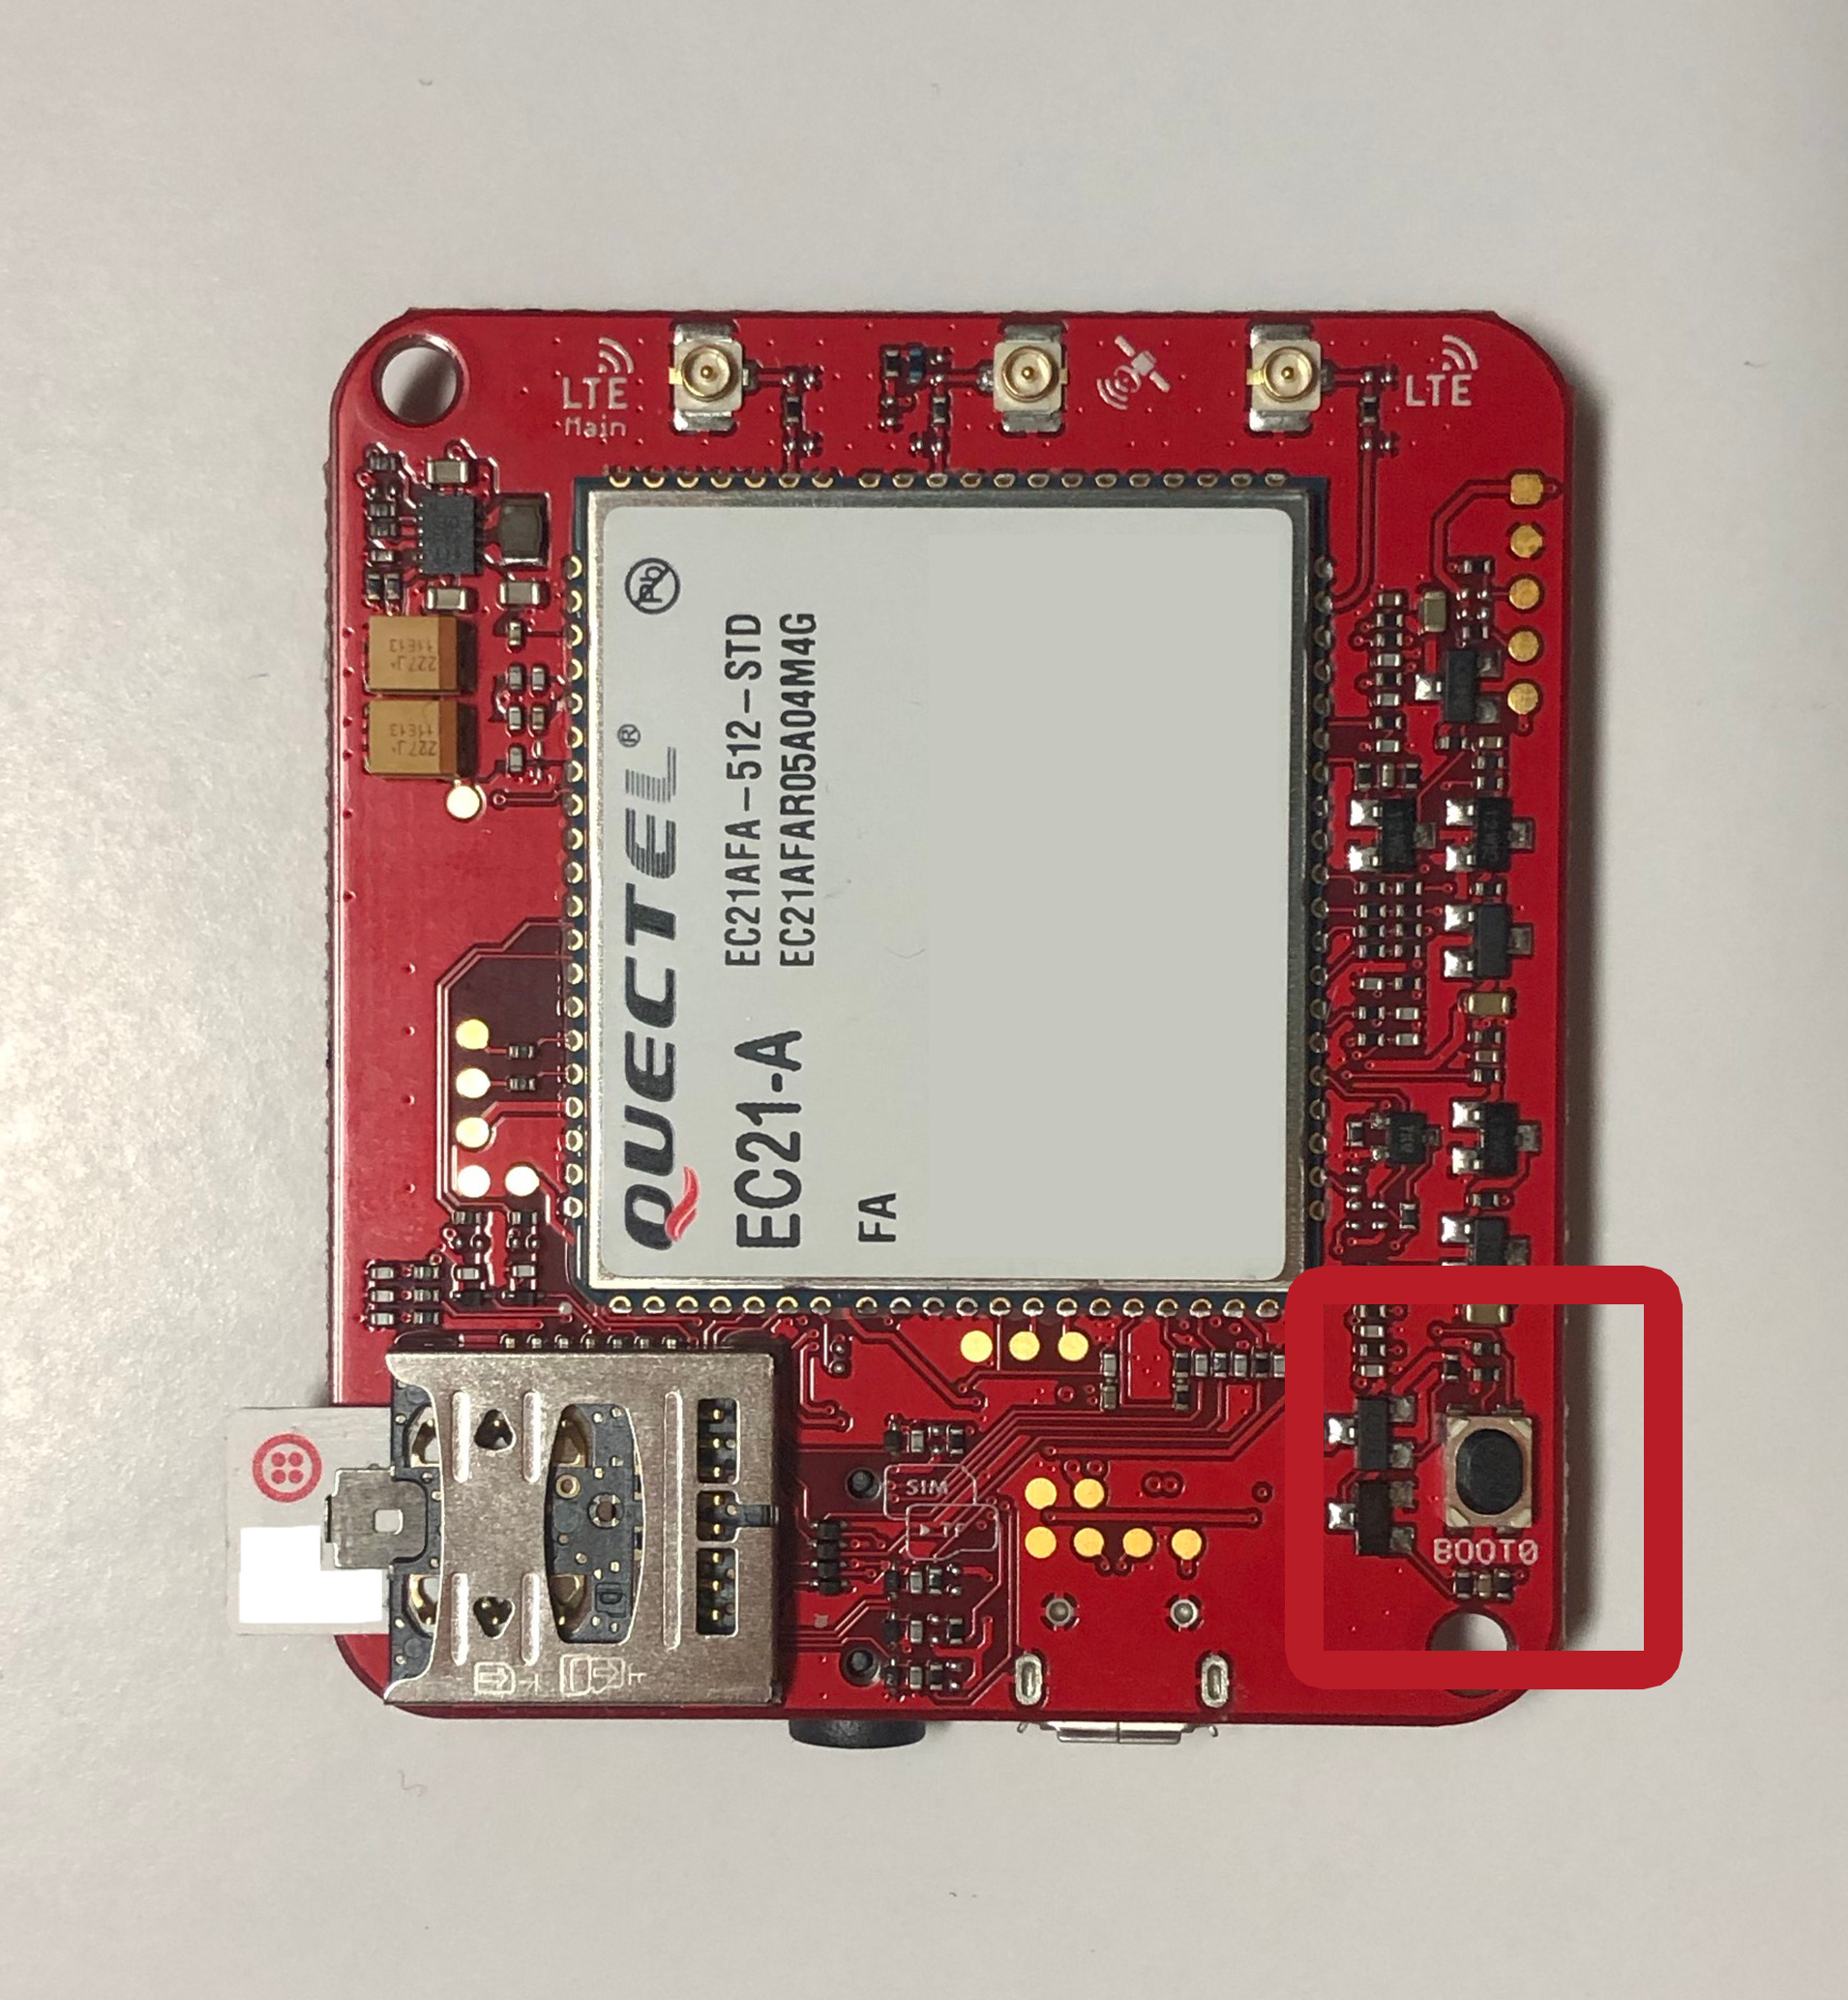
- Press the RST on the top of the board
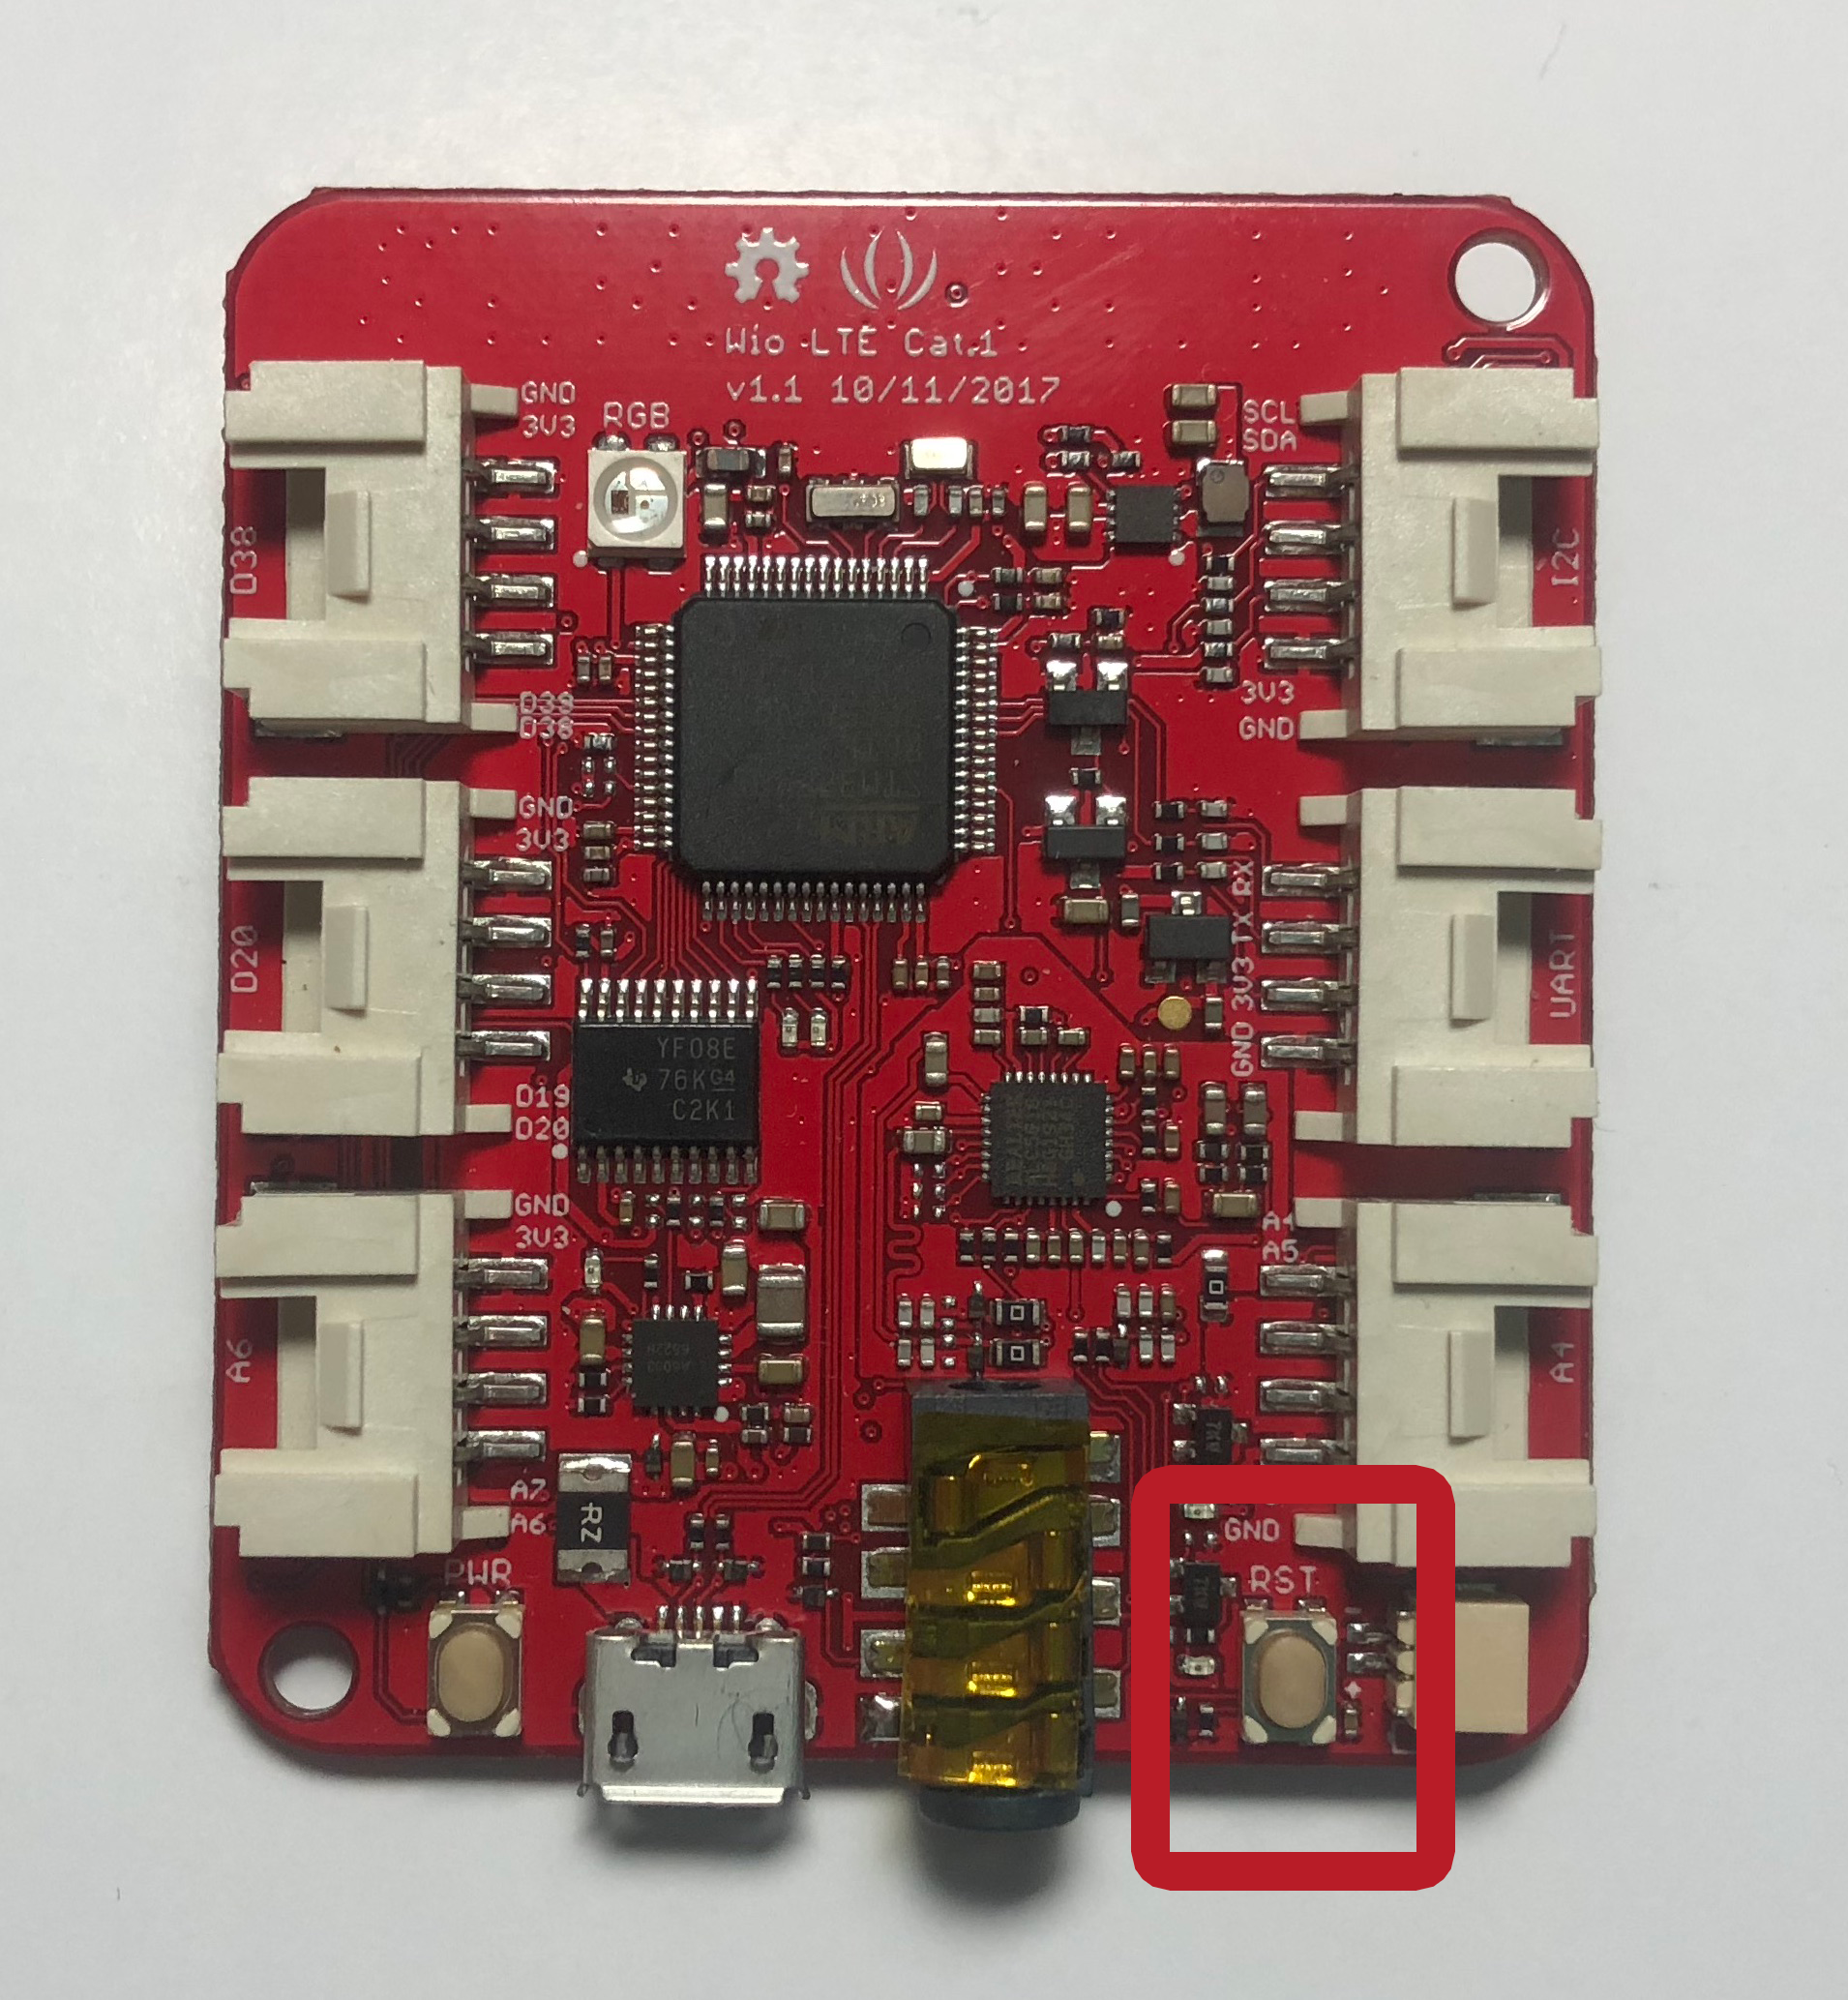
- Release the BOOT0 button to enable Bootloader mode
Creating the code

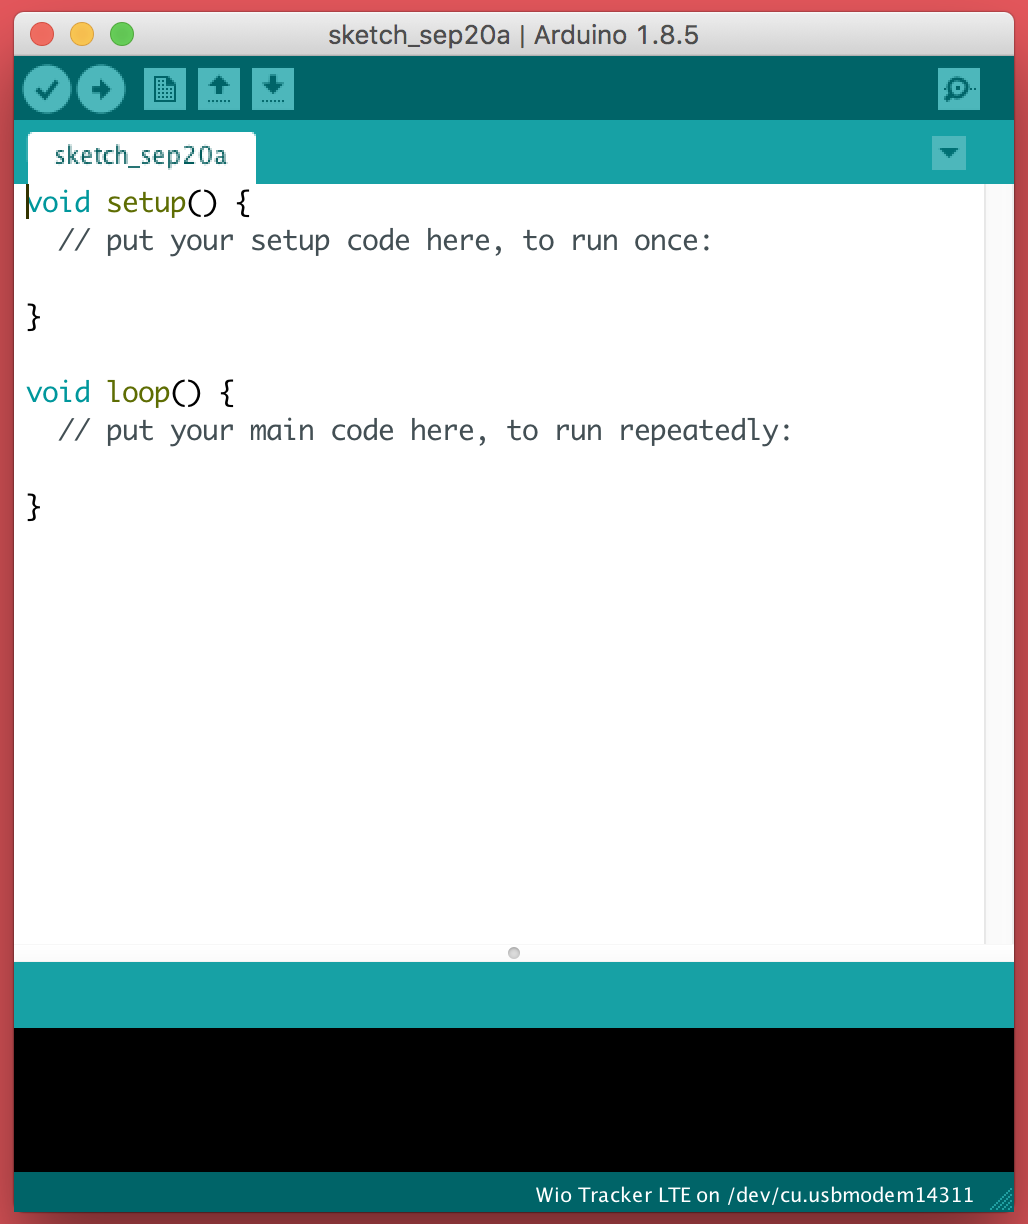
Create a new Arduino sketch (File -> New).
Start by adding the Wio LTE library file wio_tracker.h and defining a global variable for the Grove Button above the setup() function. Next create an instance of the WioTracker using the variable wio and create a counter variable. The counter will be used to debounce the Grove Button so we have more control over the Grove Button’s interaction.
The setup() function is used to initialize various aspects of the program at startup. The pinMode() is used to set the physical pin the Grove Button is connected to and the type of functionality the board expects. Then the board runs through it’s initialization process and connects the Twilio SIM to the cellular network.
The Grove Button logic for the program is created in the loop() function. This function continually listens for changes in the state of the board. In this case, it is waiting for the Grove Button state to change. The variable buttonState reads incoming Grove Button state changes from the physical pin on the board using digitalRead().
The main if-statement manages the incoming state changes. The counter is used as a way to debounce the Grove Button so only a single call is made. If there was no debouncing logic the program would continue to make calls every 100ms while the Grove Button is held down.
When the Grove Button is not being pressed, state “0”, the counter will reset to 0.
When the Grove Button is pressed, state “1”, the counter starts to iterate. A nested if-statement is used to catch a specific number created by the counter. When the number 1 is caught the call is made to my grandma using `wio.callUp("GRANDMA_PHONE_NUMBER")`.
That's all the code we need, to transfer this to the Wio LTE board press upload.

When the upload finishes disconnect the Wio LTE from the Micro-USB cable. Connect the lithium battery to the board.
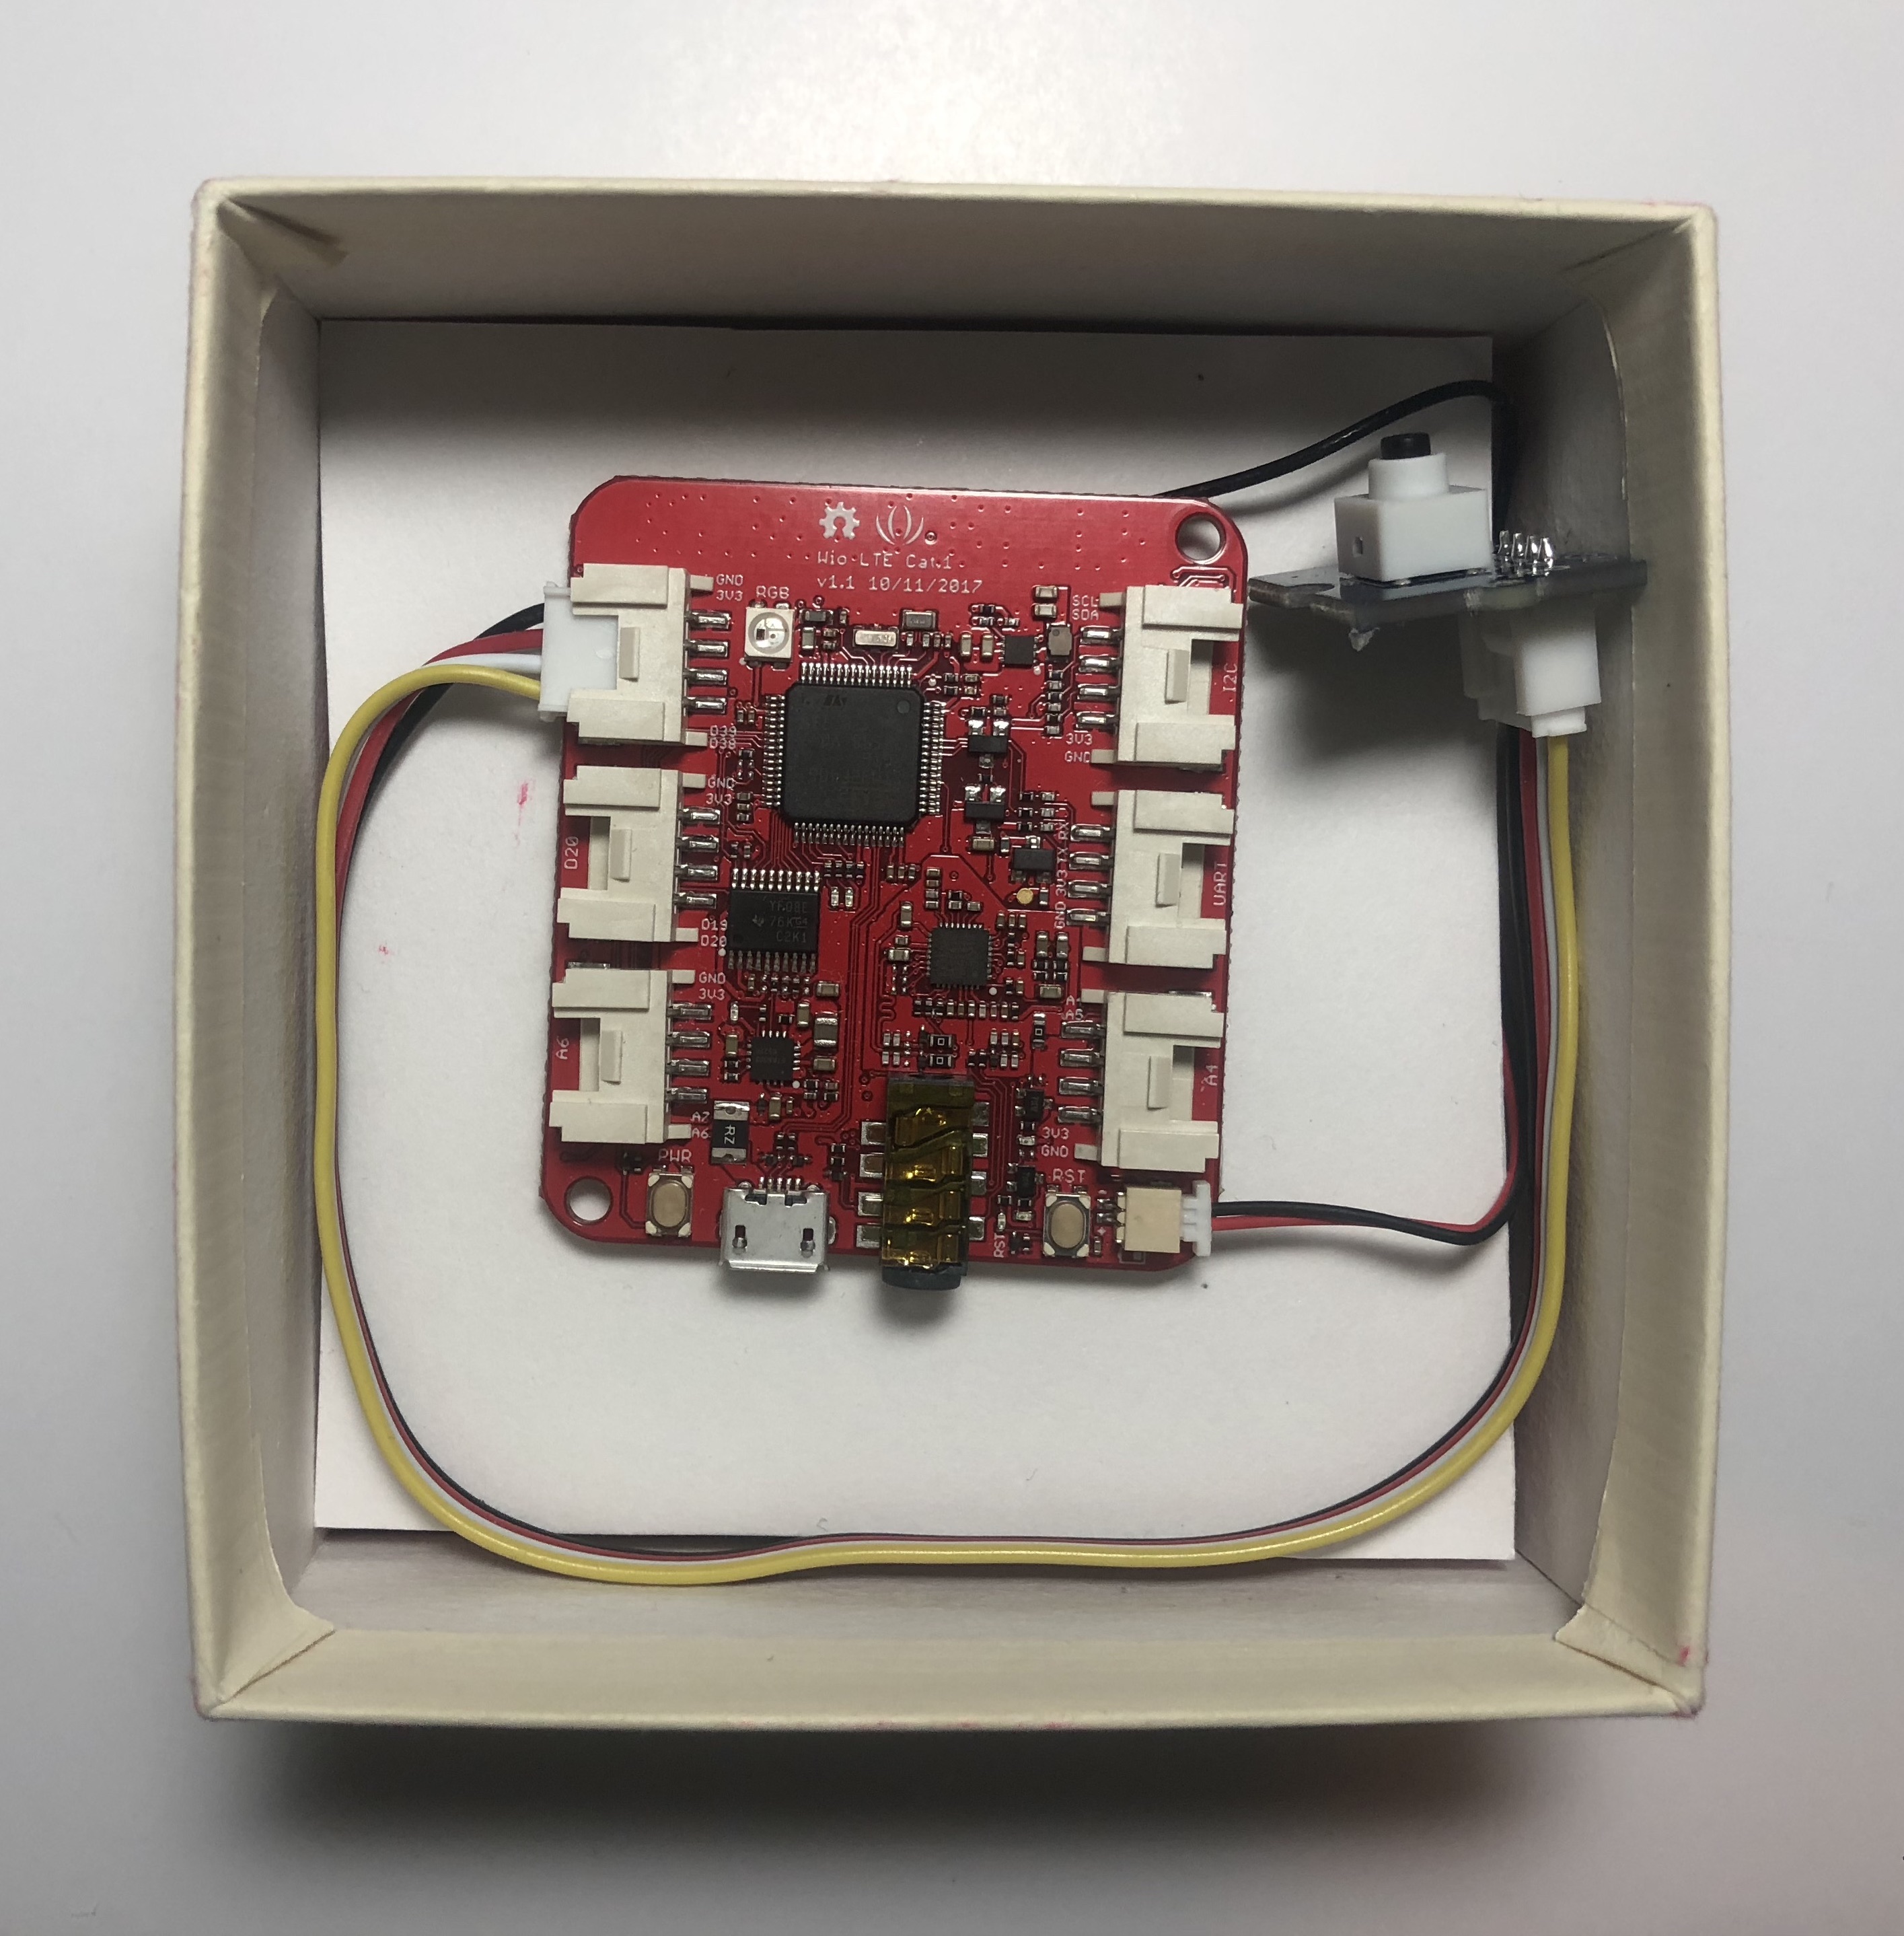
For the party I placed the board, battery and the LTE antenna in a small box to make it more presentable. I tried my best to make it fancy, but I felt it looked cooler exposed with a few parts hidden. During the event I sat down with my grandma and presented the box to her. I managed to record a short video of her demoing it for the first time and she was jazzed about it. I can’t imagine what it must be like seeing the evolution of communication from her eyes and ears. If you are curious what happened I recorded the video so people can see her reaction in real time.
Thoughts
After creating this project I realized this could be useful for individuals who may be separated by long distances. And instead of Text-to-Speech an audio file could be used to send personal messages like voicemail in reverse. Sending a love note and reminding others you care is important. What type of #TwilioIoT projects are you building with Programmable Wireless? Reach out on Twitter with your comments, questions and projects anytime. Don’t forget to check out the complete project on my GitHub. See you on the web, ride the wave.


Related Resources
Twilio Docs
From APIs to SDKs to sample apps
API reference documentation, SDKs, helper libraries, quickstarts, and tutorials for your language and platform.
Resource Center
The latest ebooks, industry reports, and webinars
Learn from customer engagement experts to improve your own communication.
Ahoy
Twilio's developer community hub
Best practices, code samples, and inspiration to build communications and digital engagement experiences.