Sending a SIM Command from an Azure Virtual Machine with Node.js
Time to read: 5 minutes
March 27, 2019
Written by

Building a Virtual Machine using the Azure CLI is a skill that can bring your idea beyond the desktop and into the cloud. In this tutorial, we will walk through how to set up an Ubuntu Virtual Machine using the Azure CLI and send a Twilio SIM Command using Node.js. This post assumes that you have a basic understanding of how to set up a Twilio SIM and use the Commands API. If you are new to this concept check out the Commands API documentation and this example on how to send machine-to-machine Commands with the Twilio SIM. More TwilioIoT projects can be found, along with this one, on GitHub.
Overview
- Sign up for a free tier Azure account
- Install Azure CLI
- Create a new Virtual Machine
- Installing Node.js, npm & Twilio
Workflow
Azure Virtual Machine + Commands API + Node.js
Requirements
Sign up for a Free Tier Azure account
For this project, we will need an Azure account. Navigate to the Microsoft Azure website and set up a Free Tier account. We will be able to use this account to set up our first Virtual Machine. Instead of using the web interface to set up the Virtual Machine we will do it using the Azure CLI.

Install Azure CLI
Azure CLI is a command-line tool that enables a user to create scripts for managing various Azure resources. From the terminal, we can streamline the creation of different Azure operations such as a new Virtual Machine.
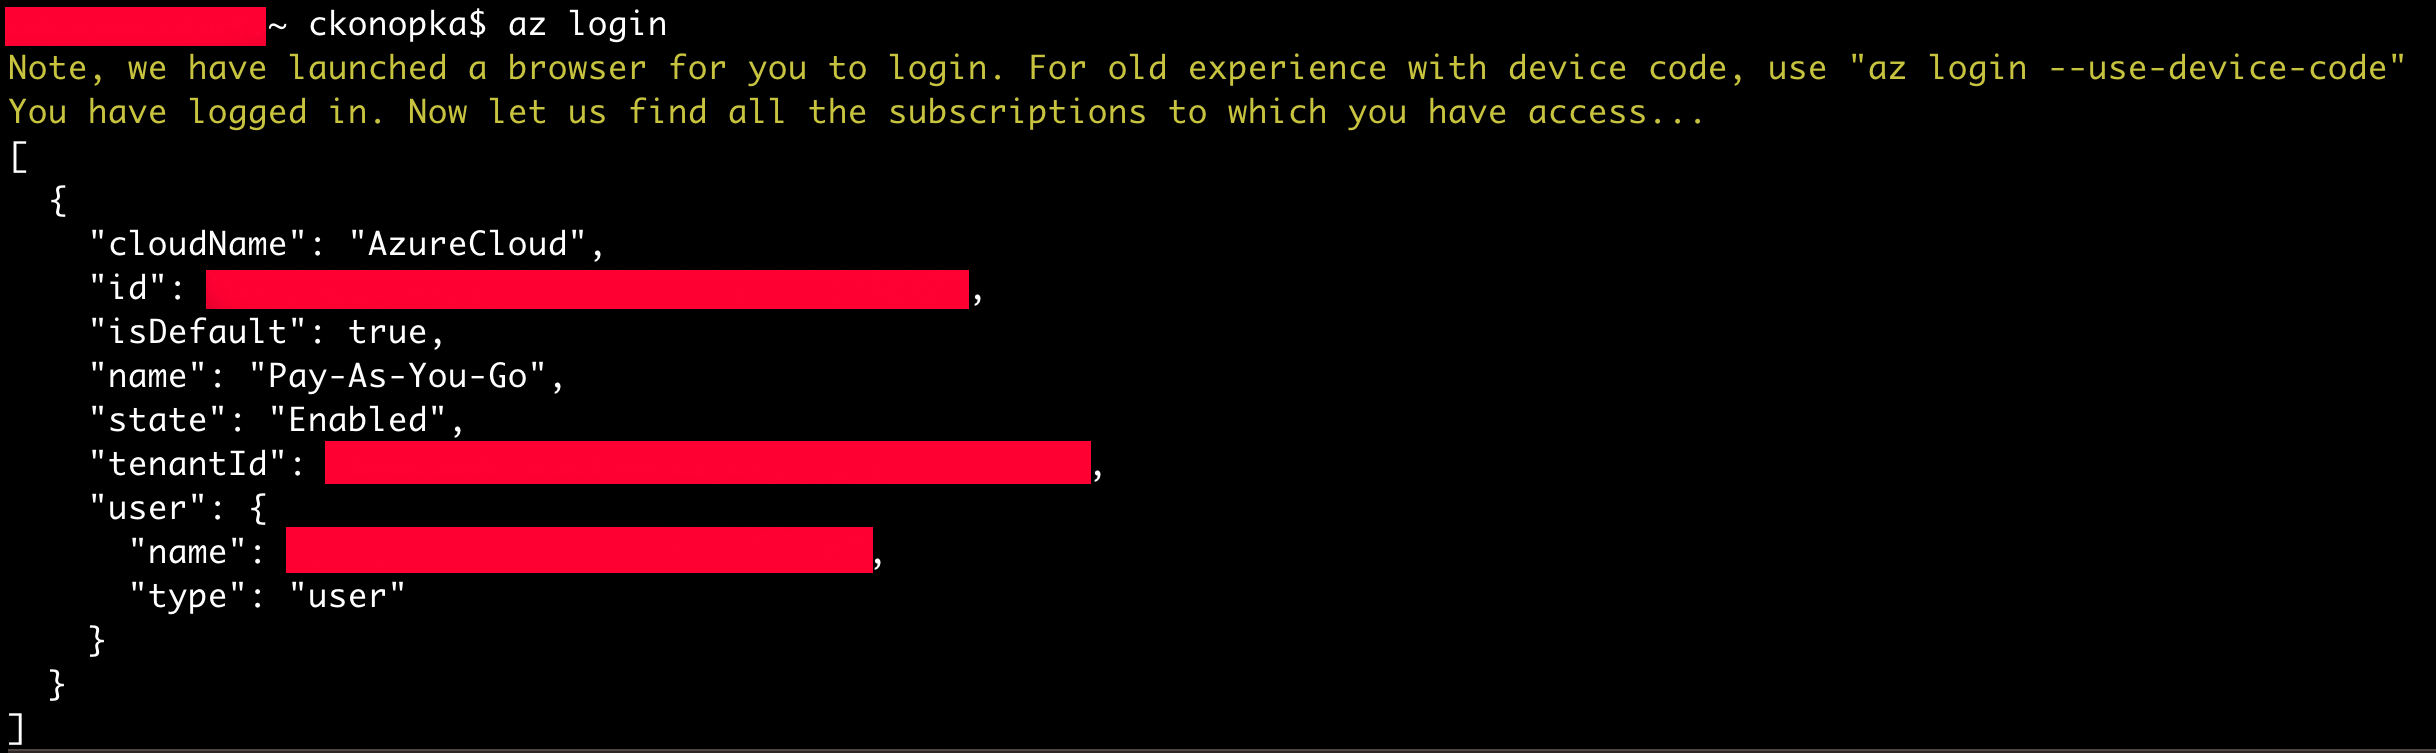
After installing the command-line tool, we need to log into Azure using the command-line.
az login
The login process will open a new browser window and will ask for the Microsoft account credentials from the new account. If you haven’t created a Microsoft Azure account, this is the time to create a new one. Once the credentials are verified, you will be directed to the terminal again. A successful login will redirect you back to the terminal.

Start by creating a new resource group. A resource group is a collection of assets in logical groups that enables a user to easily provision, access, and monitor services in the Azure ecosystem. A single resource group can contain several Azure services simultaneously. In this case, we will first need to create a resource group in a specific region where our services will exist. We'll use the `az group create` command passing two options as flags:
- `--location`: The location of the Virtual Machine.
- `--name`: User-defined virtual machine name.
- `RESOURCE_NAME`: User-defined resource name.
az group create --location westus --name RESOURCE_NAME
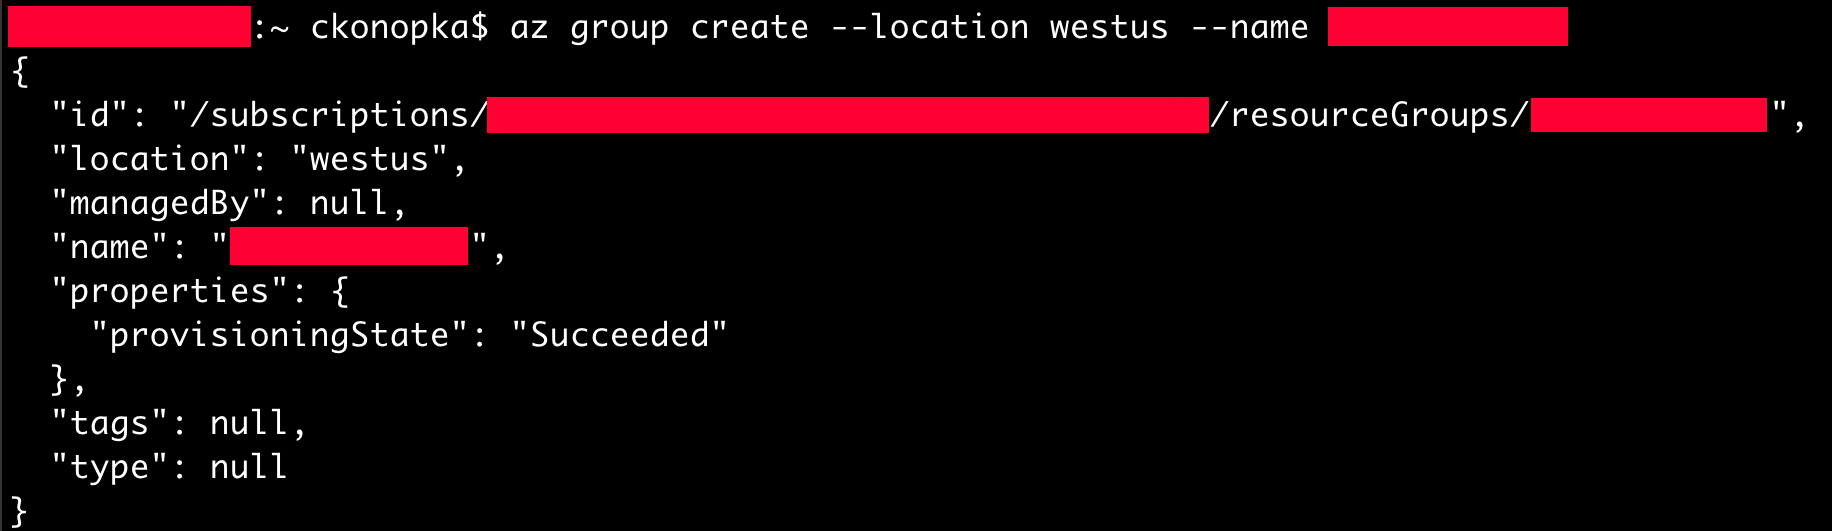
If you happen to get a `subscription not found error` log out of the Microsoft Azure account, close the browser, then log into the Azure CLI again using `az login`.
After creating the resource group, we can create a new Virtual Machine with the command `az vm create`. In this example, we want to create a VM based using an Ubuntu LTS image. We will also need to add a custom admin-name for when we want to log into the VM. One of the most important steps is to generate ssh keys. Lastly, add generate-ssh-keys so we can securely SSH into the VM. The flags we'll set for this command are:
- `--resource-group`: A group of Azure services.
- `--name`: User-defined virtual machine name.
- `--image`: The image type for the Virtual Machine. (i.e., UbuntuTLS)
- `--admin-username`: User-defined admin name.
- `--generate-ssh-keys`: Automatically generate SSH keys.
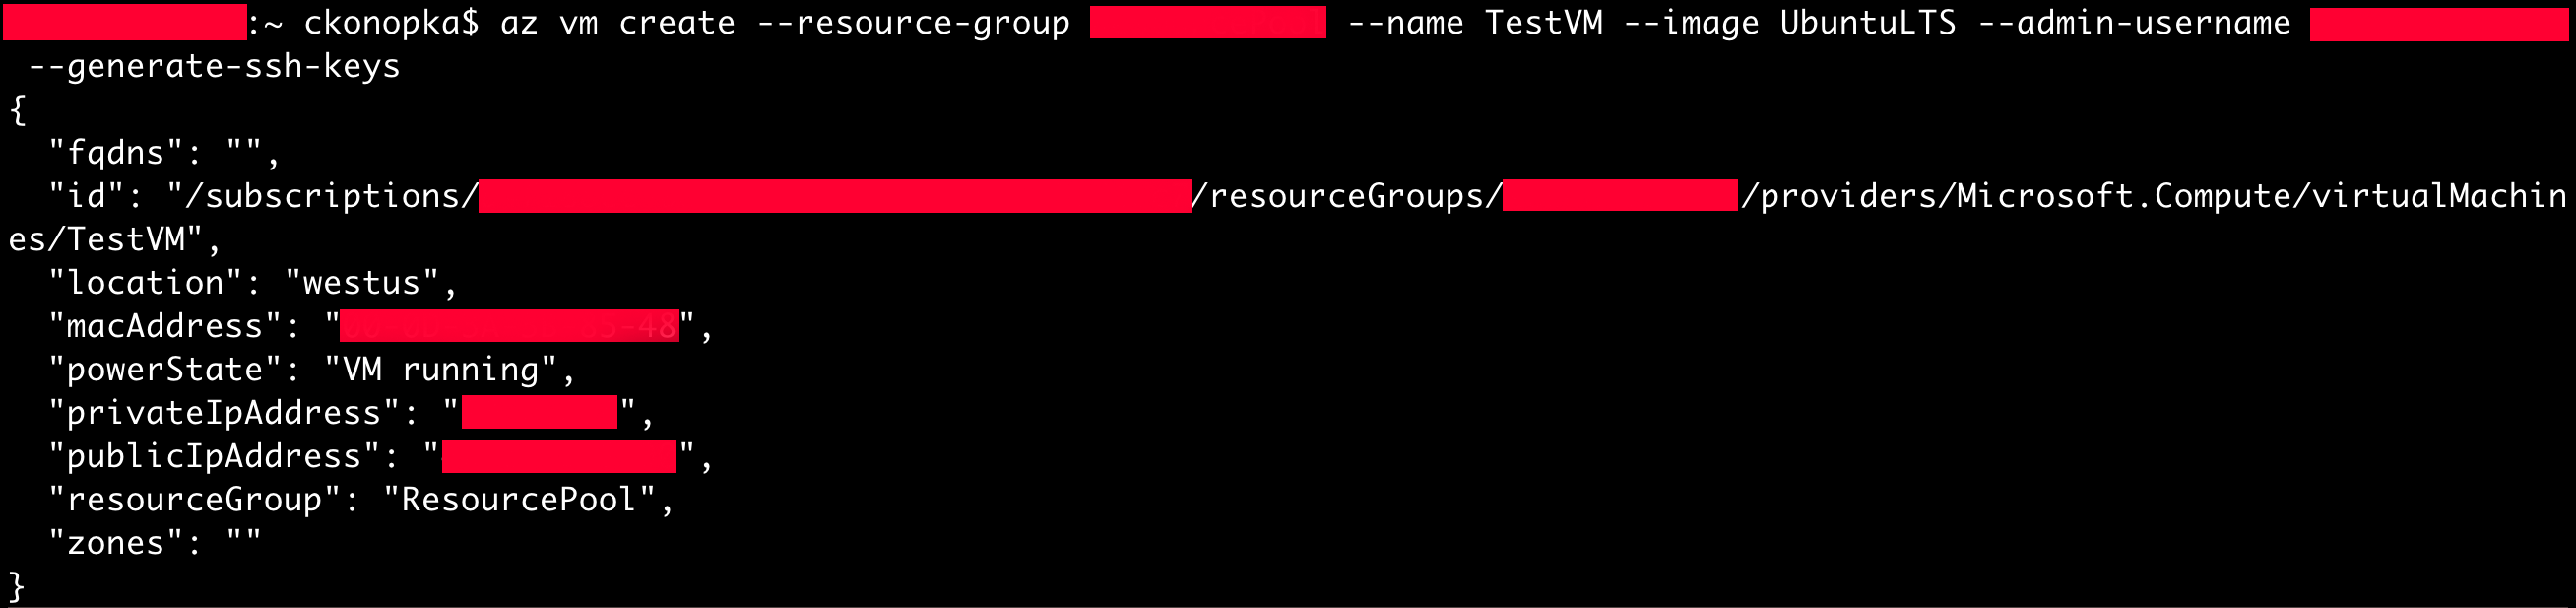
Take note of the publicIpAddress, this will be needed to SSH into the newly created VM.
In the terminal type in the following line of code and add in the necessary details. Replace “AZURE_USERNAME” with the admin-username and replace “PUBLIC_IP_ADDRESS” with the publicIpAddress acquired in the previous step.
```bash
ssh AZURE_USERNAME@PUBLIC_IP_ADDRESS
```
Press enter. If prompted with “Are you sure you want to continue connecting (yes/no)?” type in yes.
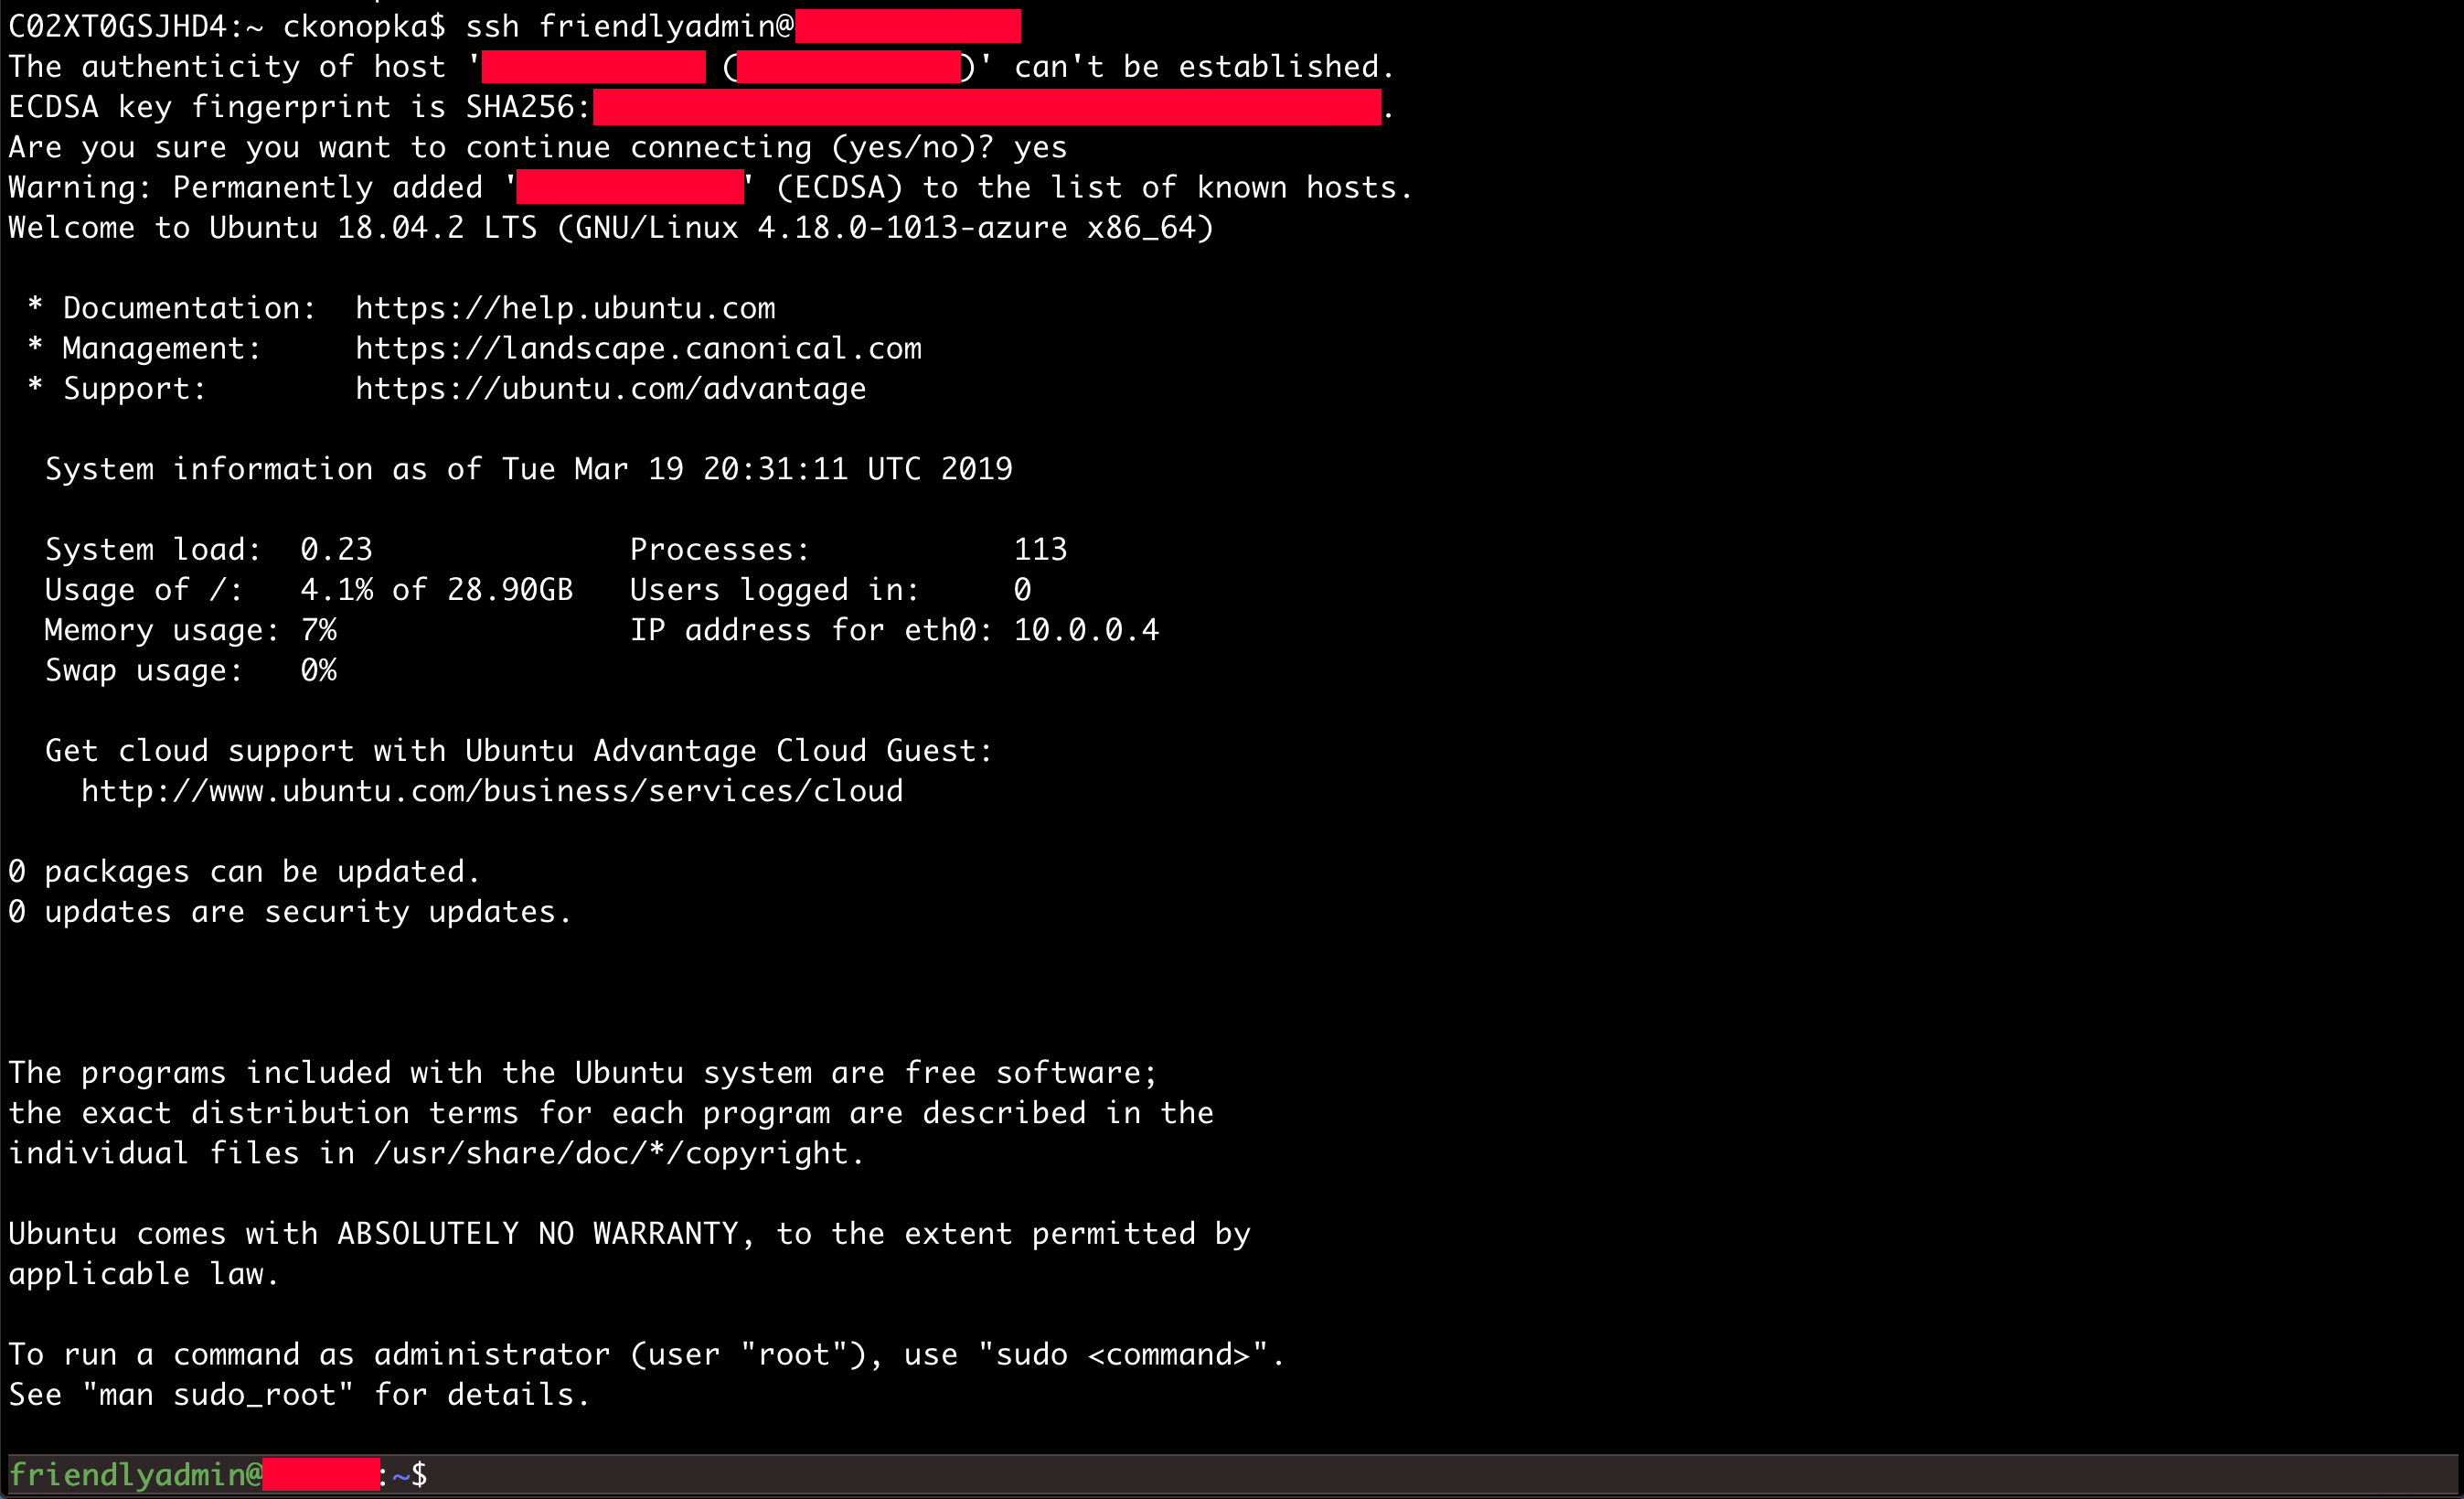
Success!
Installing Node.js, npm & Twilio
It’s time to create an installation Bash script using the command-line interface. The purpose of the program is to automate the creation of a new directory, install dependencies into the new directory and generate a .js file called sendcommand.js. When run, the .js file will send a new Command to a Twilio SIM using the Commands API.

Start by creating a new bash file.
nano setup.sh
Copy and paste the following code into the setup.sh file.
#!/bin/bash
mkdir commands
cd commands
sudo apt-get install nodejs
sudo apt-get install npmnpm i twilio
touch sendcommand.js
echo "
const accountSid = 'TWILIO_SID';
const authToken = 'TWILIO_AUTH';
const client = require('twilio')(accountSid, authToken);
client.wireless.commands
          .create({sim: 'TWILIO_SIM', command: 'wakeup'})
.then(command => console.log(command.sid))" >> sendcommand.js
The program first creates a new directory and then changes the current directory of the command-line interface to the new directory.
mkdir commands
cd commands
Then it installs the libraries nodejs and npm using apt-get. Then we install the twilio library for Node.js.
sudo apt-get install nodejs
sudo apt-get install npm
npm i twilio
Generate a new .js file using touch.
touch sendcommand.js
Using echo, we will write the following code to the sendcommand.js file. Add the Node.js example for sending a Command to a Twilio SIM and replace the `TWILIO_SID` and `TWILIO_AUTH` with your credentials. Also, add the name of the sim used in the project where it says `TWILIO_SIM`. Then use the >> to write the following script to the sendcommand.js file after adding these details save the file and exit.
echo "
const accountSid = 'TWILIO_SID';
const authToken = 'TWILIO_AUTH';
const client = require('twilio')(accountSid, authToken);
client.wireless.commands
         .create({sim: 'TWILIO_SIM', command: 'Hello from Azure!'})
         .then(command => console.log(command.sid))
" >> sendcommand.js
Make it an executable using chmod.
chmod +x setup.sh
Run the executable to start the installation process.
./setup.sh
Run the Node.js script.
node sendcommand.js
Navigate to the Programmable Wireless section of the Twilio Console and click the SIMs tab.
Find the registered SIM and click on the link.

Find the Commands tab.

We just sent a Command to a Twilio SIM from an Azure Virtual Machine and is currently queued. The data is waiting to be received by a piece of hardware that is connected to a cellular network using the Twilio SIM. In the next post, we will walk through how to collect the data from Azure and control an operation remotely.

Summary
Using the Azure CLI is a great way to streamline Virtual Machine development and learn how to expand the potential of your project Twilio IoT. The workflow from this project is an example of how to integrate the Twilio SIM with Azure. Having the ability to connect various Azure services with cellular IoT makes new interconnective global experiences possible. Run with it and experiment.
We can’t wait to see what you build with #TwilioIoT.
If you ever want to chat about IoT, hardware or modular synthesizers ping me anytime on Twitter or via Email. Let’s connect.
- Email: ckonopka@twilio.com
- Github: cskonopka
- Twitter: @cskonopka

Related Resources
Twilio Docs
From APIs to SDKs to sample apps
API reference documentation, SDKs, helper libraries, quickstarts, and tutorials for your language and platform.
Resource Center
The latest ebooks, industry reports, and webinars
Learn from customer engagement experts to improve your own communication.
Ahoy
Twilio's developer community hub
Best practices, code samples, and inspiration to build communications and digital engagement experiences.