Serving Coffee with Twilio Programmable SMS and React
Time to read:
March 31, 2018
Written by
This post is part of Twilio’s archive and may contain outdated information. We’re always building something new, so be sure to check out our latest posts for the most up-to-date insights.

Turning coffee into some sort of API has probably been the dream of a lot of developers. In fact today marks the 20th birthday of the IETF RFC 2324 suggesting the Hyper Text Coffee Pot Control Protocol (HTCPCP). Last year, together with a friend, I hacked a coffee machine using JavaScript, but what do you do if you want to bring a bit more comfort to coffee served by baristas? Nobody wants to stand in a queue, especially at a conference!

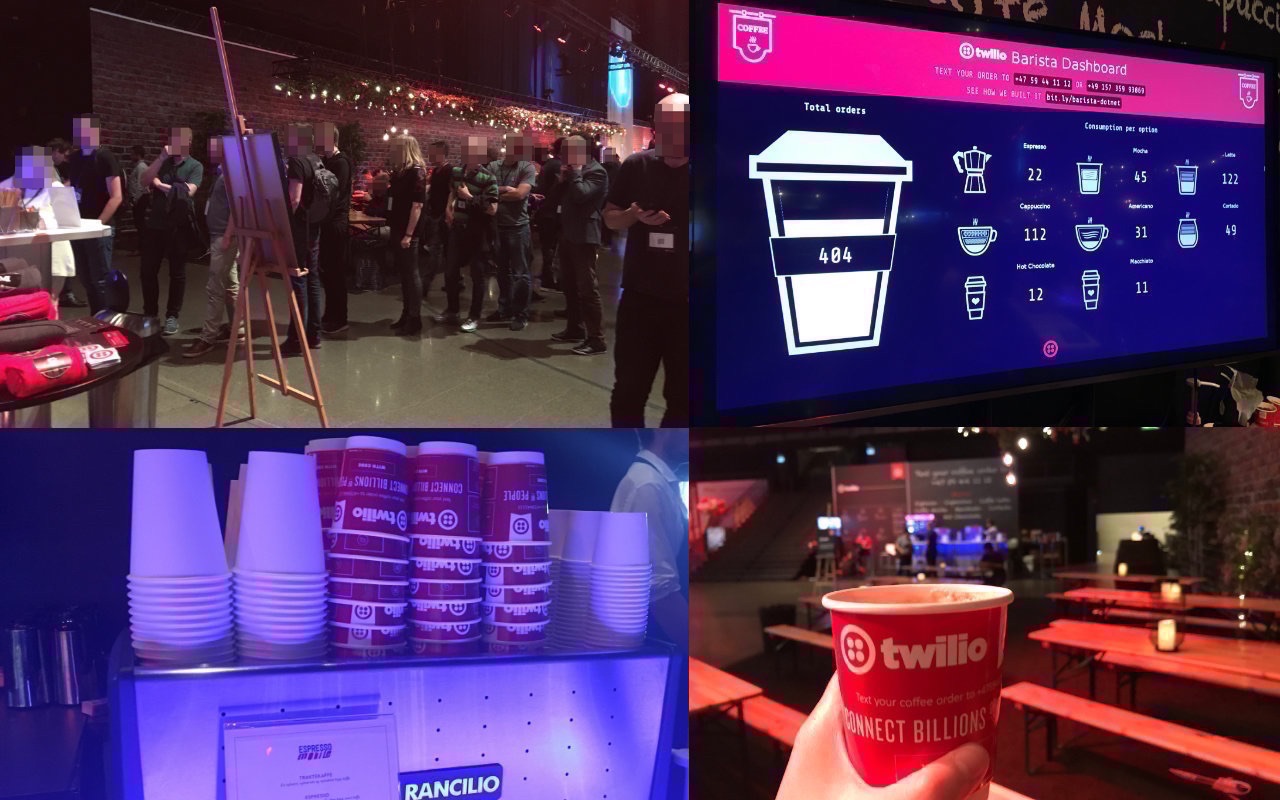
For the last couple of years we’ve started serving coffee at various events using Twilio Barista, combining different Twilio APIs, such as Programmable SMS, Twilio Sync, and other web technologies. This way you can send an SMS to order your coffee, and get notified as soon as your coffee has been prepared by the barista.
On the birthday of the HTCPCP we figured it’s time to teach you how to build your own serverless version of Barista using Twilio Functions, Sync, and Programmable SMS.
If you would prefer to see how this works by watching a video, here is our tutorial on YouTube:
Setup
Before we get started, make sure that you have a Twilio account (you can sign up for free) and that you have Node.js and npm (version 5.2 or higher) or a similar package manager installed.
Processing incoming orders
We’ll offer people the option to order their coffees via SMS. To accept incoming SMS we’ll first need to set up a phone number. We’ll be using Twilio Studio and Twilio Functions for this. Follow this tutorial on building a Barista bot to get the foundation set.
Modify the arguments that are passed to the Twilio Function in your Barista bot to pass the following to variables:
- order:
{{widgets.order_prompt.inbound.Body}} - phoneNumber:
{{contact.channel.address}}
You might also want to connect a “Send Message” widget with a confirmation message to the “Success” part of your Twilio Function widget as well.
We’ll be storing all the orders in a Twilio Sync List. Start by creating a Twilio Sync Service in your Twilio Console and take note of the Service SID. Afterwards go to the Configuration section of Twilio Functions and add a variable called SYNC_SERVICE_SID with your Sync Service SID.
While you are at it, you also want to check the box to activate ACCOUNT_SID and AUTH_TOKEN in your Functions if you haven’t already.

Now go back to your Twilio Function from the Bot tutorial and change the code to the following:
This code will take the passed phoneNumber and order and store it in a SyncListItem together with a status property that we set to 'open' for now. Make sure you save your changes and wait until the Twilio Function has been successfully deployed.
Creating our Barista app
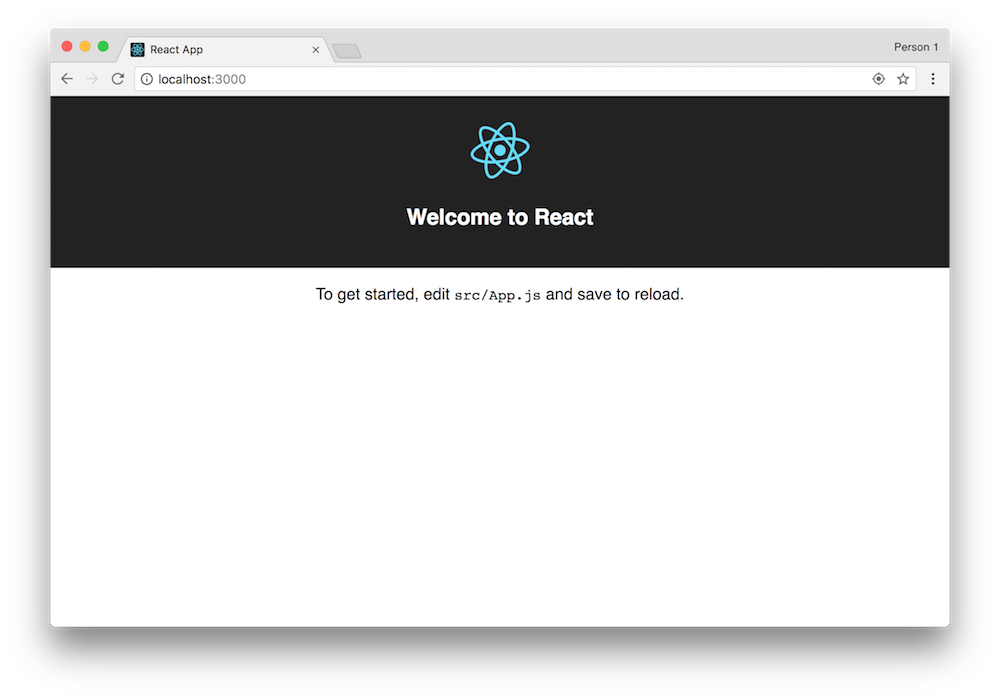
Now that we have a way to receive and store our orders we need a way to display them for the Baristas. We’ll be building a web app for that using React and create-react-app to bootstrap our project. If you have npm version 5.2 or higher you can simply run:
If you are using an older version of npm or another package manager you want to install create-react-app globally and then run create-react-app barista && cd barista instead.
Make sure your project works by running:
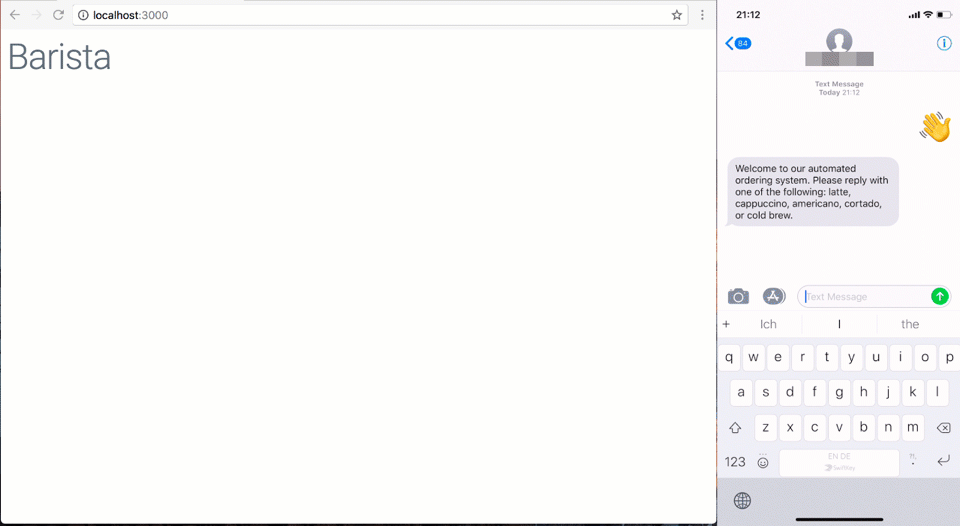
This should start the development server and open a browser displaying the default React app:
The development server will update the browser for every change. So you can simply keep it running for the rest of this post.
We’ll also use a library called milligram for quick styling. Install it as another dependency:
Afterwards modify your src/index.js file to load the stylesheet and clean up the screen a bit:
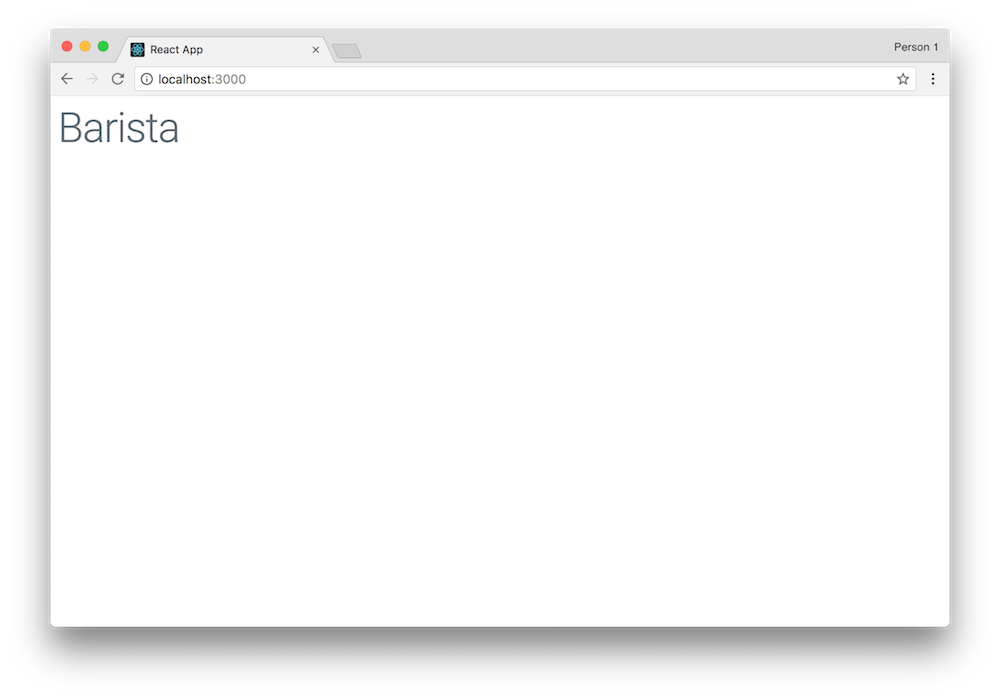
Let’s also clean up the default component by opening src/App.js and changing it to:
Switch back to your browser and you should see the browser reflects the changes we did:
Creating an OrderEntry component
Now that we have our project skeleton all set up, we need a way to display an order. For that we’ll create a new component called OrderEntry. Create a new file in src/components/OrderEntry.js and place the following code into it:
This component will show the order number, the current state, the actual order as well as two buttons to cancel or finish an order.
We are also consuming a stylesheet in the component that we still need to create. Create a new file in src/components/OrderEntry.css and place this code into it to apply some general styling:
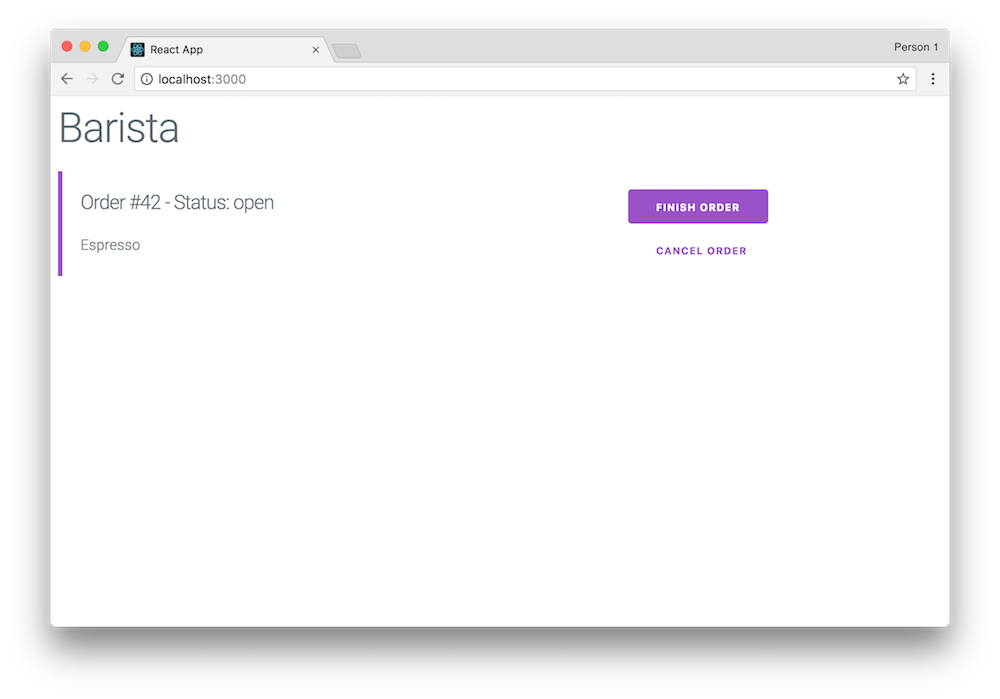
Before we connect our application to the actual orders, let’s make sure the component is working. Update your App.js accordingly to consume the component:
Switch back into your browser and you should see it update to show our fake order:
Adding Twilio Sync
Before we can use Twilio Sync in our React application we need a way to generate a token for the app. These tokens have to be generated in the back-end and authenticate a user to access the objects of a Twilio Sync Service. You can learn more about tokens in the docs.
We’ll be using a Twilio Function to generate our Sync tokens. Go back to the Twilio Console and create a new blank Twilio Function and place the following code into it:
Give the function a name and a path like /barista-token and copy it somewhere for later. Save the changes and wait for it to be deployed. Before we can test our new endpoint we need to add an API Key & Secret to our Twilio Function configuration. Create a new API Key & Secret in the Twilio Console and store them afterwards as API_KEY and API_SECRET inside the Configure section of your Twilio Functions.
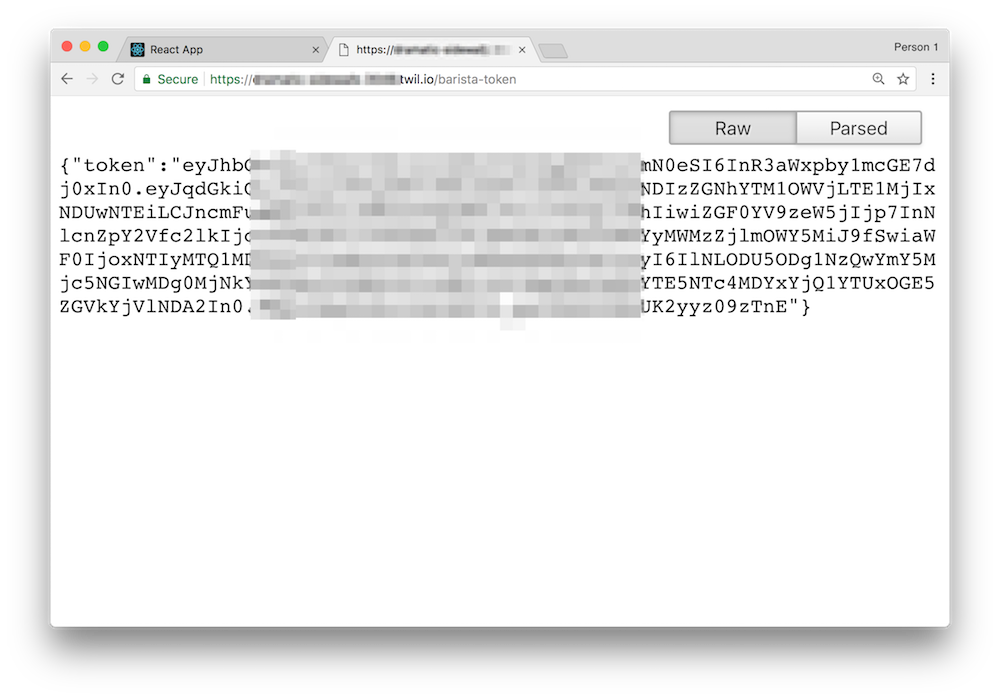
Open the path to your new Function in the browser and you should see a JSON returned with a token that looks similar to this:
Now that we have the back-end aspect of Twilio Sync handled, it’s time to install the twilio-sync package from npm as well as the event-emitter-es6 module to be able to communicate to our App component that there have been updates to the orders:
I like keeping my Twilio Sync logic in separate singleton classes outside of my components to have more flexible components. Our class will be responsible for handling updates of the orders data in both directions. Create a new file in src/data/orders.js and place the following code into it:
Make sure you replace the tokenUrl value with the URL to your respective Twilio Function.
Next we’ll create an init method in the class that will either return the existing orders if we have already retrieved them or fetch the Sync token, create a Twilio SyncClient, and fetch all existing orders from the list:
Let’s see if the code works by consuming it in our App.js file and trigger the init() method in the componentWillMount() lifecycle hook:
We also have to update our render() method to loop over the orders that we store in the state of the components and create an OrderEntry for each one of them:
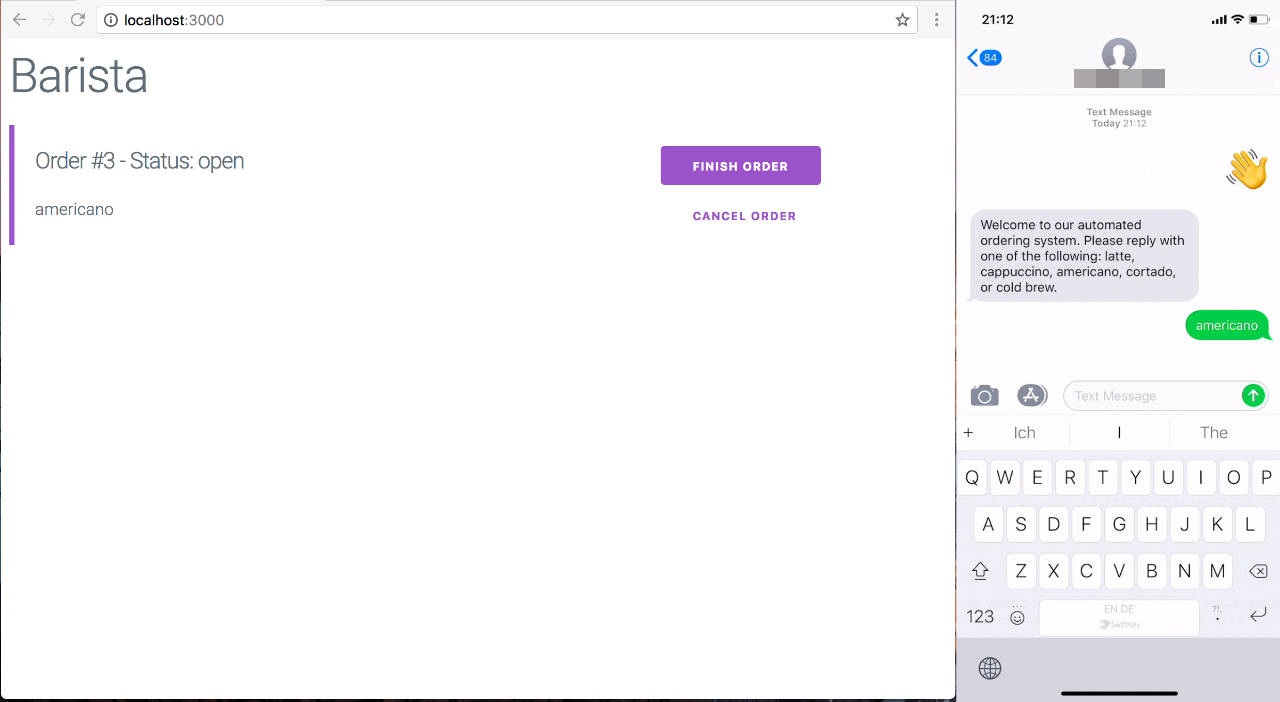
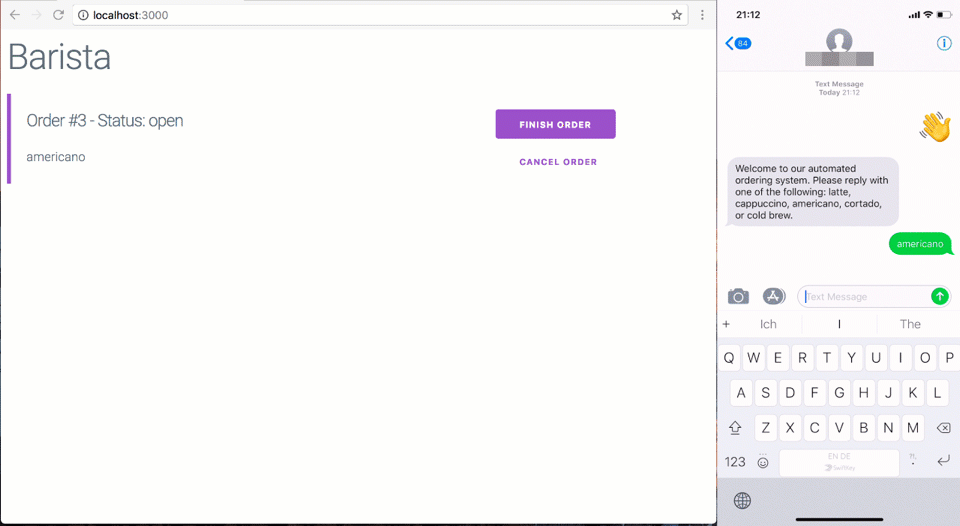
Switch back into your browser and it’s time to test our system for the first time. Grab your phone or ask a friend to text in a coffee order to your Barista bot. Once they received a confirmation, refresh the page in your browser and you should see the order on your screen!
Receiving orders in real time
So far we can fetch orders when the page loads but we could do that with an database. Let’s add a real-time aspect to it by listening on changes of our order list and displaying orders as they come in. SyncLists have a variety of events we can listen for. We’ll start listening on the events itemAdded, itemUpdated, and itemRemoved and update our in-memory copy of the list accordingly.
Change your code in the orders.js file accordingly:
Whenever any of these events is now triggered we’ll update our in-memory copy but also emit an event called updated with the new list of orders. We can then listen on this event in our App component by updating App.js:
Wait for your browser to refresh (or manually refresh the page) and create a new order. This time the order should appear almost “magically” on your screen without you having to refresh.
Updating the order status
Now the baristas can see the orders come in but what happens when the order has been completed by them? Right now the buttons don’t do anything. Let’s make them change the status property of an order to either finished or cancelled respectively. Create a new method in the Orders class called updateStatus in the orders.js file:
Afterwards update the finishOrder and cancelOrder methods in the App.js component to use these methods:
Switch back into your browser and start clicking the buttons in your browser and you should see the status change. But how do we notify the customer to pick up their order?
Notifying the User
Twilio Sync has the option to add a webhook that should be triggered whenever something in the Sync Service changes. We can use this to listen for status changes in our order items and then send out an SMS and remove the item afterwards from our list. For this we’ll again use a Twilio Function.
Create a new blank Function, give it a name and path and place this code into it:
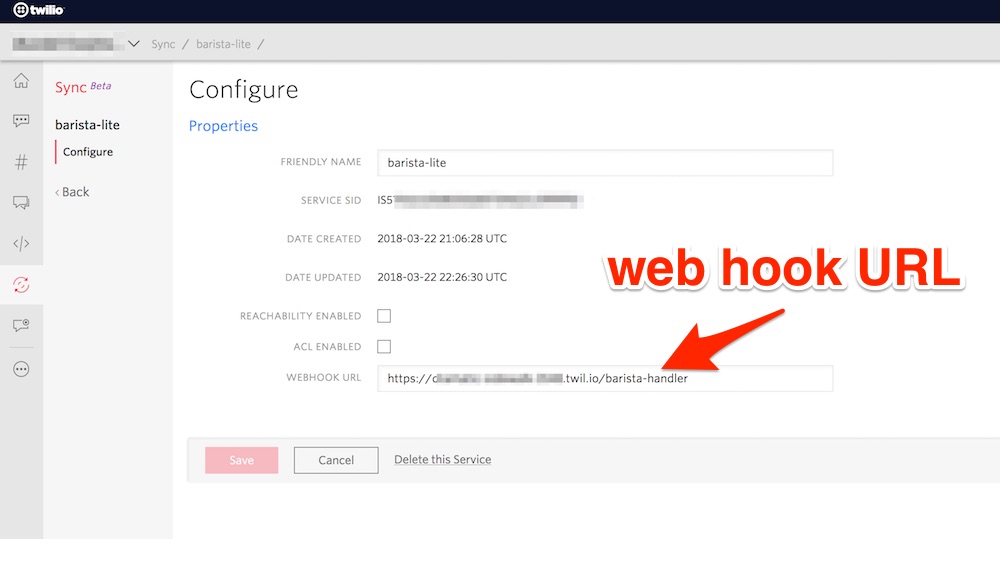
Save it, wait for it to deploy, and make sure you go into the Configure section to add the phone number or Messaging Service SID that you want to use to send the SMS into your variables as PHONE_NUMBER. Afterwards go to your Twilio Sync Service and add a webhook URL by adding the URL to your Twilio Function here.
Now go back into your React app and change the status of one of your orders. This should trigger the Function, send out an SMS, and the order should disappear.

We finished our basic version of a Barista app and you can find the entire source code on GitHub. If you want to learn how you can take this system one step further by making your Barista bot smarter, check out this blog post about adding Autopilot to this Barista App.
For our own use, however, we found that this functionality wasn’t enough. As a result we ended up building a slightly more advanced version that includes a variety of features such as:
- An admin interface to configure the entire system
- Handling (known) spelling mistakes by matching against a map of mistakes
- Using Twilio Notify to be able to send out messages to different groups of customers
- Functionality to turn off the system temporarily (because we ran out of coffee for example)
- A dashboard to show stats
- Support for running the same system at multiple events simultaneously
- and much more to help people enjoy their coffee ☕️
If you want to check out what this version looks like, you can check out the code on GitHub including documentation on how to set it up.
But maybe you have an idea yourself how to improve it? Or how to use the system for other events? I would love to year your ideas or about things you built! Feel free to reach out to me:
- Twitter: @dkundel
- Email: dkundel@twilio.com
- GitHub: dkundel


Related Resources
Twilio Docs
From APIs to SDKs to sample apps
API reference documentation, SDKs, helper libraries, quickstarts, and tutorials for your language and platform.
Resource Center
The latest ebooks, industry reports, and webinars
Learn from customer engagement experts to improve your own communication.
Ahoy
Twilio's developer community hub
Best practices, code samples, and inspiration to build communications and digital engagement experiences.