Let Users Share Their Online Status in Your App with Express, Svelte, and Twilio Sync
Time to read: 8 minutes
June 23, 2021
Written by
Reviewed by

Twilio Sync is the very cool technology that underpins other Twilio APIs, such as Twilio Conversations. It allows you to add cloud-stored shared state in your app, opening up totally new opportunities for real-time collaboration and connection.
In this article, you’ll be learning how to use Twilio Sync in conjunction with Svelte and Express to show who’s online in your app.
Prerequisites
Before you get started with this tutorial, make sure you’ve got the following:
- Node.js installed on your machine
- A free Twilio account (sign up with this link and get $10 in free credit when you upgrade your account)
Set up your app and environment
This app has two parts: a frontend and a backend. The frontend is the part of your app that your users will actually interact with. Your frontend will use the Twilio Sync JavaScript SDK, which requires a special Access Token in order to get permission to interact with the Sync API. Your backend is responsible for generating this Access Token.
You’ll start with the backend, but first, it’s time to set up your file structure and app environment.
Open your terminal or command prompt and run the following command to create a new directory that will be the parent directory to both your frontend and backend:
Navigate into your new directory:
The next step is to setup your backend, which you’ll build with Express:
These commands will create a new Node.js app and install four dependencies:
express, to build your servertwilio, to make use of the Twilio Node Helper Library and generate an Access Tokendotenv, to load your environment variablescors, to enable your React.js frontend to make requests to your Express app
Create two new files, .env and index.js, inside your new token-service directory by using the following command or create them directly with your text editor:
The .env file is where you’ll add your environment variables, and the index.js file is where you’ll write the code for your backend.
Get your Twilio credentials
Open your new .env file in your favorite text editor.
Copy and paste the following variable declarations into the file:
The XXXXX strings represent placeholder values for your Twilio credentials. You’ll gather these credentials now and add them to your .env file.
Account SID
Navigate to the Twilio Console and find your Account SID. Copy and paste this value into your .env file for the TWILIO_ACCOUNT_SID variable.
API Key and API Secret
Next, visit the API Key section of the Twilio Console. Click the red plus sign to create a new API key. Give your key a recognizable name in the Friendly Name text field and leave the Key Type as Standard. Click the button that says Create API Key.
On the following screen you’ll be shown several pieces of data, including an SID and SECRET. The SID is your API key.
Copy the SID and paste it into your .env file as the value for TWILIO_API_KEY. Then, copy the value for the SECRET into your .env file as the value for TWILIO_API_SECRET.
You may want to make an additional backup of these values, because once you leave this screen, you won’t be able to access your SECRET again.
Sync Service SID
Head to the Sync section of the Twilio Console. Create a new Sync service by clicking the Create new Sync Service button. Give the service a friendly name, like “react-sync”, when prompted. On the next screen, copy the Service SID on the right side of the screen.
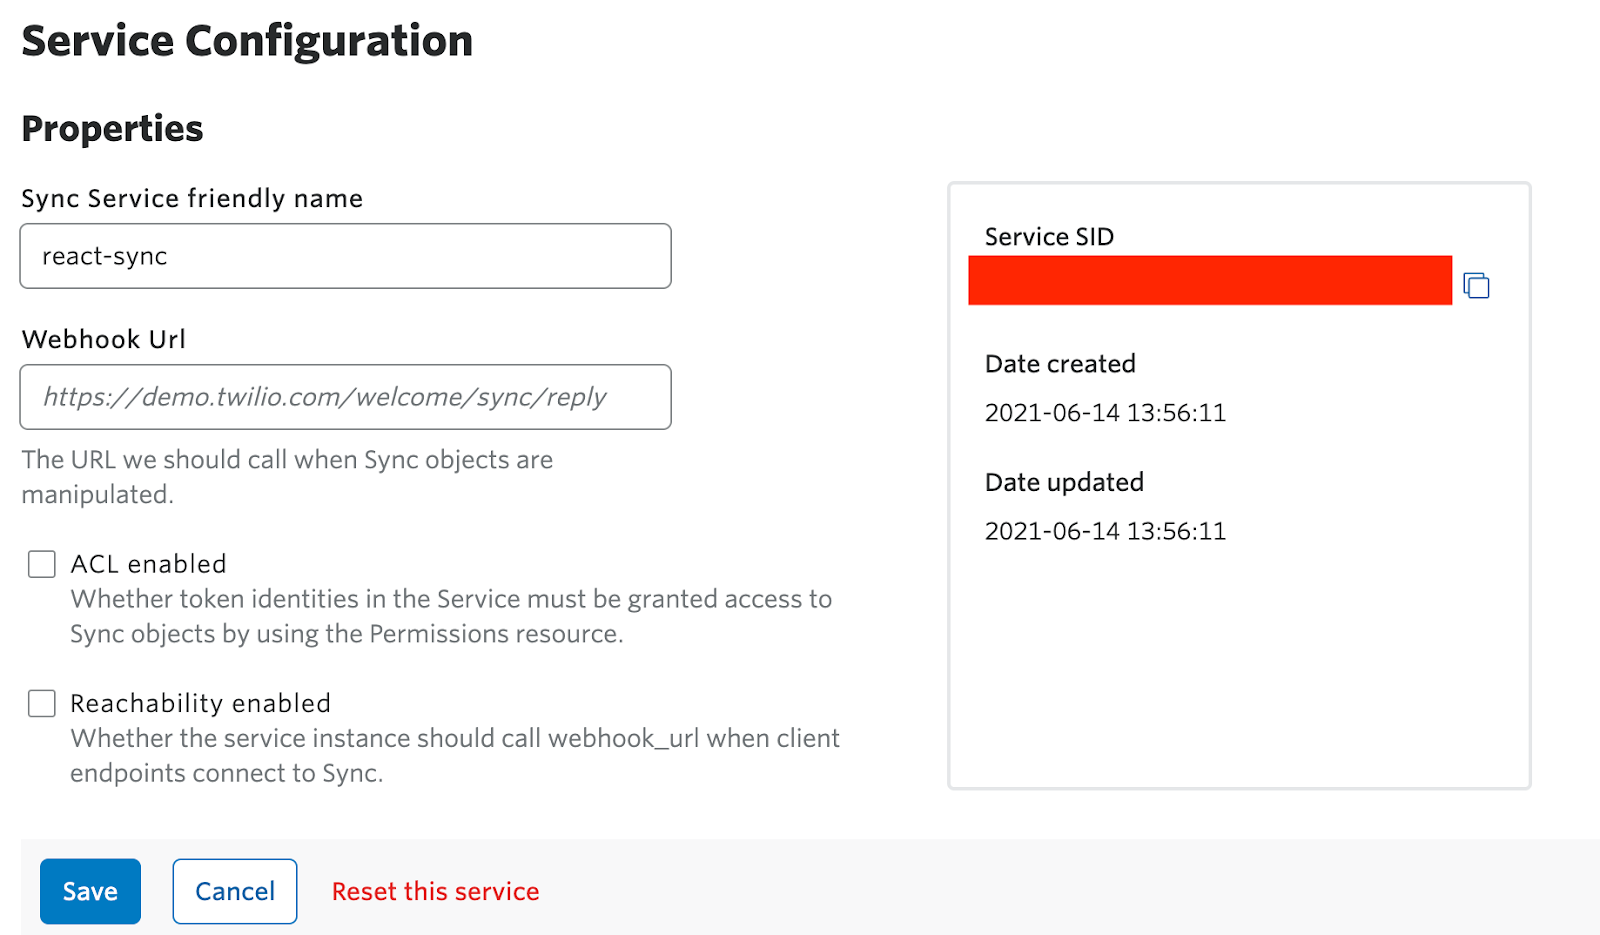
Paste this value into your .env file for the SYNC_SERVICE_SID variable.
Save and close this file, you’re done with your app setup!
Build the token service
Open your new index.js file in your favorite text editor and add the following code:
This code creates a small Express app, with a route that allows GET requests to be made to the /token endpoint from origin http://localhost:5000. When your frontend needs to connect to the Twilio Sync API, it will make its request to this endpoint. Right now, the route doesn’t have any code yet, only a comment that says generate access token here. You’ll add the code next.
Inside the /token route, add the following code below the commented line:
WARNING: The steps described in this article for generating Access Tokens are inherently insecure. This is okay for demonstration or getting setup, but in a production app you must verify and authenticate your users before granting Access Tokens to clients. Read more about how to secure your Twilio Sync apps before releasing any apps that use Sync.
Save and close this file - you’re done with your backend!
Before moving on, go ahead and start your Express server by running the following command from your token-service directory in your terminal:
Once it’s running you’ll see a message that says:
Leave this running in the background.
Scaffold and build out your Svelte frontend
Open a second terminal or command prompt window, navigate to back to your svelte-sync directory, and use the following commands to scaffold your frontend:
Once these commands are finished executing, explore the new directory that was created for you: svelte-sync/client. In this new folder, there will be several files and subfolders, one of which is called src.
The src folder is where all the code for your components will go.
You’ll build out two components for this project, one called App and one child component called OnlineUsers. The App component will be the primary component - this component will control your local user sign in. The OnlineUsers component will render the list of all online users and respond to events, like remote users signing in and out, for example.
The App component
Open this src folder and find the file named App.svelte. You’ll start there.
Delete all the code already inside of App.svelte and replace it with the following:
This code imports the child component I mentioned earlier called OnlineUsers and also loads the Twilio Sync CDN. Because you haven’t created OnlineUsers yet, you will see an error if your Svelte server is already running.
Initialize state
Your next step is to declare some initial state for your component. Paste the following code inside the <script></script> tags, beneath your import:
This code establishes four state variables for your component:
identity, which is used to capture the local user’s name as they type it in the form fieldlocalUser, aListItemresource, which is a special Twilio Sync object representing the local user in Sync’s shared statesyncList, aListresource, which is an ordered collection of SyncListItemresources, representing all online users in Sync’s shared stateonlineUsers, an array of SyncListItemresources, derived from thesyncListvariable.
Add conditional rendering to the component
At the end of your file, below everything you’ve added so far, add the following Svelte templated HTML:
This code is responsible for dictating what’s rendered when the App component loads. It checks first to see if the onlineUsers state value is truthy, meaning that it has some value that’s not null, false, empty, or undefined.
When the component first loads, before the user signs in, this value will be falsey, because it’s set to null. In that case, the component will render a text input field to capture the user’s name, and a button for the user to click to “sign in”.
When the user clicks the button, their client will be granted an Access Token. Once the client has the Access Token, the Sync resources mentioned above will be initialized, and their corresponding state values will be populated. All of this will happen in a new function called getAccessToken() that is called when the button is clicked. You’ll add this function in the next step.
Once the state values are updated, the component will rerender, and because the onlineUsers value is now truthy, the OnlineUsers component will be rendered instead of the input field and button.
WARNING: This flow does not represent a secure sign in because it does not contain any mechanism to authenticate or verify the user. This means that any anonymous user could connect and get an Access Token. I’ve done it this way in this tutorial to bypass a lot of set up and get to the parts about Twilio Sync, but do not replicate this in a production environment.
Create the getAccessToken() function inside the component
Now that your component’s HTML is added, complete the App component by adding the getAccessToken() method I mentioned above.
Add this code inside the <script></script> tags, right below the state declarations:
This code makes a GET request to your /token route on your Express server that’s running in the background.
When it gets the Access Token in the response from the request, an instance of the Twilio Sync is created, and then used to create the two Sync objects: SyncList and localUser. It then assigns these objects to the values of the corresponding component state variables.
That’s a wrap for the App component! Time to move on to the OnlineUsers component.
The OnlineUsers component
Create a new file in the /client/src folder called OnlineUsers.svelte.
Add the following code to this new file:
This code imports the onMount() function from Svelte, which is a Svelte lifecycle method. It also declares the three prop values that were passed to the component.
Perform some important tasks when the component mounts and unmounts
Now you can use the onMount() function you imported to do two things once the component mounts:
- Set an event listener on the
syncListobject to listen for when another user joins - Set an event listener on the
syncListobject to listen for when another user leaves
To do all of that, copy and paste the following code beneath your props inside the <script></script> tags:
Add your helper function
This code makes a call to a function you haven’t written yet: removeParticipant(). You’ll add this function now. Below the onMount() function, still inside the <script></script> tags, paste in the following code:
You’ll also want to call your new removeParticipant() helper function when a user closes their tab or browser window. Svelte provides you with a variety of special elements to interact with the DOM and window in this way, and the one you’ll use now is the <svelte:window> element. Below your <script></script> tags, add the following line:
Render the component
To finish out the component, add the following Svelte templated HTML to render the list of users stored in the onlineUsers component state. Paste this code at the end of the file, below the <svelte:window/> element:
Save and close this file, you’re all done writing components!
Test out your new Sync app
Head back to your terminal or command prompt and make sure your backend Express server is still running on port 3000.
In your second terminal window, navigate to your client directory, run the following command:
This will start your local Svelte server on port 5000.
After that, your server will start, and you’ll be able to see your app in your browser at http://localhost:5000.
Open your app in two different browser tabs or windows.
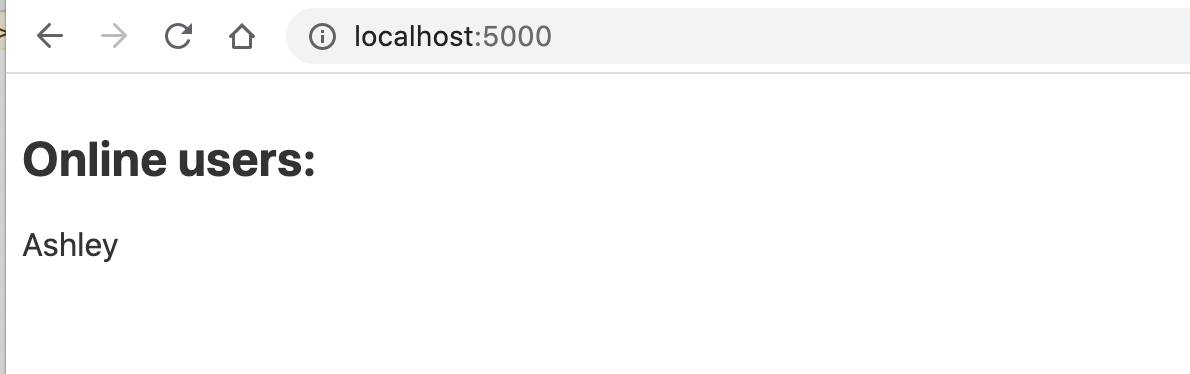
In one tab, type your name into the text field and click the button, you’ll see your name populate the online users list:
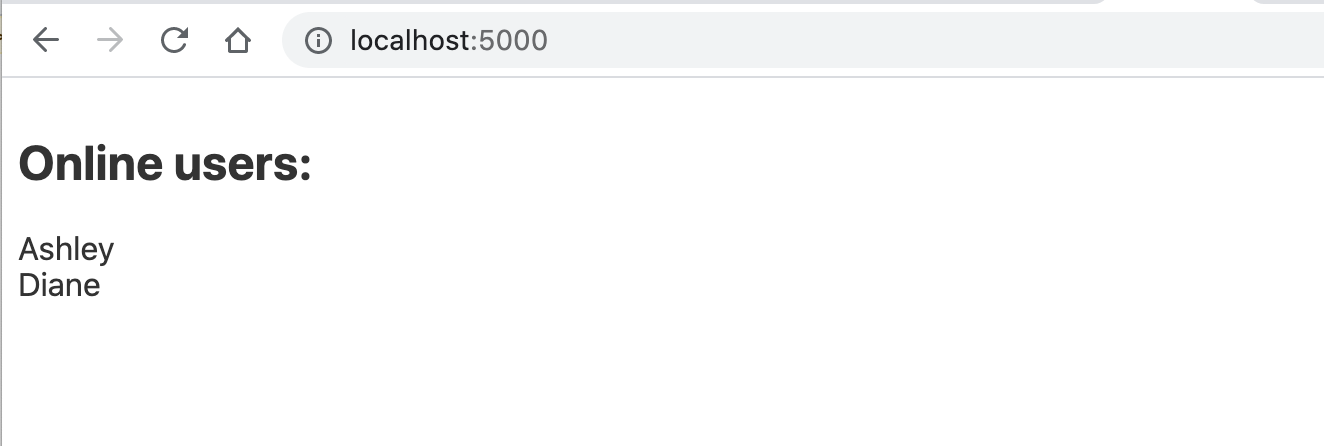
In the second tab or window, type in a different name, and click the button. This time, you’ll see both users in the list:
Close either tab - when you do, you’ll see in the remaining tab that there is once again only one user online.
Congratulations on finishing this Twilio Sync and Express/Svelte app! This article demonstrated just one way to use Sync. Take what you learn here and use it to build simultaneous multiplayer web games or try out building a collaborative notepad with Sync and vanilla JS. If you're new to Svelte, explore the differences between Svelte and React. Let me know on Twitter what you’re building!
Ashley is a JavaScript Editor for the Twilio blog. To work with her and bring your technical stories to Twilio, find her at @ahl389 on Twitter. If you can’t find her there, she’s probably on a patio somewhere having a cup of coffee (or glass of wine, depending on the time).

Related Resources
Twilio Docs
From APIs to SDKs to sample apps
API reference documentation, SDKs, helper libraries, quickstarts, and tutorials for your language and platform.
Resource Center
The latest ebooks, industry reports, and webinars
Learn from customer engagement experts to improve your own communication.
Ahoy
Twilio's developer community hub
Best practices, code samples, and inspiration to build communications and digital engagement experiences.