-
 How to Bring Your Own Keys for Okta Telephony with Twilio VerifyKelley Robinson
 -
 Top user authentication trends for 2026Sebastian Del Aguila Fiocco Ravleen Kaur
 -
 The rise of passwordless authentication in 2026Ravleen Kaur
 -
 Passkeys vs. other authentication methods: what’s the difference?Twilio
 -
Passkeys 101: What they are and how they workKelley Robinson Ravleen Kaur
-
 The fraud-friction paradox: Why stronger security should feel invisibleAnurag Dodeja Reed Mcginley-Stempel
 -
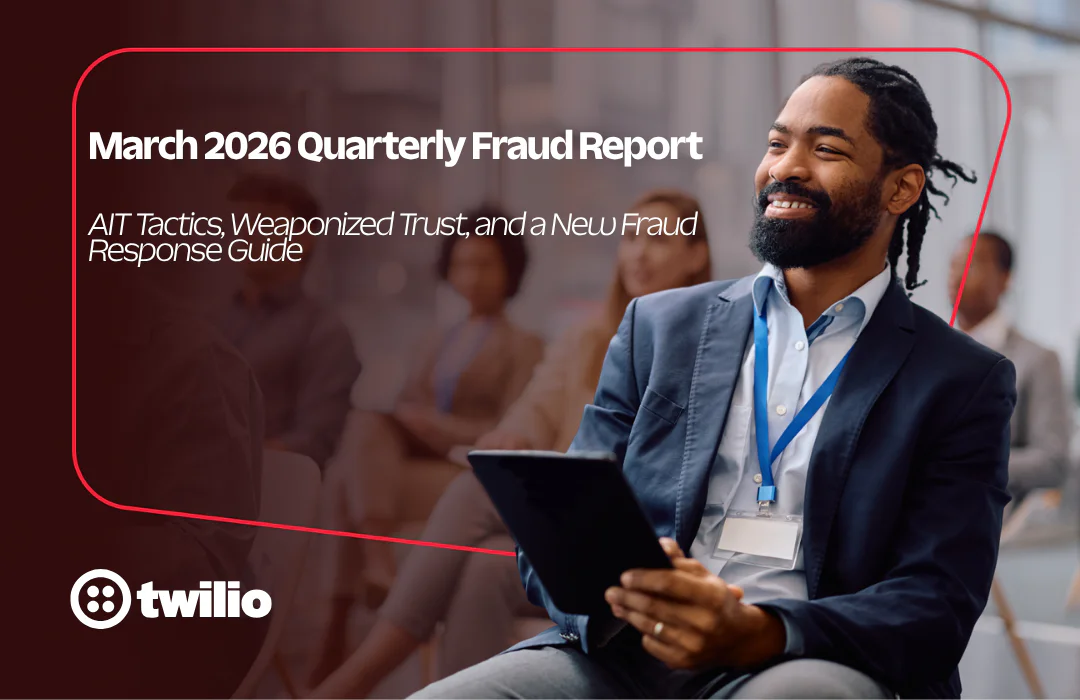 March 2026 Fraud Update: AIT Tactics, Weaponized Trust, and a New Fraud Response GuideDan Nieters Alena Eissman
 -
 How to Approve Real Users and Block Fake Accounts at Sign Up with Lookup and VerifyKelley Robinson
 -
 How to bring your own telephony to Okta with Twilio VerifyMingchao Ma Yukti Ahuja