SMS and MMS Marketing Notifications with Ruby and Rails
Time to read:
January 10, 2017
Written by
Reviewed by
This post is part of Twilio’s archive and may contain outdated information. We’re always building something new, so be sure to check out our latest posts for the most up-to-date insights.

Ready to implement SMS and MMS marketing notifications for your Ruby on Rails Application? This post is for you!
Here's how it'll work at a high level:
- A user you'd like to reach sends an SMS message to a Twilio phone number you advertise somewhere.
- Your application confirms that the user wants to receive SMS and MMS notifications.
- An administrator or marketing campaign manager uses a web form to craft a message that will be sent to all subscribers via SMS/MMS message.
Building Blocks
To get this done, you'll be working with the following Twilio tools:
- TwiML and the <Message> Verb: We'll use TwiML to manage interactions initiated by the user via SMS
- Messages Resource: We will use the REST API to broadcast messages out to all subscribers
Let's get started!
Creating a Subscriber
We begin by generating an Active Record model that we will store in a postgres database. For our purposes we don't need to store very much information about the subscriber - only their phone number (so we can send them updates) and a boolean flag indicating whether or not they are opted-in to receive updates.
We'll use the Rails generate command to create our model:
bin/rails generate model Subscriber phone_number:string subscribed:boolean
This generator creates our model, migration and schema for us. Now all we need to run is rake db:migrate and we have a table of Subscribers.
Now that we have a model object to save a Subscriber, let's move up to the controller level to see how we receive incoming messages.
Handling An Incoming Message
Since the incoming function will be called every time our application receives a message, it has a lot of business logic it needs to implement.
We'll look at how this function works piece by piece as the tutorial continues, but let's focus on the first message a user sends us for now.
Assuming a user doesn't exist, we'll want to add them as a potential subscriber. That's where we're headed next.
Creating a New Subscriber
We begin by getting the user's phone number from the incoming Twilio request. Next, we try to find a Subscriber model with that phone number (this should be a unique property of the Subscriber).
If there's no subscriber with this phone number, we create one, save it, and respond with a friendly message asking them to text "add". We require this two-step opt-in to our marketing notifications to keep our customers happy.
We've now created a Subscriber model to keep track of the people that want to receive our messages and have learned how to save them in the database when they text us for the first time.
Next, let's look at the logic we need to put in place to allow them to manage their subscription status.
Manage Subscriptions
We want to provide the user with two SMS commands to manage their subscription status: add and remove.
These commands will toggle a boolean flag for their Subscriber record in the database, and will determine whether or not they receive messages from our marketing campaign. Because we want to respect our users' preferences, we don't opt them in automatically - rather, we have them confirm that they want to receive messages from us first.
To make this happen, we will need to update the controller logic which handles the incoming text message to do a couple things:
- If the user is a person already in the database, parse the message they sent to see if it's a command we recognize
- If it is a
addorremovecommand, update her or his subscription status in the database - If it is a command we don't recognize, send a message explaining the two available commands.
Handle the Marketing Form Submission
On the server, first we grab an incoming form message text and optional image URL from the POST body. Second we loop through all Subscribers and call a function on our Subscriber model to send our marketing message.
When the messages are on their way, we redirect back to the same web form with a flash message containing feedback about the messaging attempt.
Let's jump into the model now to see how these messages are sent out.
Using the Twilio REST Client
When the model object is loaded, it creates a Twilio REST API client that it can use to send SMS and MMS messages. The client requires your Twilio account credentials (an account SID and auth token), which can be found in the console.
Next all we need to do is call messages.create on the client object in order to send our message. The Twilio Message API call requires a From and To parameter, and either a Body or a MediaUrl attribute (or both).
These nine lines of code are all you need to send an SMS in Rails.
With that? The tutorial is finished! Next we'll look at other easily implemented features.
Where to Next?
That's it! We've just implemented a an opt-in process and an administrative interface to run an SMS and MMS marketing campaign through your Ruby on Rails site. Now all you need is killer content to share with your users via text or MMS... and that's on you and your team.
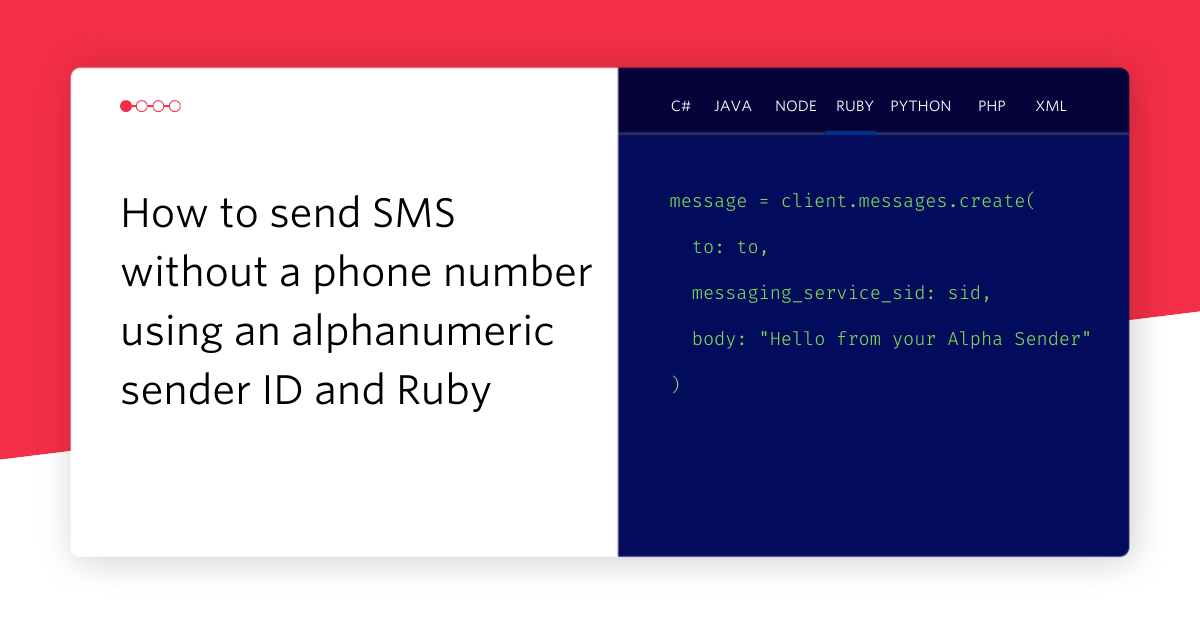
Twilio loves Ruby! Here are just a couple of our other Ruby tutorials:
With Warm Transfers your agents will have the ability to conference in another agent in realtime.
Instantly collect structured data from your users with a survey conducted over a voice call or SMS text messages.
Did this help?
Thanks for checking this tutorial out! Please let us know by tweeting @twilio what you're building!
Related Resources
Twilio Docs
From APIs to SDKs to sample apps
API reference documentation, SDKs, helper libraries, quickstarts, and tutorials for your language and platform.
Resource Center
The latest ebooks, industry reports, and webinars
Learn from customer engagement experts to improve your own communication.
Ahoy
Twilio's developer community hub
Best practices, code samples, and inspiration to build communications and digital engagement experiences.