Build a Bulk SMS Sender With Twilio, PHP, and Yii2
Time to read:
August 24, 2021
Written by
Reviewed by

Notifications are an essential feature of an application because they provide an outlet for them to keep the customers updated with activities relating to their accounts. SMS notifications, specifically, provide a large reach due to the sheer number of phones in circulation. They also have the added advantage of accessibility because even customers using feature phones are able to receive notifications.
Consequently, the question then becomes: how do you send SMS notifications to a large number of phones efficiently? This is because sending SMS notifications sequentially will likely create a scalability bottleneck.
So in this article, I will show you how to send SMS notifications in bulk using Twilio, which makes managing/dispatching programmable SMS a breeze, and PHP's Yii2 framework. We will build an application that will send customized SMS notifications in bulk to clients via Twilio's SMS API.
Tutorial Requirements
To follow this tutorial, you need the following components:
- PHP 7.4. Ideally version 8.
- Composer installed globally.
- A free or paid Twilio account. If you are new to Twilio click here to create a free account now and receive a $10 credit when you upgrade to a paid account.
- A smartphone with an active phone number.
Getting Started
To get started, create a new application named bulk_sms_app, and switch to the project directory using the following commands.
Install the required dependencies
The application needs one external dependency, the Twilio PHP Helper library, so that it can communicate with Twilio. Install it using the following command.
Test that the application works
Then start the application using the following command.
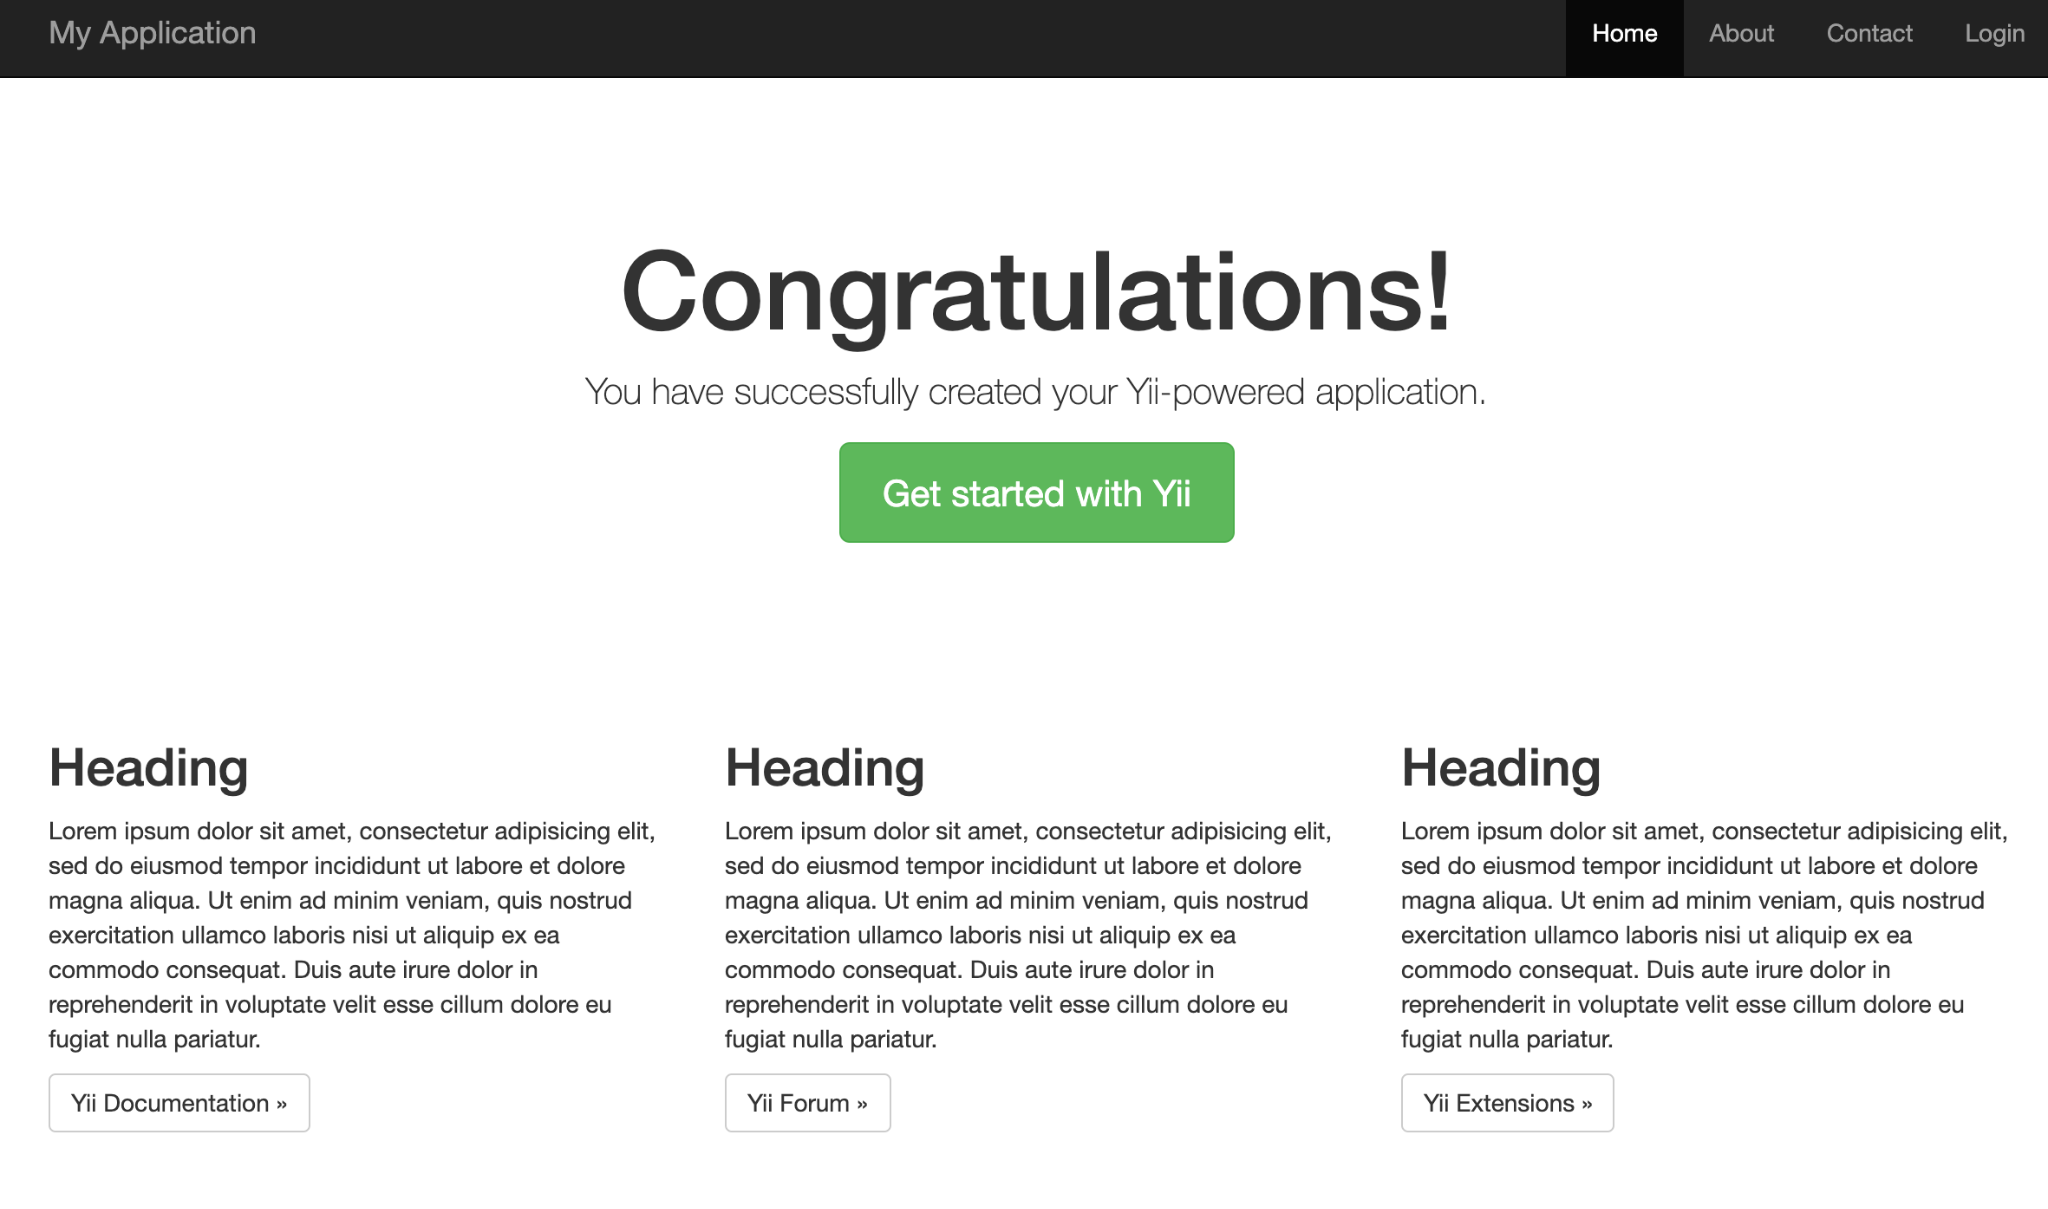
By default, the application will be available at http://localhost:8080/. Open the URL in your preferred web browser where you should see the default page, as shown below.
Return to the terminal and press Control + C to quit the application.
Update the application's configuration
For the application to work, it needs several configuration options to be set. These are your Twilio Account SID, Auth Token, and phone number, as well as a separate messaging ID.
Before those are retrieved, update config/params.php to match the following, so that the settings are available with placeholder values.
Next, from the Twilio Dashboard retrieve your Twilio phone number, "ACCOUNT SID", and "AUTH TOKEN". Replace each of the respective placeholder values in config/params.php with these three values.
Then, you need to set up a messaging service so that you can retrieve its messaging id. To do this, open the Twilio console and navigate to "All Products and Services > Programmable Messaging > Messaging Services". Once there, click the blue "Create Messaging Service" button.
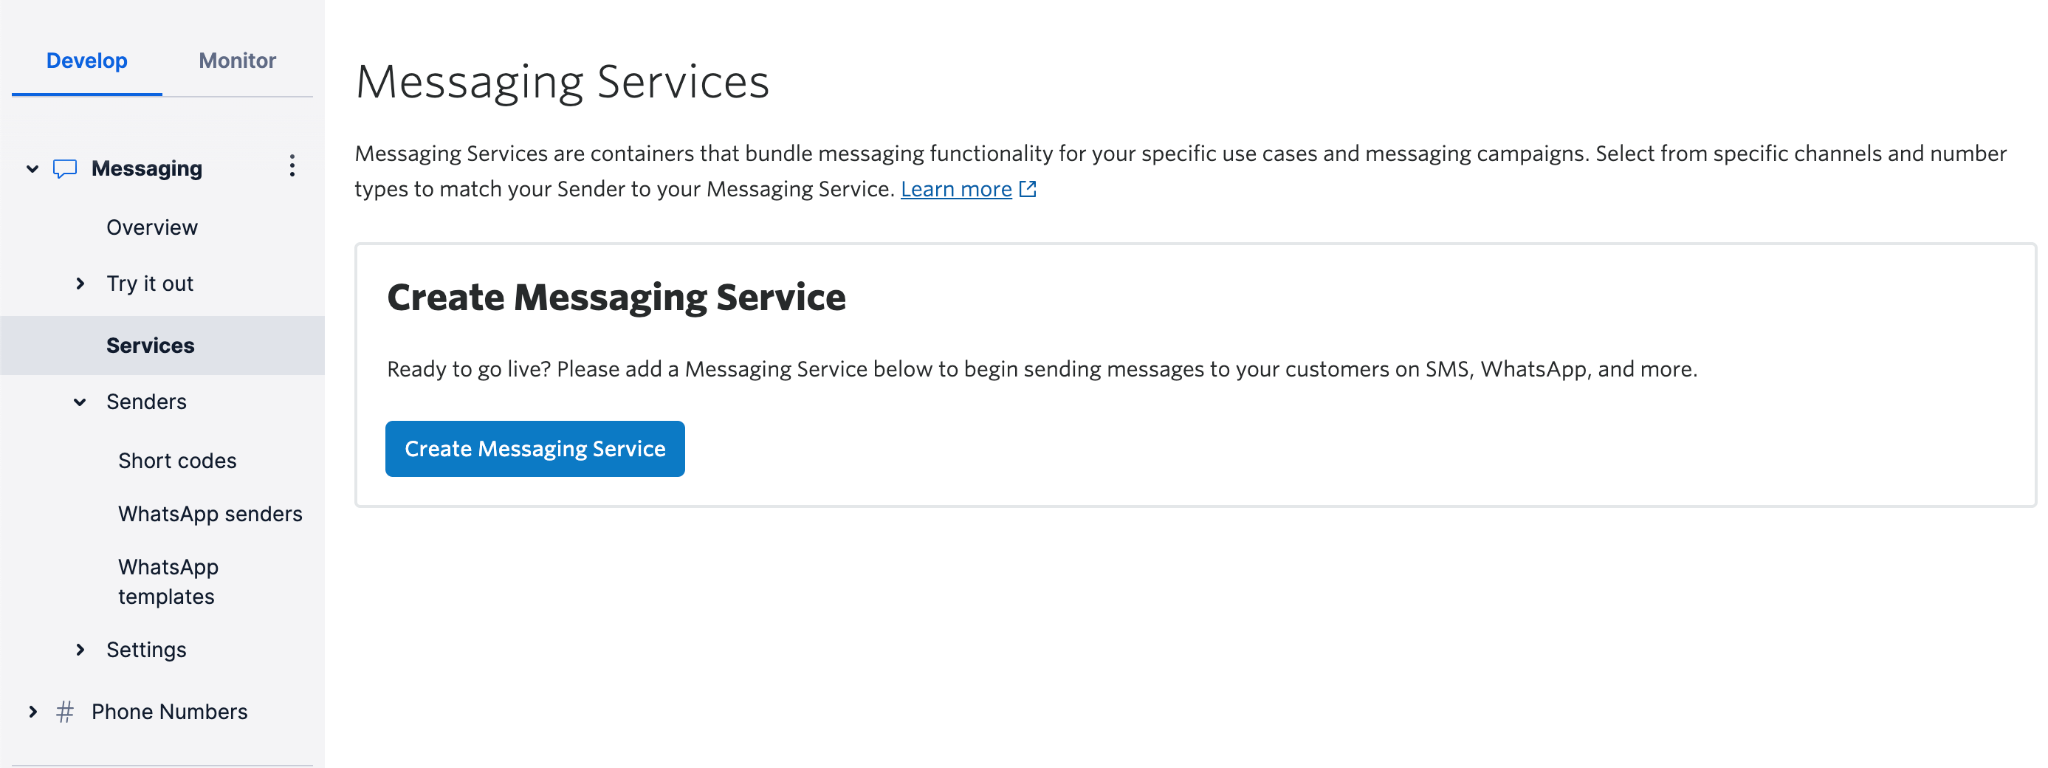
Set "Messaging Service friendly name" to "yii_bulk_sms" as our use case is to notify users, and click "Create Messaging Service".
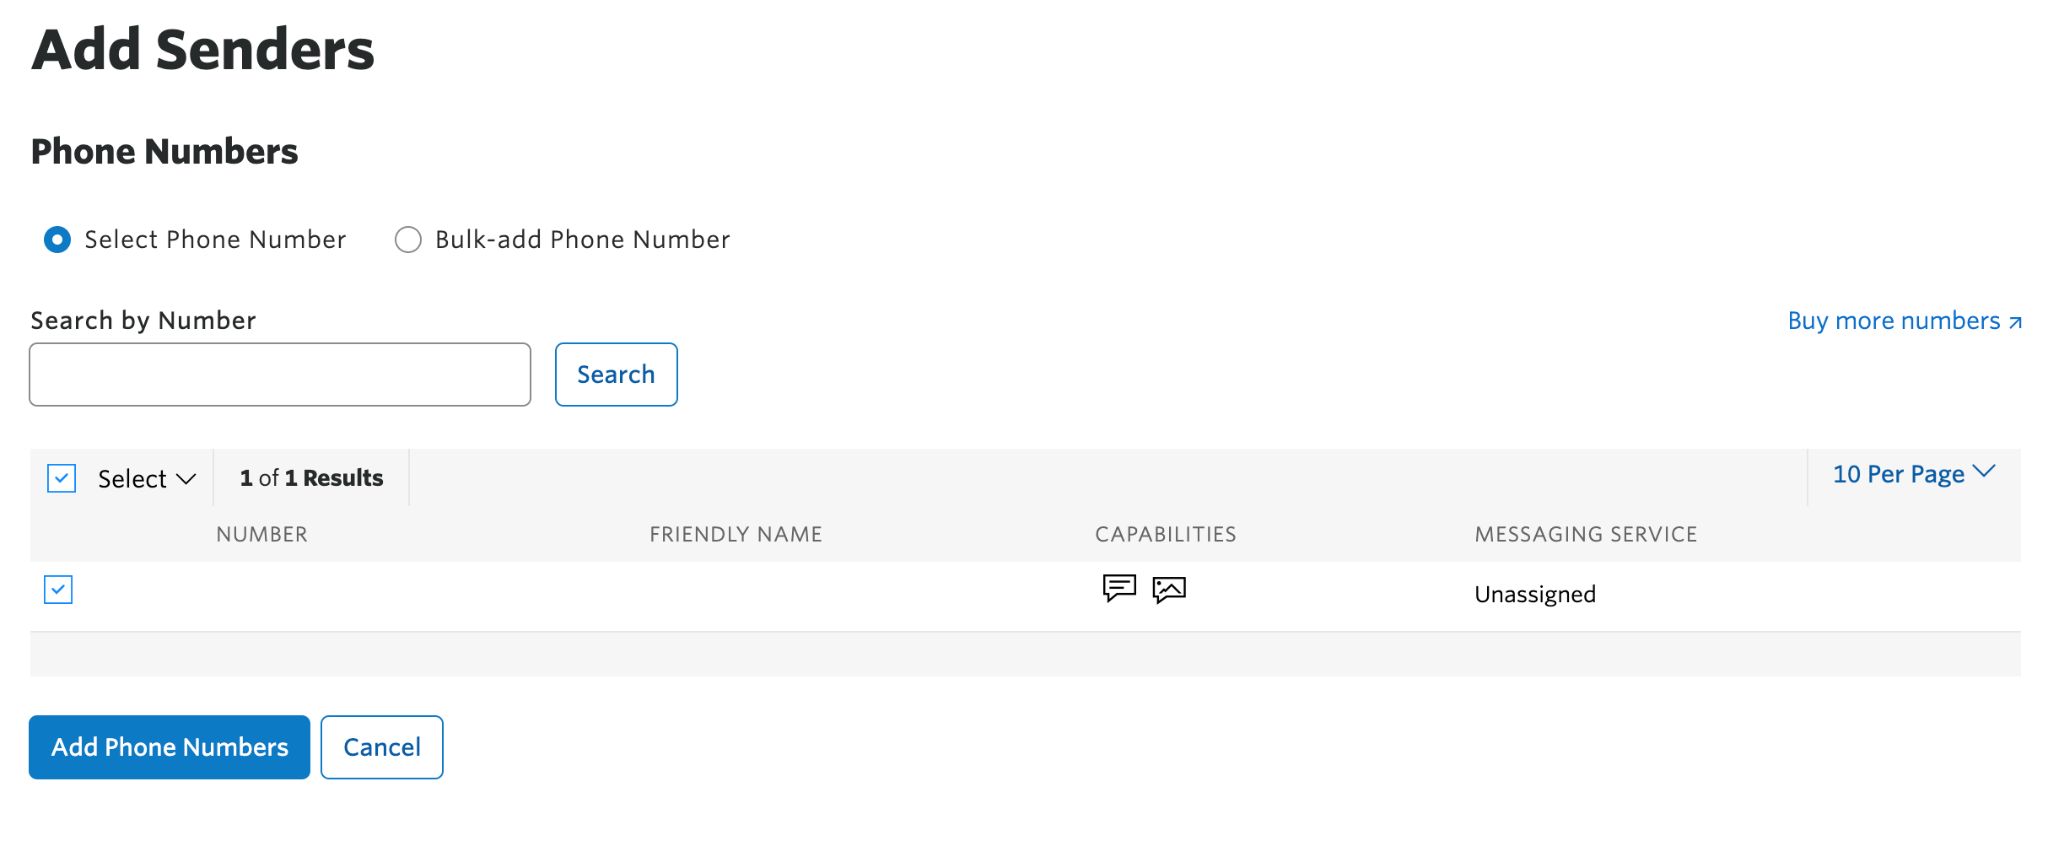
After that, we need to add a sender to our service. Specifically, we need a phone number. Click "Add Senders", select "Phone Number", and then click "Continue".
Then, finish up by clicking "Step 3: Set up integration", clicking "Step 4: Compliance info" on the following page, and finally "Complete Messaging Service Setup" on the page after that.
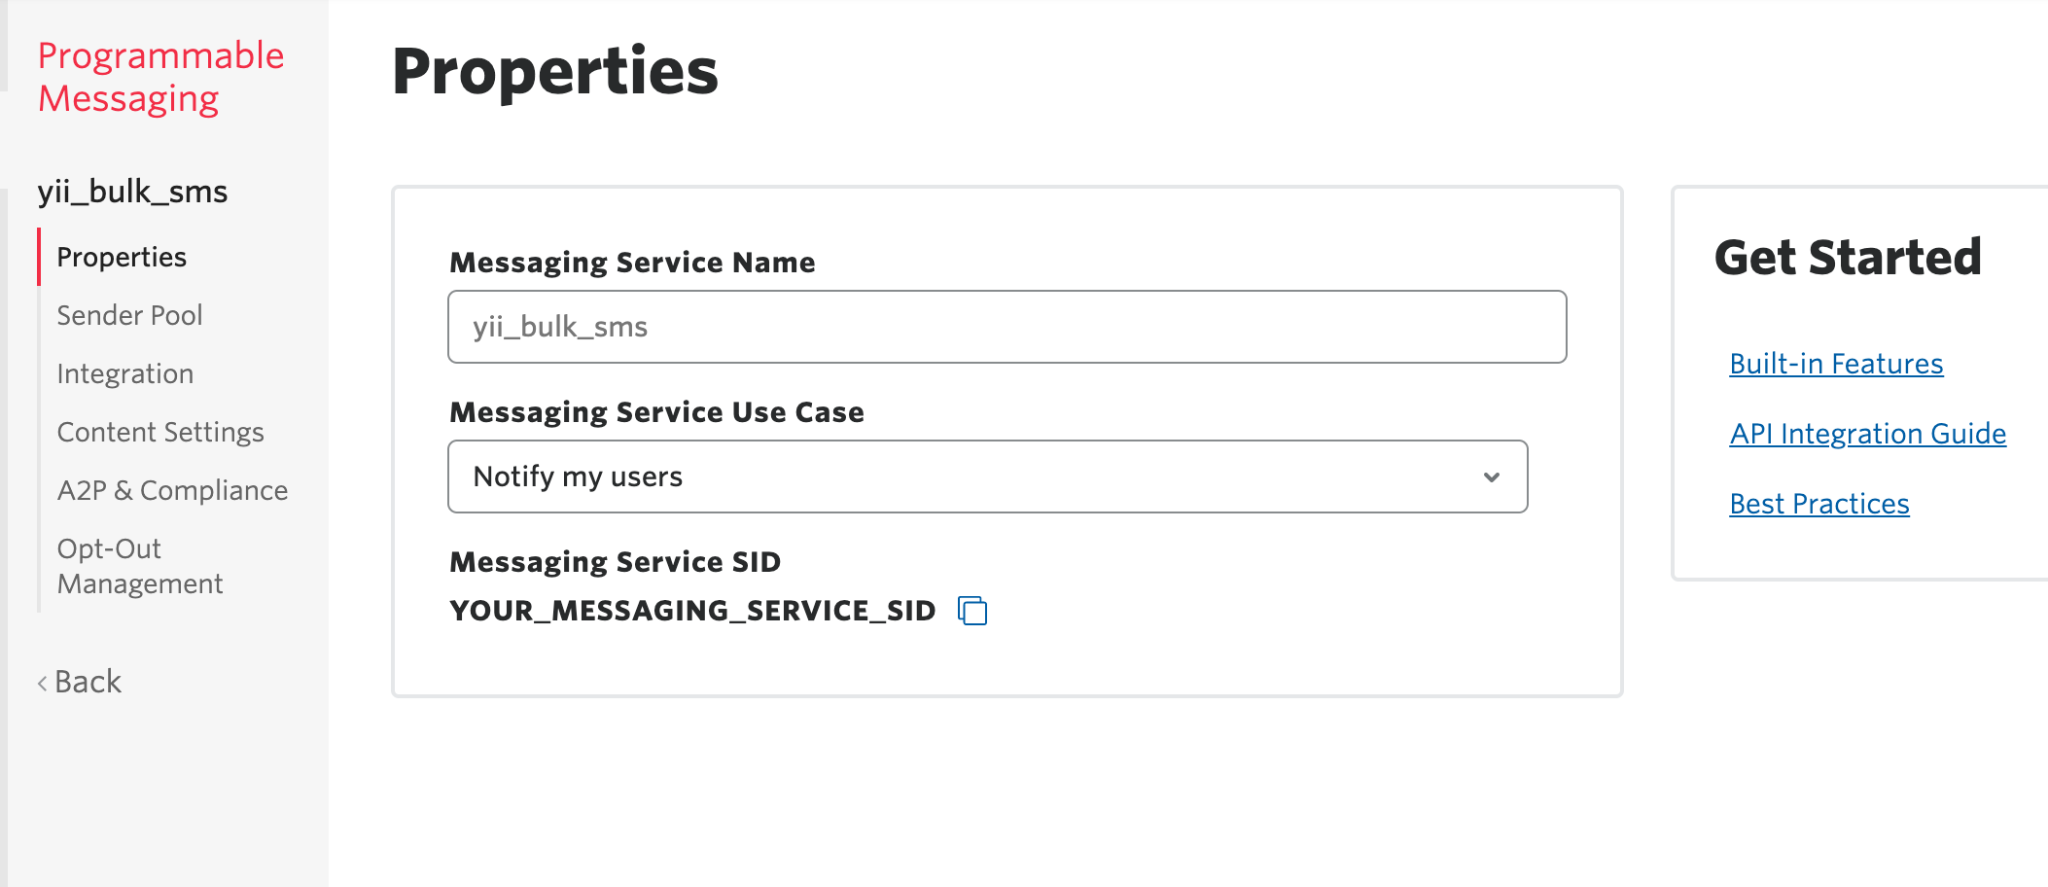
Now that the service has been created, copy the Messaging Service SID and use it to replace TWILIO_MESSAGING_SID's placeholder value in config/params.php.
Set up the database
For this application, we will use SQLite for the database. Create a new directory at the root of the application called db. In that directory, create a file named app.db. Then, update config/db.php to match the following code.
With that done, we now need to create several database migrations to simplify scaffolding the database. The first one will create a user table named "client". This table will have two columns; one for the name and one for the phone number.
Use the yii migrate/create command to create it, providing the name of the migration to be created, as in the example below.
When prompted for confirmation, enter "yes" and press Enter.
Open migrations/m<YYMMDD_HHMMSS>_create_user_table.php which was just created and modify the safeUp and safeDown functions to match the following code.
The second migration will seed the client table with a set of fake data so that our application has some data to work with. Create it using the following command.
As before, when asked for confirmation, enter "yes" and press Enter. Then, open migrations/m<YYMMDD_HHMMSS>_seed_client_table.php and modify the safeUp function to match the following code.
This will insert 1,000 records into the client table.
With the two migrations created, run them using the following command:
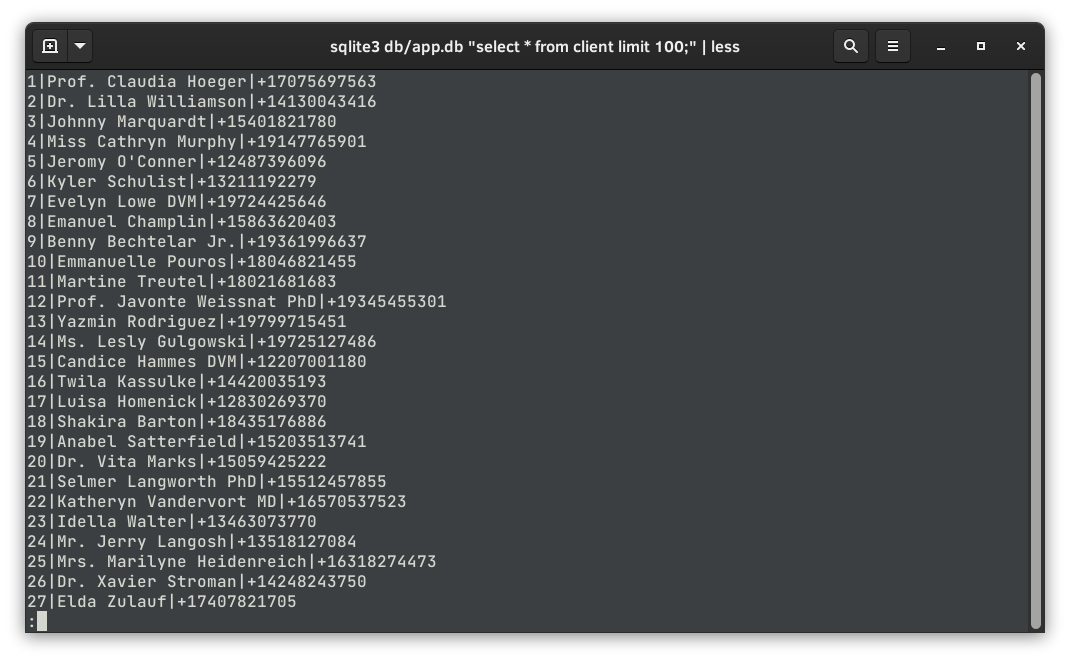
When asked for confirmation, type “yes” and press Enter. After the migrations have been run, you can verify that the database has been created and seeded appropriately using the sqlite3 command-line tool, as in the example command below.
The first 100 clients in the database will be printed to the command line, similar to the screenshot below.
Creating Client Models
Instead of writing raw SQL queries to interact with the database, we will create an ActiveRecord model which will manage the query creation and execution for us. What's more, by doing this we will have an object-oriented means of accessing and storing data in the database. Create a model for the Client entity using the command below. When prompted, press Enter.
The new class will be created in a new directory named models, located in the project's root directory.
Create the client Controller
With the database and models in place, we can now create Controllers to handle the display of clients and the dispatch of SMS notifications. Create a Controller to handle client-related requests using the following command; Type “yes” and press Enter when prompted.
When finished, two new files will have been created: controllers/ClientController.php (which extends yii/web/Controller), and views/client/index.php.
To allow the API to handle POST requests, CSRF validation will be disabled in ClientController.php. To do that, add the following to the start of the class.
Before we create actions to handle requests, we need to add routing rules for the new API endpoints. To do that, in config/web.php uncomment the urlManager component and add the code below to its ruleselement.
The application will have two routes: /clients and /clients/notify. The first route (/clients) will be used to display the list of clients saved in the database. This will be handled in ClientController.php by a function named actionIndex.
The second route (/clients/notify) will be used to send SMS notifications in bulk to the provided clients. It will also be handled in ClientController.php by a function named actionNotify.
To allow our controllers to parse JSON requests, we need to add a JSON parser to our application component. The components array within config/web.php contains a request array that holds the configuration for the request Application Component.
To add the JSON parser, add the following to the request array, after the cookieValidationKey element.
Then, update controllers/ClientController.php to match the following example.
In the actionIndex function, we use pagination to retrieve the clients from the database in batches. These clients, along with the pagination object, are passed to the view located in views/layouts/main.php.
The actionNotify function does three things; it:
- Takes the request and retrieves the clients and smsContent keys.
- Returns a JSON response with a success message. Dispatches the messages to the selected clients.
Create the clients' view
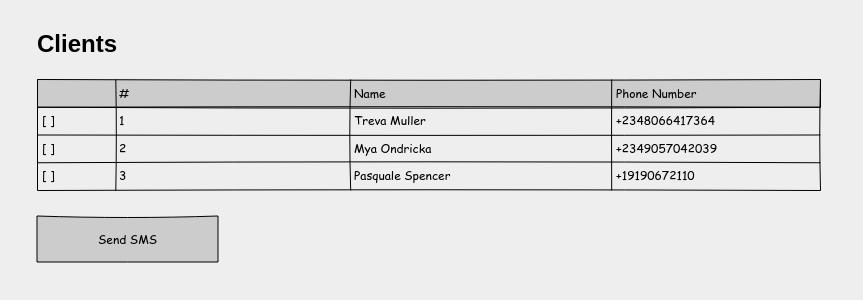
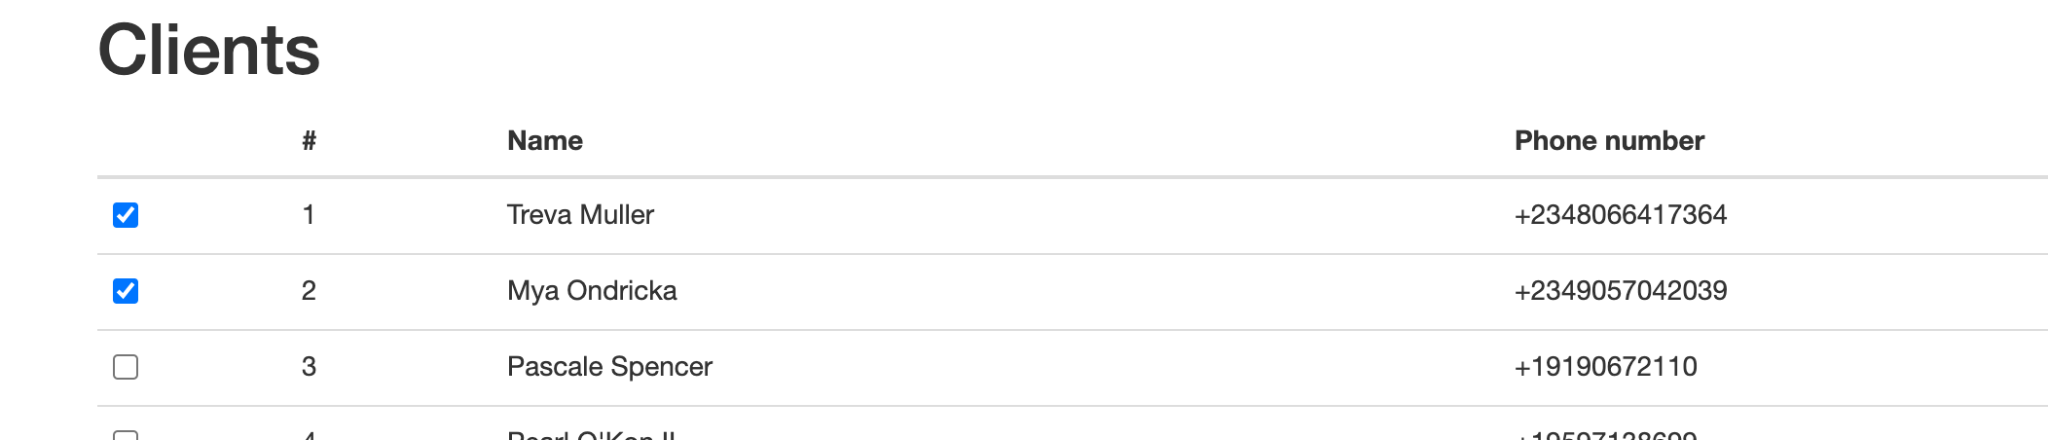
The clients' list will be displayed in a table. Beside each client in the list, there will be a checkbox to indicate which of the clients has been selected, and at the bottom of the table will be a button to send an SMS to all the selected clients. You can see a mockup in the image below.
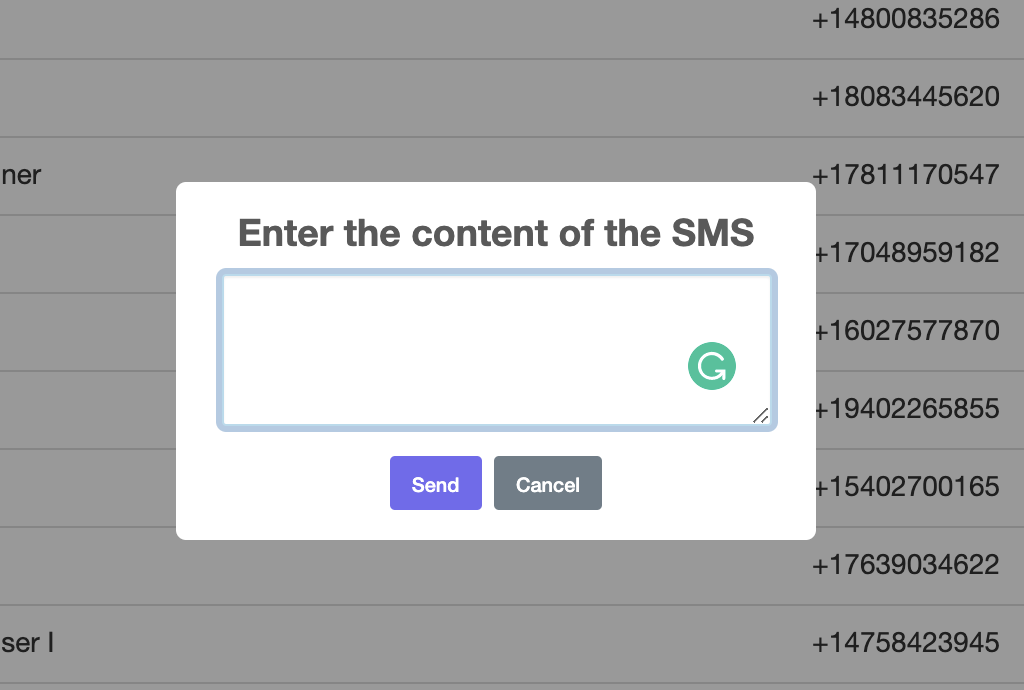
Clicking on this button will trigger a pop-up into which the SMS content is typed. Submitting that form will make a POST request containing the content of the SMS and the clients to be notified. Once the request has been completed successfully, an alert will be displayed.
Before we edit the view, let's edit the main layout to remove the default Yii2 header and footer, and import SweetAlert via CDN. SweetAlert will be used to display the popup form and notifications.
Open views/layouts/main.php and update it to match the following.
Next, update views/client/index.php to match the following.
In addition to rendering a table containing the contents, we added a script that contains two functions: sendSMS and getSelectedClients.
sendSMS is called when the Send SMS button is clicked. This function triggers the pop-up form where the SMS content is to be typed in. Once the form is submitted, the selected clients are retrieved using getSelectedClients.
Along with the content of the SMS, a POST request is made via the fetch API to the clients/notify endpoint. The response message is then shown in an alert which the user can close.
Create a helper class to send SMS in bulk
At the root of the project, create a new folder called helpers. Then, in that directory, using your favorite IDE or text editor, create a new file named TwilioSMSHelper.php, adding the following code to it.
In the constructor, we initialize a Twilio Client object using the TWILIO_ACCOUNT_SID and TWILIO_AUTH_TOKEN which we set in config/params.php. We also pull the phone number and Messaging Service ID which are passed as part of the message configuration. These are saved as private fields in the class. In the sendBulkNotifications function, we loop through the clients and create a new message for each one.
Add the bulk notification feature
In controllers/ClientController.php, update the actionNotify function to match the following.
Don't forget the import statement for the TwilioSMSHelper class, below.
With this in place, we can send custom SMS notifications to our clients.
Remember that we used FakerPHP to generate the random and invalid phone numbers for each client in the database? Twilio's API will not be able to connect those numbers if selected and throw an error in the process.
For testing purposes, you can alter one or two numbers and change to valid ones by using the following script:
This will change the value of the second phone number in the database to the one specified above.
Now, start the application again, by running php yii serve in the terminal in the project's root directory. Then, open http:://localhost:8080/client in your browser of choice and select some clients.
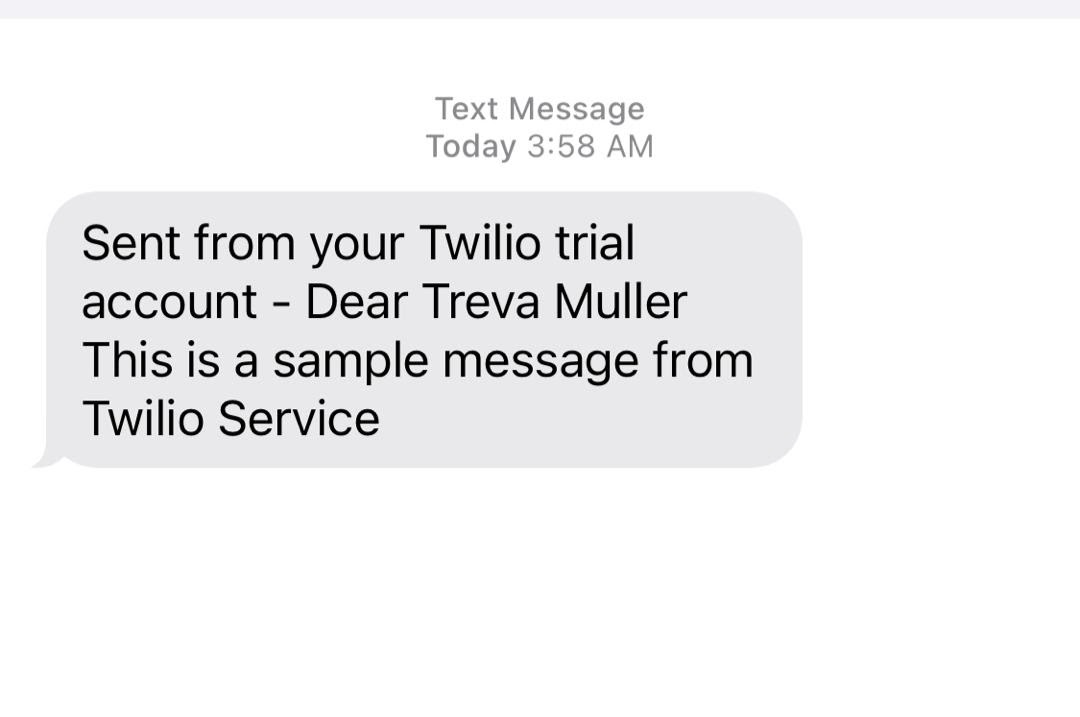
After that, click the "Send SMS" button to bring up the form, type in a message, and click Send. You will get the success notification along with the text messages sent to the provided phone number.
Conclusion
In this article, we looked at how to send bulk SMS notifications using Twilio. Integration of Twilio SDK simplifies the process of creating and dispatching notifications.
In addition, you don't have to worry about queuing and the delivery process as Twilio infrastructure is capable of handling notifications for your users in real-time.
The entire codebase for this tutorial is available on GitHub. Feel free to explore further. Happy coding!
Oluyemi is a tech enthusiast with a background in Telecommunication Engineering. With a keen interest to solve day-to-day problems encountered by users, he ventured into programming and has since directed his problem-solving skills at building software for both web and mobile.
A full-stack software engineer with a passion for sharing knowledge, Oluyemi has published a good number of technical articles and content on several blogs on the internet. Being tech-savvy, his hobbies include trying out new programming languages and frameworks.
- Twitter: https://twitter.com/yemiwebby
- GitHub: https://github.com/yemiwebby
- Website: https://yemiwebby.com.ng/


Related Resources
Twilio Docs
From APIs to SDKs to sample apps
API reference documentation, SDKs, helper libraries, quickstarts, and tutorials for your language and platform.
Resource Center
The latest ebooks, industry reports, and webinars
Learn from customer engagement experts to improve your own communication.
Ahoy
Twilio's developer community hub
Best practices, code samples, and inspiration to build communications and digital engagement experiences.