Integrating Voice Call OTP Verification in a Symfony Application with Twilio
Time to read:
January 04, 2024
Written by
Reviewed by
One-time passwords (OTPs) provide an additional layer of security by generating temporary, unique codes that users must enter to complete specific actions or access particular features.
While text messages serve as a common method of OTP delivery, voice-call OTP verification is also gaining popularity, due to its accessibility and reliability. When used, the user receives a voice call that verbally provides their verification code, which they subsequently enter into the application.
In this tutorial, you will learn how to integrate voice call OTP verification into a Symfony application to verify user logins using Twilio Programmable Voice. This will be achieved by creating registration and login pages, along with a verification page for users to enter the received OTP, enabling them to gain access to the application.
Prerequisites
To follow along with this tutorial, you will need the following:
- PHP 8.1 or higher (ideally PHP 8.3)
- Composer installed globally
- The Symfony CLI
- A Twilio account with an active phone number. Click here to create a free account. Be aware that, if you are using Twilio's free trial, you will need to upgrade your account to be able to make calls to any unverified non-Twilio phone number.
- Access to a MySQL database
- Basic knowledge of Symfony and Doctrine would be helpful, though not essential
Create a new Symfony project
Let's get started, by creating a new Symfony web project using the Symfony CLI. You can do this by running the following commands:
Then, after the installation is complete, run the commands below to start the application server:
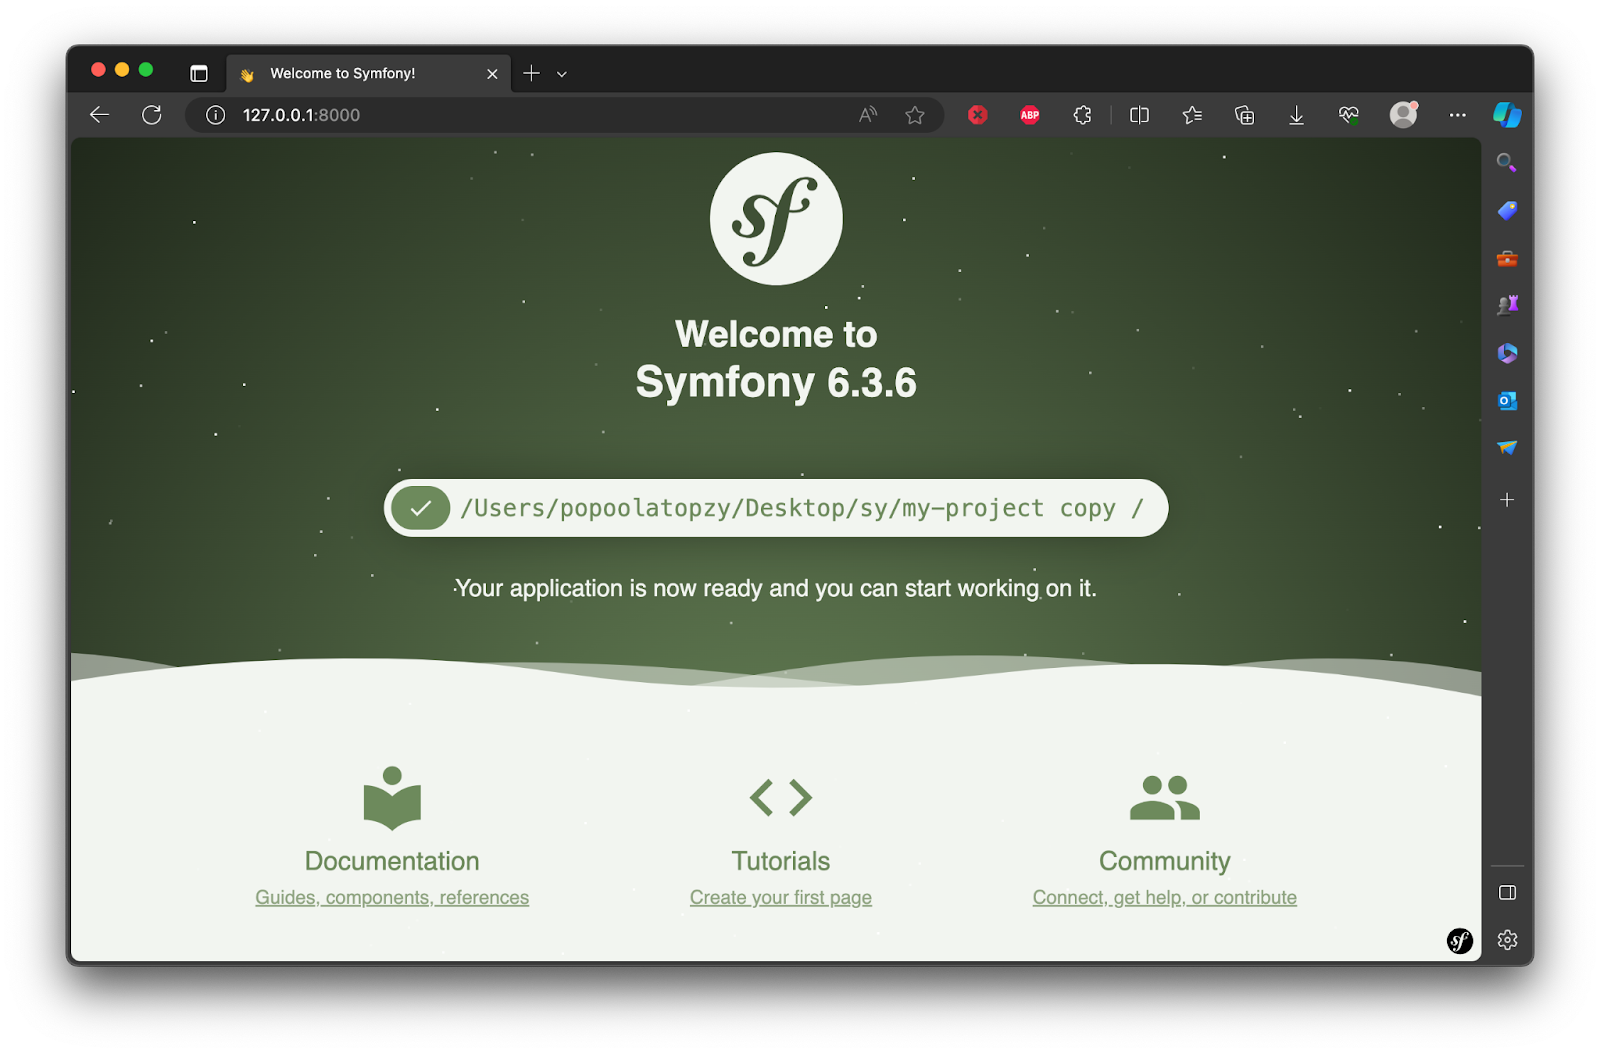
Once the application server is started, open http://localhost:8000/ in your preferred browser and you'll see the application's home page, as shown in the screenshot below.
Set up the database
To connect the application to the MySQL database, you must first install Doctrine. You can install it by running the following commands in your terminal:
Now, to configure the database connection, open the .env file in the project's root directory. Then, comment out the existing DATABASE_URL setting. After that, add the following configuration to the end of that section (doctrine/doctrine-bundle).
In the configuration above, replace <db_user> with the database's username, <db_password> with the database's password, and <db_name> with the name of the database.
Then, to create the configured database, if it's not already provisioned, run the command below in your terminal.
Create the required entities
An entity is a PHP class that represents a database table schema, mapping its properties to table columns for effective interaction between the application and the database.
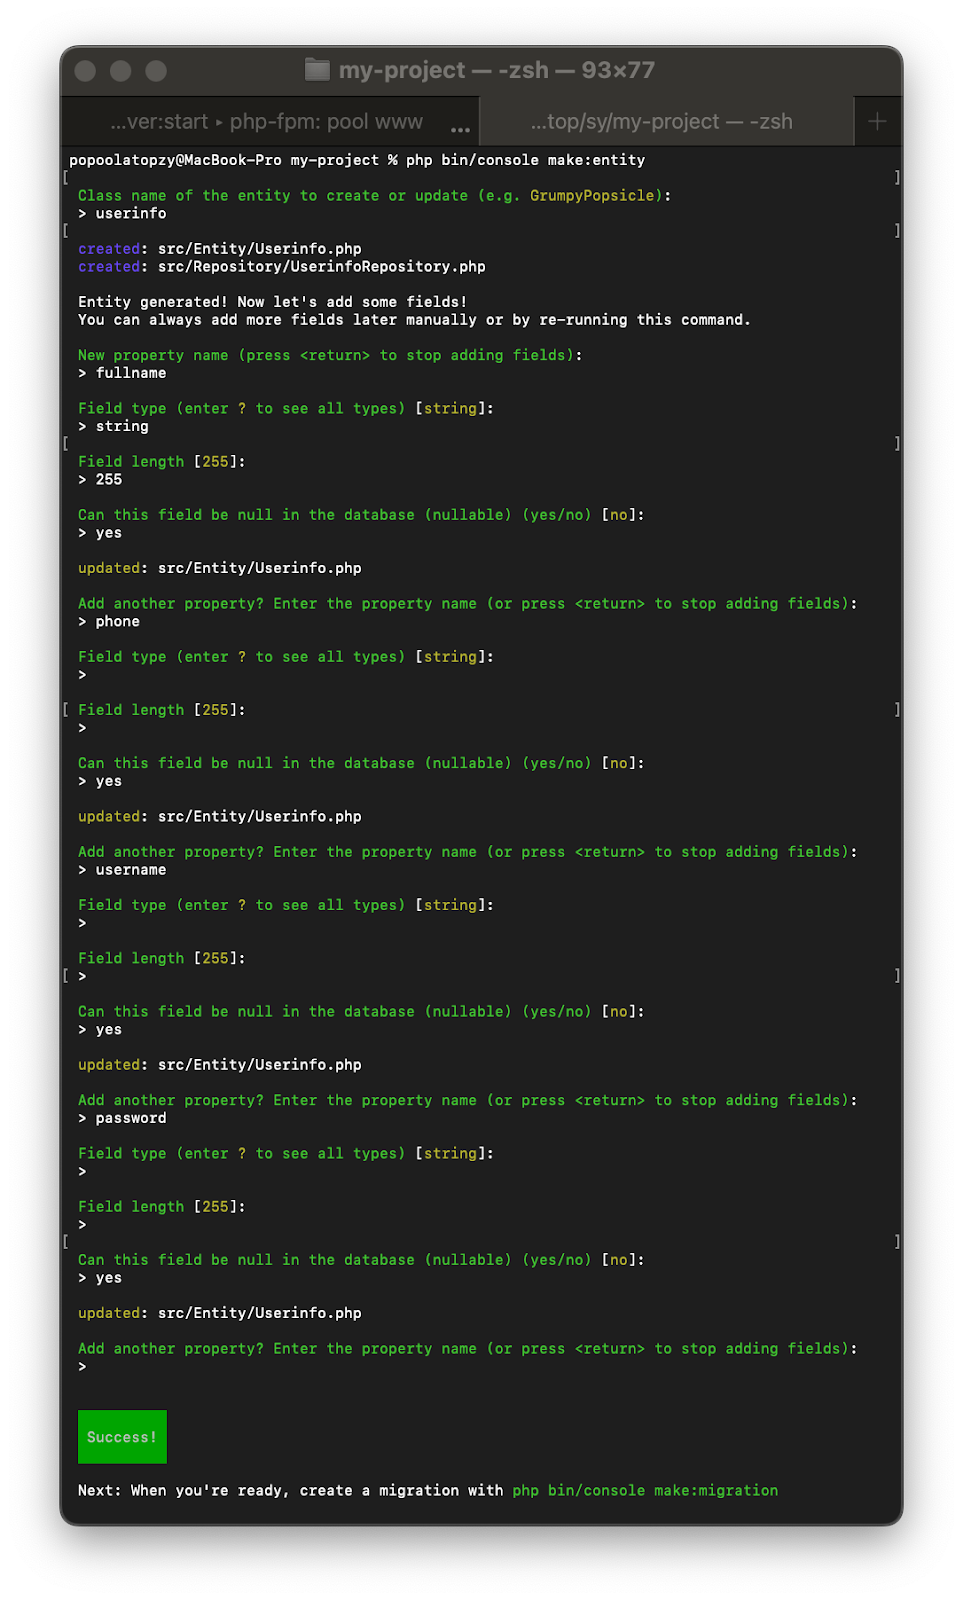
Now, let's create an entity class and add fields to the database table using the make:entity command below. Running it will prompt you with questions about the new entity class.
The above command will prompt you to enter the entity name and then set the database table schema for the entity. Answer the prompts as shown in the screenshot below.
Next, run the following commands to add and update the created entity fields to the database.
Create a Form Type
A form type is a class that defines the structure and behavior of a form in a Symfony application. It specifies the fields, their types, validation rules, and other attributes of the form.
Before you create the routes for the registration, login, and verification pages, let's first create the form types for both registration and login. The form type is used to define the form fields. To create a registration form type, run the command below in your terminal.
Running the above command will prompt you to enter the entity's name. Enter the entity name UserInfo that you created earlier.
Now, in your code editor, if you navigate to the src/Form folder and open RegistrationType.php, you will find that it looks like the following.
Now, let’s ensure that the user’s password is not exposed. To do so, in the code above, update the buildForm() method to match the followings:
Then, add the following use statement to the top of the file.
Next, let’s create a login form type, using the same process above, by running the command below.
When prompted, enter your entity name, input UserInfo. In the src/Form folder, open the generated LoginFormType.php file and replace it with the following code to remove all unnecessary fields.
Create the authentication controller
Let's create the controller for our application and install the HttpFoundation package to work with sessions in the application, by running the following commands in your terminal.
Now, navigate to the src/controller directory and open AuthenticationController.php. Then, define the application route and its logic by replacing the existing code with the following.
In the code above:
- All the necessary dependencies are imported
- The route for the registration page is defined, where form submission data is validated and then stored in the database
- The registration form template is loaded from authentication/register.html.twig
To create the registration template, navigate to the templates/authentication directory and create a new file named register.html.twig. Inside the file, add the following code:
Finally, in templates/base.html.twig, add the following block in the <head> section, so that the templates are styled properly.
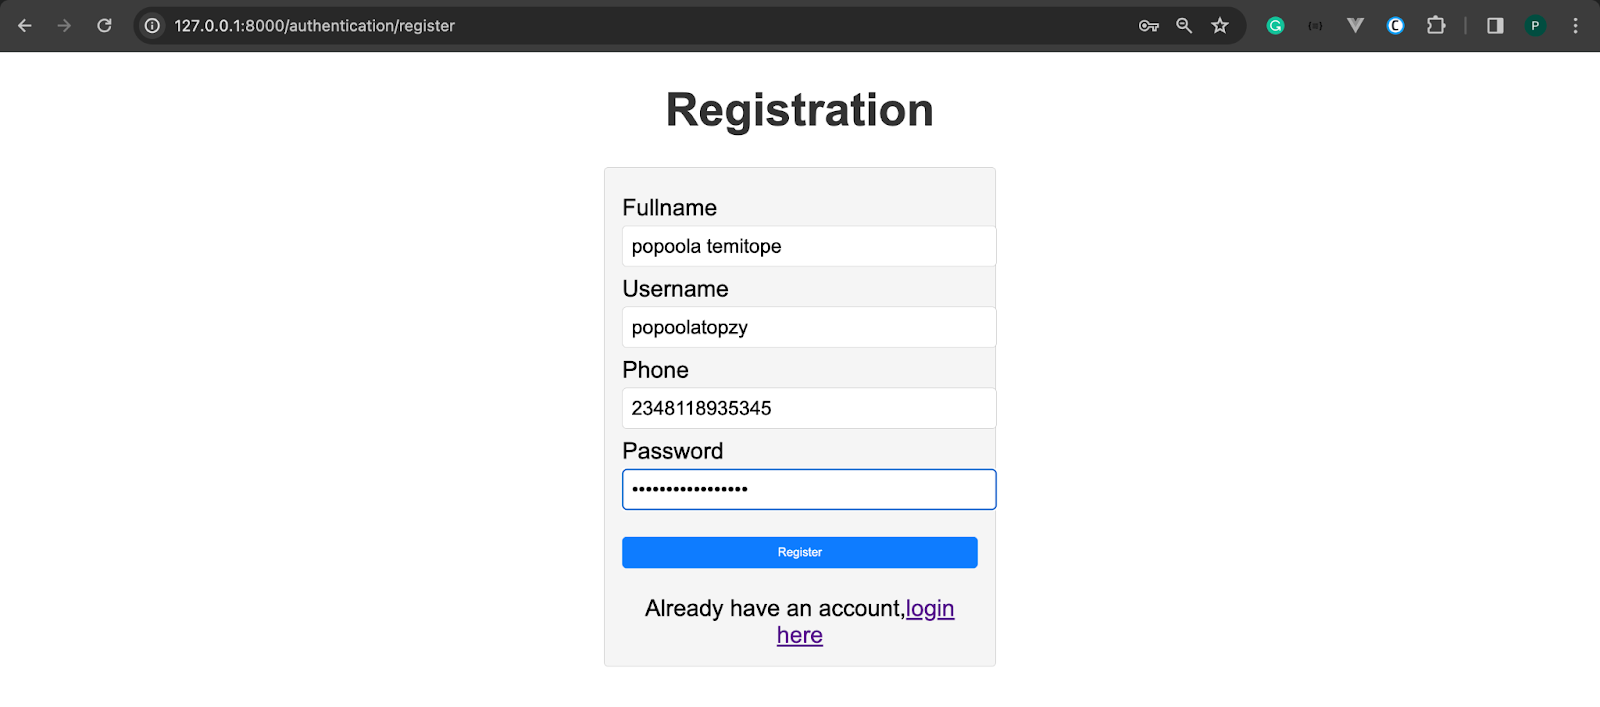
Now, save your work and open http://localhost:8000/authentication/register in your browser. Then, register a new account using your phone number (including your country code) as shown in the image below.
Install the Twilio PHP SDK
To interact with Twilio Programmable Voice, you need to install the Twilio SDK for PHP. Run the command below to do so.
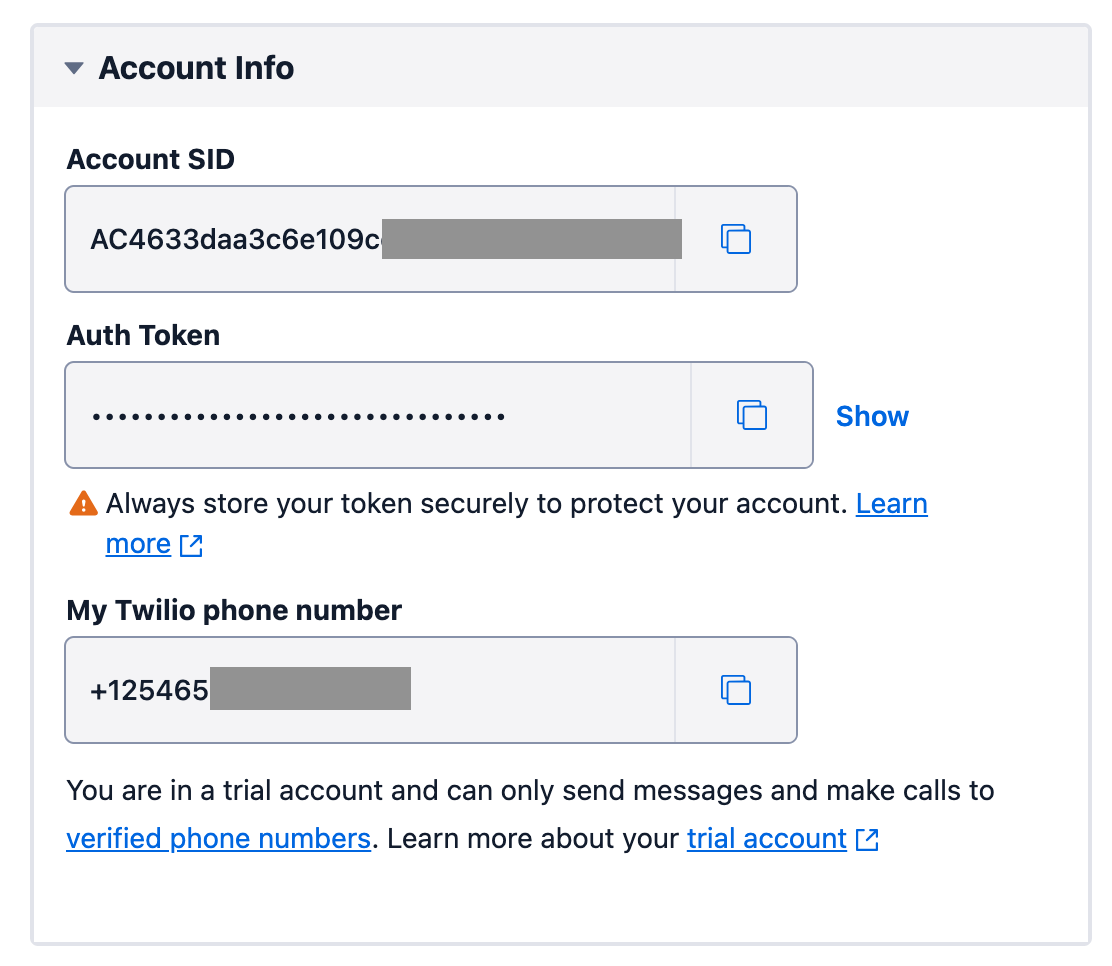
You can get your Account SID and Auth Token from your Twilio Console dashboard, as shown in the image below.
Storing the access token in the .env file
To ensure that the Twilio API credentials are well secured, let’s store them in the .env file. To do so, open the .env file in the project's root folder and add the following code.
In the code above, replace <twilio_account_sid>, <twilio_auth_token> and <twilio_phone_number> with your corresponding Twilio values.
Add functionality for sending a verification code
Let's create a function that will connect to Twilio Programmable Voice and send the verification code through a phone call to the user. Inside the src folder, create a Service folder. Inside this folder, create a file named TwilioService.php and add the following code to it.
From the code above, the sendVoiceOTP() function contains two arguments (the $recipientPhoneNumber and $otpCode). The OTP message to send a voice call is passed, wrapped in the Say element, which will say the code twice, before hanging up the call.
Create the login controller
Next, let's add a login route to our controller. This route will allow users to log in with their username and password. After logging in, an OTP will be sent to the user's registered phone number as an additional authentication method. To do that, open AuthenticationController.php and add the following function to it:
Then, add the following use statement to the top of the file.
To create the login template, navigate to the templates/authentication folder and create a new file named login.html.twig. Inside the file, add the following code.
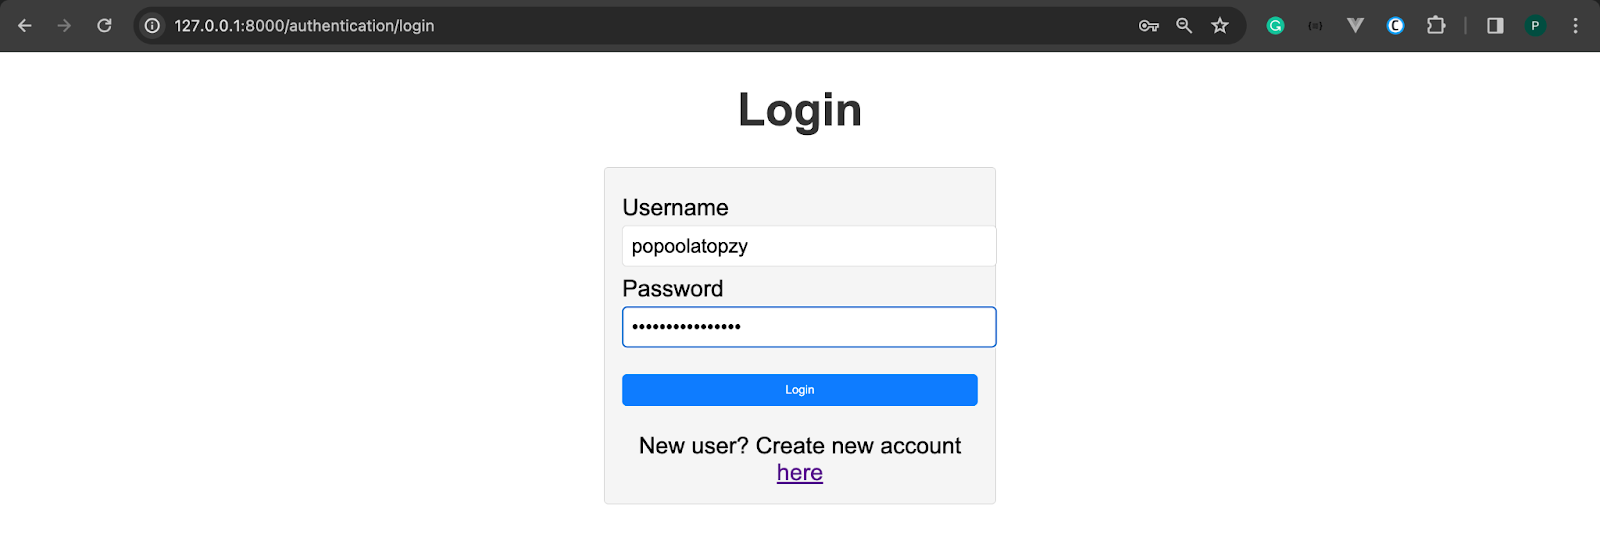
Now, open http://localhost:8000/authentication/login in your browser. Log in with your username and password. You will receive a call from your Twilio phone number which will provide your verification code. Afterward, you will be redirected to the verification page where you can enter the OTP code.
Add the verification controller
Now, to add the verify route and check if the entered verification code is correct or not, add the following code to AuthenticationController.php.
Once the OTP is correct, you can redirect the user to your preferred route. Next, you need to create the verify template. Inside the authentication folder, create a file named verify.html.twig and add the following code to it.
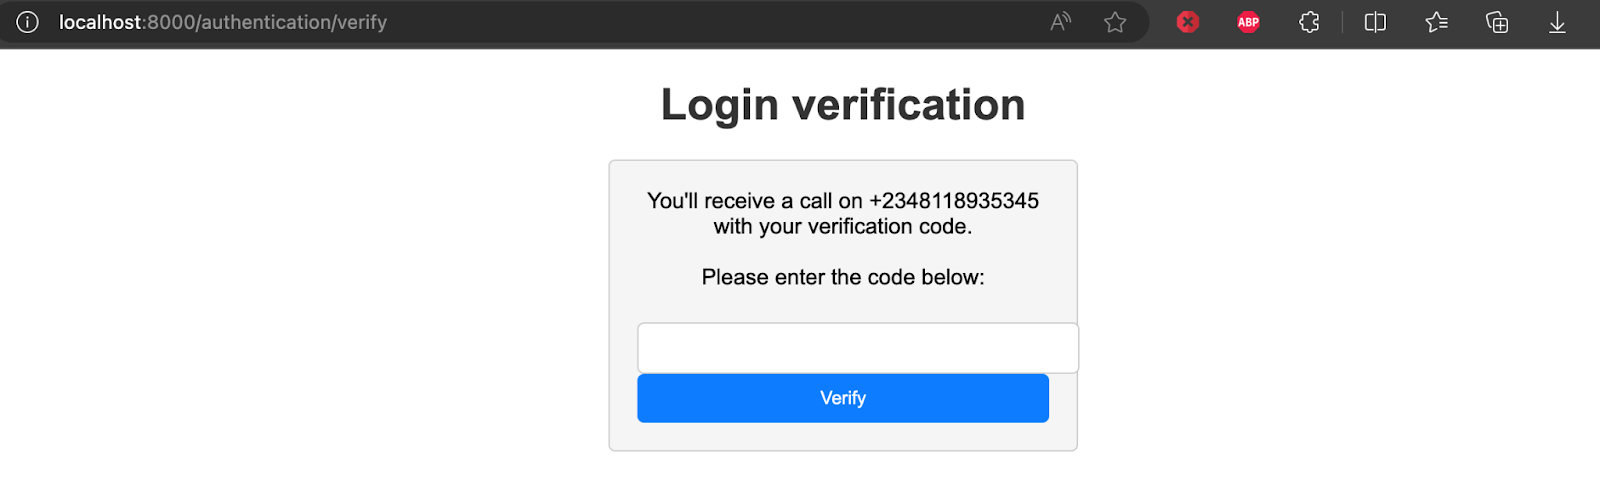
Now, save your work and log in to your account. You will receive a call from your Twilio phone number, providing your verification code to complete the login. Enter the OTP on the verification page as shown below.
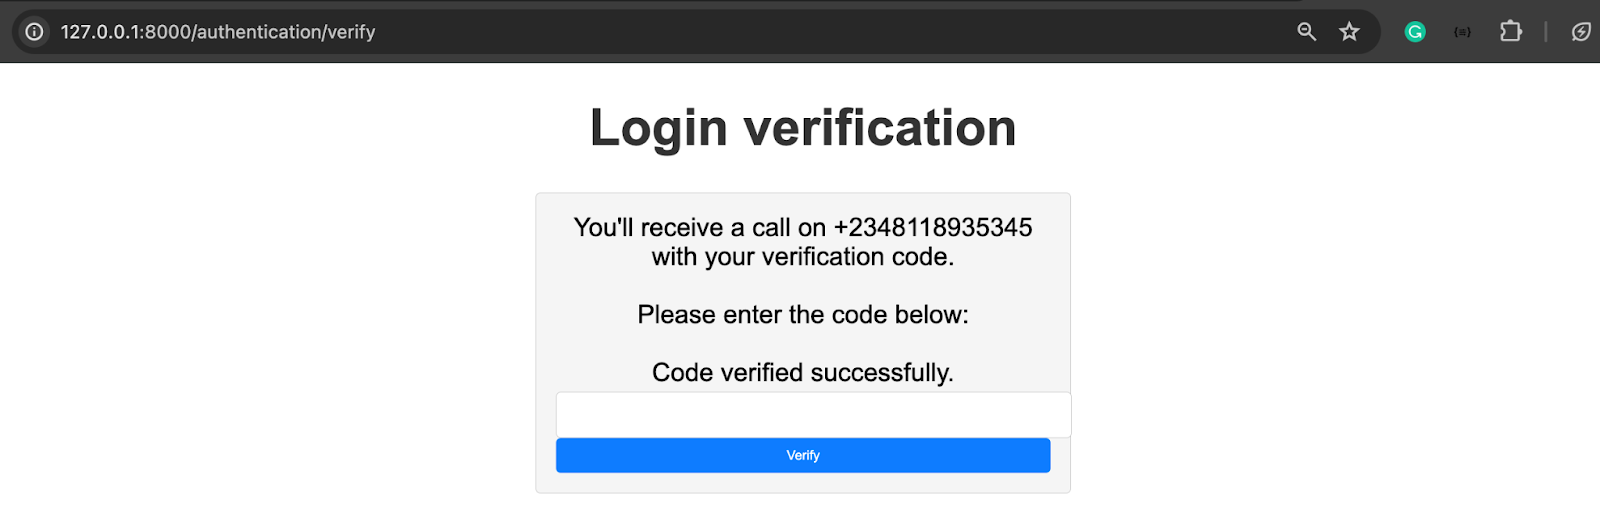
Next, enter the OTP and click on the Verify button. If the OTP is correct, you will see a success message, as shown in the image below.
After verifying the OTP, you can redirect the user to their desired page, such as the dashboard, profile, or settings page.
Conclusion
In this tutorial, you learned how to integrate the Twilio Programmable Voice API into a Symfony-based application to serve one-time passwords, as an additional authentication factor for user logins.
By leveraging this method of OTP delivery, users can receive one-time passwords via telephone calls and gain access to their application with greater security.
Popoola Temitope is a mobile developer and a technical writer who loves writing about frontend technologies. He can be reached on LinkedIn.


Related Resources
Twilio Docs
From APIs to SDKs to sample apps
API reference documentation, SDKs, helper libraries, quickstarts, and tutorials for your language and platform.
Resource Center
The latest ebooks, industry reports, and webinars
Learn from customer engagement experts to improve your own communication.
Ahoy
Twilio's developer community hub
Best practices, code samples, and inspiration to build communications and digital engagement experiences.