Build High-Performance REST APIs with Rust and Axum
Time to read:
November 14, 2023
Written by
Reviewed by
Traditionally, Rust’s application areas have centered around building command-line interfaces (CLIs), embedded systems, and performance-critical applications. However, with the introduction of the async/await syntax in Rust 1.39, the Rust ecosystem has evolved significantly.
It now offers a more accessible approach to creating web and desktop-based applications. What's more, Rust's security-first design, robust concurrency model, and efficient memory management features make it an ideal fit for developing applications in these domains.
In this tutorial, we'll explore how to create a fully-functional REST API with Rust and Axum. We’ll go over setting up routes and API endpoints, handling API request queries, body and dynamic URL values, connecting your API to a MySQL database, and middleware integration, as well as tips to ensure that your API stays performant.
Prerequisite
To follow along with this guide, the following prerequisites are necessary:
- Familiarity with fundamental programming concepts such as functions, data structures, control flows, modules, and basic asynchronous programming
- Rust and Cargo set up on your system
- A MySQL database ready to go. For installation guidance, refer to the setup instructions for Mac/Linux and Windows
What is Axum?
Axum is a web framework that focuses on performance and simplicity. It utilizes the capabilities of the hyper library to enhance the speed and concurrency of web applications. Axum also brings Rust's async/await functionality to the forefront by integrating with the Tokio library, enabling the development of asynchronous APIs and web applications that are highly performant.
Axum's fundamental functionality is based on the Tokio runtime, which provides Rust with the ability to manage non-blocking, event-driven activities seamlessly. This capability is critical for smoothly handling several concurrent processes.
Furthermore, Axum is built with Rust's strong type system and ownership rules, which impose compile-time safeguards against common web development pitfalls, like data races and memory leaks. Additionally, Axum's modular design philosophy allows developers to create lightweight, focused apps by adding only the necessary components.
Create a new Rust app
To kick things off, let’s create a new Rust application by running the following commands.
These commands generate a new Rust application for us; it creates a new cargo.toml file where we can manage our application dependencies, as well as a new src/main.rs file which has a Rust function that outputs "hello world" in the console.
Install the require dependencies
The next step is to install the necessary dependencies for our application. For the sake of this tutorial, we’d install Serde and Tokio alongside Axum. Serde will be used for serialization and deserialization of JSON data because Rust lacks built-in functions to work with the JSON format. Tokio will be used to provide an asynchronous runtime because Rust lacks this functionality as well.
To proceed, open cargo.toml and update the dependencies section with the configuration below.
Next, install the dependencies by running the following command:
Running this command downloads the packages (from Crates.io) to your project. If you’ve previously worked with JavaScript and npm, this is the equivalent of adding packages to your package.json file and running npm install to install them.
Hello, Rust!
Now that we have all the necessary packages installed, let's dive in and extend the default endpoint. Open the default src/main.rs file and update it with the following code:
In the first line of the code above, we imported the Axum Router and used its get() routing method. Then, we utilized the #[tokio::main] line to bind the main() function to Tokio's runtime to make it asynchronous. After that, we defined a default route that responds to GET queries with "Hello, Rust!", and set it to listen on all interfaces on port 3000; so that it's also now available at http://localhost:3000.
Start the application
To start the application, run the following command in your terminal:
After running this command, you should see the output "Running on http://localhost:3000" in your terminal. Visiting http://localhost:3000 in your browser, or using a tool like curl, will display the message "Hello, Rust!".
Axum basics
Routing and handlers
In Axum, the routing mechanism is responsible for directing incoming HTTP requests to their designated handlers. These handlers are essentially functions that contain the logic for processing requests.
This is a fancy way of saying that when we define a new endpoint we also define the function to process incoming requests to that endpoint; in the case of Axum, these functions are called handlers.
The router object plays a pivotal role in this process, as it maps URLs to handler functions and specifies the HTTP methods that will be accepted for the endpoint. The example below illustrates this concept further.
Open your src/main.rs file and replace its content with the code below.
The code above demonstrates Axum routing and handlers in action. We use Router::new() to define our application's routes, specifying the HTTP methods GET, POST, PUT, DELETE, etc., — and their corresponding handler functions.
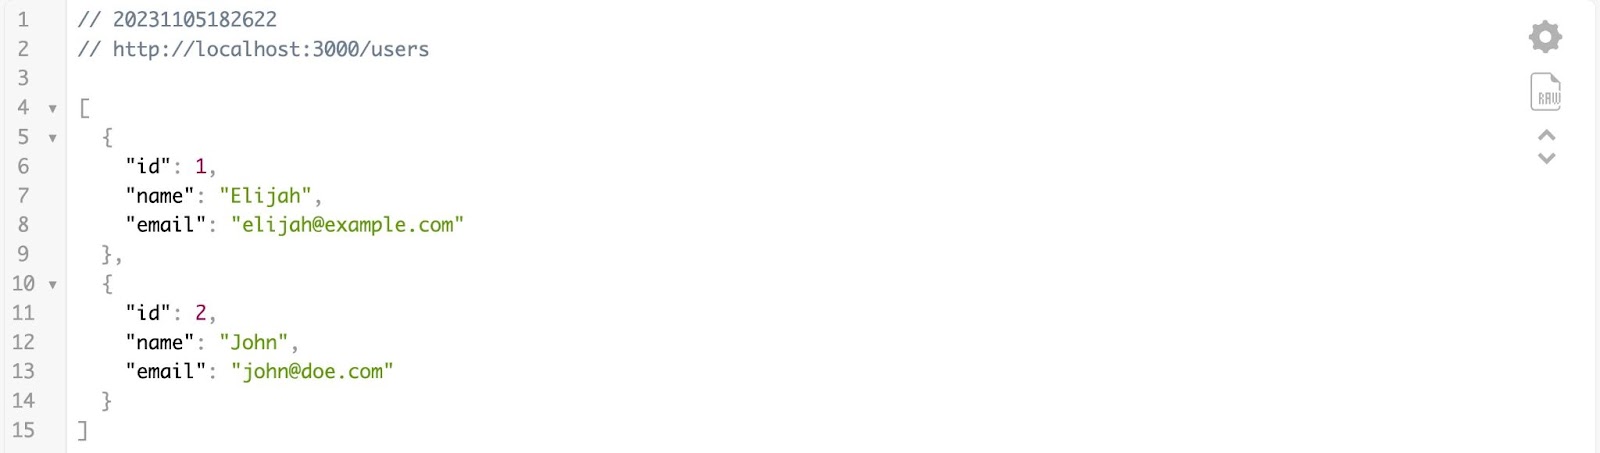
Take the /users route as an example; it was defined to handle GET requests, and the list_users() function was set as its handler. This, in turn, is an async function that basically returns a JSON array of two predefined users. Furthermore, since Rust does not natively support the JSON format, the User struct has Serde's Serialize trait enabled, so as to allow the conversion of user instances to JSON.
The /create-user route, on the other hand, accepts POST requests, and its handler is the create_user() function. This function returns a status code of 201 via status(StatusCode::CREATED) as well as a static response, "User created successfully".
To try things out, restart the code and use the following curl command to send a POST request to the /create-user endpoint.
You should see the message "User created successfully".
Or, visit /users in your browser, where you should see the list of the static users we defined displayed, as shown below.
Axum Extractors
Extractors in Axum are a powerful feature that parse and transform parts of an incoming HTTP request into typed data for your handler functions. They enable you to effortlessly access request parameters, such as path segments, query strings, and bodies, in a type-safe manner.
GET request with path and query extractors
For example, to capture dynamic URL values as well as query strings, we could easily specify them in our handler function, as well as the expected value. Update your src/main.rs file with the code below to see this in action.
In this example, we are able to define a dynamic URL with the /path/:id pattern. This is a pretty common syntax in other languages too. Additionally, the show_item() handler uses the path extractor to capture an item's ID from the URL along with the query extractor to get the page number from the query string. When a request is made to this endpoint, Axum takes care of invoking the correct handler and providing the extracted data as arguments.
Try it out by restarting the application, then running the following curl command:
You should see "item 42 on page 2" printed to the terminal.
POST request with JSON body extractor
For POST requests, where you often need to handle data sent in the request body, Axum provides the JSON extractor to parse JSON data into a Rust type. Update src/main.rs with the code below.
In the example above, we defined a new /add-item endpoint that accepts POST requests. In its handler function, add_item(), we use the JSON extractor to parse the incoming JSON body into the Item struct. This shows how straightforward Axum is with parsing the incoming request body.
You can try this example out by restarting the application and running the following command:
We should get the response "Added item: Some random item", once it is executed.
Error handling
Axum provides a way to handle errors uniformly across your application. Handlers can return Result types, which can be used to gracefully handle errors and return appropriate HTTP responses.
An example of error handling in a handler function is shown below. To see this in action, update src/main.rs with the following code and restart your app.
In the example above, we defined a /delete-user/:user_id route to hypothetically delete the user with the given user_id. And, in its handler function, delete_user, we attempt to delete a user with another hypothetical perform_delete_user() function. If successful, we return an Ok variant with a dummy user JSON response. If there's an error, we return an Err variant with an HTTP 500 (Internal Server Error) status and an error message.
You can test the /delete-user endpoint with the following curl command:
This command sends a delete request to the /delete-user endpoint with a user ID of 1. Based on the code provided, this should trigger the error condition and return an error response. However, if you want to test a successful deletion scenario, replace 1 with any other number. For example:
This should simulate a successful deletion and return a successful response.
Advanced techniques in Axum
Now that we've covered the fundamentals of Axum, let's explore some additional capabilities that are essential to building a robust API.
Database integration
Integrating a database is a critical step in API development. Luckily, Axum works seamlessly with any asynchronous Rust database library. For this example, we'll integrate a MySQL database using the sqlx crate, which supports async/await and is compatible with Axum's async nature.
To proceed, make sure your MySQL service is running in the background. Next, add SQLx and the corresponding MySQL feature to your Cargo.toml file, by adding the dependency below, along with the Tokio runtime.
Then, run the following command to fetch the new dependencies:
With this setup in place, you can now establish a connection pool to your MySQL database with the MySqlPool::connect() method, as shown below, replacing the placeholders in the definition of database_url.
With the connection pool ready, you can now start performing database queries in your functions using the following syntax:
However, because we are integrating with Axum, our handler functions need to take Extension<MySqlPool> as an argument; this allows Axum to provide the MySqlPool to the handler function when a request is made to our endpoints.
Say, for example, you want your endpoint to return all users in your MySQL database. First, create a new table named users in your MySQL database with the following structure.
Then, run the following command to add new entries to this table.
Once your table is set up, you would typically setup Axum to work with SQLx like this.
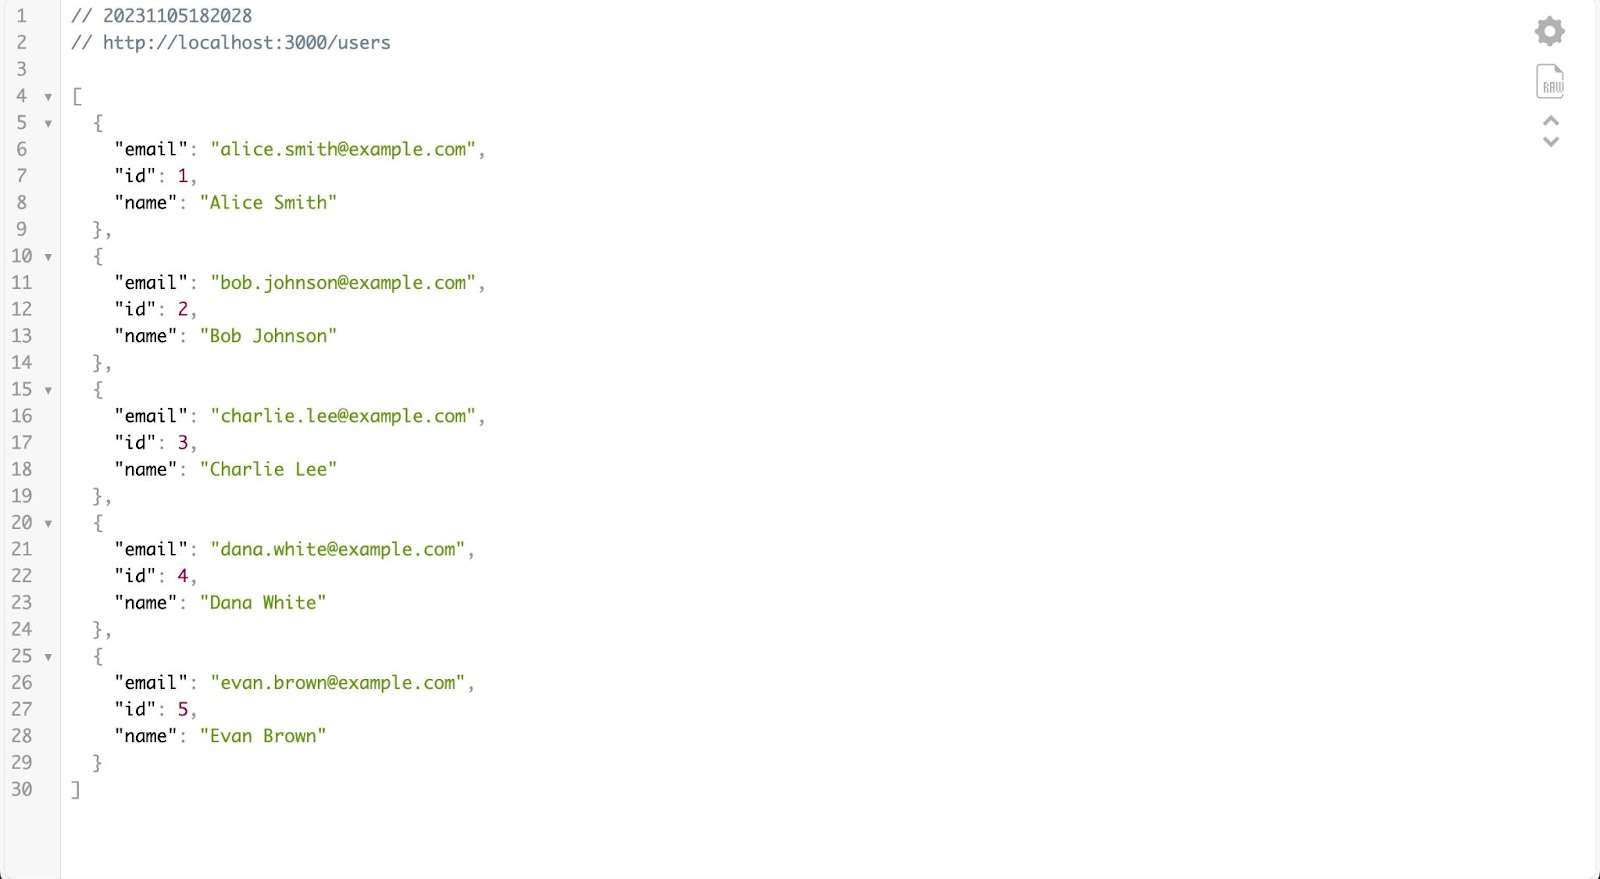
In this updated example, we’d updated our app router to add a new extension definition, passing in our MySQL connection pool, and in our handler function, we are now able to access our connection pool because of this change. Also, from the data returned from our SQL query, we’re sending the id, name, and email row to be returned in our API endpoint.
After replacing the code in src/main.rs with the code example above, start your application and open http://localhost:3000/users in your browser. You should see output similar to the one below, depending on the data stored in your own database.
Middleware
Middleware in Axum allows you to perform operations on the request before it reaches the handler, and on the response before it's sent back to the client. This is useful for tasks like logging, authentication, and setting common response headers.
Here's how you can add a simple logging middleware:
Now, anytime you visit any endpoint, it is logged to the console in the following manner:
Tips for ensuring REST API performance
The built-in characteristics of Rust, such as its unique approach to concurrency, zero-cost abstractions and a strong type system, create the foundation for high-performance API development. These benefits are magnified when utilizing Axum.
However, to further improve the performance of your API, focus on mastering Rust's ownership and borrowing principles to effectively manage memory. Reduce lock contention for shared resources and carefully select serialization methods to avoid bottlenecks, preferring more efficient formats and libraries whenever possible, as we've seen in the examples used in this article.
In addition, writing efficient code is not enough; it's also crucial to engage in regular profiling to identify and address performance bottlenecks early with tools like Criterion. For example, use Criterion to benchmark a critical function:
Furthermore, keep your Rust compiler and dependencies updated to benefit from the latest optimizations. Following these recommendations could significantly improve the efficiency and scalability of your APIs, ensuring they function effectively under varying loads while maintaining the resilience that Rust and Axum provide.
That's how to build high-performance REST APIs with Rust and Axum
Throughout this article, we've explored the process of building a high-performance REST API with Rust and Axum. We've delved into the framework's robust features, from routing to error handling, and touched on advanced topics like database integration and middleware. We also looked at several pointers that could help you improve your API performance.
For more hands-on experience, you can find the complete code used in this article on GitHub.
Thanks for reading!
Elijah Asaolu is a technical writer and software engineer. He frequently enjoys writing technical articles to share his skills and experience with other developers.
If you enjoyed this tutorial, you may also be interested in these:


Related Resources
Twilio Docs
From APIs to SDKs to sample apps
API reference documentation, SDKs, helper libraries, quickstarts, and tutorials for your language and platform.
Resource Center
The latest ebooks, industry reports, and webinars
Learn from customer engagement experts to improve your own communication.
Ahoy
Twilio's developer community hub
Best practices, code samples, and inspiration to build communications and digital engagement experiences.