Image Compression in Laravel
Time to read:
May 09, 2023
Written by
Reviewed by
Data usage continues to grow while the cost of file storage continuously decreases. However, by using image compression you can reduce both your data usage and storage needs, as it lets you store image information in a much smaller size!
In this tutorial, you're going to learn how to compress uploaded images in Laravel using the Intervention/image package.
Prerequisites
- Knowledge of PHP
- PHP 8
- Composer installed globally
- Postman or curl
- Prior experience with Laravel and some command-line experience
What is image compression?
According to Wikipedia, image compression is:
a type of data compression applied to images to reduce their cost of storage and transmission.
To further break it down, compressing a digital image reduces the number of bytes without degrading the image's quality. Reducing a file's size reduces both storage and transmission bandwidth requirements.
There are two forms of image compression: lossless and lossy.
What is lossy and lossless compression?
Lossless compression An algorithm that allows an image to be reduced in size without losing quality. Lossless compression comes in handy when the original image data is essential for referential or editing purposes.
Lossy compression can greatly compress images but information will be lost about the image due to the sizing being reduced during compression, For example: the width x height of the image is reduced. This isn't an issue for images like display pictures, and this method is used in numerous technologies and products like Meta and its multiple services. When building a platform that will be accessed by many users, it’s most recommended to use lossy compression against lossless.
The importance of reducing storage costs of data/image storage has always been a smart business move. This drives a lot of businesses to use third-party servers for storage to reduce the load on production servers because of two key reasons:
- Reduced storage cost: Facebook spends millions of dollars on storage, yearly, in order to store information, a bulk of which is images. Image upload, over time, builds into a large consumption of storage allocated to run the application and in turn, requires more storage in order for the application to run smoothly. By implementing an image compression algorithm, the cost is cut down as image sizes are significantly reduced. Image upload. With compression, the need is reduced as images can be spliced into half or less their initial storage size.
- Reduced load time: Assets like images require more time to load in comparison to JSON or text files. This contributes to an increase in page load time and slow responses. Compressed images help solve this problem as they require less load time. Here is an article that explains further using examples to show the significant drop in performance for an application that doesn’t compress images.
How does Laravel handle image compression?
In Laravel, images are read and manipulated using popular libraries such as GD and iMagick, and other libraries depending on the image type and the functionality you want to have.
The GD library allows you to get an image's type and file size, manipulate an image's pixels, and even generate a new image. iMagick can create, edit, and compose images and has support for a wide range of images, including JPG, PNG, GIF, and SVG.
The Intervention package combines these two popular libraries and makes image compression easier to understand and implement in a Laravel project.
Scaffold a Laravel application
For the sake of this tutorial, we will be using the Intervention PHP library and the Intervention/image package with Laravel to upload an image and compress it.
To start, open a terminal and input the command below to scaffold a Laravel application.
Next, we have to install the Intervention/image package. To do that, run the following command.
When that is successfully installed, next, update the Service Providers to integrate accommodate intervention, by updating config/app.php, as shown below.
Write the code
To compress an image, we will first have to set up a controller and create routes to access the controller functions.
Create a controller
Let’s start with creating a controller by running the below command.
Then, in the newly created controller file, app\Http\Controller\ImageController.php, we can create a function and add our logic to it. Let’s start with validation, creating a name using a timestamp and adding a path. The functionality will be covered in bits over the course of the article for simplicity.
The code imports the Intervention/image Facade in order to use it to retrieve the image and resize it. This is important because the functions required to perform adjustments on images can only be accessed in the Facade module.
After that, we can write the functionality to compress and upload images in the compressImage() function.
In the above code, we notice a couple of things:
- A image validation rule is created, which ensures that uploaded images are no larger than 2048 bytes, and are limited to JPEG, GIF, PNG, and SVG files
- The path of the image is retrieved using the
getRealPath()function - The image is then resized to a width and height of 150
- Then the image is saved
Now, create a new folder named uploads in the public folder. This will allow the application to store the images there.
Create a route
In this section, we will create a route that will connect with the controller for processing and compressing the image. We are expecting a request as an API, so we will add our controller route in routes/api.php, as in the example below.
Test that the application works
To test, we will use Postman. However, before doing so, the application needs to be started. To do that, run the below code in terminal
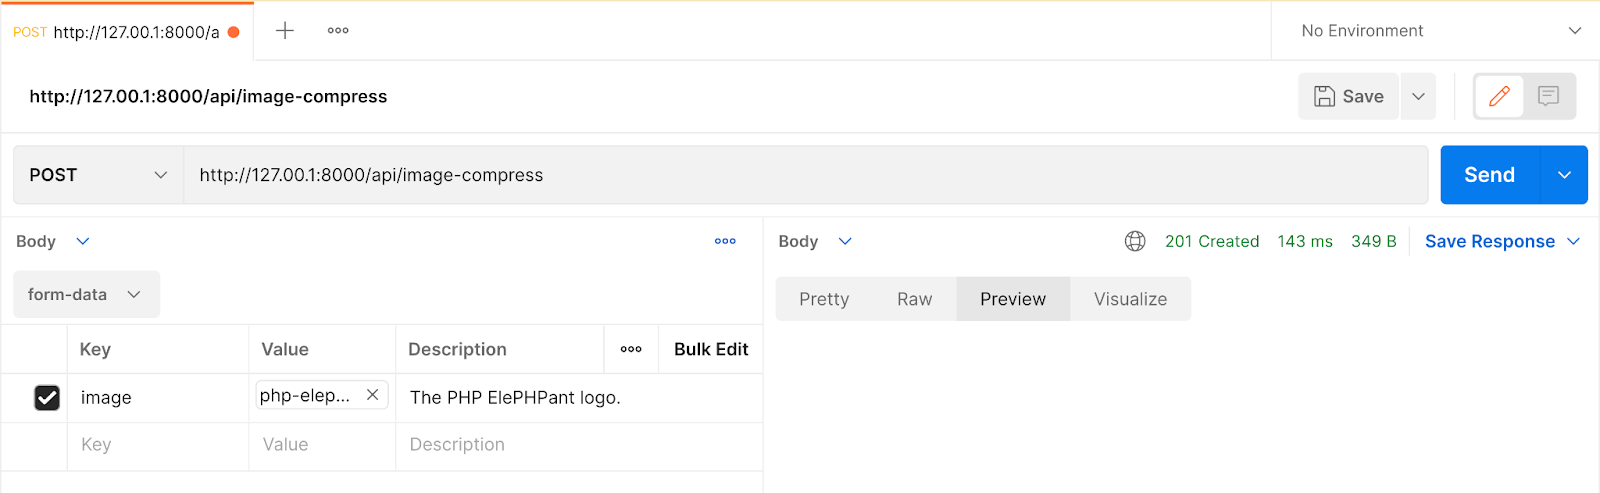
Then, open Postman and set the request URL to http:/127.0.0.1:8000/api/image-compress and change the HTTP method from GET to POST. Then, under the Body tab, set the drop-down to form-data, before adding an image to the request.
To add an image to the request, in the first row of the form-data table:
- Set the Key field's dropdown to
Fileand the field's the value toimage. - In the Value column click Select Files, which opens up the file-chooser dialog. Here, choose an image that you want to upload and compress, and close the dialog.
- Feel free to add a description, if you want to.
You're now ready to upload the image to Laravel, so click Send.
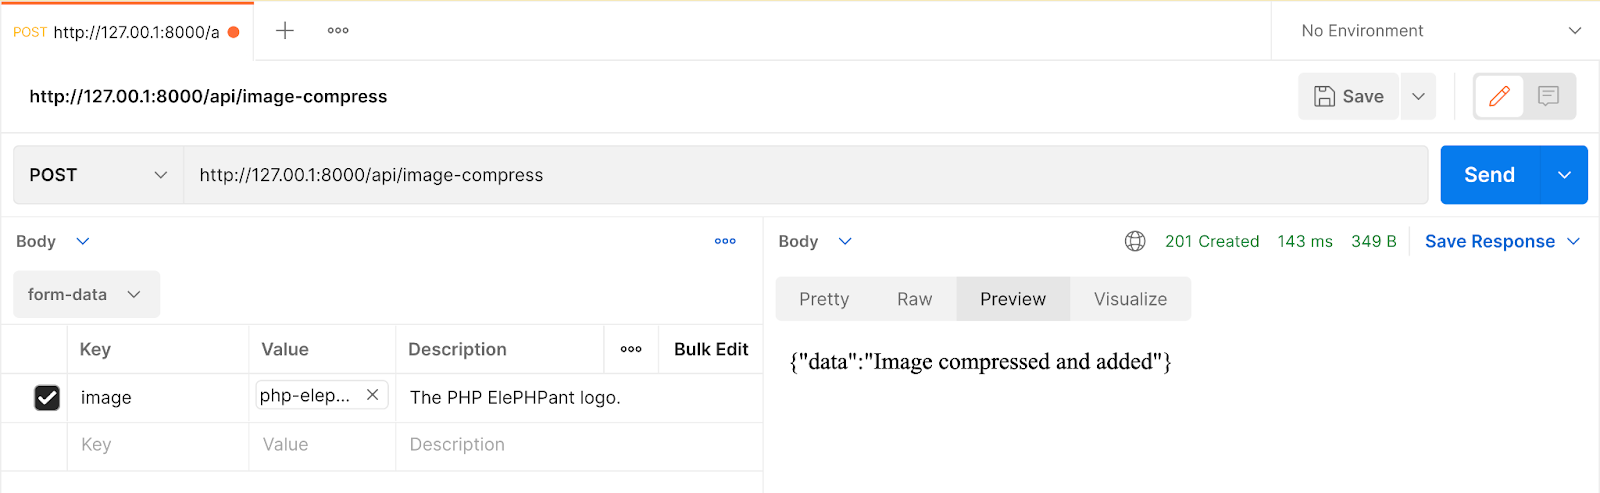
You can check the properties of the newly added image in public/uploads to see the change in the ratio and also the decrease in file size.
That's how to compress images in Laravel
Image compression is a topic that plays an important role in both computing and online services. Compression, when handled right, saves tons of computing allocated space and the cost of acquiring that space. In this tutorial, we were able to cover what compression is all about, its use cases, then installation and usage. You can fork the GitHub repository to get the codebase.
Kenneth Ekandem is a full-stack developer from Nigeria currently in the blockchain space, but interested in learning everything computer science has to offer. He'd love to go to space one day and own his own vlogging channel to teach the next generation of programmers.
"Infrared HDR All Saints church Ramsholt Suffolk" by David is licensed under CC BY 2.0.

Related Resources
Twilio Docs
From APIs to SDKs to sample apps
API reference documentation, SDKs, helper libraries, quickstarts, and tutorials for your language and platform.
Resource Center
The latest ebooks, industry reports, and webinars
Learn from customer engagement experts to improve your own communication.
Ahoy
Twilio's developer community hub
Best practices, code samples, and inspiration to build communications and digital engagement experiences.