Secure CakePHP Applications with 2FA using Twilio Authy
Time to read:
January 29, 2021
Written by
Reviewed by
Massive data breaches and sophisticated social engineering attacks in recent months suggest that guessing a user’s password (or retrieving it from a database on the dark web) has become easier than people think. Along with the fact that most people tend to reuse passwords (for ease of remembrance), securing your application by requiring just a username and password is no longer enough. This has led to the rise of Two Factor Authentication (2FA) - an added layer of security where the user has to provide some extra information (such as a One Time Token or One Time Password) before they can gain access to their account.
In this tutorial, I will show you how to use Twilio’s Verify API to implement Two Factor Authentication for a CakePHP application. At the login stage, the application will send a token as an SMS to the user’s phone number. Only after providing this token to the application will the user be allowed into the secure area where sensitive transactions of the user’s company are warehoused.
Prerequisites
A reasonable knowledge of object-oriented programming with PHP will help you get the best out of this tutorial. Throughout the article, I will do my best to explain the CakePHP concepts I raise and provide links for further reading. Please feel free to pause and go through them if you’re lost at any point - I promise this tutorial will still be here when you come back.
You also need to ensure that you have Composer installed globally on your computer, and a Twilio account.
What We’ll Build
In this tutorial, we’ll build an application with a restricted page showing the list of users in the application. This page will only be available to authenticated users. New users are allowed to sign up by providing their email address, phone number, and password. To do this, they provide their email address and password. If they are validated, a One Time Token (OTT) will be sent to the user via SMS. The user will provide the OTT which will be validated before the user will be allowed into the secure area of the application.
Getting Started
To get started create a new CakePHP project using Composer with the command below:
NOTE: You will be asked if you want to select folder permissions. Type "yes" when asked
This will create a new CakePHP project with all its dependencies installed in a folder named 2fa-secure-app.
Run the Application
Move into the project folder and run the application with these commands:
Navigate to http://localhost:8765/ from your browser to view the welcome page similar to the screenshot below:
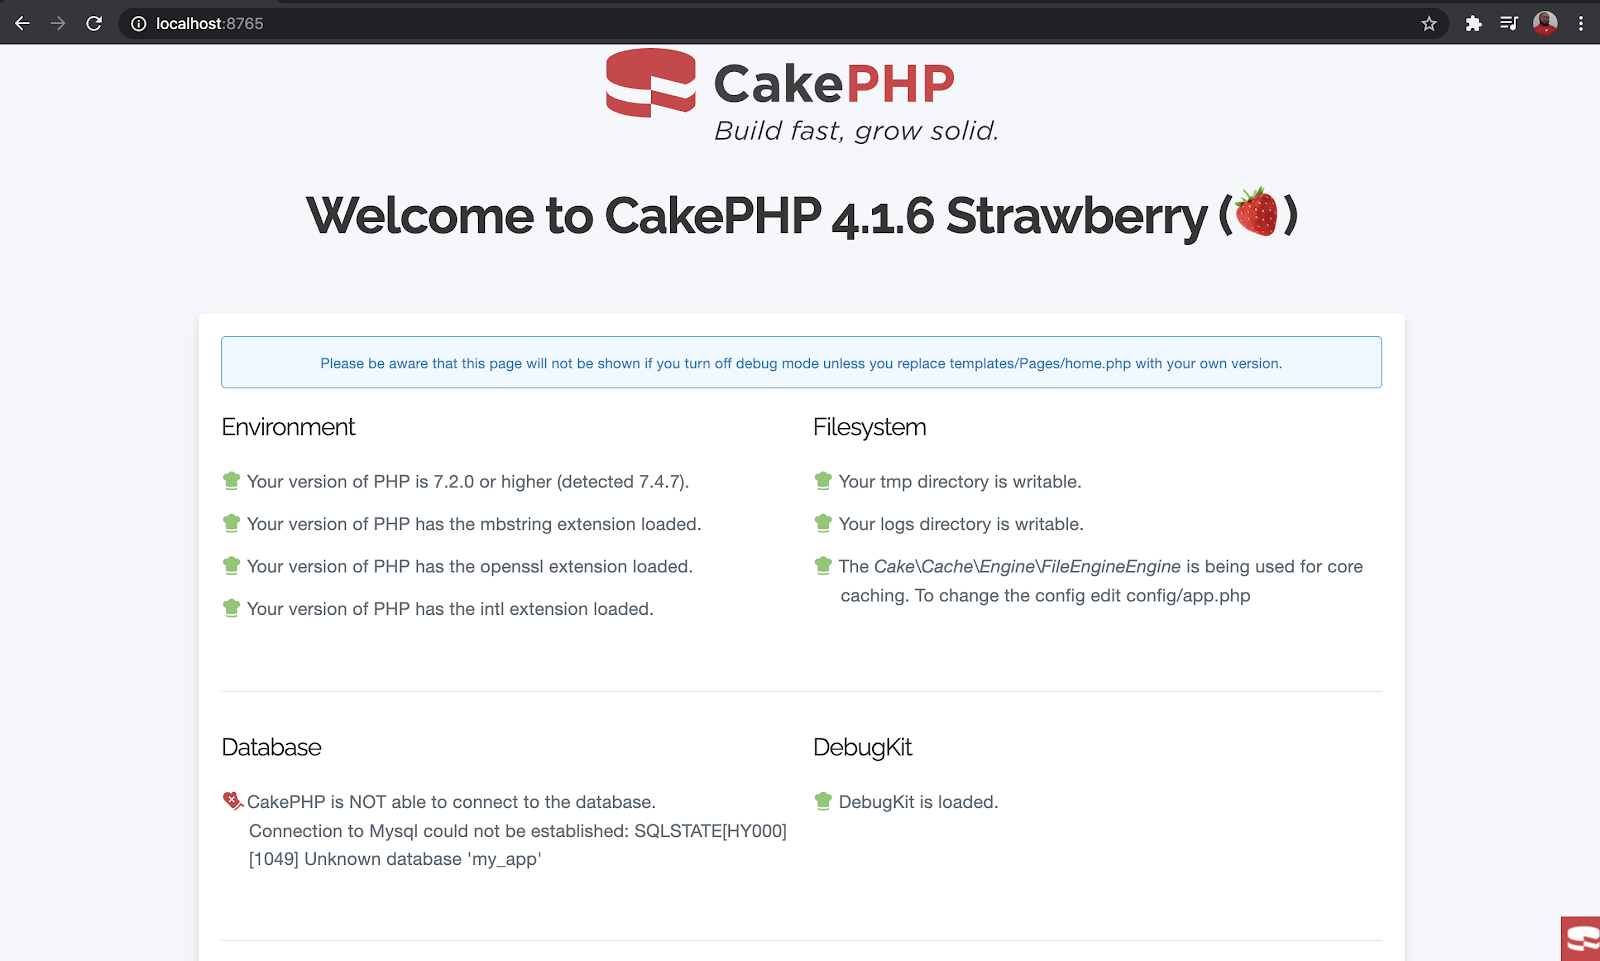
As you can see, almost everything is in place apart from our database connection so let’s fix that. In your terminal press the CTRL + C keys to stop the application and we’ll continue with the rest of our setup.
In the config/app_local.php file, modify the database parameters which can be found in the Datasources.default array.
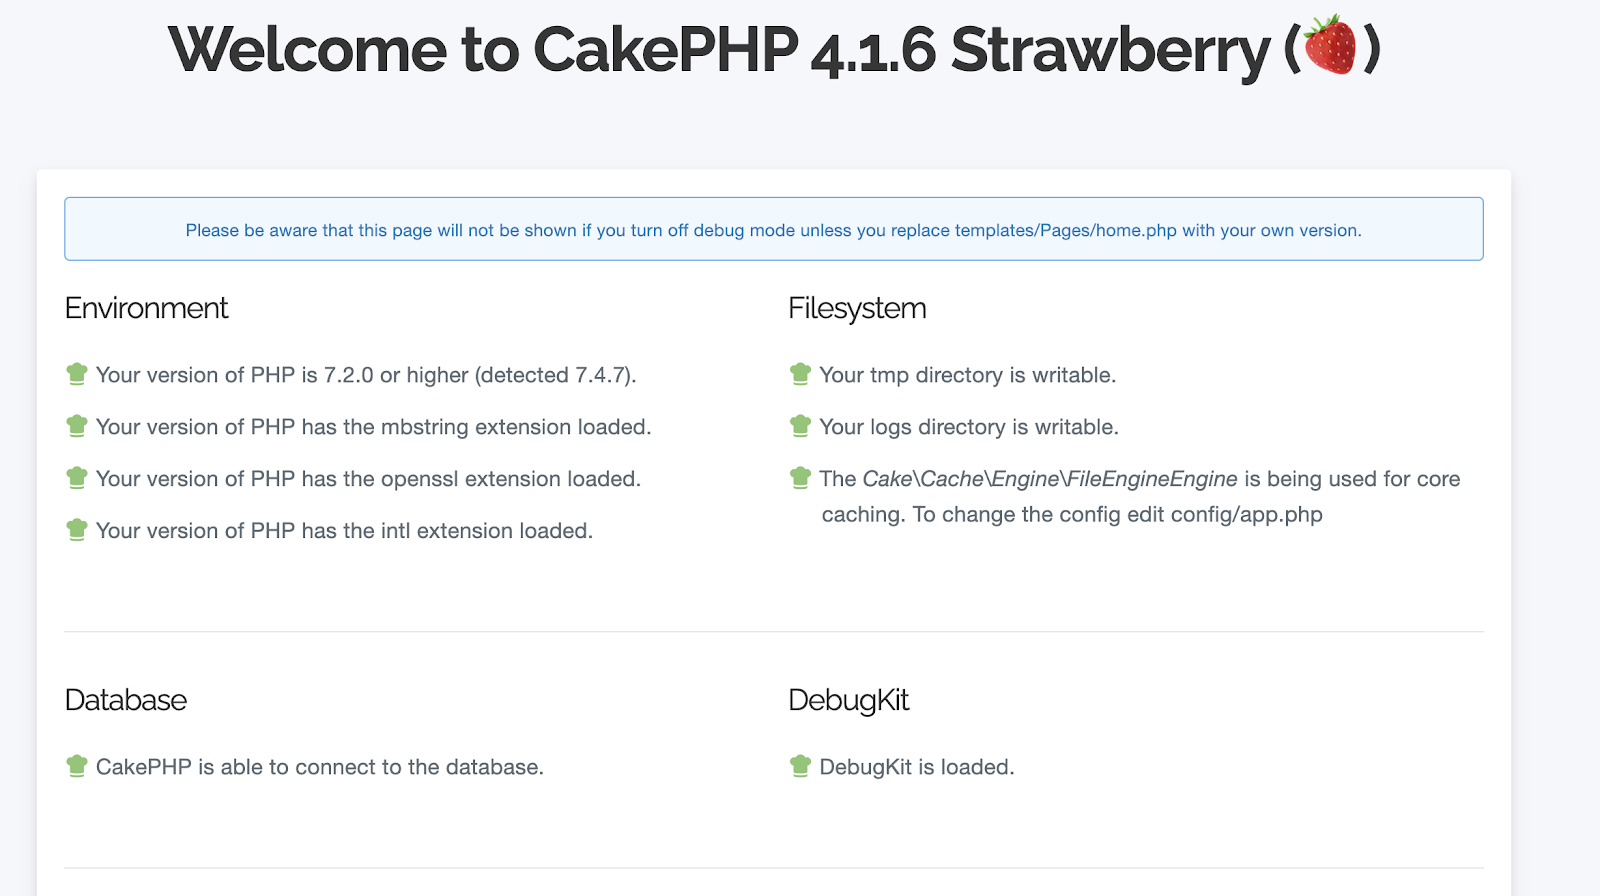
Rerun your application again and you’ll see that we have been able to establish a connection with the database as indicated below:
Database Migration
Once our application scaffolding is complete, set up the database tables using the Bake console to create and run database migrations. We’ll create a migration for the users table.
This creates a migration file for a table called users with the following columns:
email: This column is a string corresponding to the user’s email address. This column is unique to allow the system to keep track of registered users.phone_number: This column is a string corresponding to the user’s phone number.country_code: This is the country calling code for the user’s phone number.password: This is the hashed version of the user’s password. This will be used in our first layer of authenticationcreated: This corresponds to the timestamp for when the user was createdmodified: This corresponds to the timestamp for when the user was last modified.
Run the migrations with the following command:
Your columns will be created on the database.
We can proceed to create a Controller, Entity, Table, and template for users using the Bake CLI. To do this, run the following command:
Fire up your server with the command below and see what we have so far:
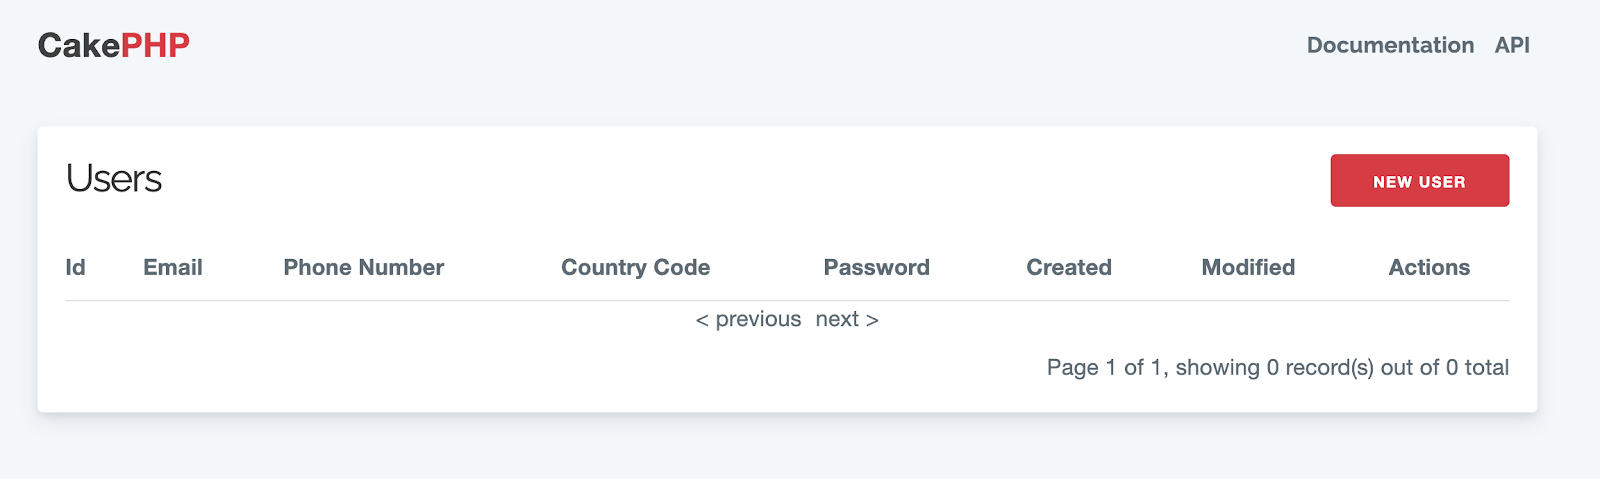
Navigate to http://localhost:8765/users from your browser to view the list of users. There should be no users at the moment.
We need to make one more change before we can start adding new users. Open the templates/Users/add.php file. This is the file that generates the view for http://localhost:8765/users/add, also known as the form to add a new user.
In the fieldset element, you’ll see four echo statements for the email, phone number, password, and country_code columns. Replace the statement for country_code with the following:
NOTE: Twilio needs to be able to send an SMS for this to work, so include your country code in the list of countries and make sure to create a user with that country code.
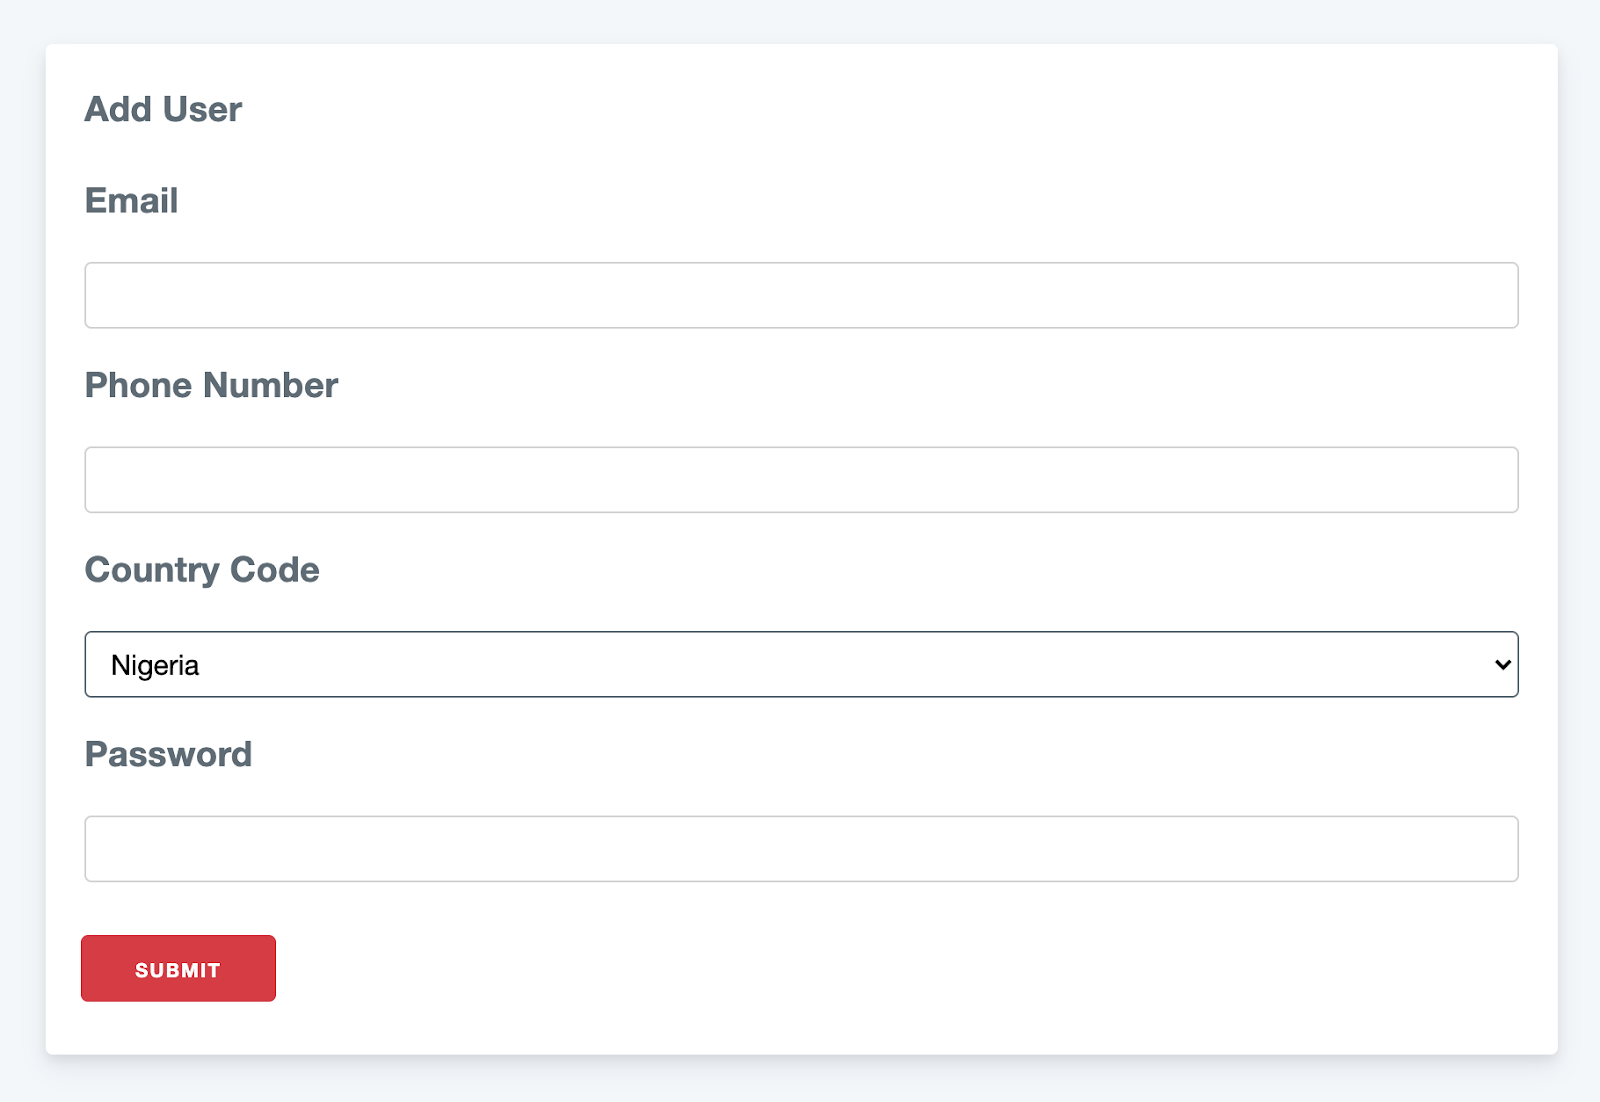
This replaces the default input field provided with a dropdown that allows the user to select the country dialing code for the provided phone number.
NOTE: Don’t forget to make the same change in the templates/Users/edit.php file.
Click on the New User button and you will see a page similar to the one depicted in the image below:
Before we start adding users, let’s make one more modification. We want the user’s phone number to be in the format +{country_code}{phone_number}. Before saving the phone number, we need to check and remove the leading 0 so that our preferred format will be valid. To do this, open the src/Model/Entity/User.php file and add the following function:
Let’s also add a function which gives us the phone number in our preferred format. Add the following function in the src/Model/Entity/User.php file:
With those functions added, add a new user. Everything works nicely but looking at the list of users, we can see that the user’s password is saved in plain text. This is actually a very bad practice so let’s fix that.
For authentication and password hashing, we’ll use the CakePHP Authentication Plugin. Install that using the composer command below:
Once the installation is completed, we’ll hash the user’s password just before saving it to the database. Open the src/Model/Entity/User.php file and add the following function:
NOTE: Don’t forget to add the following use statement for the DefaultPasswordHasher, if your text editor or IDE doesn’t do it automatically.
Edit the previously saved user and set a different password. When the list of users is reloaded, you’ll see that the user’s password is being hashed.
Next, we’ll set up the first layer of authentication - the validation of a provided username and password combination.
First layer of authentication
For the first layer of authentication, the user has to provide a valid email address and password combination. We’ll start by modifying our src/Application.php class. In this class, we’ll apply an authentication middleware and also add an AuthenticationService which will determine how authentication is handled. To start with, we’ll make the Application class implement the Authentication\AuthenticationServiceProviderInterface.
This will cause an error as we need the getAuthenticationService function declared. Fix that by adding the following:
This service does a couple of things. The first thing it does is create an AuthenticationService object. We pass the configuration for the service as an array with two entries:
unauthenticatedRedirect: This lets the service know the URL to redirect to in case the user is not authenticated.queryParam: This will allow theAuthenticationServiceto redirect to the previously visited URL once the user is authenticated successfully.
The next thing we do is load an identifier that will be used to identify the user based on the email and password they provide. It will also authenticate the user by comparing the saved hash with the hashed version of the password provided by the user.
Afterward we load two authenticators: Authentication.Service and Authentication.Form The Authentication.Service authenticator checks the session for user data or credentials while the Authentication.Form authenticator checks the submitted form from loginURL to get the user’s email and password for authentication.
With the code in place, we can add a middleware to our application to ensure that every request is from an authenticated user. We do this in the middleware function, by adding the following code to the function, between adding RoutingMiddleware and BodyParserMiddleware:
NOTE: Don’t forget to add the required import statements at the top of the src/Application.php file.
Next, open the src/Controller/AppController.php file and add the following to the initialize function:
The next thing to do is create a login action in the UserController. To do that, open the src/Controller/UsersController.php file and add the following function:
The login function only allows GET and POST requests. It checks the result of the authentication process and redirects to the list of users if the user was authenticated successfully. If not, it displays an error message.
We also need to let the system know that an unauthenticated user should be allowed to access the login and register page. To do that, we override the beforeFilter function in the UserController by adding the following to the src/Controller/UsersController.php file:
Add the import statement to the top of the file:
Let’s also add a logout action. To do that, add the following to the src/Controller/UsersController.php file:
We can also add a logout button to our index view. Open the templates/Users/index.php file and locate the following line:
Underneath that line add the following:
Next, we create a template for the login page. Create a file called login.php in the templates/Users directory with the touch command below:
Add the following to the templates/Users/login.php file:
Go to http://localhost:8765/users and notice that the login page is displayed. Go ahead and log in to see the list of users again. Clicking the logout button will return you to the login screen.
With this in place let’s add the second layer of authentication.
Second Layer of Authentication
The second layer of authentication requires the user to provide a One Time Token that will be sent via SMS. To do this, we’ll take advantage of the Twilio Verify API. Using the API, our application will make a request for Twilio to send an SMS with the token to the user.
The application will then display a form asking for the token. When the user provides a token, the application forwards it to Twilio for verification. If it’s valid, the user is redirected to the secured area of the app. If not, an error message is displayed.
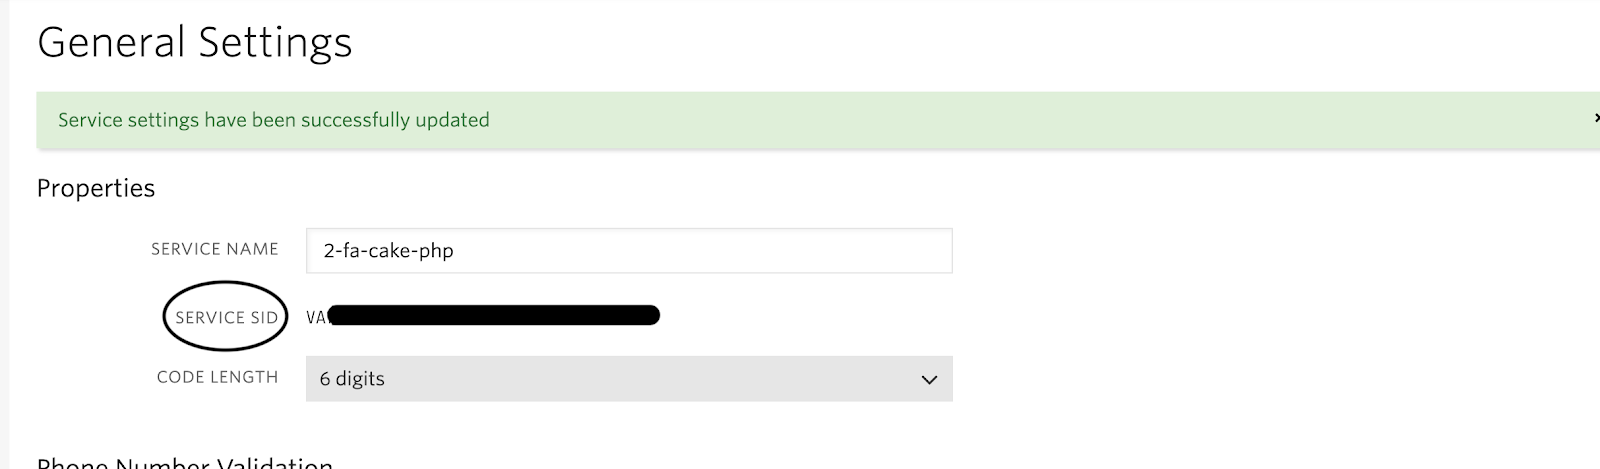
To get started, you need to have a Twilio service set up. Navigate to the Twilio Services dashboard. For now, we’re only using SMS, so we can disable calls and emails in our service settings.
Give your service a friendly name such as "2-fa-cake-php". Once you’ve created the service, you’re going to need the SERVICE SID. You can find it on the General Settings page for your newly created service.
NOTE: You’ll also need your ACCOUNT SID and AUTH TOKEN for your application. You can find them on the Twilio dashboard.
Once you have your SERVICE SID, ACCOUNT SID, and AUTH TOKEN, head back to your CakePHP application.
To interact with Twilio, we’ll take advantage of the Twilio PHP SDK. Install it using the following command:
Next, we’ll create some environment variables to hold our Twilio keys, which will be stored in the .env file in the config directory. Before we create it, open the config/.env.example file and add the following entries to it:
NOTE: Don’t save your credentials in the .env.example file. This file will not be ignored by your version control system and could expose your private credentials.
Create a copy of the .env.example file named .env.
In your .env file, replace the TWILIO_ACCOUNT_SID, TWILIO_AUTH_TOKEN, TWILIO_SERVICE_SID keys with the corresponding Twilio credentials.
NOTE: Don’t forget to remove .env from your version control system, for example, by adding it to .gitignore when using Git.
Before our application can load the .env variables, we need to modify our bootstrap.php file. To do this, open config/bootstrap.php file and uncomment the following lines:
Now, we’ll create a service that allows us to handle SMS verification. Create a directory named Service in the src folder, then create a file called TwilioSMSVerificationService.php inside the newly created src folder.
Our service will have three private variables: the user’s phone number, our Twilio service ID, and a Client object from the Twilio SDK. To do this, add the following code to the new src/Service/TwilioSMSVerificationService.php file:
Next, we need a constructor that takes the user’s phone number as an argument. Add the following to src/Service/TwilioSMSVerificationService.php:
Apart from initializing the $phoneNumber and $serviceSid variables, we created a Client object that will be used for making requests to the Verify API.
Next, we need a function to send a verification token to a phone number. To do that, add the following to the src/Service/TwilioSMSVerificationService.php file:
We also need a function to verify the token provided by the user. This function makes a verification check to the Twilio Verify API and returns a boolean corresponding to whether the token is valid or not. It does this by checking if the value of the verification check status is approved. To do this, add the following to the src/Service/TwilioSMSVerificationService.php file:
With the service completed, we can create a controller to handle the second level of authentication. Use the following command to create a new controller:
NOTE: The --no-actions argument tells the bake CLI we need an empty controller
A new file called VerificationController.php will be created in the src/Controller directory. Open the src/Controller/VerificationController.php file and add the following:
NOTE: Don’t forget to include the required import statements at the top of the file.
Our VerificationController is doing the following:
- Specify that we only want to accept
GETandPOSTrequests. - Get the phone number for the authenticated user.
- Create a new
VerificationServiceusing the authenticated user’s phone number - If the request is a
GETrequest, send a request for the token to be sent to the user and display a successful flash message. - If the request is a
POSTrequest, get the token provided by the user and check if it is valid. If the token is valid, create a cookie named "2-fa-passed" with a value1and redirect the user to the list of users. Otherwise display an error flash message.
Next, create a template using the command below that will be rendered when the /verification route is hit.
Open the templates/Verification/index.php file and add the following code to it:
Next, we need to modify the logic for our login process. Currently, on successful login, we redirect to the list of users. We need to change this so that the user is redirected to the SMS verification page first. To do that, modify the UsersController::login() function to match the following:
We also need to modify the UsersController::logout() function to match the following:
Here we set the 2-fa-passed cookie to 0 so that if the user tried to log in again, the application would still require verification from the user.
NOTE: Don’t forget to include the required import statements at the top of the file.
With this in place, we can test our implementation. Fire up your server and try loading the list of users again by going to http://localhost:8765/users. If you’re not redirected to the login page, then logout and login again. This time you’ll be redirected to the token verification page and an SMS will be sent to your phone number. Type in the token sent via SMS and you will be redirected to the list of users.
Secure the link between both layers
Everything works nicely but there’s one small problem. Try logging out and logging in again. When you’re redirected to the token verification page, try loading the list of users at http://localhost:8765/users instead of typing in the token.
You’ll notice that the list of users is loaded. This is because, at the moment, our application only checks that the user is authenticated via the login form. We need an extra check to ensure that the 2-fa-passed cookie is set to 1 as well. If the 2-fa-passed cookie isn’t set to 1, our application should redirect the user back to the token verification page.
To do that, we’ll create a custom middleware using the following command:
This creates a class called SMSVerificationMiddleware.php in the src/Middleware directory. Update the src/Middleware/SMSVerificationMiddleware.php file to match the following:
Our middleware needs to implement the process function in order to fully comply with the contract of the MiddlewareInterface. This function contains the logic we want our middleware to execute - in our case, to ensure that the user has provided a valid One Time Token. If the user has not, then we redirect the user back to the token verification page. Otherwise, we allow the next middleware to handle the request.
To determine whether or not to redirect, we call the shouldRedirectToVerificationController function. This function takes the path of the request and the cookies in the request header and checks for two things:
$hasValidVerificationCookie: If the request has a valid verification cookie i.e. a cookie named2-fa-passedwhich is set to1.
$isAllowedRoute: If the user is trying to access a permitted route. A permitted route in this case is a route that can be accessed even though the user has not provided a token. In this case, they are the login page, the verification page itself, and the index page.
If any of the above two conditions are met, we do not need to redirect, hence the shouldRedirectToVerificationController returns the negated result of a logical OR operation between $hasValidVerificationCookie and $isAllowedRoute.
Next, we need to register the SMSVerificationMiddleware. To do this, add the following to the middleware function in src/Application.php, after Authentication:
NOTE: Don’t forget to include the required import statements at the top of the file.
Try bypassing the verification stage again and you’ll see that you’re redirected to the token verification page - and the verification sent to your phone number again.
Conclusion
In this article, we implemented a two-factor authentication mechanism for a CakePHP application. Using the CakePHP Authentication plugin, we were able to verify the email and password combination for a registered user. We added another layer of security by taking advantage of Twilio’s Verify API to send a One Time Token to the registered user’s phone number. By doing this, we prevent the hassle of handling token generation and dispatch, instead relying on the infrastructure provided by Twilio. This also allowed us to take advantage of the security features provided by the API with regard to token generation and dispatch.
The entire codebase for this tutorial is available on GitHub. Feel free to explore further. Happy coding!
Oluyemi is a tech enthusiast with a background in Telecommunication Engineering. With a keen interest to solve day-to-day problems encountered by users, he ventured into programming and has since directed his problem-solving skills at building software for both web and mobile. A full-stack software engineer with a passion for sharing knowledge, Oluyemi has published a good number of technical articles and content on several blogs on the internet. Being tech-savvy, his hobbies include trying out new programming languages and frameworks.
- Twitter: https://twitter.com/yemiwebby
- GitHub: https://github.com/yemiwebby
- Website: https://yemiwebby.com.ng/


Related Resources
Twilio Docs
From APIs to SDKs to sample apps
API reference documentation, SDKs, helper libraries, quickstarts, and tutorials for your language and platform.
Resource Center
The latest ebooks, industry reports, and webinars
Learn from customer engagement experts to improve your own communication.
Ahoy
Twilio's developer community hub
Best practices, code samples, and inspiration to build communications and digital engagement experiences.