Build a Blood Mary Web App with Twilio Programmable Video and the Web Speech API

Time to read: 13 minutes
October 21, 2022
Written by
Reviewed by
In this tutorial, you will learn how to build a web app that was inspired by a scary game called Bloody Mary. Originally, to play this game the players have to go in front of a bathroom mirror and say the name Bloody Mary 3 times to summon the ghost of Bloody Mary.
In this web app, you will use the Twilio Programmable Video JavaScript SDK to show the local participant (player) video track, and add video processors to the video track. You will also use the Web Speech API’s Speech-to-text functionality to listen and react whenever the local participant says the name Bloody Mary.
The Twilio Programmable Video JavaScript SDK is a set of tools that allow you to add real-time voice and video to your web apps.
Web Speech API is a tool that enables you to incorporate voice data into web apps. This API has two parts: SpeechSynthesis (Text-to-Speech), and SpeechRecognition (Speech-to-text).
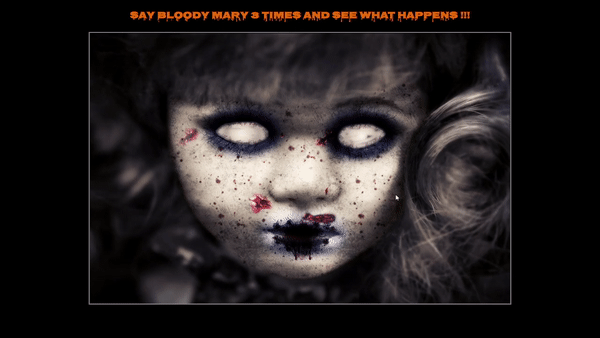
Here, when the player says the name Bloody Mary the first two times, the player’s webcam feed (video track) will glitch, the name Bloody Mary will be written in red, and a glitching sound will play. On the third time, a 3-second delay will be added before showing an image and playing a sound to scare the player.
By the end of this tutorial, you will have a web app that looks like the following:
Tutorial requirements
To follow this tutorial you are going to need the following components:
- Node.js (v14+) and npm installed.
- ngrok installed and authenticated. ngrok is a reverse proxy service that creates a secure tunnel from a public endpoint to a locally running web service.
- A basic understanding of what a video processor is. You can read this article if you don’t have a basic understanding of what a video processor is.
- A Chromium-based browser installed. At the time of writing, video processors are only available for Chrome and other chromium-based web browsers. Check the current list of supported browsers.
Creating the project structure
In this section, you will create the folder structure for this web app, create a new node project for the server, install the node modules required, and download the assets that you will need to build this web app.
Open a terminal window and navigate to a suitable location for your project. Run the following commands to create the project directory and navigate into it:
Use the following command to create a new node project with default settings:
Run the following commands to install the dependencies needed to build the web app :
With the command above you installed the following packages:
expressis a popular web framework forNode.js that you will use to serve your web app.nodemonis a Node.js tool that you will use to monitor for any changes in your node.js application and automatically restart the server.
Create and navigate into the directory where you will store all your web app static files with the following commands:
Use the following command to create five subdirectories inside the new /public folder:
The /js directory will contain your web app’s JavaScript files that will allow you to show the player's video track, create custom video processors, and use the Web Speech API.
The /css directory will contain the CSS code used to style your web app.
The /images directory will contain an image that will be used to create a custom video processor. Download this image (warning: spooky image!) and store it in the /images subdirectory with the name scary_img.jpg. This image was originally downloaded from pixabay.com.
The /fonts directory will contain the font file used to write text on the web app page and to create a custom video processor. Download this font, and store it in the /fonts directory with the name Nosifer-Regular.ttf. This font was originally downloaded from fonts.google.com.
The /sounds directory will contain the sound files that will be used as background audio for your web app, and to make the custom video processors creepier. Download the following sounds:
- Download this sound, and store it in the sounds directory with the name creepy_ambient_sound.mp3. This sound was originally downloaded from pixabay.com.
- Download this sound, and store it in the sounds directory with the name glitch_sound.mp3. This sound was originally downloaded from pixabay.com.
- Download this sound, and store it in the sounds directory with the name scream_sound.mp3. This sound was originally downloaded from pixabay.com.
Creating the web server
In this section, you will learn how to create the server for your web application and how to use the nodemon to monitor and restart the server when a change is detected.
Go back to the terminal and navigate to the root directory of your project.
Create a file named server.js in the root/ directory. Open this file using your favorite text editor and add the following code to it :
In the code above, first, you imported the express and path modules. After importing the modules you created an express application and stored the object returned in a variable named app.
Lastly, you stored in a variable named PORT your server’s port number.
Add the following code below the PORT variable:
Here, you used the express static middleware to serve your web app static files stored in the directory named public whenever a user visits your application’s home route.
After specifying the directory that contains the static files, you used the app.listen() method, and passed as arguments the port number and a callback function that will output a message when the server starts.
Your main.js file should look like the following:
Use the following command to start your web server and automatically restart if any changes are detected:
Open your chromium-based browser and navigate to the URL http://localhost:4000/ and you will see an error that says `CANNOT GET /` or something similar. This is because you haven’t created your main page yet.
Creating the main page
In the previous section, you created the server for the web app and started serving it using nodemon, but nothing showed because you haven’t created the main page yet. In this section, you will create the main page layout of this web app.
Go back to your terminal window, open a new tab, and navigate back into the /public directory of your project:
Create a file named index.html in the /public directory. Open this file using your favorite text editor, and then add the following code to it :
In this file's <head> section, you imported the Twilio Programmable Video JavaScript SDK and a CSS file that will be created shortly.
In this file's body section, you created the following important elements:
h2: this element shows a message that dares anyone who visits your website to say the name Bloody Mary 3 times.video: this element is where you will show the player's video track that will act as a mirror.
At the bottom of the <body> section of this file, you imported the JavaScript files that will contain the web app logic. Please note that you haven’t created these files yet.
Go back to your terminal window, and navigate into the css directory with the following command:
Create a file name styles.css in the /css directory. Open this file using your favorite text editor, and then add the following code to it :
With the CSS code above, you accomplished the following:
- Set the page background color to black
- Imported the font stored in the /fonts directory
- Set the
h2element font to this special font - Horizontally centered the
videoelement where you will show the player's video track - Added a gray border around the
videoelement.
Go back to your terminal window, and use the following command to navigate into the /js directory:
Create the index.js, videoProcessors.js, and speechToText.js JavaScript files that are being imported at the bottom of the <body> section of the index.html file in the /js directory.
The index.js file is where you will store the code that will allow you to show the player's video track in the video element.
The videoProcessors.js file is where you will store your custom video processors.
The speechToText.js is where you will add speech-to-text functionality to the web app.
Showing the player's video track
In this section, you will learn how to use the Twilio Programmable Video JavaScript SDK to show the player's video track on the page and to set a video processor to the video track.
Open the index.js file and add the following code to it:
Here, first, you retrieved the video element and stored it in a variable named videoInput.
After retrieving the video element, you created two variables named videoTrack and backgroundSound. The videoTrack variable is where you will store the player's video track and the backgroundSound variable is where you will store the HTMLAudioElement that manages and plays the background audio in this web app.
Lastly, you created a variable named userInteractedWithPage and in it, you will store the result returned by a confirmation box that asks the user to click the OK button when the page loads. You need to add this confirmation box because web browsers don’t allow you to play sounds without the user interacting with the page first.
Add the following code to the bottom of your index.js file :
In the block of code above, you created two functions named checkIfCanPlaySound() and playBackgroundSound().
The checkIfCanPlaySound() function will monitor in a one-second interval if the user interacted with the page and clicked the OK button by checking if the value stored in the userInteractedWithPage variable is equal to true. If the value is equal to true the playBackgroundSound() function will be called and if not this function will call itself.
The playBackgroundSound() function will create a new HTMLAudioElement with the creepy_ambient_sound.mp3 file, store the object returned in the variable named backgroundSound, set this audio to loop itself, and then play the audio.
Add the following code below the playBackgroundSound() function:
In the block of code above, you created a function named showWebcamFeed(). This function is responsible for showing the player's video track on the page.
You used the createLocalVideoTrack() method provided by the Twilio Programmable Video JavaScript SDK to retrieve the player's video track at a specific resolution and frame rate.
After retrieving the player's video track you attached it to the video element to show it on the page.
Lastly, you stored the player's video track in the variable named videoTrack.
Add the following code below the showWebcamFeed() function:
Here, first, you created a function named setProcessor(). This function uses the removeProcessor() and addProcessor() methods provided by the Twilio Programmable Video JavaScript SDK.
The removeProcessor() method is used first to remove an existing video processor from the video track, and then the addProcessor() method is used to add a new video processor to the video track.
Lastly, you called the checkIfCanPlaySound() and the showWebcamFeed() functions.
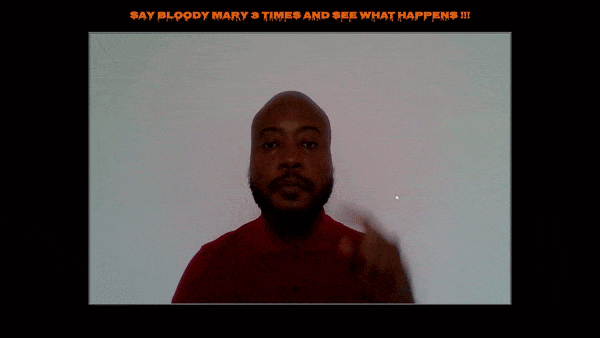
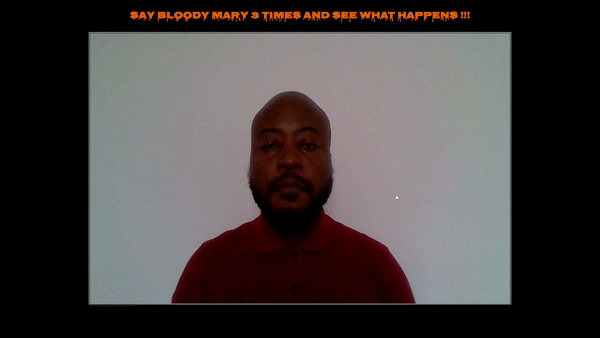
Open your favorite chromium-based browser, navigate to the URL http://localhost:4000/, and accept the request to connect the webcam to the page. Then, you will see a page similar to the one below with your video track.
Creating custom video processors
In the previous section, you learned how to use the Twilio Programmable Video JavaScript SDK to show the player’s video track, and set a video processor but you haven’t created any video processors yet. In this section, you will learn how to create the following 3 video processors: Mirror processor, glitch processor, and scare processor.
Mirror Processor
This processor will be responsible for adding a mirror effect to the player's video track and it will be the default video processor.
Go back to your text editor, open the file named videoProcessors.js and add the following code to it :
With the code above you created a video processor named mirrorProcessor.
To create the mirror effect you passed negative numbers to both the scale() and drawImage() methods of the Canvas API but only on the x-axis.
To test this video processor, go back to your index.js file, and replace your showWebcamFeed() function with the following:
Here you added a line of code that sets the mirror video processor to the player’s video track.
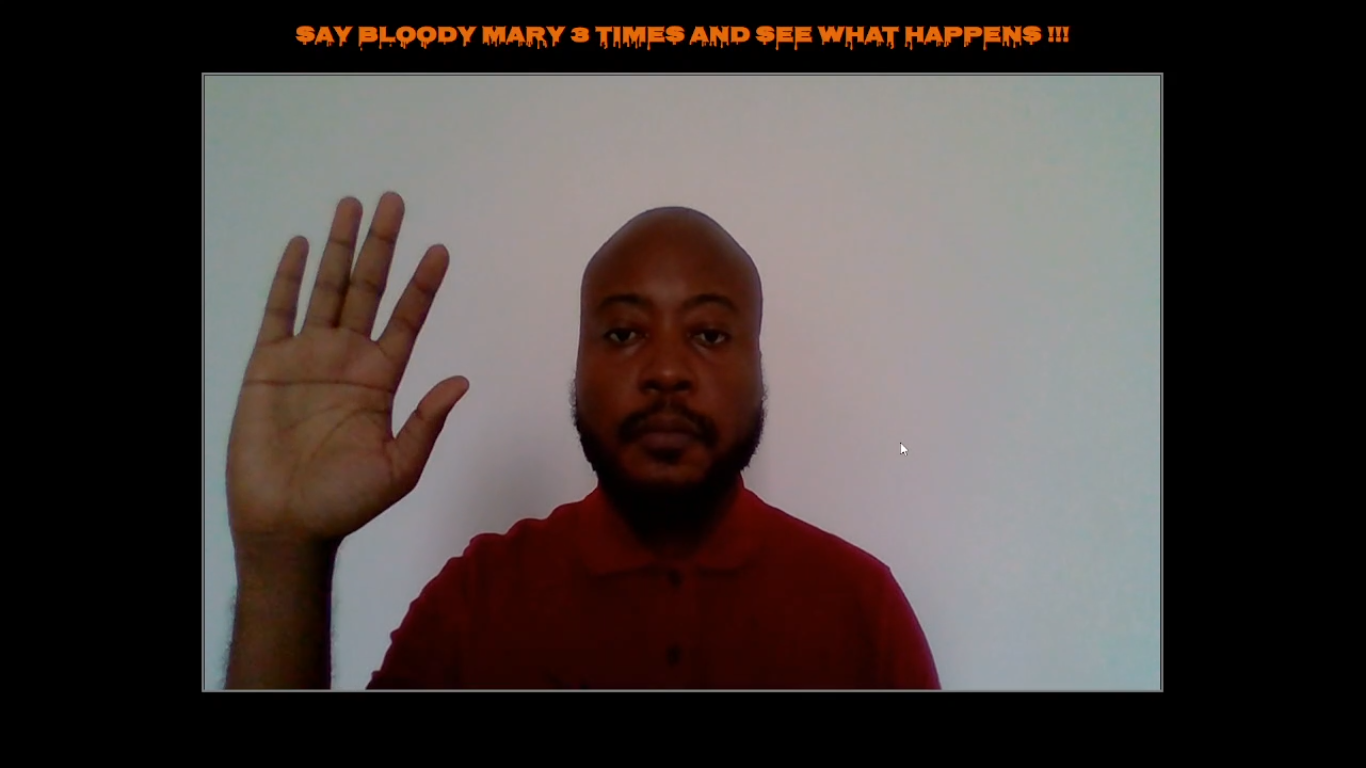
Go back to your browser, refresh the page, and see the video track horizontally mirrored :
Glitch Processor
This processor will be responsible for adding a glitch effect and the name Bloody Mary written in red to the player’s video track when the player says the name Bloody Mary the first two times.
Go back to your videoProcessors.js file and add the following code below the mirrorProcessor:
In the block of code above you created a function named getRandom(), and a video processor named glitchProcessor.
The getRandom() function takes as arguments two integers, uses these integers to set a range, and returns a random in this range.
The glitchProcessor adds a glitch effect and text to a video track. The code used to create this video effect is a slightly modified version of the code that can be found here.
To achieve this glitch effect, first, the input frame is divided into 20 vertical slices and the maximum number of pixels that these vertical slices are allowed to offset horizontally is set. Then, for each vertical slice, an offset is set and the mirror effect is applied.
After adding the glitch effect the font that you stored in the fonts directory is used to write the name Bloody Mary in red on the bottom center of the video track.
To test this video processor, go back to your index.js file. Then, comment out the line of code where you set the mirror processor to the video track in the showWebcamFeed() function (this is the line that reads setProcessor(mirrorProcessor), and below it add the following code:
Save your files, go back to your browser and refresh the page, and see the video track glitching with the name Bloody Mary written in red:
Scare processor
This processor will be responsible for showing a scary image in place of the player’s video track when the player says the name Bloody Mary for the third time.
Go back to your videoProcessors.js file and add the following code below the glitchProcessor:
Here, you created an object named scareProcessor that will add to the video track an effect to scare the user.
In this processor, you are using the Canvas API drawImage() method to add a scary image where the video track is shown.
To test this video processor, go back to your index.js file. Then, comment out the line of code where you set the glitch processor to the video track in the showWebcamFeed() function, and below it add the following code:
Go back to your browser, refresh the page, and see the scary image where the video track used to be:
Adding Speech-To-Text
In the previous section, you learned how to create custom video processors, but so far the web app can’t react to a player’s speech and set a specific video processor. To be able to react to a player’s speech, you will learn how to use the Web Speech API to add speech-to-text functionality to the web app.
Open the speechToText.js file in the /js subdirectory and add the following code to it:
In the block of code above, first, you created a variable named count. This variable will be used to keep track of the number of times that the player says the name Bloody Mary.
Below this variable, you created a function named speechToText(). This function will be responsible for using the Web Speech API to capture speech from the player’s microphone and convert it to text.
Inside this function, you created a new SpeechRecognition object and stored it in a variable named recognition. This object. is the controller interface for the recognition service.
After creating and storing the SpeechRecognition object, you used the start() method to start the recognition service.
With the recognition service started, you added the start, error, and end event listeners available in the onstart, onerror, and onspeechend properties respectively.
The start event will be fired when the recognition service starts detecting any speech. When this service starts a message stating that this service has started will be shown on the console.
The error event will be fired when a speech recognition error occurs. When an error occurs a message stating that an error occurred will be shown on the console and the speechToText() function will be called to start the service again.
The end event will be fired when the recognition service stops detecting any speech. When this service stops a message stating that this service has stopped will be shown on the console, and the speechToText() function will be called to start the service again.
Add the following code inside the speechToText() just below the onspeechend property :
Here, you added the result event listener to the SpeechRecognition object. This event is available in the onresult property and it is fired when the speech recognition service returns a result.
When this event is fired, first the word or phrase (transcript) detected is stored in a variable named transcript.
After storing the transcript, you check if the transcript is equal to the name Bloody Mary.
If the transcript is equal to the name Bloody Mary, conditional logic is used to check if the player said this name less than 3 times.
When the player says the name Bloody Mary the first two times, the value stored in the variable named count is increased by one, and a new HTMLAudioElement is created with the glitch_sound.mp3 audio file passed as an argument. Then, the glitch processor is set as the video processor for the video track, and the glitch_sound.mp3 audio file is played. After 3 seconds the audio file is paused and the mirror processor is set as the video processor for the video track.
When the player says the name Bloody Mary for the third time, after 3 seconds has passed a new HTMLAudioElement is created with the scream_sound.mp3 audio file passed as an argument. Then, the scare processor is set as the video processor for the video track, the scream audio is played and the background audio is paused.
Now add the following code below at the bottom of your file to call this function :
Before you test the web app, go back to your index.js file. Inside the showWebcamFeed() function, uncomment the setProcessor(mirrorProcessor) and comment out the two lines below it, so your function looks like the following code:
Testing and sharing the web app
In this section, you will test your web app and learn how to make it accessible to your family and friends.
Go back to your browser, refresh the page and your web app should be good to go.
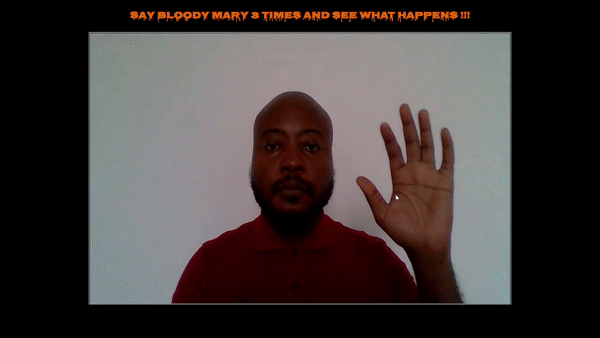
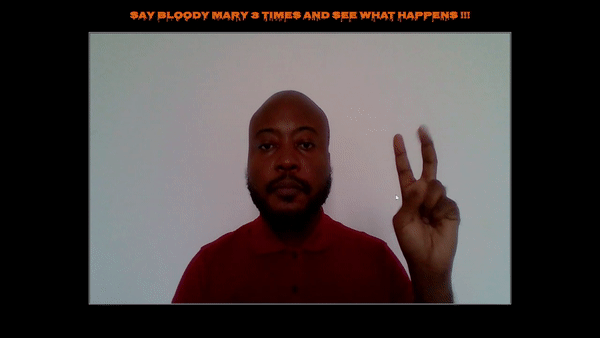
Say Bloody Mary for the first time:
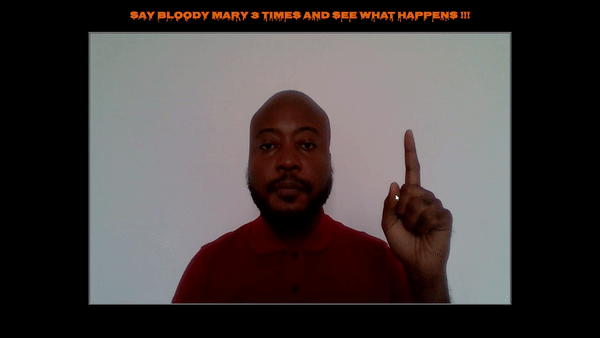
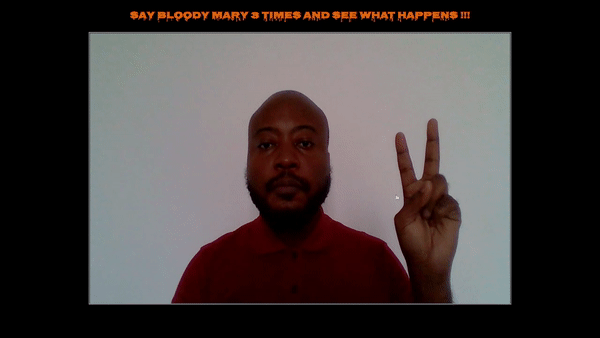
Wait to see the glitch processor and then say Bloody Mary for the second time:
Wait to see the glitch processor and then say Bloody Mary for the third time:
Right now this web app is only accessible on your computer but If you would like to change that and share it with your family and friends you can do the following :
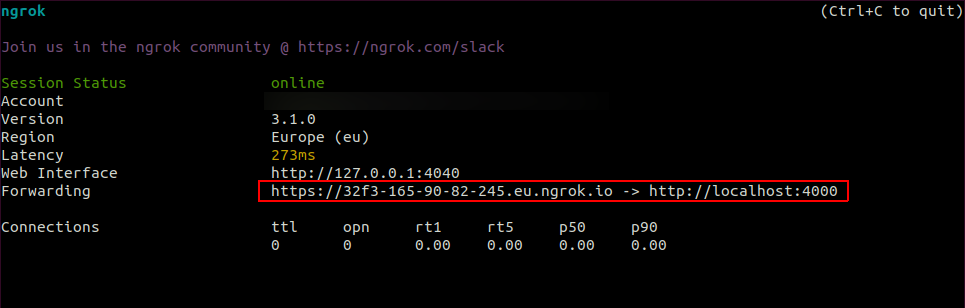
Go back to your terminal window, and run the following command to expose your local development server to the Internet :
After running the command above, copy the HTTPS URL generated by Ngrok and send it to your family and friends.
Conclusion
In this tutorial, you learned how to create a web app that allows players to play the Bloody Mary game. You learned how to use the Twilio Programmable Video JavaScript SDK to show the player's video track and set video processors to it. Then, you learned how to create custom video processors with a mirror effect, glitch effect, and a custom font. Lastly, you learned how to use the Web Speech API to add speech-to-text functionality to this game.
The code for the entire application is available in the following repository https://github.com/CSFM93/halloween-app.
Carlos Mucuho is a Mozambican geologist turned developer who enjoys using programming to bring ideas into reality. https://github.com/CSFM93


Related Resources
Twilio Docs
From APIs to SDKs to sample apps
API reference documentation, SDKs, helper libraries, quickstarts, and tutorials for your language and platform.
Resource Center
The latest ebooks, industry reports, and webinars
Learn from customer engagement experts to improve your own communication.
Ahoy
Twilio's developer community hub
Best practices, code samples, and inspiration to build communications and digital engagement experiences.