How to Build an SMS Chatbot Using Twilio Studio and Functions to Engage with Volunteers
Time to read:
September 11, 2019
Written by
This post is part of Twilio’s archive and may contain outdated information. We’re always building something new, so be sure to check out our latest posts for the most up-to-date insights.

SMS Chatbots provide a great way to engage with volunteers and deliver information about different initiatives you want to promote. They’re widely accessible (no Internet needed!) and with tools like Twilio Studio, designing the flow of interactions becomes a delightful experience.
As part of SIGNAL 2019, one of our main goals at Twilio.org was to increase awareness of some of the organizations and initiatives we have been supporting, while at the same time provide an instance for people interested in volunteering to get more information about different opportunities to get involved.
To achieve this, we built an app using Studio and linked it to a Short Code that allowed us to have SMS based interactions with the thousands of people in attendance during the 2nd-day keynote at Signal, as well as everyone that was following through the live stream.
This is the story of what we did, how we did it, and how you can do one as well.
Before we dive into it, a few things:
Why Studio?
Twilio Studio is a powerful tool that can simplify the experience of building communication flows. While coming up with this idea and designing what would be the final experience, three significant reasons led us to use it:
The power of visually creating interaction experiences
While initially, building interactions can seem like a straightforward task, many details are easy to miss and can reduce the effectiveness of what we’re trying to achieve. That’s why having visual support of all the steps of a flow of interactions can be helpful to detect points of friction or things that can be customized to improve the overall experience.
Anyone can contribute!
At Twilio.org we love teamwork (and cookies 🍪), so using Studio allowed us to share our work with everyone on the team so they could contribute, try it out and include their ideas regardless of technical expertise or how comfortable anyone feels with coding.
Share the results so that anyone can replicate this experience
And most importantly: we love to write about the things that we do, but we also like to share them, so that everyone can do them as well! In that aspect, Twilio Studio allows us to export the result of our work and share it so anyone and everyone can create a new Studio flow using ours as a base. (we’ll show you how in the next sections, but if you want to see the end result and get the file, you can jump to the end of this article).
If you’re not familiar with Studio, our docs are a great place to start!
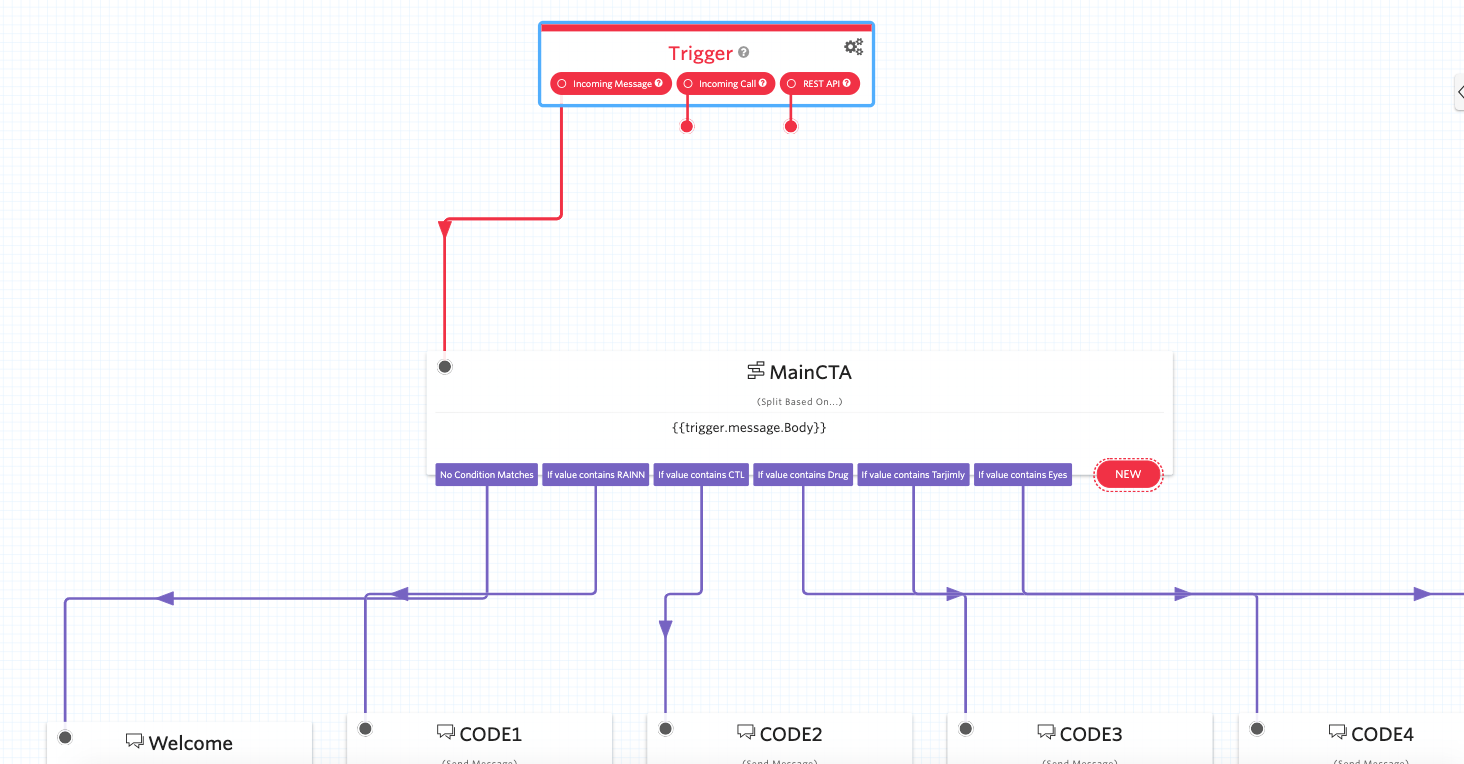
What we are building
Every time an SMS comes in, it triggers the execution to start the flow, and if it matches any of the codes we defined, it provides information to the user. If it doesn’t, then it’ll show a standard welcome message.
After we provide the information, we’ll also send a final thank you message to finish the interaction.
This is what the final Studio flow will look like:
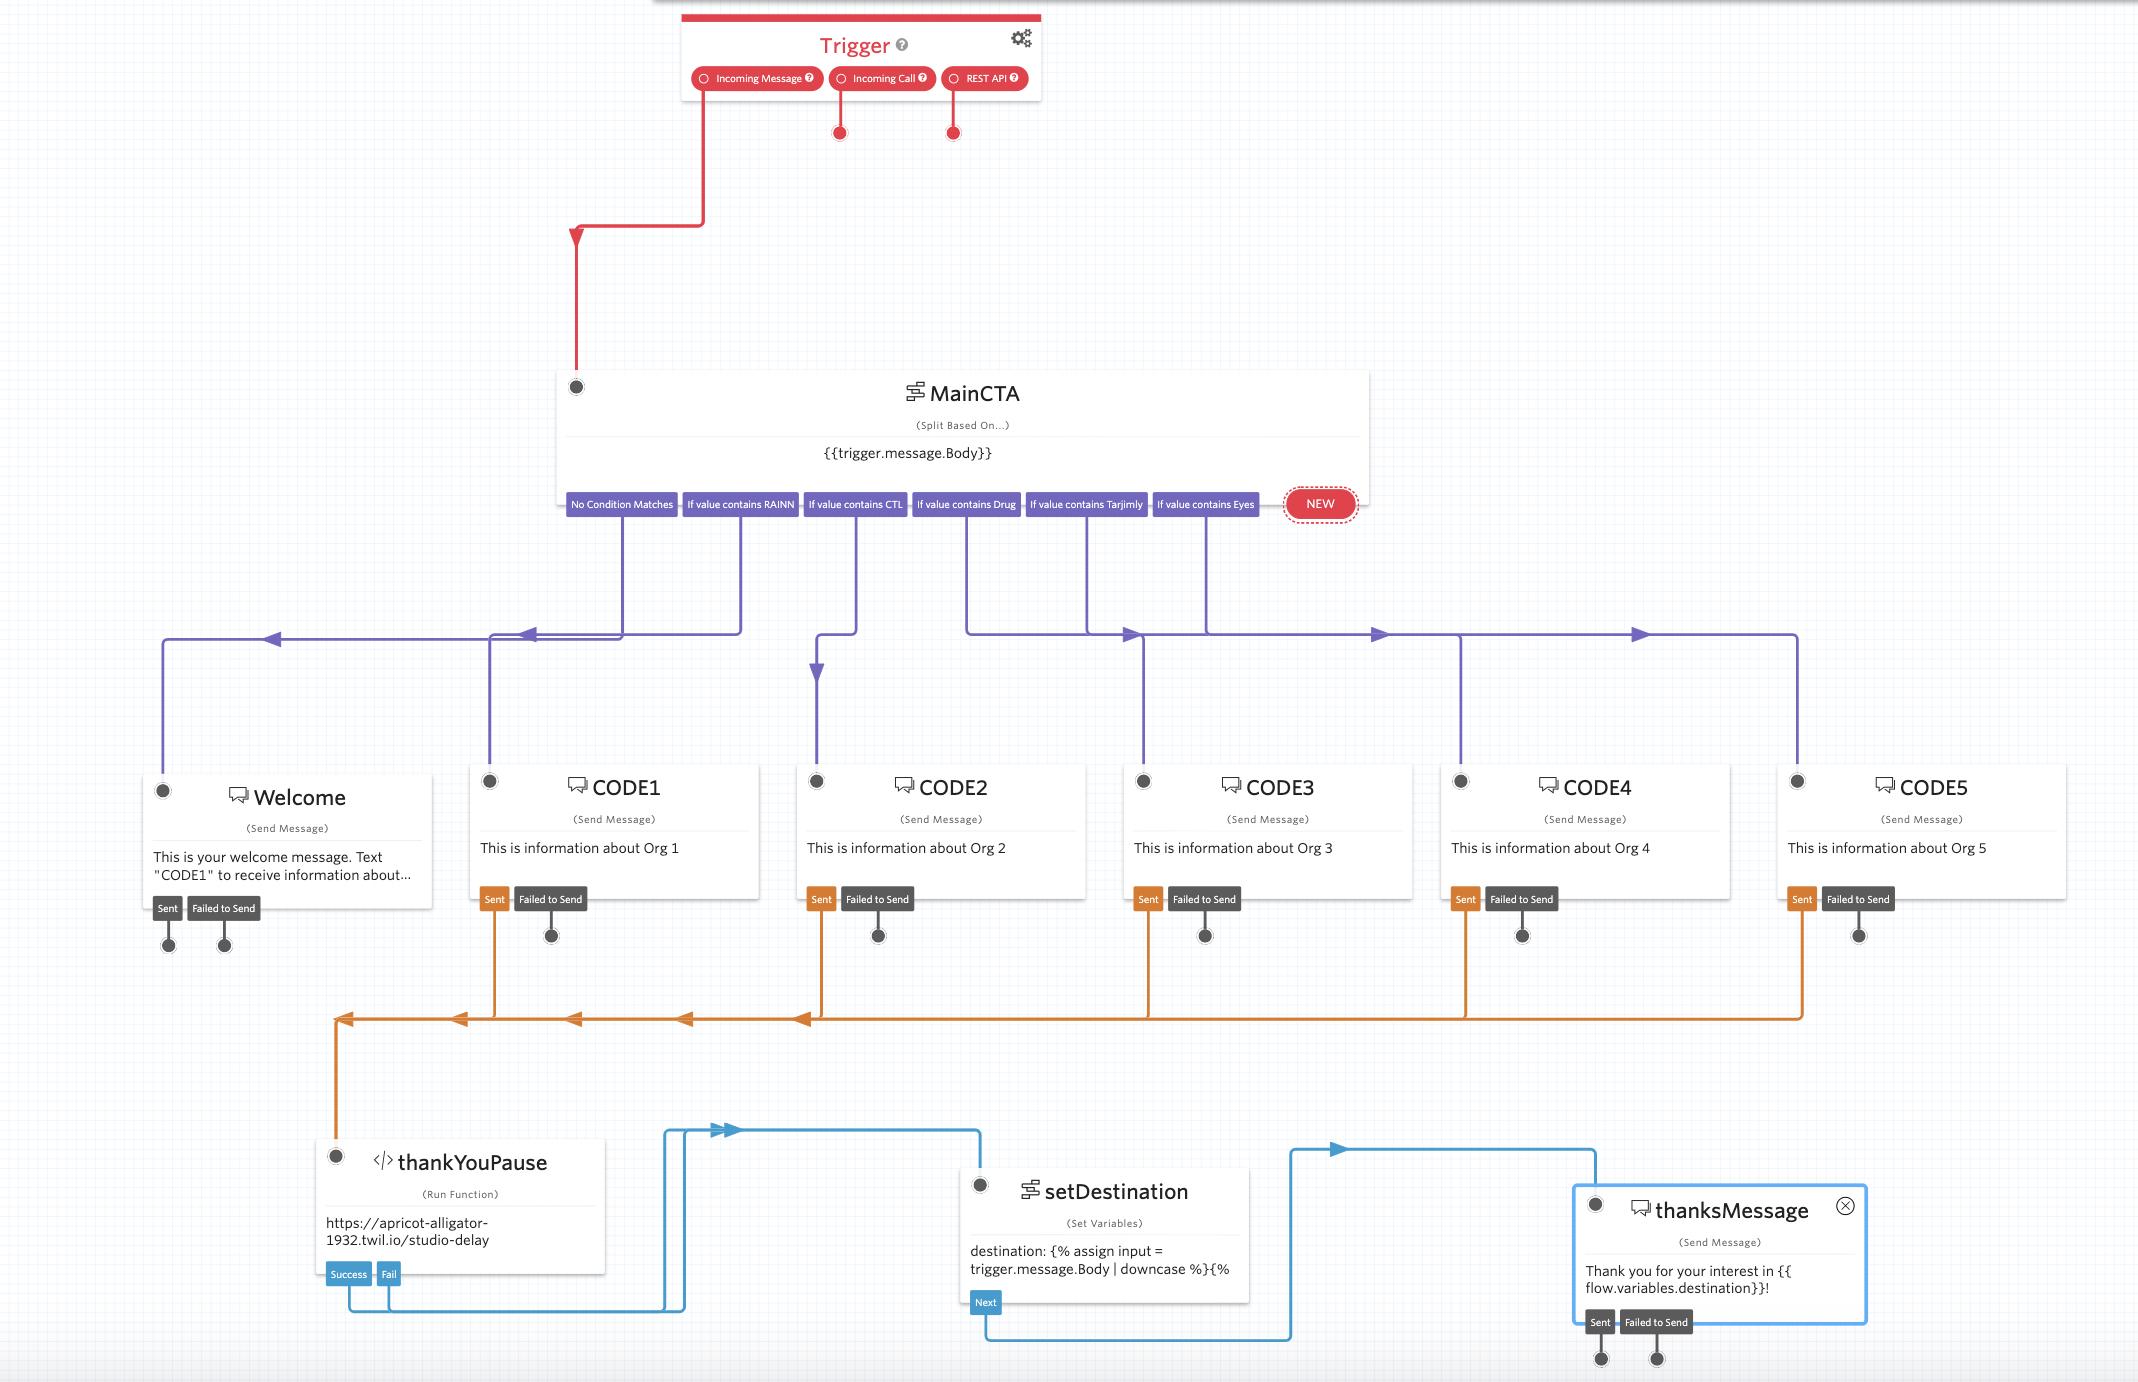
The building blocks
Since the interactions were SMS only and are triggered by a user’s selection we used some of the Messaging widgets available, plus a Split widget and Set variables widget to customize some of the messages the users would receive:
Send message:
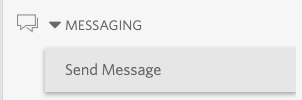
The whole experience is heavily based on SMS interactions. Conversations start after a user reaches out, and we provide several different options to continue down the flow and get more information. For this, we decided to go with the “Send message” widgets. Optionally, “Send & Wait for Reply” could be used as well depending on how much customization is needed depending on the responses.
Split based on
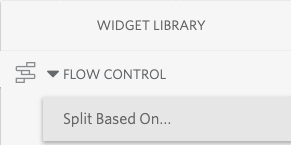
This being a call to action, it was necessary to have a split based on selections made by the user so subsequent messages could be customized.
Set variables
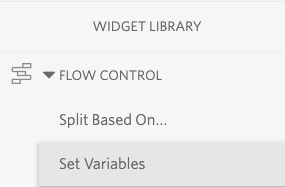
This one, in particular, was optional and added late during design. We’ll explain a bit more in the following section.
Customizing the experience using variables
One great thing about Studio is the possibility to use the data that has been created during the execution of the flow, which for a lot of cases (such as this one), gives you the possibility to customize the experience for your users. You can find more information about using variables in Studio here.
In this case, since we were dealing with multiple options, we wanted to make sure that the final thank you message reflected the choice that every user made at the beginning. While we could’ve done this using a “Split based on” widget, the final message sent was almost the same with just small customization, so having several instances of this wasn’t ideal and we opted for reviewing the data and changing just the necessary pieces.
You can do this by using the “Set variables” widget, which supports dynamic values by using the Liquid templating language and allows us to write some code to create or update variables that we can reference in widgets that will come after during the same flow.
Keep in mind that this is an optional step that can be skipped. We are using it here to illustrate the case where the codes that the users are texting in could be different from the actual values we want to display in the final message. If your case has both values as the same, feel free to skip this.
In this case, we are adding some code to check the option that was initially selected and set up a result depending on that.
Some example code that reflects this: (replace option[1-5] with your codes that users text in and Option [1 - 5] with the values that you’ll include in your final message to the user). This code also does a few extra things:
- Transform the incoming message in the beginning to lowercase, so it’s easier to compare with our options.
- Cleans up the result by stripping any newlines added to the text.
Improving the experience using Functions
Since this was a flow that includes multiple interactions, one significant thing when designing this experience was to pace the rate of messaging so it wouldn’t feel too overwhelming and automated, but closer to a real conversation. This was a particular challenge in the final interactions of the flow, after sending the call to action to get involved with an organization and a final thank you message for the user. Adding a short delay between these two messages allowed us to improve the experience significantly, and while it’s something that it’s not supported by Studio out of the box, it can be achieved with a few lines of code, using Twilio Functions.
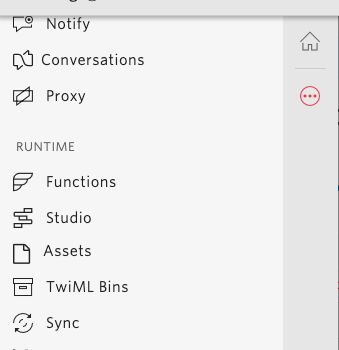
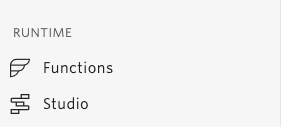
To implement this using Twilio Functions, you can create a new one by going to your Twilio Console and then Runtime > Functions
and clicking on the "Create new function" button.
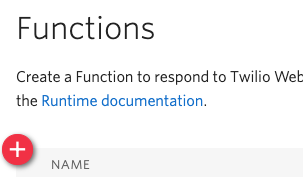
This will bring up the new function wizard, and here you can select “Blank” since we’ll be providing the code you need to add:

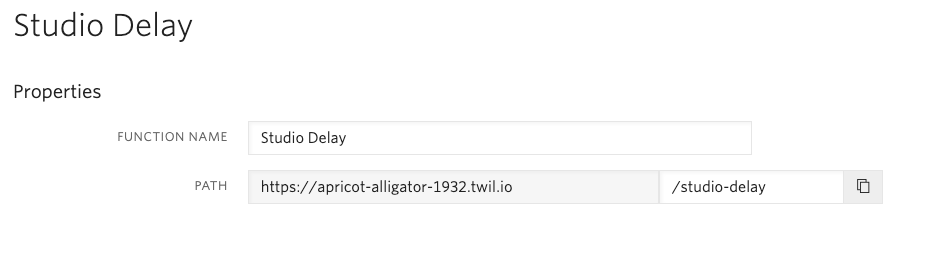
Once you create your new function, you’ll need to add a name and a URL path so we can reference it later from Studio. For this example, we’re using "Studio Delay" for the function name and "studio-delay" for the URL, but feel free to use a different one:
Now, to create the delay, you can export a function that executes `setTimeout` specifying an amount of time of your choice (in this case 2000 milliseconds), and then execute the callback to return to the Studio flow.
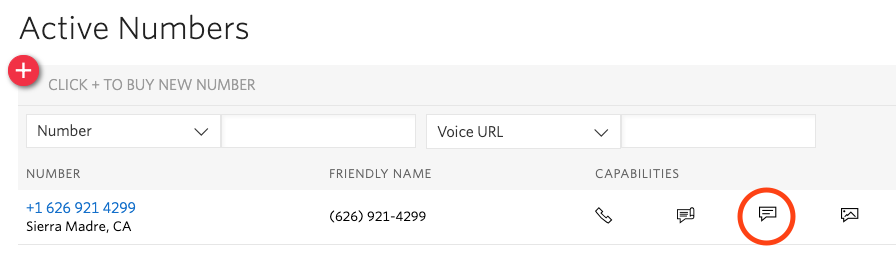
And with that, you have your interaction flow from beginning to end. The only thing missing would be to hook it up to your own phone number, which you can do from the Twilio Console, in the Phone Numbers section.

Wanna build your own?
Not a problem! Before we set you up with the things you need, you’ll need to create a free Twilio account (or log in to your existing one if you already have it!), and make sure that you have a phone number with SMS capabilities enabled:
Have your account and number? That’s great! Now let’s create your Twilio Studio flow:
Studio flow
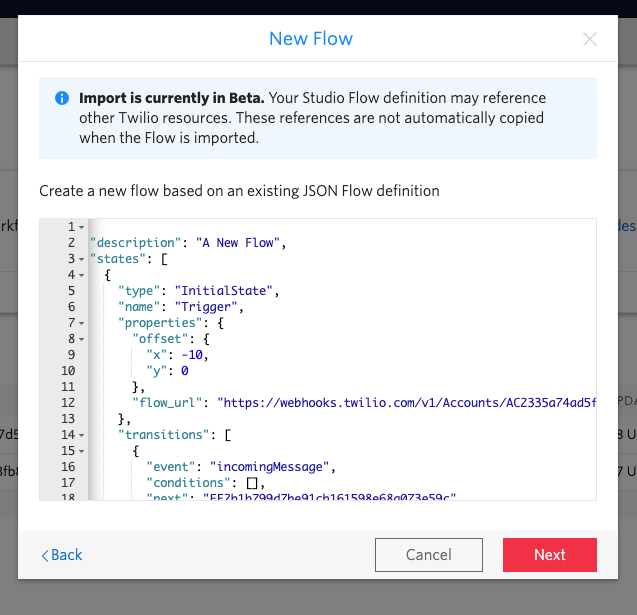
You can get the finalized flow in JSON format here.
You can use this file to create your flow in Twilio Studio by selecting the option “Import from JSON” from the new flow wizard and pasting the contents of the link above.
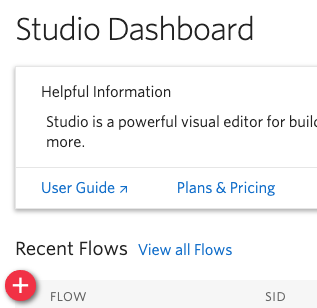
To do this, first access the Twilio Studio section from inside the Twilio Console:
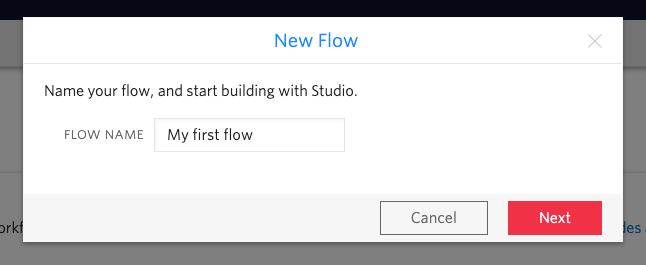
And create a new Studio flow by clicking the "Create new flow" button:
This will launch the "Create new flow" wizard, where you’ll have to name your new Studio flow (it can be any name you want!)
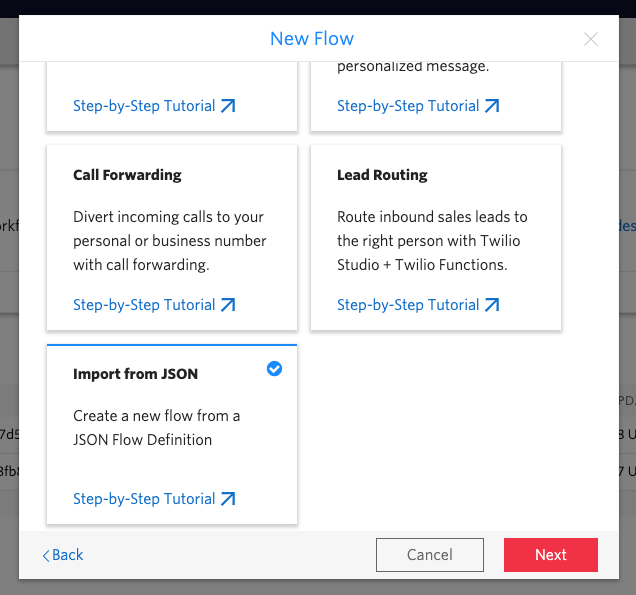
And then you’ll see a few different pre-made options that you can select as a base of your flow, or start from scratch. In our case, since we already have a flow that we want to use as our base, we’ll go to the final option, "Import from JSON":
And on the next screen, we’ll paste the contents of the flow we provided at the beginning of this section:
And then, after clicking Next, we’ll have our flow ready to start working on it:
After making all the modifications for your use case, you’ll need to link this new flow to your phone number for when a message comes in, and you’ll be good to go:
(And also don’t forget to update the Function widget with the function URL we created in the previous step!)
And that’s it! You now have a new Studio flow to have SMS based interactions with your users.
Have any ideas on how to extend this or make it even better? Let us know! We can't wait to see what you build!
Got any questions or comments? Would love to hear them, you can find me on:
- Email: flarranaga@twilio.com
- Twitter: @xabadu
- GitHub: Xabadu
Fernando is the stylin’, profilin’, ui buildin’, web codin’, community leadin’, son of a gun! He is the Developer Evangelist for Twilio.org, the social impact arm of Twilio✌️


Related Resources
Twilio Docs
From APIs to SDKs to sample apps
API reference documentation, SDKs, helper libraries, quickstarts, and tutorials for your language and platform.
Resource Center
The latest ebooks, industry reports, and webinars
Learn from customer engagement experts to improve your own communication.
Ahoy
Twilio's developer community hub
Best practices, code samples, and inspiration to build communications and digital engagement experiences.