Create a Video App with SolidJS, Express, and Twilio Video
Time to read: 10 minutes
June 27, 2022
Written by
Reviewed by

SolidJS is an emerging JavaScript framework with a 90% user satisfaction rate according to the State of JS 2021 survey. With a similar code structure to React, developers can feel at home with this new framework and integrate Twilio Video into their applications in a similar manner.
In this tutorial, you will be building both a backend server that generates Twilio Video access tokens and connects to Twilio Video rooms, and a frontend application that shares the audio and video of every participant in a room.
Prerequisites
To build this video app, you will need the following:
- A free or paid Twilio account. If you are new to Twilio, click here to sign up for a free Twilio account and get a $10 credit when you upgrade!
- Node.js (v16+) and npm
Setting up your developer environment
To get started, open your terminal window and navigate to the directory where you will be creating the two applications. First, set up the backend by copying and pasting the commands below in your terminal and pressing enter:
These commands will create both the frontend and backend directory (solid-video-frontend and solid-video-backend respectively), navigate into the backend directory, initialize a new Node.js project, install the five required dependencies, and create the files index.js, tokens.js, and .env.
The five dependencies required for the backend are:
twilio, to utilize Twilio’s Video APIexpress, to build your serverdotenv, to access your important credentials in .env and use them in environment variablescors, to allow cross-origin resource sharingnodemon, to run your server
In tokens.js, you will be utilizing the Twilio client and Video API to create Twilio Video rooms and serve video-granted access tokens. In index.js, you will be handling all incoming requests to a single route and serving the generated access token. In .env, you will be storing your important Twilio credentials.
Next, set up your frontend by running the following commands in your terminal:
These commands will navigate you back to the main directory, create a new SolidJS app, initialize a new Node.js project, and install the only dependency required, twilio-video. This dependency contains a helper library which you will use to connect to the Twilio Video rooms created by your backend server.
Creating your backend server
As stated earlier, your backend server will handle both access token generation and room creation. Navigate to your backend directory and open the index.js file. Establish a basic outline for your server by copying and pasting the following code below:
This code initializes the dotenv, express, and cors packages, includes middleware that allows cross-origin resource sharing from the frontend app at localhost:3000 and parses incoming data, and establishes both the /video/token route and listener. The /video/token route will be the only route in your server.
Before the server can perform any functionality, you will need to first set up your Twilio credentials.
Getting your Twilio credentials
In .env, copy and paste the following code:
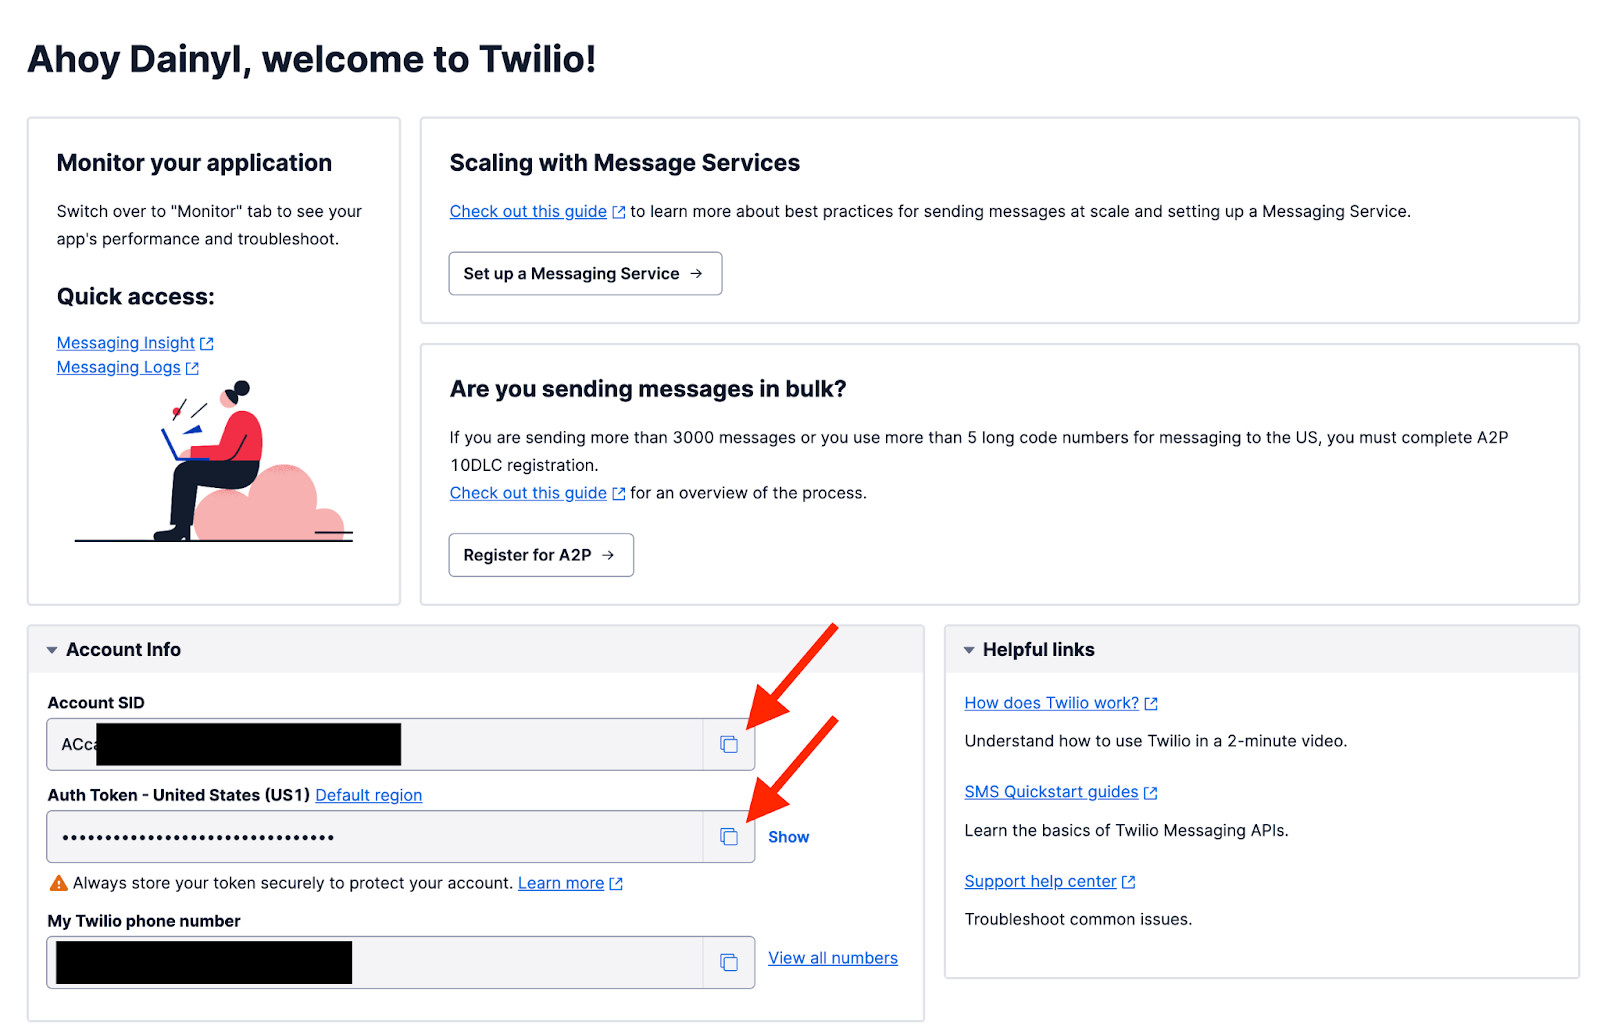
The first two variables to add to .env can be found in the dashboard of your Twilio Console (assuming you created a free account). Your Account SID and Auth Token are located under the Account Info section on the bottom of the page. Copy your Account SID by clicking the button next to the respective box and paste it after TWILIO_ACCOUNT_SID=. Repeat the process with your Auth Token and paste it after TWILIO_AUTH_TOKEN=.
The last two things to add to .env are generated on this page of your Twilio console. You may need to verify your account by entering a code sent to your email the first time you access this page. On the upper right side of the page, click the blue button labeled Create API key. Enter an easily distinguishable Friendly name and then click the blue button on the bottom of the page labeled Create API Key.
The next page (pictured below) contains your API key SID and Secret. Copy and paste your SID by clicking on the button next to the respective box and paste it after TWILIO_KEY_SID=. Repeat this process with your Secret and paste it after TWILIO_KEY_SECRET=.
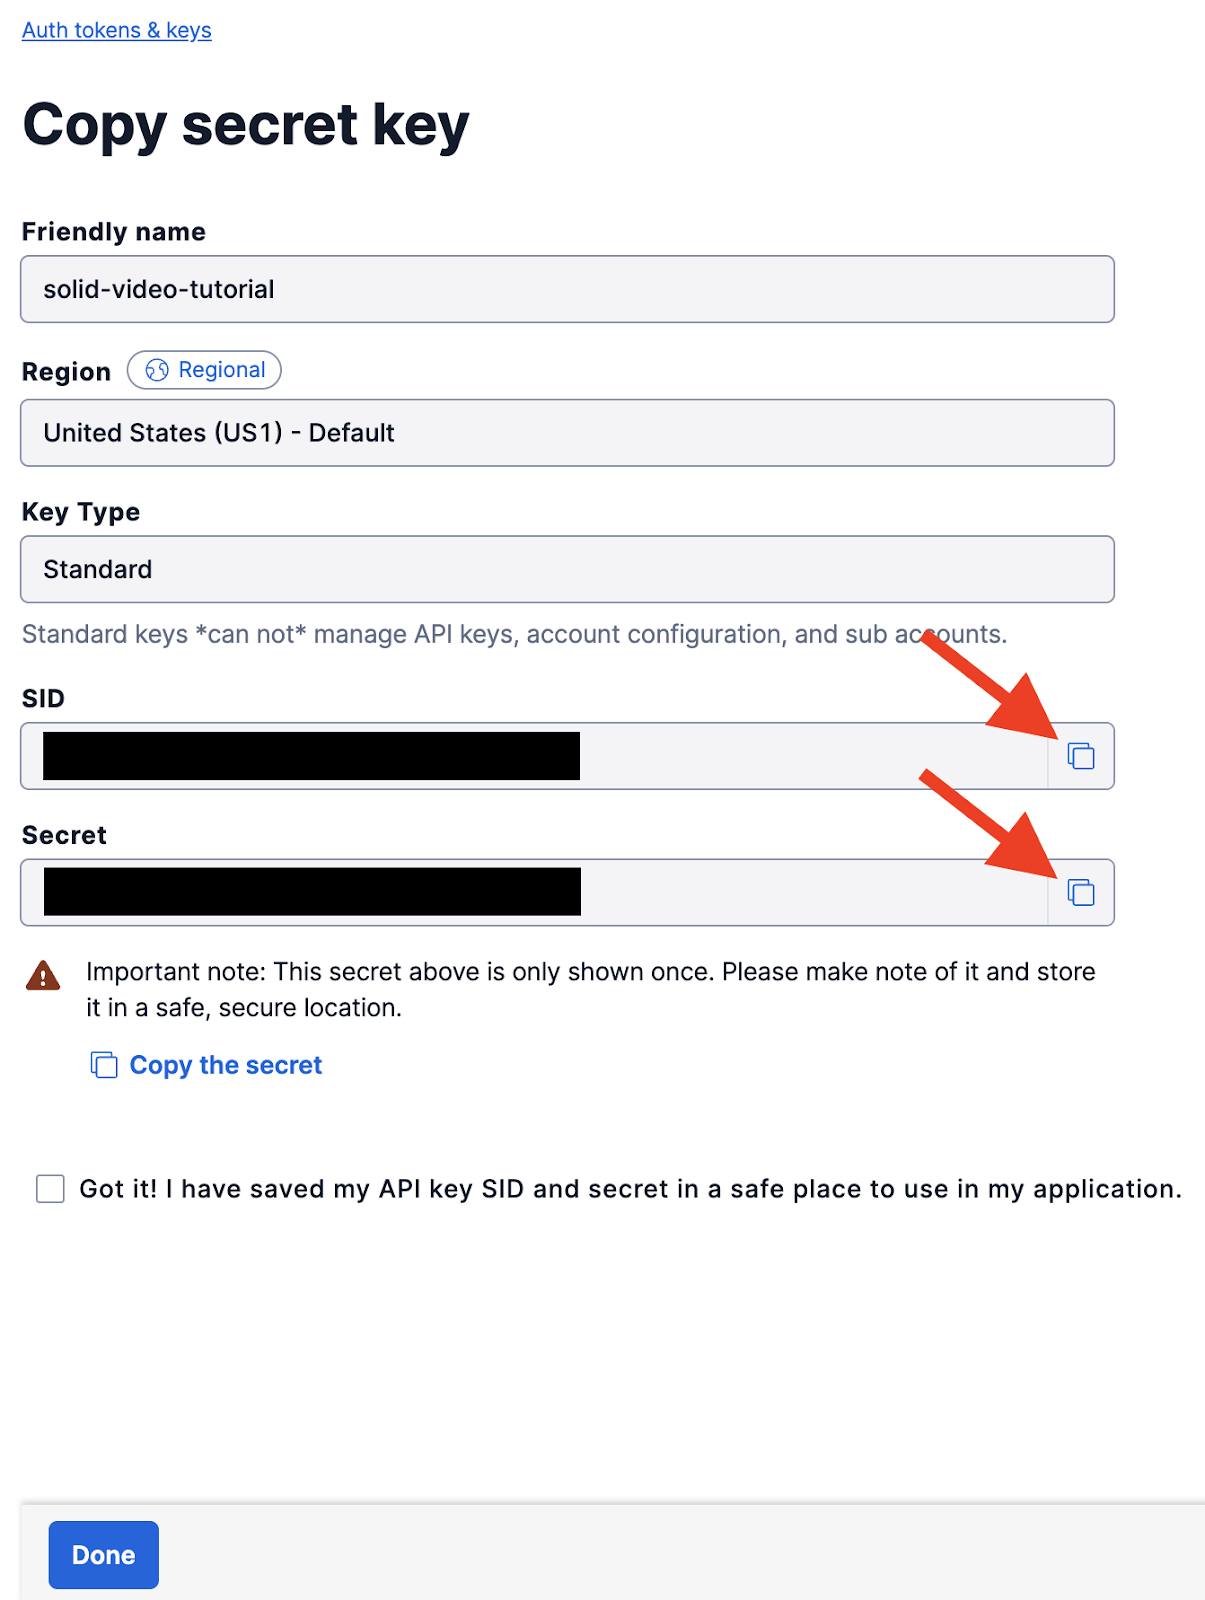
With the .env file filled out, you can now check the acknowledgement box and hit the blue button labeled Done.
Generating access tokens
To generate an access token, users will need to provide a valid identity to the function and provide the room name they want to connect to. Copy and paste the code below into tokens.js:
This code initializes the AccessToken object and the VideoGrant method. The helper function generateToken() creates a new access token using a provided identity. The videoToken() function utilizes generateToken() to create a token, adds a video grant to it, and finally returns it. The videoToken() function is exported and will be used as a helper function in your index.js file.
Finally, open index.js up and add the highlighted lines of code:
The videoToken() function now gets imported into index.js and is used in the /video/token route to create a room and generate the token that will be sent back to the user. To receive a token, users should include their identity and the room they wish to connect to in the body of their request.
Open up package.json and add the start script under the scripts property:
Return to your terminal and make sure you are in the solid-video-backend directory. Then, run the following command to start your server:
Now that your backend server is complete, you can start creating your frontend app.
Creating your frontend application
Navigate to your solid-video-frontend directory and open it up in your code editor. If you’ve worked with React before, then this file structure should seem familiar to you. If you haven’t, though, don’t worry!
First, generate the frontend file structure you’ll be working with for this tutorial. Open up a terminal in your frontend directory and run the following commands:
These commands will generate the components directory and four components that you’ll be using for this tutorial, and then will redirect you back to the frontend directory.
Lobbyis a form component where users enter their identity and the room to connect toParticipantis the main video component that displays all room participants’ video and audioRoomis a component that provides the layout for all participantsVideoChatis a parent component forRoomandLobbywhich handles page layout and state
Before diving into any of the components, open up src/App.jsx and replace all of the preexisting code with the code below:
Solid utilizes JSX to structure the HTML that gets loaded onto the app’s page, similar to React. To serve your application locally, open your terminal, ensure that you are in solid-video-frontend, and run the following command:
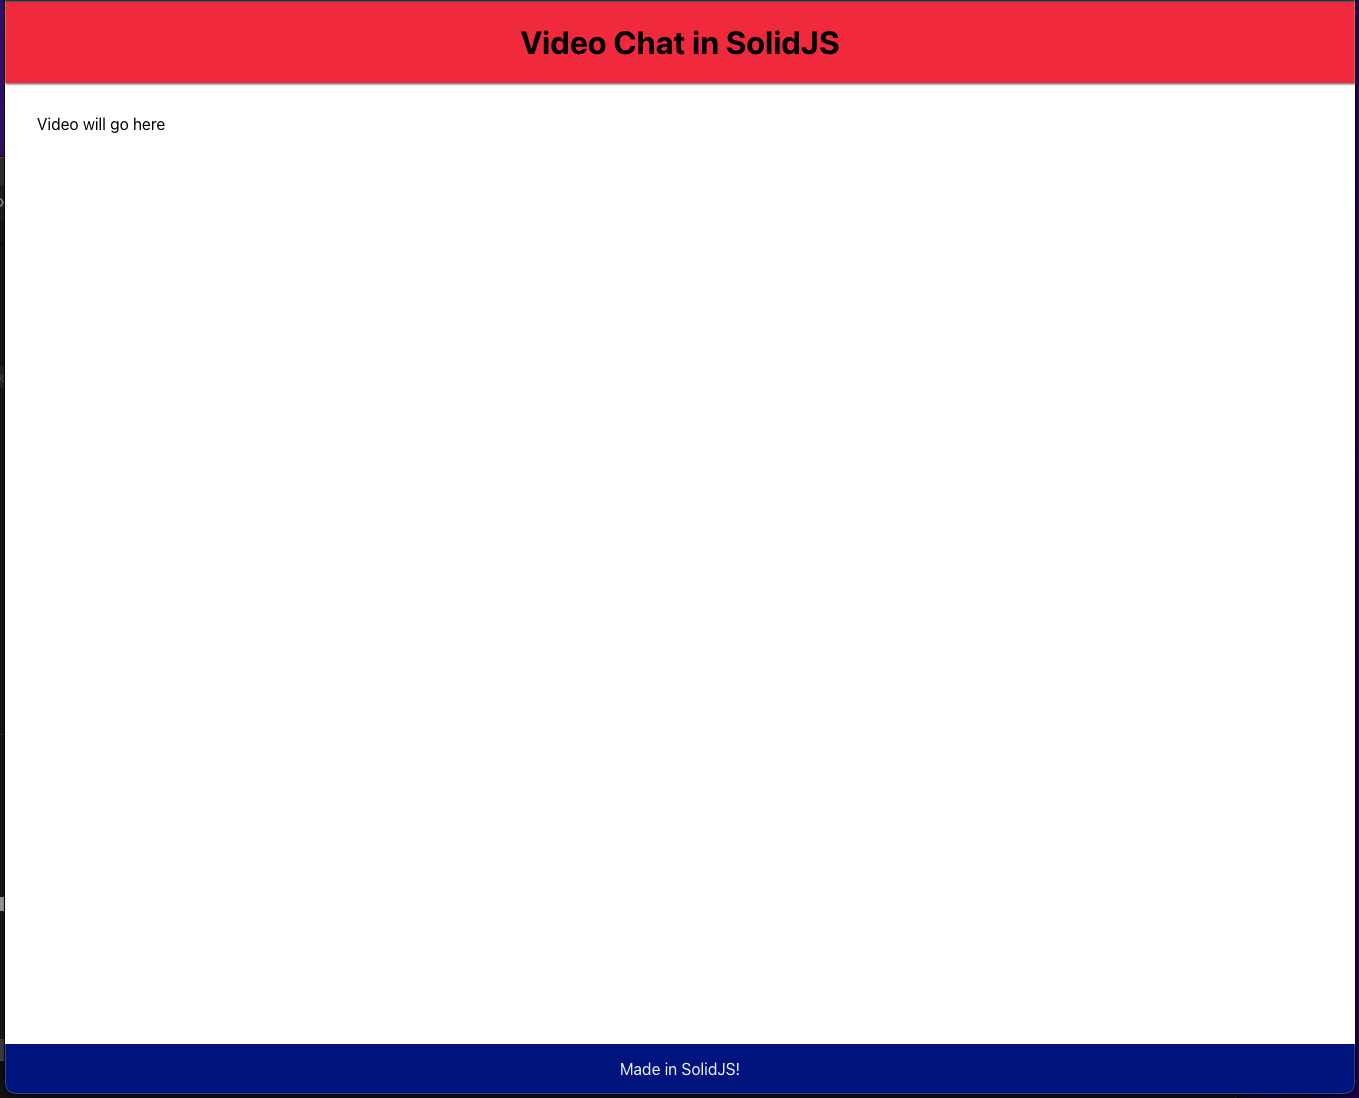
Keep your application running for the entire tutorial. Any changes made to files will be saved and Solid will automatically refresh your application with the new changes. Navigate to localhost:3000 in your browser, and you should see the following page:

The layout looks as expected, but is a bit plain. Open up src/index.css and replace it with the code found in this file. Save the index.css file and your page should now look like this:
Now, open up components/Main.jsx to set up your page layout and initialize some important variables.
Developing the main room—Main.jsx
The Main component will handle the entire page layout, which includes the Room and Lobby components. Solid has a Show component which makes conditional rendering more readable and can be passed in the props fallback and when. Solid will render whatever is passed into the fallback prop if the when condition is not truthy.
The Main component will show the Lobby component if a user has not acquired a token from the backend, and will show the Room component whenever they acquire a token and connect to the room.
Copy and paste the following code into components/Main.jsx:
If you recall from earlier, the backend server requires two parameters to be sent in the body of a request: identity and room. These variables and their setter function will be passed into the Room and Lobby components alongside the token variable and its setter function.
Handling the form—Lobby.jsx
When a user first loads up your application, you will want them to fill out a form where they can set their username and the name of the room they want to connect to. Open components/Lobby.jsx and paste the following code:
There are two form inputs that will track the user’s name and the room they want to connect to. When the form input is committed (focus on the input is lost), then the handleChange() function will be invoked. When the form is submitted, the handleSubmit() will be invoked.
Now, add proper functionality into the handleChange() and handleSubmit() function by adding the highlighted lines of code below:
The handleChange() function attached to the form inputs will now invoke the setFormState() function that was passed into it from the Main component whenever an input is committed. When the form is submitted, a request is sent to the backend server via the fetch API and returns a valid access token. From here, the setToken() function is invoked and the token variable is set. This makes the condition property truthy in the For component in Main.jsx. The Room component is then rendered instead of the Lobby component.
To see how the Lobby component looks in the app, modify src/App.jsx with the following lines:
Then navigate to components/Room.jsx and add the following lines as a placeholder:
Now, your page should now look like this:
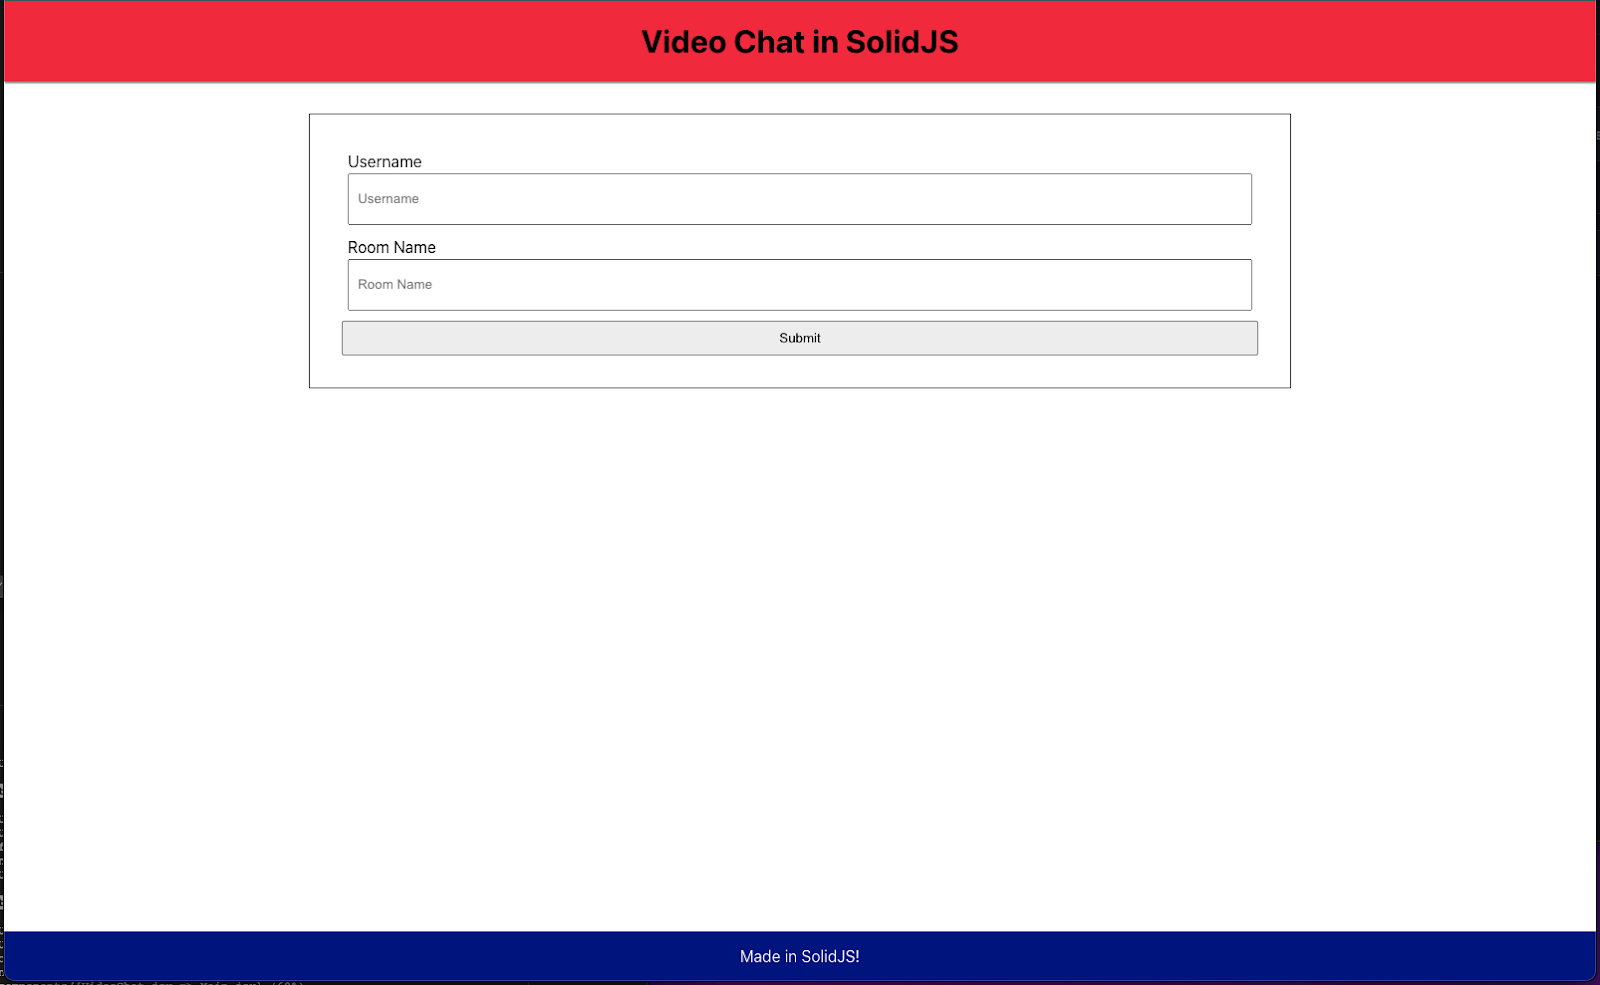
This is the Lobby component that you just finished creating. If you enter any username and room name then hit the button labeled Submit, you should get a token back from the server. Upon doing so, the Lobby component will unrender (also known as dismounting) and the Room component will render. The app should now look like this:
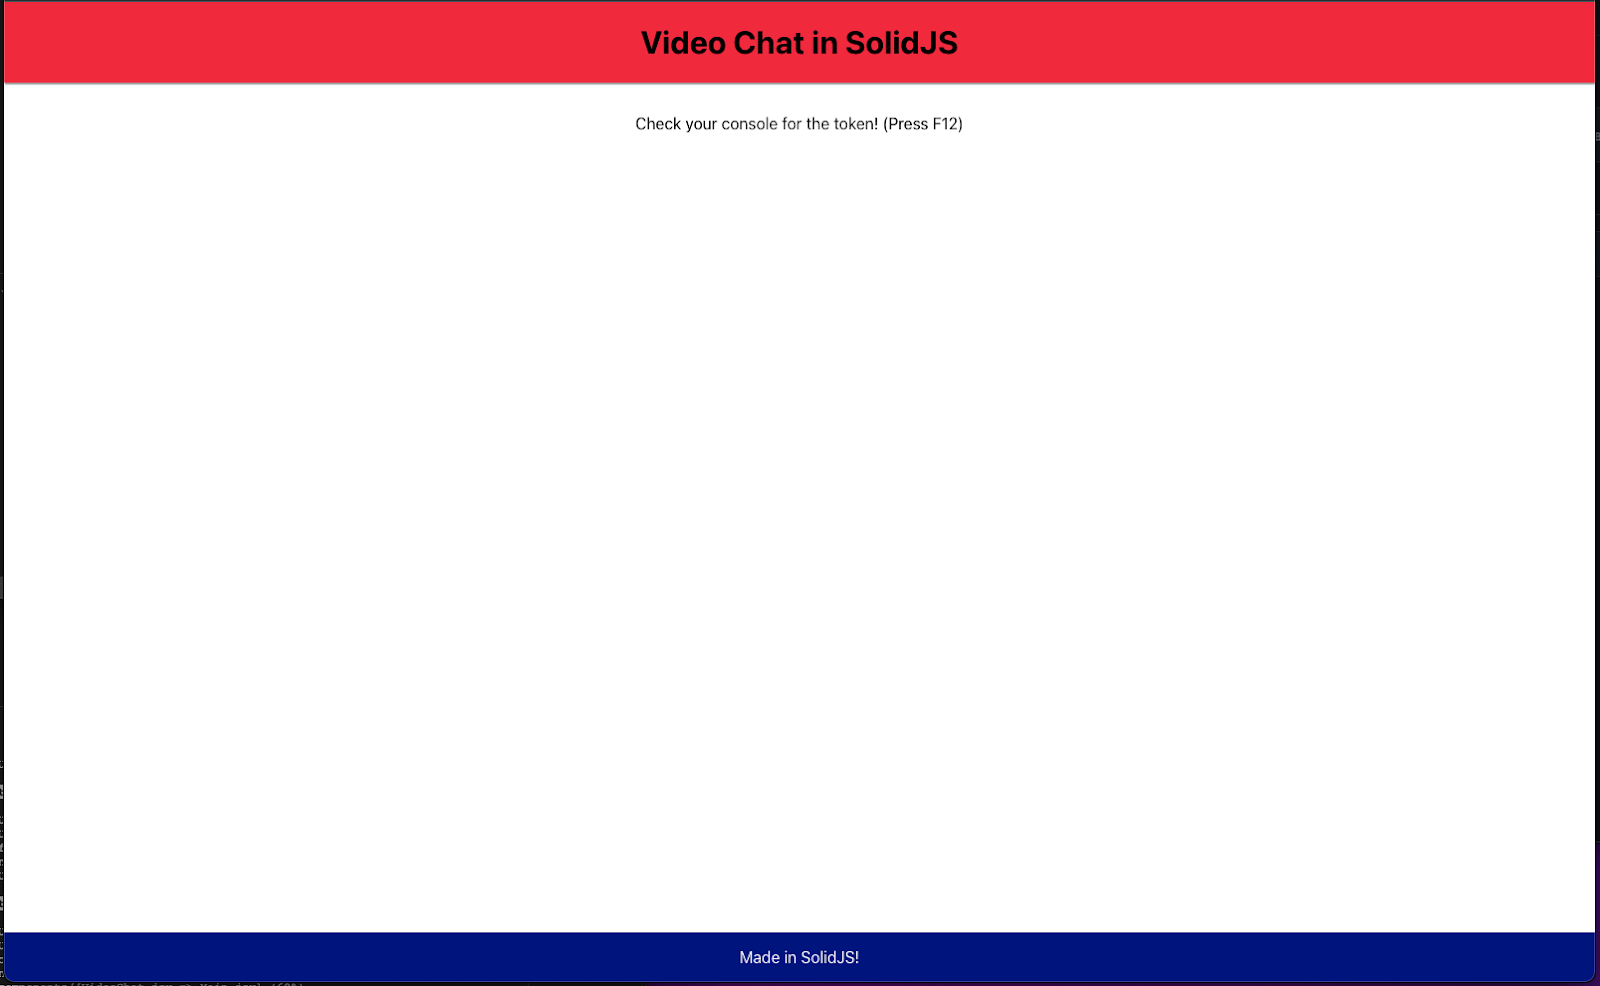
When you open up your console (you can do this by hitting the F12 button on your keyboard), you will get a long string of numbers and letters - this is your access token. The token will be utilized by the Room component to connect to the video room.
Creating rooms—Room.jsx
Now that you have the token, you can use it to connect to a Twilio Video room. Once a user connects to the room, they can and allow the app to read both audio and video tracks that come in from each participant in the room. The Room component will handle connecting to the room and the layout of each participant (including the user themselves).
First, start laying out the basics of your Room component by replacing the code in components/Room.jsx:
On the top of the component, there will be room information and a button labeled Log out that invokes the handleLogout() function when clicked. The handleLogout() function should remove the user’s token, which then triggers the Show component to dismount the Room component and render the Lobby component.
Below that, the local participant (the user) will be displayed above all other participants connected to the room. Solid’s For component is utilized to pass in every participant from the participants array. The room variable will store all information about the room the user is connected to, while the participants array will store the participants.
The main functionality of the code will be written in the createEffect() and onCleanup() functions—this includes connecting to the room and monitoring both participant connections and disconnections. The createEffect() function will run whenever any signals inside it change as well as when the component is first rendered (also known as mounting). The onCleanup() function will run when the component dismounts.
For the first step to full functionality, fill out createEffect() with the lines of code below:
There are two helper functions inside of createEffect(): connectParticipant() and disconnectParticipant(). These functions will add or remove participants respectively from the participants array whenever called.
Whenever the Room component is first rendered, the user’s token and desired room name get passed into the connect() function imported from twilio-video. The function then attempts to make a connection to the desired room. Once a room is found (or created, if it doesn’t exist yet), then the array of participants is updated with setParticipants() for every participant currently in the room.
Finally, the connected Twilio room can detect when a user connects to it or disconnects from it and can invoke the proper helper function.
Now, modify onCleanup() and add some event listeners below it:
Whenever the user logs out of the room, the component will dismount, then run the code inside of onCleanup(), which disconnects them from the room. Whenever a user closes the window or navigates away from the page, then they will also be disconnected from the room.
Testing this code functionality will be difficult until you set up the Participant component and render every participant’s video and audio tracks.
Seeing and hearing participants—Participant.jsx
Now that you have access to the participants in your Twilio Video room, you need to enable communication across all room participants. Once all the functionality for the Participant component is completed, users will be able to identify each other, see each others’ video, and hear each others’ audio.
Open components/Participant.jsx and paste the following code outline:
Every participant object that was passed into the Participant component has a Map of TrackPublication objects which are either audio or video tracks. This Map needs to be broken down to track objects before users can subscribe to them, and any null tracks must be removed. These tracks will be stored in the audioTracks and videoTracks arrays and updated based on the number of participants in the room.
There are three different createEffect() functions that will handle participant changes, video track changes, and audio track changes. Additionally, there is an onCleanup() function that will run if a user disconnects from the room.
First, modify the createEffect() function that will handle participants:
Whenever a participant gets passed into this component, this code will run. There are two helper functions, trackSubscribe() and trackUnsubscribe(), that will update either the audioTracks or the videoTracks depending on the type of track passed into the function. These functions will run whenever a participant subscribes or unsubscribes to another participant’s track.
Next, update the two remaining createEffect() functions to handle video and audio tracks:
These functions will attach video and audio tracks to the video and audio variables that are used as refs for the <video> and <audio> tags respectively. In other words, these functions allow users to see and hear each other!
Finally, modify the onCleanup() function:
Whenever a user disconnects from the room, this function removes the video and audio tracks they’re subscribed to immediately. Additionally, all other users will unsubscribe from the disconnected user’s tracks.
With that complete, navigate to localhost:3000 in your browser. Enter your desired username and room name, then hit Submit!

Conclusion
Congratulations! You’ve just learned how to create a video app with Solid and Twilio’s Video API. Hopefully this tutorial helped you with the basics of not only Twilio Video, but Solid! I personally love both of these technologies and can’t wait to see how they develop in the future.
If you want to learn how to implement Twilio Video with React, check out the post that inspired mine which uses hooks and this post which uses class components. Also check out this post to learn how to add mute and unmute functionality or this post to add “raise hand” functionality.
I can’t wait to see what you build next!
Dainyl Cua is a Developer Voices Intern on Twilio’s Developer Network. They would love to talk at any time and help you out. They can be reached through email via dcua[at]twilio.com or through LinkedIn.

Related Resources
Twilio Docs
From APIs to SDKs to sample apps
API reference documentation, SDKs, helper libraries, quickstarts, and tutorials for your language and platform.
Resource Center
The latest ebooks, industry reports, and webinars
Learn from customer engagement experts to improve your own communication.
Ahoy
Twilio's developer community hub
Best practices, code samples, and inspiration to build communications and digital engagement experiences.